To connect your MacBook Air to a monitor, first identify the ports on your device, typically USB-C or HDMI. Choose the right cable based on your monitor’s input. Plug one end into the monitor and the other into your MacBook. Your Mac should automatically detect the display. If needed, adjust your display settings through System Preferences. Encountering any issues? There are simple troubleshooting steps you can take to guarantee a smooth connection.
Understanding the Ports on Your MacBook Air
When connecting your MacBook Air to a monitor, knowing the ports on your device is essential. Most recent models come equipped with USB C options, which allow for versatile connections. These ports support not only data transfer but also video output, making them perfect for connecting to external displays.
If you’re looking to enjoy higher resolutions and refresh rates, check for DisplayPort compatibility. Many USB C adapters and cables offer this feature, enabling seamless connections to various monitors. Understanding these ports empowers you to choose the right method for your setup, enhancing your productivity and viewing experience. By familiarizing yourself with your MacBook Air’s ports, you’re setting the stage for a more liberated and efficient workflow.
Choosing the Right Cable for Connection
How do you guarantee your MacBook Air connects flawlessly to your monitor? Start by selecting the right cable. Depending on your monitor’s input, you’ll primarily choose between HDMI, USB-C, or Mini DisplayPort cables. Each cable type offers different benefits, so pick one that suits your needs. For instance, HDMI is great for high-definition video, while USB-C provides a sleek, modern connection that supports power delivery.
Next, consider cable lengths. You want a cable long enough to reach your monitor without being too loose or tangled. Measure the distance from your MacBook Air to the monitor, and add a little extra for flexibility. This way, you ascertain a clean setup that gives you the freedom to arrange your workspace as you like.
Connecting the Monitor to Your MacBook Air
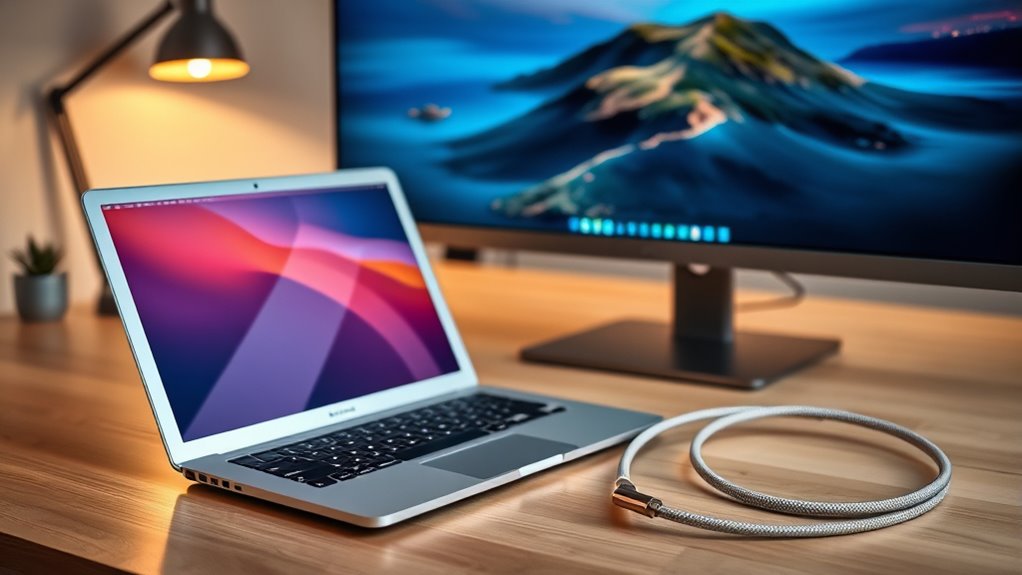
Once you’ve selected the right cable, connecting your monitor to your MacBook Air is a straightforward process. Start by plugging one end of the cable into the external display and the other into your MacBook Air. Once connected, your Mac should automatically detect the external display. You might see your desktop mirrored on the monitor, known as screen mirroring, or it may extend your display, giving you more workspace. If you want to adjust how the displays work together, you’ll do that in the next step. For now, just verify both devices are powered on, and you’re good to go. Enjoy the freedom of a larger screen and enhanced productivity!
Configuring Display Settings on Macos
After connecting your MacBook Air to the monitor, it’s time to configure the display settings for ideal use. To start, click on the Apple menu, then select “System Preferences,” followed by “Displays.” Here, you can adjust the display resolution. If you’re using a dual display setup, you’ll see both screens represented. Choose the resolution that fits your needs best; a higher resolution provides sharper images, while a lower one can enhance performance. You can also arrange your displays by dragging them to match their physical layout. Don’t forget to enable “Mirror Displays” if you want both screens to show the same content. Enjoy the flexibility of working across multiple screens!
Troubleshooting Common Connection Issues
If you’re experiencing issues connecting your MacBook Air to a monitor, don’t worry; many common problems can be easily resolved. First, check for cable issues; a damaged or loose cable can lead to display flickering or even prevent monitor detection. Next, confirm your adapter is compatible with your MacBook Air to avoid resolution problems. Sometimes, simply unplugging and reconnecting your setup can refresh the connection. If the monitor isn’t detected, try restarting your Mac or resetting the display settings. Finally, verify that your monitor is set to the correct input source. By addressing these issues, you can enjoy a seamless connection and a better viewing experience.
Frequently Asked Questions
Can I Use Multiple Monitors With My Macbook Air?
Yes, you can use multiple monitors with your MacBook Air. Just imagine your workspace blossoming! By setting up external displays, you can arrange your screens, maximizing productivity and providing a canvas for your creativity.
Does Screen Resolution Affect Performance on Macbook Air?
Yes, screen resolution can impact performance on your MacBook Air. Higher resolution settings demand more resources, potentially slowing down your system. Adjusting resolution can help optimize performance, allowing for a smoother experience while multitasking.
How Do I Switch Between Extended and Mirrored Displays?
You can switch between extended and mirrored displays by accessing display settings in System Preferences or using keyboard shortcuts like Command + F1. Experiment with both modes to find which suits your needs best.
Are There Compatibility Issues With Non-Apple Monitors?
Yes, non-Apple monitors can have compatibility issues with your Mac Air. Check display adapter requirements, as certain adapters may be needed for peak performance. Always verify your chosen adapter supports your monitor’s resolution and refresh rate.
Can I Connect My Macbook Air Wirelessly to a Monitor?
Yes, you can connect your MacBook Air wirelessly to a monitor using AirPlay. Imagine streaming your favorite movies on a larger screen, enjoying all the sleek MacBook features without tangled cords. Freedom awaits with this wireless display!
