To fix a broken monitor, start by checking the power supply and connections to guarantee everything’s plugged in securely. Inspect all cables for damage and try using another device to rule out issues. Adjust your display settings and update your graphics drivers for better performance. If problems persist, consider cleaning your monitor and guaranteeing proper ventilation. For complex issues or repairs, professional help might be necessary. Keep going to discover more troubleshooting tips and solutions.
Identifying Common Monitor Issues
When your monitor starts acting up, it can be frustrating, especially if you depend on it for work or leisure. One common issue you might notice is screen artifacts, which can appear as strange lines or shapes on your display. These artifacts can disrupt your experience and indicate an underlying problem with your monitor or graphics card. Another issue you may encounter is color distortion, where colors appear washed out or overly saturated. This can make it difficult to enjoy movies or edit photos accurately. To identify these problems, pay close attention to how your screen displays images and text. Recognizing these signs early can help you determine the next steps to fix your monitor and restore your freedom to use it effectively.
Checking Power Supply and Connections
One of the first steps to troubleshoot your monitor is checking the power supply and connections. Start by ensuring the monitor’s power supply is functioning properly. Check that the power cable is securely plugged into both the monitor and the outlet. Next, look into the connection types you’re using—whether HDMI, DisplayPort, or VGA. Here’s what you should do:
- Verify the power indicator light is on.
- Inspect cables for any visible damage.
- Test different outlets or power strips.
- Try using alternative connection types if available.
Troubleshooting Display Settings
Now that you’ve checked the power supply and connections, it’s time to focus on your display settings. Start by verifying your cable connections, as loose or damaged cables can cause display issues. Next, adjust your resolution settings and consider updating your graphics drivers to make certain everything runs smoothly.
Check Cable Connections
Checking cable connections is an essential step in troubleshooting display settings. If your monitor’s acting up, it could be due to loose or damaged cables. Here’s what you should do:
- Inspect cable types: Check if you’re using HDMI, DisplayPort, or VGA, and verify they’re compatible with your devices.
- Confirm connection methods: Make sure cables are securely plugged in on both ends—your monitor and your computer.
- Look for damage: Examine cables for frays, bends, or any visible signs of wear that might affect performance.
- Test with another cable: If possible, swap out cables to see if that resolves the issue.
Taking these steps can often restore your display and give you back the freedom to enjoy your monitor.
Adjust Resolution Settings
If your monitor still isn’t displaying correctly after checking the cables, adjusting the resolution settings might be the next step. Start by accessing your display settings and look for resolution options. Confirm that your chosen resolution is compatible with your monitor. Incorrect resolution can lead to poor screen scaling, making your display appear stretched or blurry.
Here’s a quick reference table to help you:
| Resolution | Compatibility Level |
|---|---|
| 1920×1080 | High |
| 1280×720 | Medium |
| 800×600 | Low |
| 2560×1440 | Very High |
| 3840×2160 | Ultra High |
Adjusting these settings can greatly improve your viewing experience. Enjoy your newfound visual freedom!
Update Graphics Drivers
After confirming your resolution settings are correct, the next step is to update your graphics drivers. Outdated drivers can hinder graphics performance and lead to display issues. Here’s how you can easily update them:
- Identify your graphics card: Check your device manager for the model name.
- Visit the manufacturer’s website: Go to the site of your graphics card’s manufacturer (NVIDIA, AMD, Intel, etc.).
- Download the latest drivers: Look for the latest compatible version for your card.
- Install the driver: Follow the instructions to guarantee driver compatibility and reboot your system.
Updating your graphics drivers can greatly enhance your display quality and overall experience, so don’t skip this vital step!
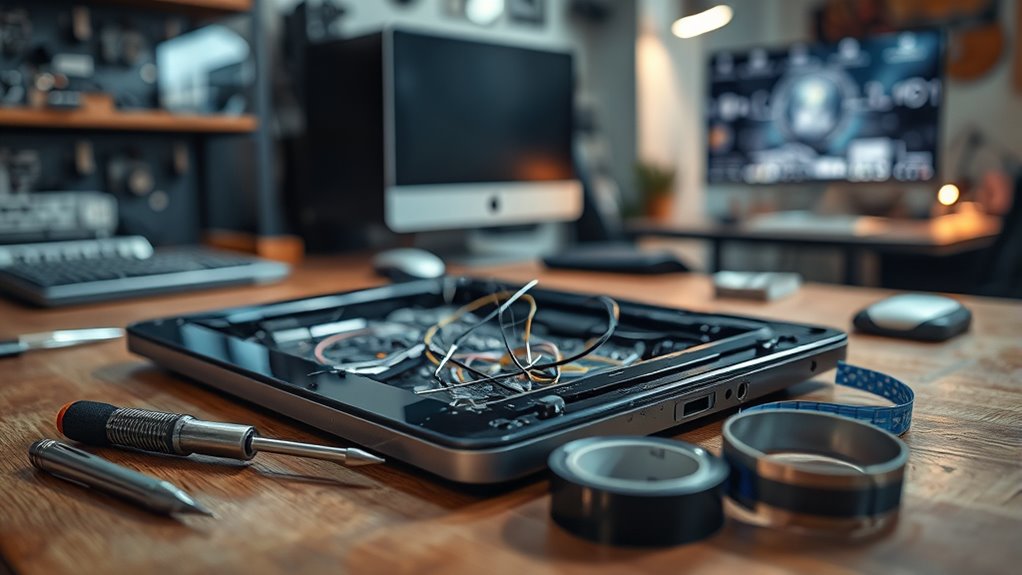
Inspecting Cables and Ports
Before you start troubleshooting further, it’s essential to check the power connection and examine the video cables. A loose or damaged cable can often be the culprit behind a broken monitor. Make sure everything is securely connected and in good condition to rule out these simple issues.
Check Power Connection
A quick check of your power connection can often resolve monitor issues in no time. Sometimes, a power surge can disrupt your monitor’s operation, but a simple inspection can help. Here are some steps you should follow:
- Verify the power cable is securely plugged into both the monitor and the wall outlet.
- Check for any visible damage on the power cable or connectors.
- If you suspect a power surge, try unplugging the monitor for a minute to perform a monitor reset.
- Inspect the power strip or surge protector, if you’re using one, to confirm it’s functioning properly.
Examine Video Cables
Since a faulty video cable can often be the culprit behind a malfunctioning monitor, it’s essential to examine all connections closely. Start by checking the cable types you’re using—HDMI, DisplayPort, or VGA. Make sure each connector is securely plugged into both the monitor and your computer. Look for any visible damage, like fraying or bent pins, which could be causing issues. Next, consider the cable length; longer cables can sometimes lead to signal degradation. If you’ve got a spare cable of the same type, try swapping it out to see if that resolves the problem. By carefully inspecting these components, you can identify and eliminate any cable-related issues for a smoother, hassle-free viewing experience.
Testing With a Different Device
How can you determine if the issue lies with your monitor or another component? One effective method is to test your monitor with a different device. This can help you identify whether the problem is due to monitor compatibility or a fault in your original device.
Here are some device alternatives you can use for testing:
- A laptop, if you typically use a desktop
- A different desktop computer
- A gaming console, like a PlayStation or Xbox
- A tablet with an HDMI output
Cleaning the Monitor
While you might not realize it, dust and smudges on your monitor can impact its performance and your viewing experience. Regular cleaning is essential for effective monitor maintenance. Start by turning off your monitor and unplugging it. Use a microfiber cloth to gently wipe the screen, avoiding paper towels, which can scratch the surface. For tougher grime, consider screen cleaning solutions specifically designed for monitors; just spray it on the cloth, not directly on the screen. Don’t forget to clean the frame and base as well! Following these monitor maintenance tips will not only enhance clarity but also prolong the life of your device. Make cleaning a routine part of your tech care to enjoy a pristine viewing experience.
Seeking Professional Help
If you’re facing persistent issues with your monitor that basic troubleshooting can’t resolve, it might be time to seek professional help. Professional technicians can diagnose and fix your monitor effectively, saving you time and frustration. Here’s what you should consider:
If basic troubleshooting fails, consider professional help for your monitor to save time and ensure effective repairs.
- Experience: They have the expertise to handle various monitor issues.
- Tools: Technicians use specialized tools that you may not have at home.
- Warranty: Repairing with professionals can keep your warranty intact.
- Safety: They know how to safely handle electronics, reducing the risk of further damage.
Don’t hesitate to reach out for monitor repair if your issues aren’t resolved. It’s a smart investment in your tech’s health and your peace of mind!
Frequently Asked Questions
Can a Broken Monitor Be Repaired at Home?
Yes, you can often repair a broken monitor at home. With some DIY repairs and effective monitor troubleshooting, you might fix minor issues without professional help. Just make sure you take necessary safety precautions while working on it.
How Much Does It Cost to Fix a Monitor?
Fixing a monitor can feel like piecing together a puzzle. Monitor repair costs typically range from $50 to $200, but DIY monitor fixes might save you cash and offer a sense of accomplishment.
What Are Signs of a Failing Monitor?
If you’re noticing a flickering screen or color distortion, it’s likely a sign your monitor’s failing. Pay attention to these issues, as they could indicate deeper problems that might require professional help or replacement.
Is It Worth Fixing an Old Monitor?
It’s often worth fixing an old monitor, especially if it has a longer monitor lifespan. Repair benefits include saving money and reducing waste, allowing you to enjoy an upgraded experience without purchasing new equipment.
Can Software Issues Cause Monitor Problems?
Yes, software issues can definitely cause monitor problems. In fact, about 30% of display issues stem from software glitches or outdated display drivers. Keeping your drivers updated helps guarantee smooth performance and a trouble-free experience.
