To connect your Samsung earbuds, first make sure they’re charged and in pairing mode. Activate Bluetooth on your smartphone or other device. Take the earbuds out of the charging case, and they should automatically enter pairing mode. Go to your device’s Bluetooth settings and select your earbuds from the list of available devices. Once connected, you’ll hear a confirmation sound, and you’re ready to enjoy high-quality audio. Stick around to discover more tips for customizing your earbuds!
Unboxing Your Samsung Earbuds
Unboxing your Samsung earbuds is an exciting moment that sets the stage for a great audio experience. As you open the sleek packaging, you’ll find the earbuds nestled securely, accompanied by essential earbud accessories like different sized ear tips and a charging case. These accessories aren’t just extras; they guarantee a comfortable fit and peak performance. Take a moment to appreciate the craftsmanship and design before diving into the rest of the unboxing experience. Each component is designed for convenience and quality, so make certain to explore everything included. This initial interaction creates a sense of anticipation for the freedom of wireless listening. Enjoy your earbuds, knowing you’ve got everything you need to start your audio journey.
Preparing Your Device for Connection
Now that you’ve unboxed your Samsung earbuds, it’s time to prepare your device for a seamless connection. First, check your device compatibility to confirm it supports Bluetooth connections. Most smartphones, tablets, and laptops do, but it’s always good to verify. Next, head to your device’s Bluetooth settings. Turn on Bluetooth if it’s not already activated; you should see a list of available devices. Make sure your earbuds are charged and in pairing mode, which prepares them for connection. If you encounter any issues, restarting your device can help refresh the Bluetooth settings. With these steps, you’re ready to connect your Samsung earbuds and enjoy the freedom of wireless listening.
Pairing Your Samsung Earbuds With a Smartphone
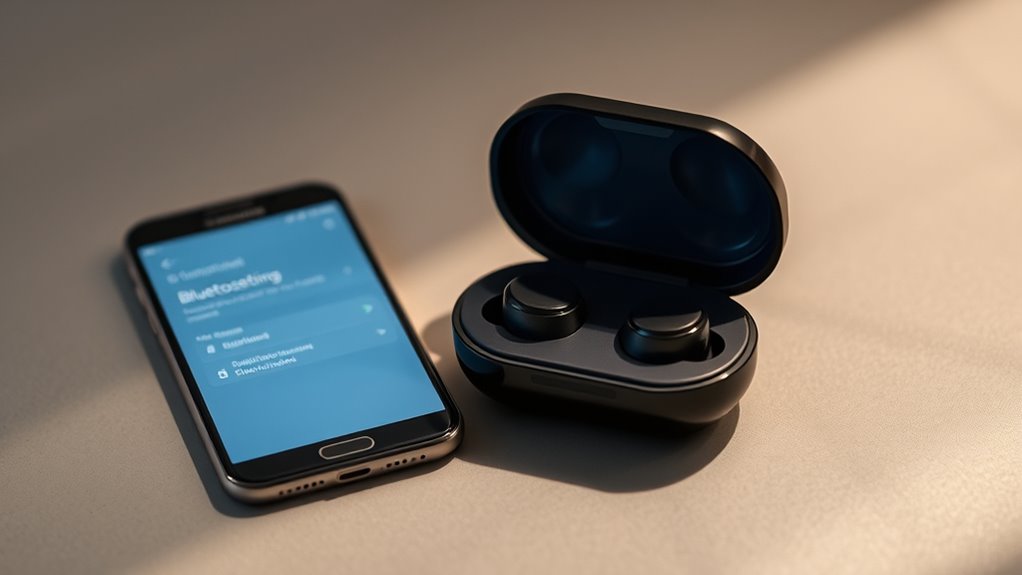
To pair your Samsung earbuds with a smartphone, start by ensuring that your earbuds are in pairing mode. This allows for easy connection using various pairing methods, ensuring smartphone compatibility. Follow these steps:
Ensure your Samsung earbuds are in pairing mode for a smooth connection with your smartphone.
- Activate Bluetooth: Open your smartphone’s settings and turn on Bluetooth.
- Put Earbuds in Pairing Mode: Take your earbuds out of the case; they should automatically enter pairing mode. If not, press and hold the touchpads.
- Connect: On your smartphone, look for your earbuds in the list of available devices. Tap to connect.
Once connected, you’ll enjoy seamless audio freedom. If you experience any issues, double-check that your smartphone supports your earbuds and restart the pairing process.
Connecting to Other Devices
Although connecting your Samsung earbuds to a smartphone is straightforward, linking them to other devices, such as tablets or laptops, can be just as easy. Begin by ensuring your earbuds are in pairing mode, which usually involves holding the touchpad until you see a blinking light. Next, on your tablet or laptop, navigate to the Bluetooth settings and enable Bluetooth. Look for your earbuds in the list of available devices and select them. Once connected, you’ll hear a confirmation sound. Enjoy your freedom by switching seamlessly between devices without hassle. If you ever need to connect to another device, just repeat these steps. Your Samsung earbuds are versatile tools for all your audio needs.
Troubleshooting Common Connection Issues
Even with the ease of connecting your Samsung earbuds to various devices, you might encounter some common connection issues. Here’s how to troubleshoot them:
Connecting your Samsung earbuds is usually simple, but you may face some common issues. Here’s how to troubleshoot effectively.
- Resetting Earbuds: If your earbuds won’t connect, try resetting them. Place them in the charging case, press and hold the touchpads for about 7 seconds, then reconnect.
- Check Bluetooth Settings: Verify Bluetooth is enabled on your device. Sometimes, toggling it off and on can resolve connectivity issues.
- Firmware Updates: Outdated firmware can lead to connectivity problems. Check for updates in the Galaxy Wearable app and install any available updates.
Customizing Your Earbuds Settings
Now that your Samsung earbuds are connected, it’s time to customize your settings. You can easily adjust sound preferences to match your listening style and activate touch controls for a more convenient experience. Let’s explore how to make these adjustments for peak performance.
Adjusting Sound Preferences
To get the most out of your Samsung earbuds, adjusting the sound preferences can make a significant difference in your listening experience. Here are three key settings to customize:
- Sound Equalizer: Access the equalizer settings in the app to enhance bass, treble, or midrange frequencies according to your taste. This allows you to tailor the audio to fit your preferred genres.
- Volume Control: Fine-tune the volume settings directly through the app or your device. You can set limits to prevent blasting your ears, ensuring a comfortable listening experience.
- Ambient Sound Mode: Adjust how much outside noise you want to let in. This is great for staying aware of your surroundings while enjoying your favorite tracks.
Take control and enjoy your music like never before!
Activating Touch Controls
Access the full potential of your Samsung earbuds by activating the touch controls. These intuitive touch control features allow you to manage your music, calls, and voice assistant effortlessly. To customize them, download the Galaxy Wearable app on your device. Once connected, explore the touch sensitivity settings to adjust how responsive the earbuds are to your taps. You can choose from various actions like play, pause, skip tracks, or activate your voice assistant, tailoring the experience to your lifestyle. If you find certain gestures aren’t working as expected, tweak the sensitivity settings to suit your preferences. Embrace the freedom of hands-free control and enjoy a seamless audio experience with your Samsung earbuds.
Frequently Asked Questions
How Long Is the Battery Life of Samsung Earbuds?
With battery life like a marathon runner, Samsung earbuds offer impressive performance—around six hours on a single charge. Plus, their charging case extends playtime, giving you flexible options for uninterrupted listening. Enjoy the freedom!
Are Samsung Earbuds Water-Resistant?
Yes, Samsung earbuds have water resistance features, typically rated IPX4 or higher. They’ve undergone durability testing to withstand splashes and sweat, making them suitable for workouts or outdoor activities without worrying about damage.
Can I Use Samsung Earbuds With a Smart TV?
You can definitely use Samsung earbuds with a smart TV. They offer great audio quality and smart TV compatibility, so you can enjoy your shows without disturbing anyone. Remember, good things come to those who wait!
Do Samsung Earbuds Support Voice Assistants?
Yes, Samsung earbuds support voice assistant compatibility, including Samsung Bixby. You can easily access your voice assistant for hands-free control, making it convenient to manage tasks and enjoy a seamless audio experience without hassle.
How Do I Reset My Samsung Earbuds?
To reset your Samsung earbuds, press and hold the touchpads on both earbuds for about seven seconds. This reset process helps with troubleshooting tips, ensuring they function smoothly and reconnect effortlessly to your devices.
