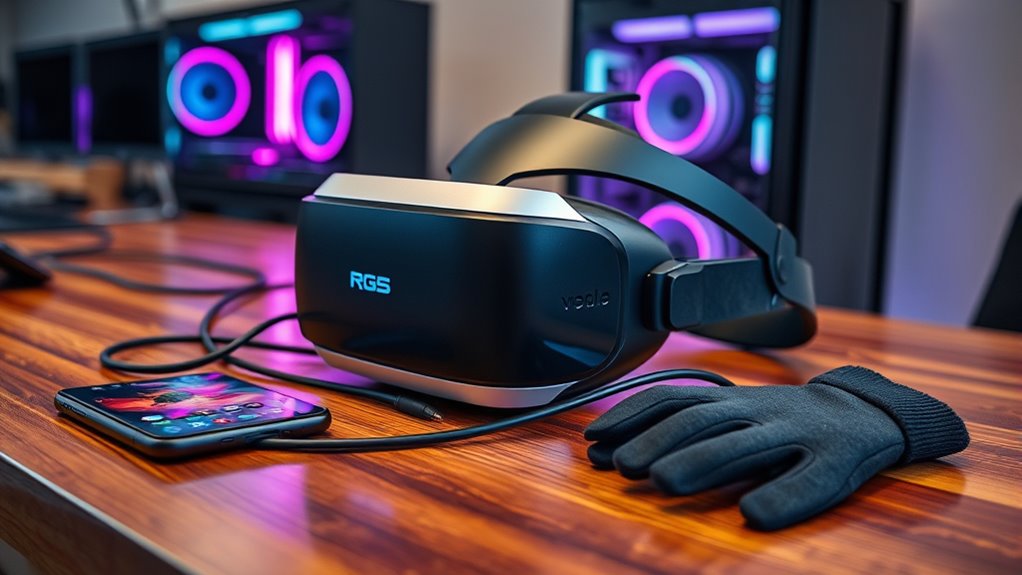
To connect your VR headset to your PC, start by checking your system requirements to guarantee compatibility. Next, install the necessary software from the manufacturer’s website. After that, connect the headset using the appropriate cables or wireless. Then, configure the VR settings for resolution, tracking, and audio to enhance your experience. Finally, test your setup by running a VR application to check for performance issues. Continue exploring to discover expert tips for optimizing your VR journey!
Step 1: Check System Requirements
Before diving into the exciting world of virtual reality, it’s essential to guarantee your PC meets the necessary system requirements. First up, check your system compatibility. Most VR headsets have specific hardware specifications that your PC must meet to deliver an ideal experience. This typically includes a powerful CPU, a high-end GPU, and sufficient RAM. Don’t forget to verify your USB ports and display outputs as well; they’re vital for connecting your headset. You can usually find the required specs on the manufacturer’s website. If your setup falls short, consider upgrading your components. Ensuring your PC is ready not only enhances your VR experience but also gives you the freedom to explore immersive worlds without technical hiccups.
Step 2: Install Necessary Software
To start your VR journey, you’ll need to install the essential software that powers your headset. First, check the software compatibility with your specific VR model. Most manufacturers offer an installation guide on their website, making it easy to find the right software for your setup. Download the necessary applications and drivers, ensuring you’ve got the latest versions for peak performance. Don’t forget to create an account if required, as this will often grant access to additional features and updates. While installing, follow prompts carefully, as some software may need specific settings adjusted for your system. Completing this step is vital for a seamless connection and an immersive VR experience. You’re one step closer to diving into virtual worlds!
Step 3: Connect the Headset to Your PC
Connecting your VR headset to your PC is a straightforward process that sets the stage for your virtual adventures. Start by determining the connection method that suits you best. If you prefer a stable experience, use a USB or HDMI cable—make sure to choose the right cable types compatible with your headset and PC. For a more liberating experience, explore wireless options that allow you to move freely without being tethered. Many headsets support Wi-Fi connections, letting you enjoy VR without cables getting in the way. Once you’ve made your choice, simply plug in the cables or establish the wireless connection, and you’ll be ready to plunge into immersive worlds in no time. Enjoy the freedom of your VR journey!
Step 4: Configure VR Settings
Now that your VR headset is connected to your PC, it’s time to configure the settings for an ideal experience. Proper configuration can enhance your immersion and comfort. Here’s what you should focus on:
- Adjust VR resolution settings for crisp visuals.
- Perform headset calibration to guarantee accurate tracking.
- Set up your play area to maximize movement and safety.
- Customize audio settings for an enveloping sound experience.
Each of these steps is essential to creating a seamless and enjoyable VR journey. Take your time to tweak these settings according to your preferences, and you’ll be ready to plunge into virtual worlds with confidence. Your freedom to explore awaits!
Step 5: Test Your VR Setup
Once you’ve configured your VR settings, it’s vital to test your setup to guarantee everything runs smoothly. Start by running hardware compatibility checks to confirm your PC meets the requirements for your VR headset. Next, launch a VR application or game that you plan to use. Pay attention to the visuals and responsiveness; any lag or distortion might indicate a need for VR performance optimization. Adjust your graphics settings if necessary, and verify your tracking sensors are functioning correctly. Don’t forget to check audio settings for immersive sound. Finally, take a moment to move around in your virtual space, making sure everything feels comfortable. This step is essential to release the full potential of your VR experience.
Frequently Asked Questions
Can I Use My VR Headset With a Laptop?
Yes, you can use your VR headset with a laptop, but check for laptop compatibility first. Verify it meets the necessary specs for ideal VR graphics. A powerful laptop enhances your immersive experience considerably.
What Should I Do if My Headset Is Not Detected?
If your headset isn’t detected, check its compatibility with your laptop. Confirm all USB connections are secure and try different ports. Restart your system and update drivers for peak performance. Don’t give up; troubleshooting helps!
Are There Any Wireless Options Available for VR Headsets?
Yes, there are wireless options for VR headsets! You can use wireless technology and streaming solutions like Wi-Fi 6 or dedicated adapters to enjoy a cable-free experience, giving you the freedom to move around while you play.
How Can I Improve VR Performance on My PC?
Improving VR performance on your PC’s like tuning a high-performance car. Lower graphics settings for smoother gameplay, and consider hardware upgrades like a better GPU or more RAM for a truly immersive experience.
Is There a Way to Troubleshoot Common VR Issues?
Yes, you can troubleshoot common VR issues by checking VR connections, ensuring headset compatibility, and updating drivers. Restart your PC and headset too; these steps often resolve many performance-related problems you might encounter.

