Creating your own VR headset is easier than you think! You’ll need budget-friendly lenses, a sturdy frame (like cardboard), foam padding for comfort, and a compatible smartphone. Start by cutting out your frame and attaching the lenses and padding. Make sure your phone’s set up for VR with the right apps and settings. With a snug fit and some tweaks, you can enhance your experience. Want to learn more about optimizing your setup? Just keep going!
Materials You’ll Need
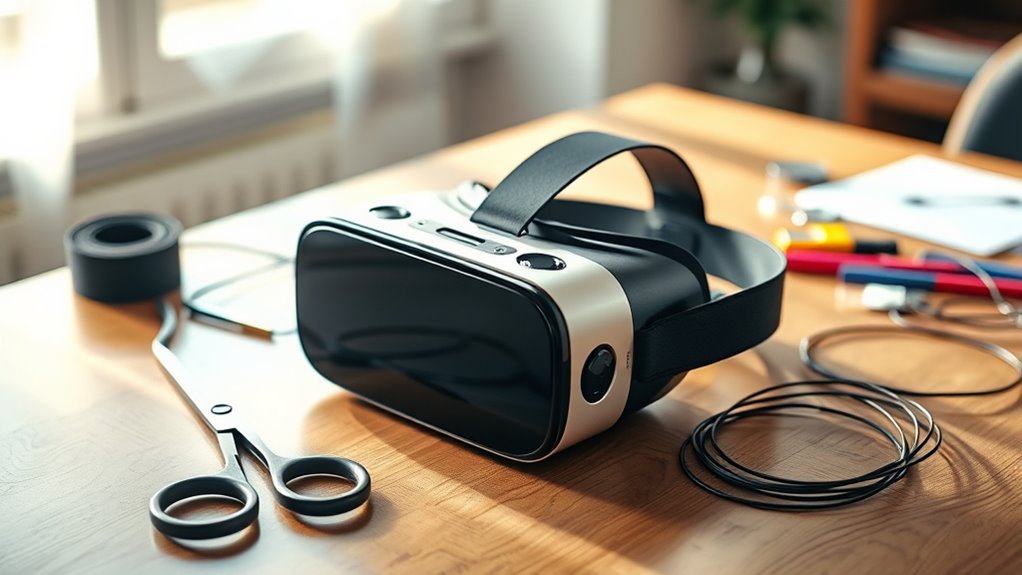
When you’re ready to plunge into building your DIY VR headset, you’ll need a few essential materials to get started. First, consider your lenses; you can find budget options that provide decent quality or invest in advanced materials for a superior experience. Next, grab a sturdy frame, which can be made from cardboard or 3D-printed components, depending on your comfort level and resources. Don’t forget about the foam padding for comfort and a smartphone or display that supports VR content. Additionally, you’ll need straps to secure the headset on your head and some adhesive to hold everything together. With these materials, you’ll be well on your way to creating a headset that fits your vision of virtual freedom!
Step-by-Step Assembly Process
Now that you’ve gathered all your materials, it’s time to put them together and create your DIY VR headset. Start by cutting the cardboard to your desired shape, guaranteeing it’s comfortable and snug. Keep design considerations in mind; the headset should fit your face well without causing strain. Next, attach the lenses you’ve selected, positioning them correctly for ideal viewing. Make sure they’re securely fastened—this will enhance your VR experience. Use foam padding around the edges for comfort, and verify your smartphone holder is stable and easily accessible. Once assembled, test the fit and adjust as needed. You’ve got the freedom to customize your headset, so don’t hesitate to make it uniquely yours! Enjoy your creation!
Setting Up Your Smartphone for VR
To fully enjoy your DIY VR headset, setting up your smartphone is essential. Start by checking your smartphone compatibility; not all devices support VR. Next, follow these steps to prepare your device for an immersive experience:
- Update your operating system to the latest version.
- Download popular VR apps like Google Cardboard, YouTube VR, or any game that supports VR.
- Adjust your phone’s display settings for ideal brightness and resolution.
- Enable airplane mode to avoid interruptions during your VR sessions.
- Secure your smartphone firmly in the headset, ensuring it’s properly aligned.
With these preparations, you’ll be ready to plunge into a world of virtual reality, enjoying the freedom it offers!
Tips for Enhancing Your VR Experience
Although diving into virtual reality can be exhilarating, enhancing your experience requires a few thoughtful adjustments. First, guarantee your headset fits snugly; comfort plays an essential role in immersive gaming. Adjust the lenses for clarity, and remember to check your smartphone’s brightness settings for ideal visuals.
Next, find a quiet, spacious area to roam freely without distractions. If possible, invest in Bluetooth controllers for seamless interaction with virtual environments.
Don’t forget to explore various VR apps and games; they can greatly expand your horizons in virtual reality. Finally, take breaks to avoid fatigue, allowing your mind to fully absorb the breathtaking experiences. By making these enhancements, you’ll release a more enchanting and enjoyable VR journey.
Troubleshooting Common Issues
If you’ve encountered issues while using your VR headset, don’t worry—you’re not alone. Many users face common challenges, but with a few tweaks, you can enhance your experience. Here are some troubleshooting tips:
- Lens alignment: Verify your lenses are properly positioned for peak clarity. Misalignment can lead to blurry visuals.
- Comfort adjustments: Tweak your headset’s straps and padding for a snug fit, reducing fatigue during long sessions.
- Screen flickering: Check your device connections and adjust the refresh rate if necessary.
- Tracking issues: Make sure your sensors aren’t obstructed; reposition them if needed.
- Overheating: Give your headset breaks; consistent use can lead to overheating and performance drops.
These simple fixes can help you get back to enjoying your virtual adventures!
Frequently Asked Questions
Can I Use Any Smartphone for My DIY VR Headset?
Not every smartphone can soar into the virtual skies. You’ll need to check its compatibility with VR headset specifications, ensuring it has the right sensors and screen resolution for an immersive experience.
How Much Will It Cost to Make My Own VR Headset?
Making your own VR headset can range from $20 to $100, depending on materials and components. Be sure to evaluate budget breakdowns for lenses, cardboard, and any optional accessories to maximize your experience.
Are There Any Safety Concerns With DIY VR Headsets?
When crafting your VR headset, think of safety like a shield. Lens safety’s essential—ensure they’re shatterproof. Also, beware of material toxicity; choose safe, non-toxic components. Your freedom to explore shouldn’t come with hidden dangers!
Can I Customize My VR Headset Design?
Absolutely, you can customize your VR headset design! By choosing different headset materials and personalizing features, you can create a unique look and feel that suits your style and comfort preferences. Enjoy the freedom to innovate!
What Are the Best VR Apps for a DIY Headset?
You’ll love exploring virtual reality with apps like Google Cardboard, YouTube VR, and Rec Room. They’re perfect for mobile gaming and let you plunge into immersive experiences, giving you the freedom to create your own adventures.
