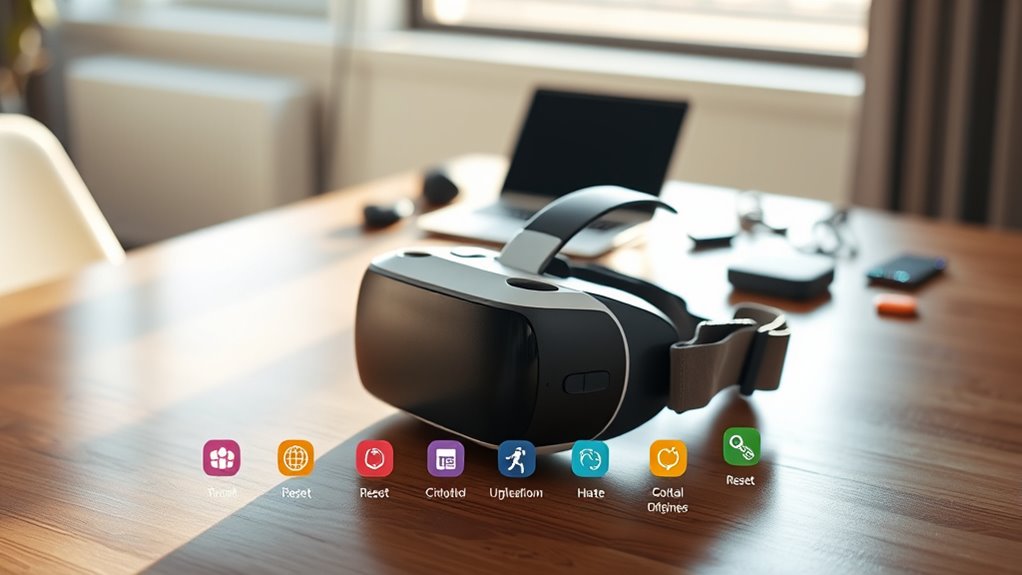
To factory reset your VR headset, start by charging it fully and removing any accessories. Power on the headset and access the settings menu, typically marked by a gear icon. Find the factory reset option, confirm your choice, and wait for the process to complete. Afterward, set up your device again by connecting to Wi-Fi and updating software. Don’t forget to test the headset to verify everything works correctly. There’s more to optimizing your experience ahead!
Prepare Your VR Headset
Before you begin the factory reset process, it’s essential to prepare your VR headset properly. Start by ensuring your device is fully charged; a low battery can complicate VR headset maintenance. Next, remove any connected accessories, such as controllers or external sensors, to simplify troubleshooting. Don’t forget to back up any important data or settings—this reset will erase everything. It’s also a good idea to clean the lenses and headset exterior, as this helps maintain peak performance and clarity. Finally, take a moment to check for any software updates that may need to be installed before resetting. With these steps, you’re setting yourself up for a smoother reset experience and a refreshed start with your VR headset.
Access the Settings Menu
With your VR headset prepared, it’s time to access the settings menu where you’ll initiate the factory reset. Start by powering on your headset and donning it. Once you’re in the user interface, look for the settings icon, usually represented by a gear or wrench symbol. Use your controller to navigate through the settings navigation, which typically offers various options from display settings to device info. Take your time to familiarize yourself with the layout; it’s designed to be user-friendly. If you’re feeling lost, don’t hesitate to consult the user manual or help section. Remember, an easy navigation process is key to ensuring you can quickly access the reset option when you’re ready. Enjoy the freedom of a fresh start!
Locate the Factory Reset Option
Now that you’re in the settings menu, it’s time to find the factory reset option. Look for a section labeled “Reset” or something similar. Once you’ve located it, you can move on to confirming the reset action.
Access Settings Menu
To access the factory reset option on your VR headset, you’ll first need to navigate to the settings menu. This menu is typically found in the user interface, which is designed to be intuitive and user-friendly. Look for an icon that represents settings, often resembling a gear or wrench. Once you’re in, explore the various options, paying attention to any accessibility features that might help you if you encounter difficulties. You want to ascertain you’re familiar with the layout, as it can vary between models. Keep an eye out for sections labeled “System,” “Device,” or “Storage,” as these often contain the factory reset option you’re seeking. This will prepare you for the next steps in resetting your headset.
Find Reset Option
Once you’ve accessed the settings menu, locating the factory reset option is your next step. You’ll typically find it within the device settings. The exact location may vary based on your headset model, but here are some tips to help you navigate:
- Look for a “System” or “Device” tab.
- Check under “Advanced Settings” for reset options.
- Some headsets might have a dedicated “Reset” section.
- If you’re unsure, consult the user manual for guidance.
Once you find the factory reset option, you’ll be ready for the next stage of the process. This step is essential for ensuring your VR headset is restored to its original state, giving you the freedom to start fresh.
Confirm Reset Action
How can you guarantee that the reset action is confirmed? After selecting the factory reset option, you’ll encounter several user prompts. These prompts help verify that you’re ready to proceed with the reset. Pay attention to the reset confirmation screen that appears, as it may ask you to confirm your decision.
Here’s a quick overview of the reset confirmation process:
| Step | Action Needed | Expected Outcome |
|---|---|---|
| Locate Reset Option | Navigate to settings | Find factory reset option |
| Confirm Action | Select ‘Yes’ | Initiate factory reset |
| Final Confirmation | Wait for prompts | Reset completes |
Following these steps will help you confidently reset your VR headset, restoring your freedom to explore new virtual experiences.
Confirm the Reset
Before you proceed with the factory reset, make certain you’ve backed up any important data, as this process will erase everything. Check that your device is compatible with the reset procedure and follow the manufacturer’s instructions carefully to avoid issues. Confirming these steps will help guarantee a smooth reset experience.
Importance of Data Backup
Backing up your data is essential when preparing to factory reset your VR headset. Without a backup, you risk losing valuable content and settings that enhance your experience. Prioritizing data security guarantees you won’t have to start from scratch after the reset. Here are some backup solutions to evaluate:
- Cloud Storage: Utilize services like Google Drive or Dropbox for easy access.
- Local Backups: Save files directly on your computer for offline access.
- Export Settings: If your headset allows it, export settings to restore them later.
- Game Data: Check if your games offer cloud saves to keep progress intact.
Taking these steps helps you maintain control and freedom over your VR experience.
Confirm Device Compatibility
As you prepare to reset your VR headset, it’s important to confirm that your device is compatible with the factory reset process. Start by checking your device specifications to verify they align with the reset requirements. Each VR headset model may have unique reset procedures, so it’s vital to perform a compatibility check before proceeding. Look for any manufacturer guidelines or online resources that detail the reset process for your specific model. If your device isn’t compatible, a reset might not work as intended, potentially leading to further issues. By taking these simple steps, you can confidently verify that your VR headset is ready for a fresh start, allowing you to return to your immersive experiences without any hiccups.
Follow Manufacturer Instructions
To guarantee a successful factory reset of your VR headset, it is crucial to follow the manufacturer’s instructions carefully. Ignoring these guidelines can lead to issues, so make sure you pay attention to the details. Here’s what you should do:
- Check the manufacturer guidelines for your specific model.
- Familiarize yourself with the device specifications to understand the reset process.
- Back up any important data before proceeding.
- Confirm that the headset is fully charged or plugged in during the reset.
Wait for the Reset Process to Complete
Once you initiate the factory reset on your VR headset, it’s essential to give the process a few moments to complete. During this wait time, your headset will erase all data, which may take a few minutes depending on the model. The reset duration can vary, so it’s important not to rush it. You might see a progress bar or some visual cues indicating that the reset is in progress. Avoid disconnecting power or interfering with the device during this stage, as it could lead to issues. Patience is key here; once the reset is finished, your headset will be back to its original state, ready for a fresh start. Enjoy the freedom of a clean slate!
Set Up Your Device Again
Now that your VR headset has successfully reset, it’s time to set up your device again. This step is essential for restoring device functionality and enhancing your user experience. Follow these simple guidelines to get started:
- Connect your headset to a reliable Wi-Fi network.
- Download any required software updates.
- Pair your controllers and adjust settings for comfort.
- Customize your preferences for an ideal experience.
Test Your VR Headset
Before diving into your favorite virtual experiences, it’s essential to test your VR headset to confirm everything’s functioning properly. Start by checking the VR performance metrics, which can reveal any lag or frame rate issues that might hinder your experience. Next, verify your VR headset calibration is spot on; misalignment can lead to discomfort or motion sickness. Spend a few minutes in a familiar app or game to assess the visuals and responsiveness. Pay attention to how the controls feel and if the tracking is accurate. If something seems off, don’t hesitate to recalibrate or make necessary adjustments. Taking these steps helps confirm you enjoy a seamless, immersive adventure without interruptions.
Frequently Asked Questions
Will a Factory Reset Delete My Purchased Games?
No, a factory reset won’t delete your purchased games. Your game library and purchase history are tied to your account, so you can always re-download your games after resetting your headset. Enjoy your freedom!
Can I Recover Data After a Factory Reset?
Once you’ve waved goodbye to your headset’s settings, recovering data isn’t easy. However, exploring backup options beforehand can save your cherished memories. Consider using cloud services to safeguard your content before the reset.
What if My Headset Won’t Turn On?
If your headset won’t turn on, it’s likely a power issue. Try troubleshooting by checking the battery, charging cable, and connections. If those are fine, consider resetting or seeking manufacturer support for further assistance.
How Often Should I Factory Reset My VR Headset?
You should factory reset your VR headset only when necessary, like troubleshooting persistent issues. Frequency recommendations suggest doing this sparingly—perhaps once every few months—to maintain performance without losing saved data or settings.
Does Factory Resetting Improve Performance Issues?
Yes, factory resetting can breathe new life into your VR headset, like a fresh coat of paint on an old canvas. It often resolves glitches, serving as a powerful troubleshooting method for performance enhancements and smoother experiences.
