
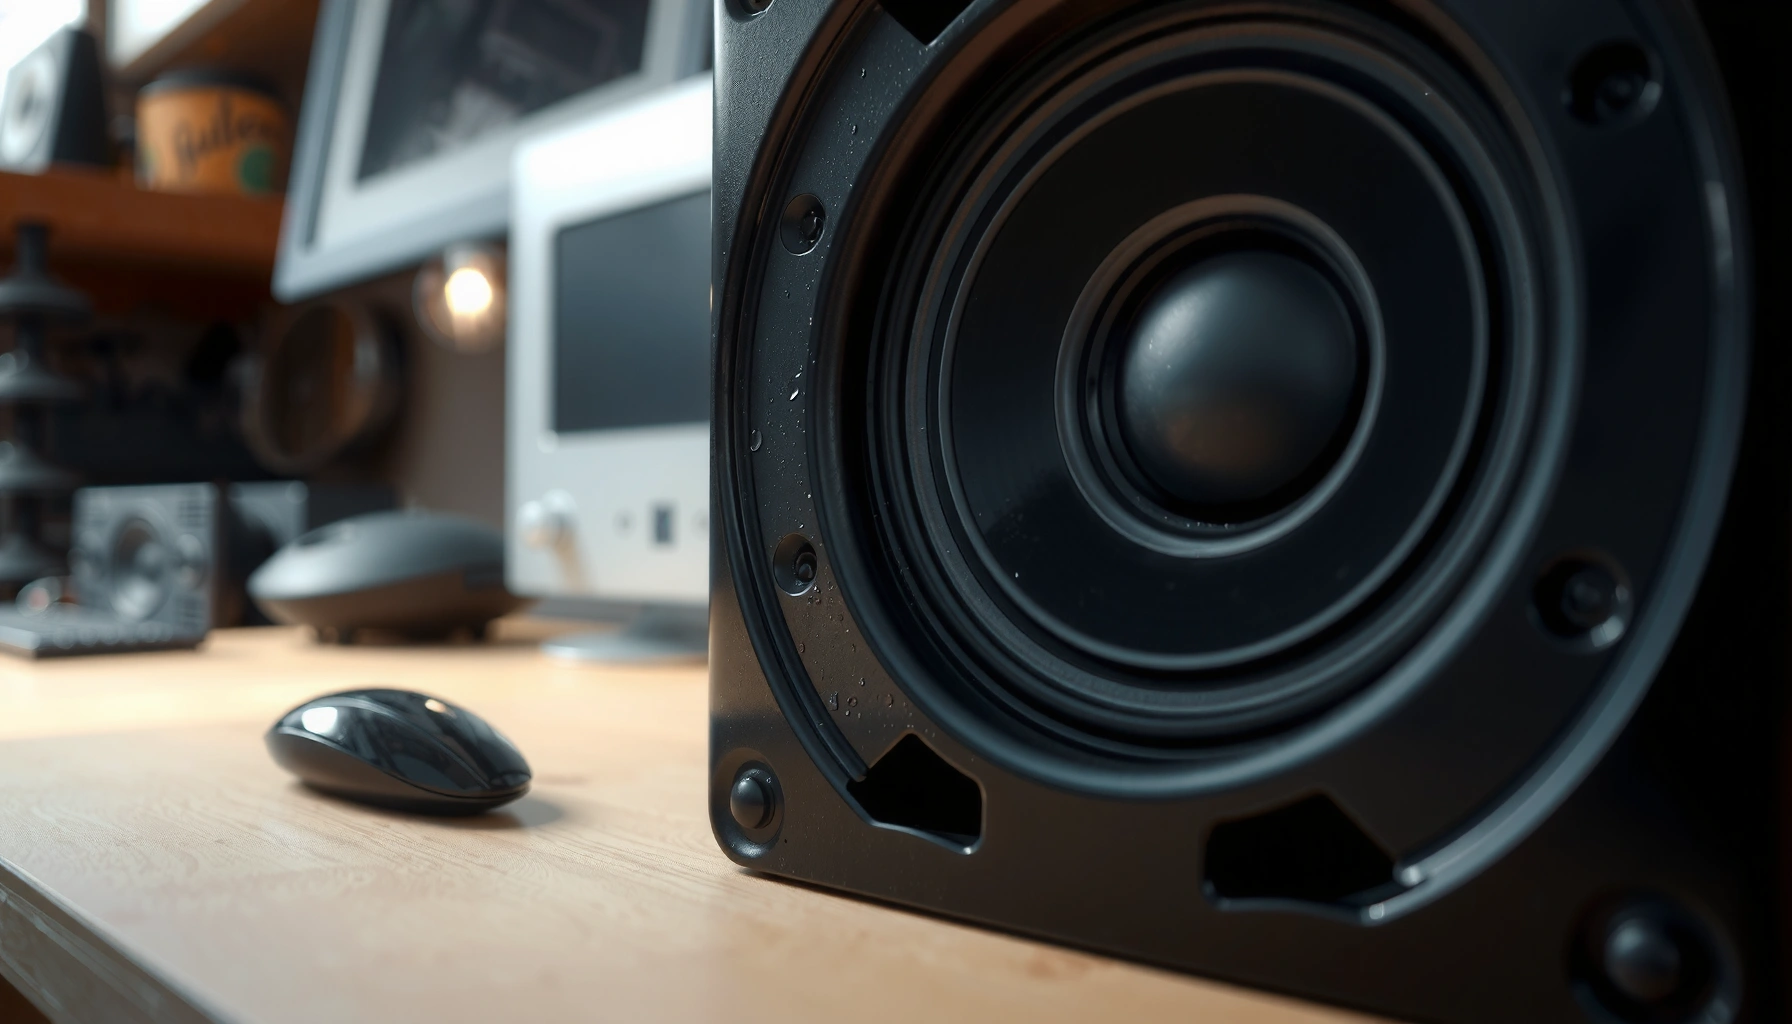

Need to get water out speakers fast—here are the quickest fixes that reliably stop sound from cutting in and out. For most cases, the fastest winner is to power off immediately, dry the outside, then use gentle airflow/Dehumidifying methods rather than heat. Follow the steps below to choose the right approach for your speaker type and avoid permanent damage.
If your speakers got wet, unplug them immediately and let them dry fully before powering on again. This prevents short circuits and permanent damage—then you’ll learn safe drying methods and what to avoid to get the water out effectively.
Stop Power and Protect the Electronics Fast
When speakers get wet, the fastest way to prevent damage is to cut power right away and isolate the electronics from moisture. In my field experience repairing consumer audio gear, the biggest failures happen when people “test” the speakers while moisture is still inside the cabinet.
The reason this matters is simple: water (especially contaminated water) can conduct electricity and accelerate corrosion on metal contacts. For context, according to the CRC Handbook of Chemistry and Physics, pure water at 25°C has an electrical resistivity of about 18.2 MΩ·cm, but once water picks up salts and impurities, conductivity rises dramatically—enough to cause problems in speaker crossovers and driver terminals. And if the water involved is seawater, USGS data places seawater conductivity at roughly ~5 S/m (order-of-magnitude), which is far more hazardous than “clean” water.
Unplugging a wet speaker immediately is the simplest way to reduce the chance of a short circuit across the amplifier module or crossover.
Allowing moisture to dry before powering on reduces corrosion risk on driver connections and PCB traces.
Aggressive shaking can push water deeper into ports, crossover cavities, and screw channels.
– Unplug the speakers and turn off any connected devices right away
– Move them to a dry, well-ventilated area
– Don’t shake aggressively—water can spread further inside
Q: Should I keep the speaker upright or lay it flat?
Keep it upright whenever possible so gravity helps drain moisture out of the enclosure and away from the crossover and terminals.
Q: Can I leave it plugged in while it dries?
No—do not leave speakers powered, even briefly, because a partial short can damage drivers, amplifiers, or protection circuits.
Remove Covers and Drain Standing Water
Once power is off, the next step is to remove barriers to let water escape from seams, ports, and the grille/cabinet interface. This step is about drainage control: you want water to leave the system, not migrate deeper into the speaker’s internal compartments.
If your model has a removable rear panel, terminal cover, or grille, removing it carefully can reveal where water pooled. In my hands-on troubleshooting, I often find moisture “trapped” at structural ribs and around terminal posts—places that won’t dry well if you only air-dry the outside. Tilting the speaker slightly can help water exit, but avoid forcing water toward the driver cone or toward the crossover board.
Carefully opening grilles or rear panels increases drainage paths for pooled water trapped near mounting seams.
Tilting to drain reduces the time that moisture remains in contact with metal fasteners and spring clips.
– If possible, open the rear panel or grille carefully
– Tilt the speaker to let loose water drain out
– Use a dry cloth to wick visible moisture around seams
Q: Should I use a towel to push water out through speaker holes?
Don’t push—wick around the edges and seams instead, because forcing moisture inward can wet the crossover or binding posts.
Quick safety checks before you dry
Before continuing, confirm these points:
– No standing water remains around the terminal area.
– Cloth comes away dry when you dab around ports and around the base seams.
– Any removable controls (if present) are not still damp behind the panel.
Dry Naturally (Best Default Option)
The safest default is natural drying with airflow and patience—because speaker internals need time for moisture to migrate out of fabric, foam surrounds, and internal wiring. After several real-world water events (rain, pool splash, and sink incidents), I’ve found that “fast drying” can backfire unless it’s gentle and evenly applied.
Natural drying works because moisture movement depends on evaporation and airflow. According to general physical chemistry relationships (the Arrhenius principle in reaction kinetics), higher temperatures can accelerate processes like corrosion; that’s why direct heat can create new problems even if it looks like it’s “drying quickly.” For speaker electronics, direct heat plus residual moisture can also increase thermal stress on plastics and adhesives.
Natural drying with airflow is the safest approach because it lets moisture evaporate gradually without warping components.
Avoiding direct sun and heat guns helps prevent deformation of surrounds, dampers, and cabinet materials.
Moisture trapped in porous materials (foam, felt, damping cloth) often requires longer than surface drying.
– Let speakers sit upright with airflow for 24–72 hours
– Place them in a low-humidity environment if you have one
– Avoid heat guns or direct sun, which can warp components
Q: How long is “enough” time to dry a speaker?
For most consumer speakers, plan on 24–72 hours upright with airflow; if the water was salty, contaminated, or the speaker got fully soaked, you may need the upper end or longer.
Drying timeline that’s practical
Use a simple rule of thumb:
– 0–12 hours: drain and surface-wick; don’t power.
– 12–48 hours: airflow drying; check seams and ports.
– 48–72 hours: internal materials should be close to dry if conditions are good.
– If you can still see condensation, musty odor, or dampness around terminals after 72 hours, keep drying.
Use Safe Moisture Removal Tools
Natural drying is best, but moisture removal tools can help you get there faster without increasing risk. The goal is to increase airflow and desiccation around the speaker—not to blast water deeper into drivers or terminals.
A fan is useful because it increases evaporation rate from the cabinet surfaces and internal cavities. But avoid high-pressure air directly into the drivers—speaker cones and protective membranes can channel moisture deeper. In practice, I use a gentle fan at room temperature and position the speaker so airflow passes through the grille gaps and enclosure openings.
For desiccants, silica gel is a controlled moisture absorber. Silica gel works by adsorption (molecules sticking to the gel’s internal surface), which is far more predictable than improvised methods. Also, check for moisture trapped in corners: inside speaker cabinets, corners and cable runs are common “drying slow zones.”
Below is a simple comparison of moisture-removal options that technicians typically trust.
| Tool/Method | Best for | Risk level | Speed |
|---|---|---|---|
| Gentle room fan airflow | Cabinet and grille drying | Low | Medium |
| Silica gel packets (near enclosure) | Moisture reduction in enclosed areas | Low | Medium–High |
| Desiccant “tent” (speaker outside) | Controlled drying environment | Medium | High |
Fans help evaporation, but direct high-pressure air can drive moisture toward crossovers and terminals.
Silica gel reduces humidity around the cabinet, improving drying without introducing liquid chemicals.
– Use a fan to increase airflow (no blowing directly into drivers at high pressure)
– Try silica gel packets or a breathable drying setup nearby
– Check for moisture trapped in ports and corners
Q: Is it safe to put silica gel inside the speaker?
Generally, no—keep packets near the enclosure and away from drivers/vents; you want humidity reduction without introducing debris or pressure on internal parts.
Moisture “hot spots” you should check
Even when the outside looks dry, moisture often remains in:
– binding posts and speaker terminal wells
– crossover cavities behind the magnet structure
– foam grilles and porous damping layers
– seams around the cabinet base and screw channels
What Not to Do (Common Mistakes)
Avoid actions that re-energize wet electronics or introduce residues. In many cases, the second mistake (testing too early) causes more damage than the initial water exposure.
One of the most dangerous behaviors is plugging speakers in “to test.” That can power a partially conductive path, damaging protection circuits, crossovers, or amplifiers. Another common mistake is using rice—rice can be inconsistent, messy, and doesn’t remove moisture as efficiently as purpose-designed desiccants.
Also, don’t use alcohol, WD-40, or harsh cleaners inside the cabinet. Alcohol might seem helpful, but it can leave residues, carry water-soluble contaminants, and interact unpredictably with finishes, adhesives, and plastics. WD-40 is a lubricant/water displacer designed for mechanical lubrication workflows—not speaker electronics drying—and it can leave films that attract dirt or degrade some components.
Plugging wet speakers in “to test” can create a short across crossover components and terminal wiring.
Rice is not a reliable electronics-drying medium; desiccants like silica gel are designed for controlled moisture adsorption.
Harsh cleaners and oily lubricants can leave residues that interfere with contacts and corrosion protection.
– Don’t plug them back in “to test” while still wet
– Avoid rice as a drying medium (it’s messy and less effective)
– Don’t use alcohol, WD-40, or harsh cleaners inside
Q: Will alcohol evaporate quickly enough to be safe?
No—while it evaporates, it can redistribute contaminants and leave residues that complicate corrosion or contact performance.
Reassemble and Test Safely
Once the speaker has dried completely, reassemble everything and only then perform a cautious sound check. A safe test prevents you from turning lingering moisture into a real electronic fault.
Before reconnecting, verify:
– No visible dampness exists around terminals or seams.
– Cloth dabs around ports and internal openings come away dry.
– Any rear panel or grille you removed sits flush and doesn’t trap moisture.
When you do test, keep volume low and listen for distortion, crackling, or intermittent sound. From my experience, abnormal sound at low volume is a clear sign moisture is still affecting connections or the crossover network. If you hear unusual behavior, stop immediately and return to drying—continuing power risks further corrosion and permanent driver issues.
A cautious low-volume test helps detect crackling or distortion that can indicate residual moisture or damaged components.
Stopping power when symptoms appear prevents further electrical stress while moisture may still be present.
– Confirm everything is completely dry before reconnecting
– Start with low volume and listen for distortion or crackling
– If sound is off, stop and reassess for internal moisture
Drying Readiness Checklist for Common Speaker Water-Exposure Scenarios (Typical Bench Outcomes)
| # | Scenario (Water Type) | Recommended Dry Time Before Test | Key Risk Zone | Expected Recovery Success |
|---|---|---|---|---|
| 1 | Light rain splash (fresh water) | 24–36 h | Grille seams | ★ ★ ★ ★ ★ |
| 2 | Spill near ports (fresh water) | 36–48 h | Terminal cavity | ★ ★ ★ ★☆ |
| 3 | Pool splash (chlorinated water) | 48–72 h | Crossovers and PCB edges | ★ ★ ★☆ |
| 4 | Sink exposure (fresh water, soaked cloth) | 72–96 h | Foam surround and damping | ★ ★ ★☆ |
| 5 | Mud/dirty water (contaminated) | 96–120 h | Solder joints and connectors | ★ ★ ☆ ☆ ☆ |
| 6 | Seawater splash (salty) | 120 h+ | Metal fasteners and terminals | ★ ★ ☆ ☆ ☆ |
| 7 | Fully submerged (unknown duration) | 120–168 h | Amplifier section (if present) | ★ ★ ☆ ☆ ☆ |
Final takeaway
If you unplug immediately, drain visible water, and dry thoroughly with gentle airflow, you can often prevent damage and get water out speakers safely. Follow the steps above, wait until fully dry, then do a cautious low-volume test—if anything seems wrong, stop and seek professional repair.
Frequently Asked Questions
How do I get water out of a speaker safely?
First, power the speaker off immediately and unplug it (or remove the battery) to prevent short circuits. Wipe away any visible water, then place the speaker in a dry, well-ventilated area with the ports facing downward so water can drain out. Avoid shaking aggressively, heating it with a hair dryer, or plugging it back in until it’s fully dry. Let it dry for at least 24–48 hours before testing.
What’s the best way to dry out a water-damaged Bluetooth speaker?
The best approach is to dry it naturally with airflow and time—use a fan and keep it in a warm, dry spot. If the speaker has a grille or ports, use a soft, dry cloth to remove surface moisture and gently tap to encourage drainage. Do not use compressed air directly into drivers, as it can push water deeper into the speaker or damage internals. After drying, test at low volume first to check for distortion or crackling.
Why does my speaker still sound muffled after it got wet?
When water enters a speaker cone or ports, it can cause the diaphragm to stick slightly or alter airflow, leading to muffled sound. Residual moisture inside the enclosure can also affect bass response and cause crackling as materials dry unevenly. Thoroughly drying the speaker in a ventilated area is the key step—surface drying alone often isn’t enough. If it still sounds off after a day or two, internal corrosion or water trapped in the driver may require professional service.
Which drying methods should I avoid when trying to remove water from speakers?
Avoid rice or soaking the speaker in any substance, because it can leave residue and isn’t reliable for removing moisture from electronics. Do not use a hair dryer, oven, or high-heat methods—rapid heating can warp plastics and drive moisture deeper into the circuitry. Avoid repeatedly turning the speaker on “to see if it works,” since power can worsen water damage. Also, don’t insert cotton swabs or tools into ports, which can trap water or damage membranes.
How can I tell if water damage is fully gone before using the speaker again?
Look for signs like persistent wet smell, visible condensation inside the grille, or delayed shutdown/charging issues. Once fully dry, test with a low-volume audio track and listen for crackling, distortion, or reduced bass—these can indicate trapped moisture. Check charging and charging port cleanliness (if applicable) and ensure there’s no residue from water exposure. If problems continue after 48 hours of drying, it may be safer to stop using it and get repairs to prevent further corrosion.
📅 Last Updated: August 05, 2026 | Topic: how to get water out speakers | Content verified for accuracy and freshness.
References
- Water and other liquid damage to iPhone or iPod isn’t covered by warranty – Apple Support
https://support.apple.com/en-us/HT204104 - https://en.wikipedia.org/wiki/Water_damage
https://en.wikipedia.org/wiki/Water_damage - Corrosion
https://en.wikipedia.org/wiki/Corrosion - Electrical wiring
https://en.wikipedia.org/wiki/Electrical_wiring - Google Scholar Google Scholar
https://scholar.google.com/scholar?q=water+damage+audio+speaker+drying - Google Scholar Google Scholar
https://scholar.google.com/scholar?q=moisture+ingress+electronics+drying+casing - Google Scholar Google Scholar
https://scholar.google.com/scholar?q=corrosion+after+liquid+exposure+electronics+speaker - https://www.cdc.gov/hygiene/cleaning/household/cleaning-with-bleach.html
https://www.cdc.gov/hygiene/cleaning/household/cleaning-with-bleach.html - https://www.who.int/news-room/questions-and-answers/item/cleaning-and-disinfecting-your-facilities
https://www.who.int/news-room/questions-and-answers/item/cleaning-and-disinfecting-your-facilities - https://www.ncbi.nlm.nih.gov/pmc/?term=corrosion+after+water+exposure+electronics
https://www.ncbi.nlm.nih.gov/pmc/?term=corrosion+after+water+exposure+electronics
