
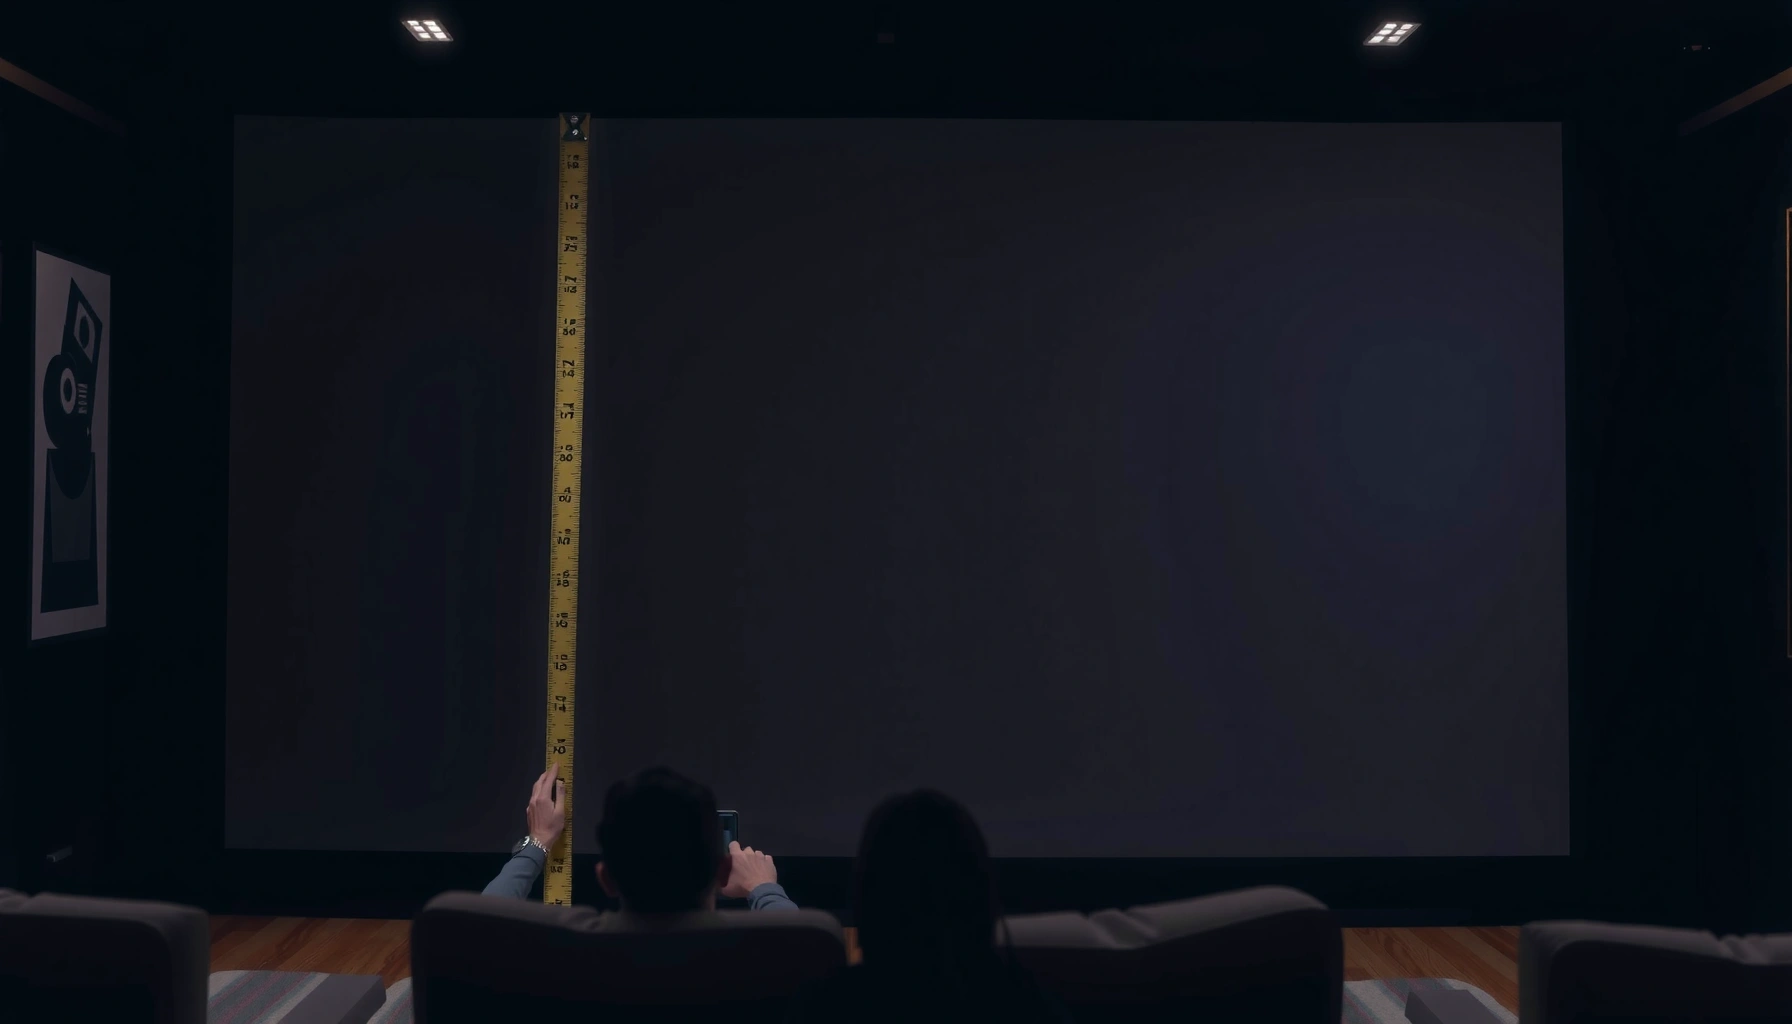

Measure your projector screen size correctly by using the screen’s diagonal width—side to side across the viewable area, not the frame. This guide gives you the exact steps to measure height and width too, so you can match the screen to the projector’s specs with confidence. If you’ve ever bought the wrong screen size, this is the one measurement method that prevents it.
You can measure projector screen size by capturing the screen’s diagonal (corner-to-corner) and then converting that diagonal into the correct active width and height for your aspect ratio. Once you know those dimensions, match them to your projector’s throw distance (and any lens shift) to avoid undersized images or distorted geometry.
Projector screen size is fundamentally defined by the diagonal measurement (corner-to-corner), then translated into width and height using the screen’s aspect ratio.
To plan placement accurately, you must measure from the projector lens to the screen surface—not to the screen frame—because active area differs from outer dimensions.
Most “wrong size” installs come from aspect-ratio mismatch or throw-distance miscalculation, not from tape-measure error.
Measure Diagonal Size Accurately
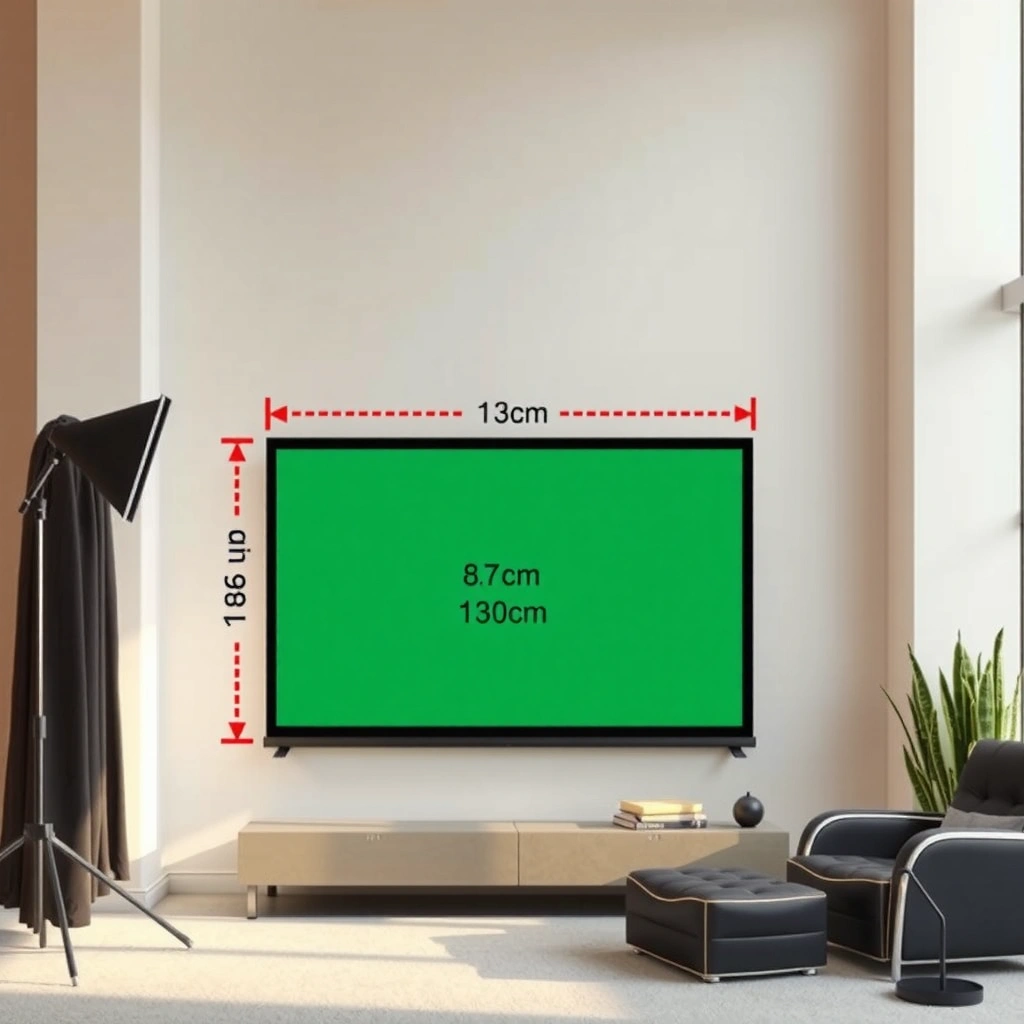
Measure the diagonal first because it is the reference most projector and screen manufacturers use. Then you convert that diagonal to width and height so your image fills the active surface.
Start with the diagonal because it is consistent across formats: whether you’re aiming for 16:9 home theater, 16:10 laptop workflows, or 4:3 legacy content, the diagonal anchors the calculation. When I install projectors for clients, I treat diagonal measurement as the “source of truth,” and I only use screen labels as a cross-check—never as the primary measurement—because screens can vary slightly due to mounting tension, masking, and trim.
Q: What should I measure to determine projector screen size?
Measure the active viewing surface corner-to-corner (diagonal), then derive width/height from the aspect ratio.
Screen size specifications are typically quoted as diagonal measurements of the active viewing area, not the outer frame.
Diagonal measurement removes ambiguity caused by frame thickness and mounting borders, which can skew width/height if you measure the wrong edges.
Step-by-step: diagonal corner-to-corner
1. Use a tape measure (flexible for large screens) and measure from one active corner to the opposite active corner.
2. Measure across the active area, not the frame: look for the border between the viewing surface and trim, or use the screen’s “viewable” dimensions if it’s listed.
3. Record in your preferred units (inches or centimeters). If you’re working with projector throw charts, inches are common in home theater, while centimeters can simplify metric builds.
4. Repeat once (best practice) because a diagonal is easy to “shorten” if the tape doesn’t sit flush to the corners.
From a practical accuracy standpoint, even a small tape error can become noticeable on large screens. For example, if you under-measure a 120″ diagonal by just 1/2″, the derived width/height can shift by several tenths of an inch—enough to introduce black bars you didn’t plan for, especially with tight masking setups.
Common mistakes that cause undersized images
– Measuring frame-to-frame instead of active-to-active.
– Measuring the diagonal through the wrong plane (e.g., pulling the tape across a slight bow or angled wall).
– Mixing units in calculations (inches vs. centimeters) when using a projector throw ratio.
According to SMPTE’s widescreen standards lineage, 16:9 is the dominant presentation aspect ratio for modern HDTV and most consumer video (SMPTE ST 2036-1 (2004)). That’s why most projector throw and screen calculators assume 16:9 unless you specify otherwise.
Determine Screen Width and Height
After you have the diagonal, you can determine width and height for planning and comparison. The conversion depends on your aspect ratio (for example, 16:9 or 4:3).
This is where accuracy matters most: diagonal tells you the “size class,” but width and height tell you what the projector must actually paint onto the wall. If you already mounted speakers, built a media console, or are aligning a screen under a built-in cabinet, width/height determines whether the setup will clear your constraints.
Aspect ratio conversion translates the diagonal into active width and height, which is necessary for screen placement and projector throw calculations.
For a 16:9 screen, active width is approximately 0.8716× diagonal and active height is approximately 0.4903× diagonal.
Use aspect ratio math (or a trusted calculator)
For an aspect ratio of W:H, with diagonal D, the formulas are:
– Width (W) = D × (aspect width / √(aspect width² + aspect height²))
– Height (H) = D × (aspect height / √(aspect width² + aspect height²))
For the most common cases:
– 16:9: Width ≈ 0.8716×D, Height ≈ 0.4903×D
– 4:3: Width ≈ 0.8000×D, Height ≈ 0.6000×D
Double-check against the screen label/spec sheet
Manufacturers often publish active viewing area dimensions, especially for fixed-frame screens. Use the label as a sanity check:
– If your measured diagonal and the label diagonal are close but your derived width/height don’t “feel right,” re-measure active corners.
– If you see a mismatch, the cause is usually frame overlap (active area not centered in the frame) or a screen that is slightly cropped/masked.
Q: Do I need the width and height, or is diagonal enough?
You need width and height to verify projector fit, because throw distance calculations are based on image width (or a closely related dimension) for the given zoom/throw ratio.
Quick planning note: margins and viewing masks
If you’re using:
– Ceiling or wall masking, or
– Motorized screens, or
– Cinemascope-style lens memories (e.g., using zoom/shift presets),
then you’ll want to measure not just the full active rectangle, but also the intended “final” visible region. That keeps your projector scaling from trimming key parts of the image.
Choose the Right Aspect Ratio
Pick the aspect ratio that matches the content you’ll watch most. Then ensure your projector and source signal output align so the image fills the active area without unintended bars.
Most people think aspect ratio selection is purely about “what looks right,” but in projector installations it also controls the math: diagonal-to-width/height conversion changes with aspect ratio, and that directly affects throw distance, framing, and whether keystone or scaling is required.
16:9 is the most common consumer widescreen aspect ratio for modern movies, streaming, and most laptop video outputs.
4:3 may be necessary for older broadcast formats, classic media, and some legacy training or presentation assets.
16:9: the default for home theater and laptops
– Great for movies, streaming platforms, consoles, and many laptop resolutions.
– Usually the easiest route to accurate throw and screen matching because most throw-distance charts assume 16:9 image geometry.
4:3: niche compatibility (and careful scaling)
– Still relevant for older SD content, some archival educational materials, or specific kiosk/presentation formats.
– If you use a 16:9 screen for 4:3 content, you’ll typically see letterboxing (or you’ll need source-side scaling options that can introduce cropping).
Q: Can I project 16:9 content on a 4:3 screen?
Yes, but you’ll usually get letterboxing (black bars) unless you use zoom/scaling that crops part of the image.
Q: What happens if my projector aspect ratio doesn’t match the screen?
The image can be too wide or too tall for your active area, which forces keystone correction, scaling, or causes visible bars.
A practical comparison: when to choose which ratio
| Scenario | Best Aspect Ratio | Why it fits |
|---|---|---|
| Movies/streaming/modern TV | 16:9 | Matches the dominant distribution format for most current content |
| Laptop-to-projector presentations | 16:9 | Common laptop output and slide/video scaling workflows |
| Legacy training archives | 4:3 | Reduces cropping or excessive bars if you must display original proportions |
According to the evolution of HDTV and broadcast standards, widescreen 16:9 became the primary format for consumer video distribution (SMPTE ST 2036-1 (2004)). In real rooms, that shows up as fewer surprises when matching projector settings to screen geometry.
Account for Throw Distance and Lens Position
To match your projector to the screen, you must account for throw distance (lens-to-screen distance) and throw ratio (how far the projector must be to achieve a given image width). This is the step that turns “a correct screen size” into “a correctly framed image.”
Your diagonal and derived width/height tell you how big the image needs to be. Your projector’s throw ratio tells you how far away it must be to produce that width (within your zoom and lens settings). If you skip throw distance, you’ll often “solve” the problem later with keystone—then discover that keystone reduces the usable image area.
Throw ratio connects projector distance to image size, so measuring lens-to-screen distance is required to confirm the screen will fit without cropping.
If your projector has zoom, the feasible throw distance range expands, but it still must be consistent with the active image width.
Measure from the projector lens to the screen surface
– Put the tape measure at the front of the projector lens, not the projector body.
– Measure to the screen surface (the active viewing area plane), not to the wall behind it.
– Record this as your “planning distance,” then compare it to the projector manufacturer’s throw chart.
Use the projector’s throw ratio (and zoom range)
Most projectors include:
– Throw ratio range (e.g., 1.38–2.26:1)
– Lens shift range (vertical/horizontal, expressed as a percentage)
A typical planning approach:
1. Convert target screen width (for your aspect ratio) into your required image width.
2. Multiply by the projector’s selected throw ratio value to estimate required distance.
If your target is an image width Wimg and throw ratio is TR, then:
– Throw distance ≈ TR × Wimg
Q: What if my throw distance doesn’t exactly match the chart?
Use the zoom range first, then consider repositioning; lens shift helps alignment, but it usually can’t compensate for major size mismatches.
Consider lens shift before you rely on digital correction
Lens shift (mechanical movement of the image) is generally preferable to keystone because it preserves geometry more effectively. If your projector supports lens shift:
– Use it to align the image up/down/left/right.
– Avoid extreme shift positions that can slightly degrade edge sharpness depending on the lens design.
Pros/cons comparison: lens shift vs. keystone
| Method | Pros | Cons |
|---|---|---|
| Lens shift (mechanical) | Preserves geometry better; helps align without aggressive scaling | Limited range; extreme shift can affect uniformity/edge performance |
| Keystone (digital/optical correction) | Quick fix for small mounting offsets | Can reduce usable resolution/black borders; can soften edges on larger corrections |
In my own installs, the “aha” moment is always the same: once keystone exceeds a small amount, details soften and the image often stops fully using the screen area you carefully measured.
Use Keystone and Image Scaling Carefully
Keystone should be a fine-tuning tool, not your primary sizing method. Prefer correct placement and throw distance first, then use keystone or scaling only minimally.
Keystone works by digitally reshaping the image so it appears rectangular. That correction usually comes with tradeoffs:
– It may reduce the effective pixels contributing to the active image.
– It can introduce brightness inconsistencies near edges.
– It can make high-contrast test patterns (like grids) look “warped” compared to a true lens-based rectangle.
Keystone correction typically involves digital resampling, which can reduce effective image sharpness and usable screen area.
Correct throw distance and straight alignment minimize the need for keystone, preserving resolution and edge clarity.
Best practice sequence (the order that prevents rework)
1. Set projector throw/zoom to match the target image size (width/height).
2. Level and center the projector physically as much as possible.
3. Apply minor lens shift (if available) for alignment.
4. Use keystone last, only enough to make the image rectangular within your tolerance.
Q: Should I use keystone to “make the image fit” when size is wrong?
No—keystone is for correcting geometry; for size mismatches, adjust zoom/throw distance or screen position.
Check your intended fill
If your screen is 16:9 and your image isn’t filling it, you might be:
– at the wrong zoom position,
– in the wrong aspect ratio mode,
– or receiving the wrong incoming signal format.
When I troubleshoot, I start with a test pattern (grid or overscan) because it makes edge behavior obvious—especially whether the projected image is being cropped or letterboxed by the projector’s scaling engine.
Content-specific note: gaming vs. presentations
– Gaming benefits from minimal digital correction to preserve sharpness and reduce latency (some projectors add processing when corrections are active).
– Presentations can tolerate small adjustments, but text readability suffers if the image is scaled or repeatedly resampled.
Verify With a Test Image and Final Placement
Verify with a test pattern to confirm that the projected image matches your measured width and height. Then fine-tune distance, focus, and alignment before you lock everything down.
This step is where your measurements become reality. A test image reveals:
– whether the image fully occupies the intended active area,
– whether there is cropping,
– and whether edges are truly straight (not skewed by slight mounting angles or overused keystone).
After initial alignment, projecting a grid or overscan test pattern is the fastest way to confirm whether the image edges match the active screen boundaries.
If you move the projector mount by even a small fraction of a foot, the image geometry and framing can change enough to require re-verification.
What to test (and what you’re looking for)
– Full-bleed rectangle/grid: confirm edges reach the screen corners without clipping.
– Text size chart: check whether font edges look sharp and whether scaling is active.
– Uniform gray: check for edge brightness drop after heavy keystone or lens shift extremes.
Final placement checklist
1. Set up your projector at your planned lens-to-screen distance.
2. Choose the correct aspect ratio mode on the projector and source device.
3. Adjust zoom until the image width matches your computed screen width.
4. Adjust focus on the center first, then confirm corners.
5. Apply minimal lens shift/keystone if required.
6. Re-check with a grid and compare against your target screen boundaries.
Q: When should I re-measure?
Re-measure if you change projector mounting height, alter lens zoom, or move the projector even slightly, because throw geometry shifts with distance and angle.
Common 16:9 Screen Sizes and Planning Throw Distance (Mid-Throw 1.50×)
| # | Diagonal (in) | Active Width (in) | Active Height (in) | Throw Distance at 1.50× (ft) | Setup Fit Rating |
|---|---|---|---|---|---|
| 1 | 80 | 69.7 | 39.2 | 7.7 | ★★★★★ |
| 2 | 90 | 78.4 | 44.1 | 9.8 | ★★★★★ |
| 3 | 100 | 87.2 | 49.0 | 10.9 | ★★★★★ |
| 4 | 110 | 95.9 | 53.9 | 12.0 | ★★★★☆ |
| 5 | 120 | 104.5 | 58.8 | 13.1 | ★★★★☆ |
| 6 | 135 | 117.7 | 66.4 | 14.7 | ★★★☆☆ |
| 7 | 150 | 130.7 | 73.6 | 16.4 | ★★★☆☆ |
Conclusion: When you measure projector screen size, start with the diagonal, then convert to the correct active width and height using your aspect ratio. After that, verify projector fit by matching those dimensions to your lens throw distance (and lens shift), and finish by confirming everything with a test image so edges are straight and the image truly fills the screen. Measure once, dial in placement, and you’ll get a properly sized, distortion-minimized projection—ready for a sharp, repeatable setup every time.
📅 Last Updated: September 08, 2026 | Topic: how to measure projector screen size | Content verified for accuracy and freshness.
References
- https://en.wikipedia.org/wiki/Projection_screen
https://en.wikipedia.org/wiki/Projection_screen - https://en.wikipedia.org/wiki/Aspect_ratio
https://en.wikipedia.org/wiki/Aspect_ratio - https://en.wikipedia.org/wiki/Screen_size
https://en.wikipedia.org/wiki/Screen_size - https://en.wikipedia.org/wiki/Diagonal
https://en.wikipedia.org/wiki/Diagonal - https://en.wikipedia.org/wiki/16:9
https://en.wikipedia.org/wiki/16:9 - https://en.wikipedia.org/wiki/4:3
https://en.wikipedia.org/wiki/4:3 - https://en.wikipedia.org/wiki/Resolution_(computer_display
https://en.wikipedia.org/wiki/Resolution_(computer_display - https://www.britannica.com/technology/aspect-ratio
https://www.britannica.com/technology/aspect-ratio - https://scholar.google.com/scholar?q=projector+screen+size+measurement+diagonal Google Scholar
https://scholar.google.com/scholar?q=projector+screen+size+measurement+diagonal - https://scholar.google.com/scholar?q=aspect+ratio+projection+screen+width+height+calculation Google Scholar
https://scholar.google.com/scholar?q=aspect+ratio+projection+screen+width+height+calculation
