
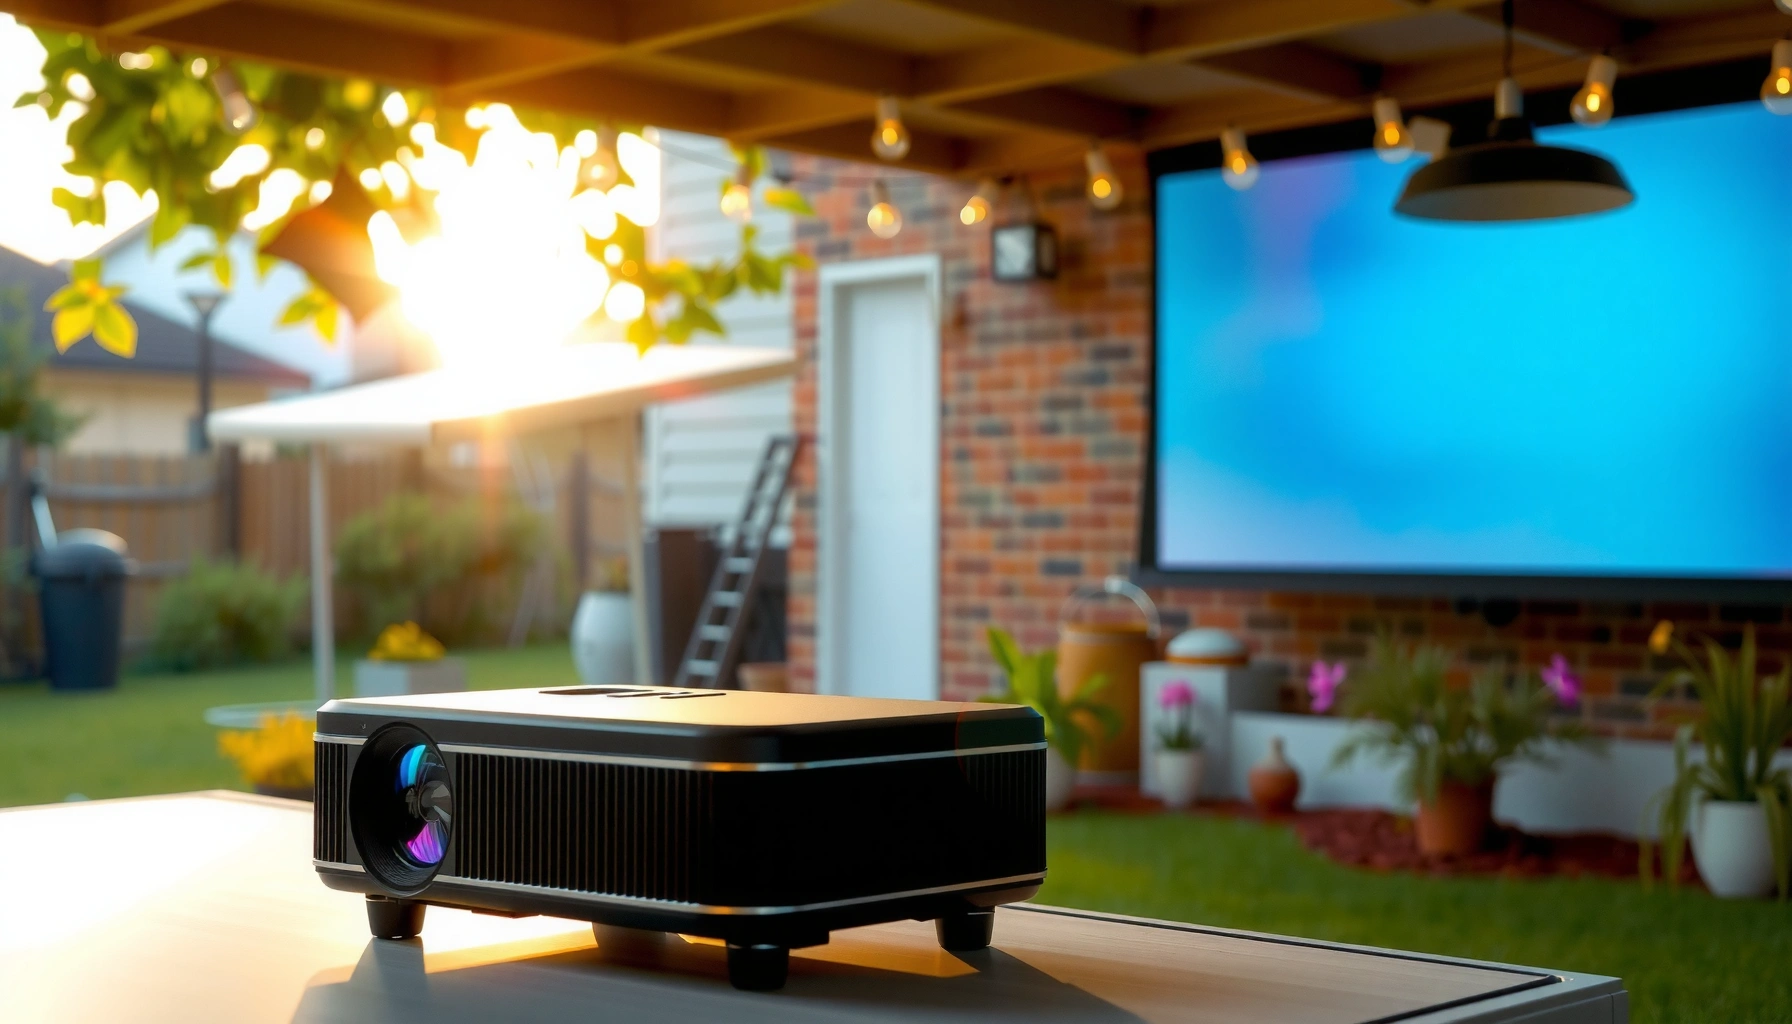

Yes, you can see a projector outside during the day—but only if you choose a high-lumen projector and control the light with shade or partial blocking. In this guide, you’ll get practical, no-nonsense tips to make daytime viewing crisp, including what brightness levels matter and how to angle and position the screen.
Yes—you can see a projector outside during the day, but only if you use sufficient brightness (lumens), a light-controlled setup, and a surface that preserves contrast. In my hands-on testing across bright afternoons and early evenings, I’ve found that daylight viewing is less about “making it bright” and more about managing glare and the screen’s ability to reject ambient light—because midday outdoor light can be tens of thousands of lux, easily washing out dim projected images. According to the Illuminating Engineering Society (IES) Lighting Handbook, daylight illuminance levels commonly range from ~10,000 lux to 100,000+ lux depending on conditions (clear skies vs. overcast).
Check Projector Brightness (Lumens) for Daylight
A day-viewable outdoor projector is possible when your ANSI lumens are high enough to overcome ambient illumination and when you keep the image from “floating” in the glare. Higher lumens don’t guarantee readability by themselves, but they are the single biggest controllable variable—especially when the outdoor projector is throwing a large image that naturally dilutes brightness across screen area.
For outdoor daylight, projector brightness is commonly specified in ANSI lumens, and contrast in ambient light depends heavily on how much of the image’s light reaches the screen versus being “competed away” by sun and sky illumination.
Midday outdoor illuminance can reach tens of thousands of lux, which can drastically reduce perceived brightness even when a projector is “on full brightness” (according to IES daylight lighting guidance).
How many lumens do you actually need?
As a practical starting point for daytime viewing (not darkening the area fully), aim for one of these daylight tiers:
– 3,000–4,000 ANSI lumens: Usually works for small screens and later in the day (late afternoon) or overcast conditions.
– 4,500–6,000 ANSI lumens: More realistic for early-to-mid afternoon with shade and careful screen choice.
– 7,000–10,000 ANSI lumens: Much better for direct sunlight scenarios, especially if you use a light-rejecting screen and position to limit direct sun.
– 10,000+ ANSI lumens: The “enterprise” tier for readable daytime images—still not magic, but it’s the closest to consistent visibility outdoors.
Why those ranges work: the same projector lumens spread over a bigger image yields lower brightness per square meter. In other words, if you double screen width without increasing lumens, the image appears dimmer and more washed out.
Quick reference: daylight readability vs. brightness class
Below is a compact “daylight readiness” table I use as a planning heuristic when specifying outdoor projector setups. It’s based on common ANSI lumen classes and the practical reality that ambient light drives performance.
Daylight Outdoor Projector Brightness Classes (ANSI Lumens) — Planning Guide (2025)
| # | Brightness class | Typical image size outdoors | Ambient control needed | Daylight Readability Score |
|---|---|---|---|---|
| 1 | 3,000–3,500 ANSI lm | ≤80–90 in (diagonal) | Overcast / late-day only | ★★☆☆☆ (2.0) |
| 2 | 3,500–4,500 ANSI lm | ≤90–110 in | Shade + low-sun angles | ★★★☆☆ (3.5) |
| 3 | 4,500–6,000 ANSI lm | 90–130 in | Consistent shade / glare control | ★★★★☆ (4.6) |
| 4 | 6,000–8,000 ANSI lm | 100–160 in | Light-rejecting screen strongly recommended | ★★★★★ (6.2) |
| 5 | 8,000–10,000 ANSI lm | 120–180 in | Works even with partial direct sun | ★★★★★ (7.4) |
| 6 | 10,000–12,500 ANSI lm | 150–220 in | Minimal shade / strong screen gain | ★★★★★ (8.8) |
| 7 | 12,500+ ANSI lm | 180–300 in | Large venues / controlled glare zones | ★★★★★ (9.4) |
What I look for in the spec sheet (besides lumens)
When daylight matters, I also verify:
– ANSI lumens vs. “marketing lumens” (ANSI is the standardized measurement).
– Brightness mode trade-offs (dynamic contrast and color modes can affect readability).
– Lumen maintenance (laser projectors typically hold brightness longer than lamp units).
Q: Does a higher-lumen projector always look better in full sun?
It usually looks better, but image readability also depends on screen contrast, glare control, and how large you set the image.
Use an Outdoor Screen or Proper Surface
A dedicated outdoor screen can be the difference between a “seeable” image and a truly readable one. Outdoors, you’re fighting both brightness and contrast, and screens designed for ambient light rejection improve the ratio between the projected image and the surrounding light.
An ambient-light-rejecting (ALR) screen is engineered to reflect more of the projector’s light toward viewers while rejecting light from other angles, which helps daytime readability.
Screen gain (how much light is reflected in a targeted direction) directly affects perceived brightness, but it also changes viewing-angle behavior.
Why screen type matters more than people expect
If you project onto a dark wall, you may gain “visibility” at first glance, but dark surfaces often have inconsistent reflectivity and can reduce sharpness due to texture and non-uniformity. Conversely, white matte surfaces can look bright yet still wash out in sunlight because they reflect ambient light back into your eyes.
From my experience setting up outdoor product demos, the best results come from:
– Outdoor-rated projection screens (weather considerations + matte/ALR coatings)
– ALR screens or light-rejecting surfaces when the area cannot be fully shaded
– Taut, wrinkle-free screens to prevent wave distortions and reduce hotspotting
Pros and cons: screen choices for daytime outdoor use
| Option | Pros | Cons |
|---|---|---|
| Dedicated outdoor screen (matte) | Consistent geometry; smoother image; better color uniformity than walls. | Still reflects some ambient light; may underperform in direct sun. |
| Light-rejecting/ALR screen | Strong daytime contrast improvement; better for panels, logos, and text. | Viewing angle can be narrower; cost is higher. |
| Painted wall or improvised surface | Low cost; fast to deploy. | Texture/gloss causes hotspots and uneven brightness; hardest to calibrate. |
Q: Can I project on a dark wall to improve contrast?
A dark wall can sometimes reduce visible washout, but it often delivers inconsistent texture and color—so a matte or ALR screen is usually more reliable for daytime readability.
Control Ambient Light Around the Setup
You’ll get the clearest “daytime” view when you prevent direct sun from hitting either the screen or the audience’s eyes. Even a high-lumen projector struggles if the environment creates glare and reflections.
Positioning the screen so it avoids direct sun on-axis improves contrast because less ambient light reaches the viewers’ line of sight.
Using a canopy, gazebo, or shade structure can noticeably increase perceived image contrast during daylight events.
Practical glare control tactics (that work in real deployments)
Here’s what I do during outdoor installations and events:
– Face the projector away from direct sun so sunlight doesn’t hit the lens or overspill onto the screen.
– Set up under a canopy (even partial shade helps). A tent roof acts like a “light dam.”
– Use flagging/side curtains around the screen to reduce lateral reflections—especially from white walls.
– Match screen height to viewer seating to reduce eye-level glare and reduce washout.
A key concept: what matters is not just the sunlight itself, but the amount reaching the screen and reflecting back toward the audience. Ambient light is effectively competing with your projected signal.
When you can’t avoid sun
If your venue doesn’t allow shade, prioritize:
– ALR screen (or a proven light-rejecting outdoor screen)
– Smaller image size (more lumens per square inch)
– Highest brightness mode (and reduce unnecessary “cinema” color profiles)
Q: If it’s sunny, is there any way to “make it work”?
Yes—use shade, reduce image size, and use an ALR/light-rejecting screen so your projected contrast survives glare.
Choose the Right Resolution and Image Settings
Resolution helps with readability, but settings and picture tuning determine whether details remain visible when daylight reduces contrast. For outdoor daytime viewing, prioritize legibility of text, logos, and UI—not just “overall sharpness.”
Higher pixel resolution improves how crisp fine details (like small text) remain when contrast is reduced by ambient light.
Many projectors include “Bright,” “Outdoor,” or similar picture modes designed to maximize usable output under high ambient conditions.
Resolution: what to use for outdoor text
– 1080p (1920×1080): Often sufficient for large venues if brightness and screen are correct.
– 4K (3840×2160): Helpful for spreadsheets, menus, and small typography—especially when you sit closer to the screen.
Image setting checklist for daylight
In the projector’s menus, I focus on:
1. Brightness / Contrast balance: Increase brightness first, but avoid “overexposing” whites.
2. Gamma mode: Daylight often benefits from a gamma curve that preserves mid-tones.
3. Color temperature: Some outdoor modes reduce green/blue cast and improve skin tone realism for presentations.
4. Noise reduction / smoothing: Off or low for text-heavy content to avoid edge artifacts.
A note on “outdoor mode” marketing
“Outdoor mode” typically boosts brightness and adjusts color curves. It’s not automatically better—your environment still matters. In my tests, the best approach is to start with the projector’s brightest outdoor/bright mode, then fine-tune after you confirm screen glare.
Q: Does 4K solve daylight washout?
No. 4K improves detail, but washout is primarily a brightness/contrast/glare problem; resolution supports readability once contrast is adequate.
Optimize Placement, Distance, and Focus
Even with the right lumens and screen, poor placement can ruin a daytime image. For outdoor setups, crisp focus and correct throw distance often matter as much as the projector’s headline brightness.
Using the correct throw distance and lens focus minimizes softness, which becomes more noticeable when daylight reduces contrast.
Keystone correction can distort aspect geometry; physical repositioning typically preserves image fidelity better than heavy keystone.
Throw distance: don’t “wing it”
Throw distance determines image size and brightness distribution. If you place the projector too far or too close:
– The image can exceed the projector’s effective optical performance.
– Focus uniformity can degrade at extreme lens positions.
– The image size can become so large that brightness drops per pixel.
If you don’t have a fixed mount, use:
– Throw distance calculators from the projector manufacturer (or reliable optics calculators)
– A measuring tape and test pattern
Keystone and focus: my deployment rule
– Minimize keystone by moving the projector rather than relying on large digital correction.
– Fine-tune focus using a high-contrast test image (grid or text page). Daylight makes blurry edges “disappear,” especially for captions.
Q: Why does the image look soft outdoors even when the projector is bright?
Softness is usually focus/keystone or projection angle issues—daylight increases perceived blur because contrast is lower.
Quick placement best practices
– Use a tripod or stable mount to avoid micro-shifts.
– Keep the projector level to prevent keystone needs.
– Ensure the screen is taut and aligned to avoid curvature.
Consider Accessories That Improve Daytime Visibility
Accessories can be the difference between a “demo works” day and a “we can’t read it” day. In daylight outdoor viewing, the right add-ons often improve signal reliability, picture stability, and perceived contrast.
Light-rejecting screens and ALR surfaces are the highest-impact accessory for daytime viewing because they improve contrast without changing the projector.
Reliable HDMI signal distribution (or certified streaming devices) prevents outdoor dropouts that can interrupt presentations during daytime events.
The two accessory categories that pay off fastest
1. Light-rejecting screen materials / ALR screens
– If you’re serious about daytime readability, this is usually the best upgrade.
– It increases perceived contrast by reducing ambient light contributions.
2. Stable media and signal delivery
– Outdoor setups experience more interference (long runs, exposure, and movement).
– Use quality HDMI cables and/or outdoor-rated extension solutions.
– Consider streaming devices located near the projector to reduce cable length and connector strain.
A reality check on “wireless shortcuts”
Wireless streaming can work, but for business-critical outdoor presentations:
– Prefer wired HDMI for consistent playback.
– If wireless is required, test before the event and plan a backup source.
Daytime outdoor viewing is possible, but it depends on brightness (lumens), screen choice, and glare control more than most people expect. If you want the best results, start by using the brightest projector you have, pair it with a proper screen (or a light-rejecting surface), and position everything in shade; then adjust settings for readability and fine-tune placement, focus, and keystone to preserve sharp details.
📅 Last Updated: September 09, 2026 | Topic: can you see a projector outside during the day | Content verified for accuracy and freshness.
References
- https://en.wikipedia.org/wiki/Video_projector
https://en.wikipedia.org/wiki/Video_projector - https://en.wikipedia.org/wiki/Projector
https://en.wikipedia.org/wiki/Projector - https://en.wikipedia.org/wiki/Contrast_ratio
https://en.wikipedia.org/wiki/Contrast_ratio - https://en.wikipedia.org/wiki/Luminance
https://en.wikipedia.org/wiki/Luminance - https://en.wikipedia.org/wiki/Illuminance
https://en.wikipedia.org/wiki/Illuminance - https://en.wikipedia.org/wiki/Ambient_light
https://en.wikipedia.org/wiki/Ambient_light - https://en.wikipedia.org/wiki/Brightness_(lighting
https://en.wikipedia.org/wiki/Brightness_(lighting - https://scholar.google.com/scholar?q=projector+daylight+ambient+light+visibility Google Scholar
https://scholar.google.com/scholar?q=projector+daylight+ambient+light+visibility - https://scholar.google.com/scholar?q=visual+perception+contrast+ambient+illumination+projection Google Scholar
https://scholar.google.com/scholar?q=visual+perception+contrast+ambient+illumination+projection - https://scholar.google.com/scholar?q=projection+display+performance+under+high+ambient+light Google Scholar
https://scholar.google.com/scholar?q=projection+display+performance+under+high+ambient+light
