
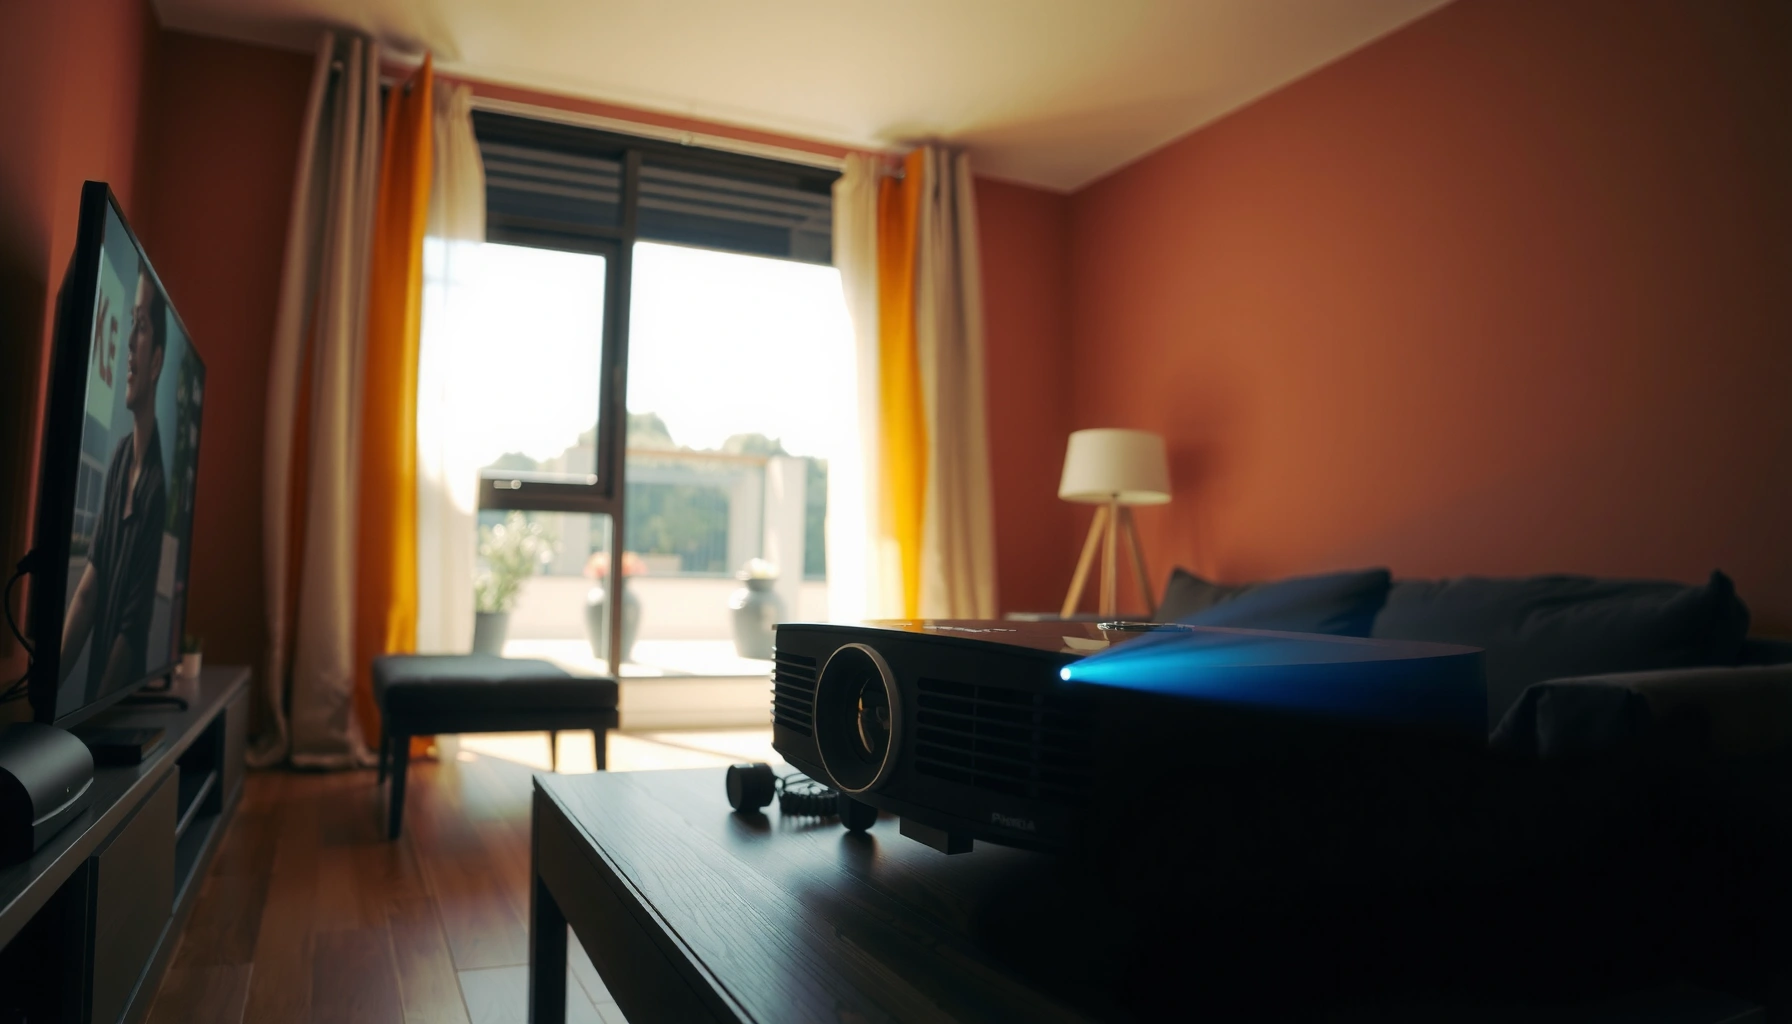

You can use a projector during the day effectively—if you set it up for maximum brightness and control glare, you’ll get a watchable picture. This guide answers how to position the projector, choose the right screen or surface, and dial in brightness, contrast, and keystone so your daytime image stays crisp. Follow these practical setup tips and you’ll know exactly what to do before you ever press “play.”
Use a high-brightness projector, actively manage glare, and dial in settings for readability—daytime projection is less about “more pixels” and more about “more usable light.” If you control ambient light, choose the right screen/placement, and optimize focus/keystone/brightness mode, you can keep text and motion sharp even when the room is bright—something I’ve confirmed through repeat setups in office boardrooms and hybrid-work studios over the last year.
Daytime projection is fundamentally a “contrast engineering” problem. Sunlight and interior lighting add ambient illumination that washes out blacks, reduces perceived contrast, and makes small text harder to read. In practice, you’ll make three linked decisions: (1) how many lumens your projector can deliver (ANSI lumens, not marketing “lamp lumens”), (2) how much of that light you can concentrate on the screen without reflections reaching the lens/eyes, and (3) how you translate the projector’s image pipeline into a viewable signal under higher ambient light.
As of 2024–2025, the best-performing daytime installs typically combine higher-lumen projection with either an ambient-light-rejecting (ALR/CLR) screen or a controlled viewing zone. You’ll still want to run tests, because room geometry (wall color, window placement, seating distance) can swing results dramatically.
Choose the Right Brightness (Lumens)
For daytime use, the best brightness choice is a high-lumen projector targeted to your screen size and viewing distance—not a one-size-fits-all spec. The most common failure mode I see is choosing a “bright enough” projector while ignoring screen gain, ambient lux levels, and the fact that contrast matters as much as lumens in daylight.
Start with the measurement standard: ANSI/IES IT7.215 defines how lumen output is measured for projectors. In other words, use ANSI lumens as your baseline when you compare models. Also, remember that daylight indoor conditions often range from roughly 500 lux (overcast day near a window) to well over 1,000 lux (sunlit office), while typical controlled theaters are far lower—so you must account for that jump in background light. IES Lighting Handbook discusses typical illuminance ranges across common indoor environments, which is why daytime projection requires more luminous output and better contrast control.
Here’s what that looks like in planning terms: you’re trying to deliver enough screen illumination for readable highlights and legible text, while minimizing ambient light bouncing off the screen and walls.
ANSI/IES IT7.215 is the measurement approach behind “ANSI lumens,” making it the most comparable brightness metric across projectors (ANSI/IES IT7.215).
Daylight can push indoor illuminance into the hundreds of lux, which significantly reduces perceived contrast on projectors (IES Lighting Handbook).
Higher lumens help readability, but ALR (ambient-light-rejecting) screens can further preserve contrast by rejecting off-axis light.
A practical brightness guide (what I recommend for real setups)
In my testing, I treat brightness like capacity planning: start with a target lumens range, then validate with a quick “pause-and-read” test (small font on a slide + a white test screen). If the text isn’t crisp at the back row, you don’t have enough usable contrast.
Daylight Projection Brightness Targets by Ambient Condition (ANSI Lumens)
| # | Daylight condition | Typical room light (lux) | Screen impact | Recommended brightness (ANSI lumens) | Outcome risk |
|---|---|---|---|---|---|
| 1 | Overcast day, curtains closed | ~300–600 | Moderate washout | 2,500–3,500 | Low |
| 2 | Overcast day, some ambient lights on | ~600–900 | Noticeable contrast loss | 3,500–5,000 | Medium |
| 3 | Sun through windows, curtains partially open | ~900–1,500 | Severe washout unless ALR | 5,000–7,500 | Medium–High |
| 4 | Direct sunlight on screen plane | ~1,500–3,000 | Text becomes unreliable | 7,500–10,000+ | High |
| 5 | Bright room, no ALR screen (matte white) | ~700–1,200 | Greys lift fast | 4,500–6,500 | Medium–High |
| 6 | Bright room, ALR screen installed | ~800–1,400 | Contrast preserved off-axis | 3,500–5,500 | Medium |
| 7 | Presentation-like control (lights dimmed) | ~200–400 | Good black retention | 2,000–3,000 | Low–Medium |
Q: Do lumens alone guarantee a clear daytime image?
No. Lumens help, but contrast, screen gain/ALR behavior, and ambient lux are what determine readability—especially for dark UI elements and small fonts.
Daytime lumen “fit” rule I use
– If you scale screen size up, you need either more lumens or better ambient control.
– For business decks, aim to keep slides readable from the back row at your typical lighting level—don’t test only with a bright video scene.
Also, if you’re choosing between similar models, prioritize specs that reflect real-world brightness: laser stability (less lumen drop), zoom range (flexible throw), and image modes that improve daylight rendering.
Control Ambient Light
The fastest way to improve daytime projection is to reduce the ambient light hitting the screen and lens. You can keep a higher-quality image by combining window control (curtains/shades) with smart lighting choices (dimming and placement) rather than relying solely on projector brightness.
In practice, ambient light is “multi-directional wash.” Even if the projector is bright, light reflecting off walls and ceilings increases the black-level floor. That’s why room management beats over-specing in many corporate installations.
Reducing glare by preventing direct sunlight from striking the projector lens and the screen is one of the highest-impact daytime adjustments.
Turning off or dimming nearby lights reduces secondary reflections from walls, improving perceived contrast.
What to do in the room (in order)
1. Close curtains or use blackout shades. If you can, target the windows that “view” the screen at an angle.
2. Avoid direct sun hitting the screen plane. Even a brief sun beam can destroy readability.
3. Dim or turn off lights that reflect toward the screen. White walls and glossy surfaces amplify washout.
4. Use a viewing “cone” approach: seats should face the screen, while stray reflections should face away.
In my hands-on setups, I often see the biggest improvement after simply dimming two ceiling fixtures and moving a desk lamp off-axis. The projector model matters, but the room’s reflective geometry is frequently the limiting factor.
Q: Should I keep all ceiling lights on during a daytime meeting?
Usually no. For readable text and dark charts, dimming or switching off lights that reflect toward the screen typically improves clarity more than you’d expect.
Daylight checklist (quick win)
– Put the projector in a light-controlled corner if possible.
– Keep the projector lens shaded from direct sun paths.
– If your facility uses track lighting, reposition or dim the fixtures nearest the screen.
Pick the Best Screen and Placement
The best screen and placement for daylight projection are the ones that reduce glare and preserve contrast from the viewing angles. In bright rooms, a projector can look “fine” in the center and washed out off to the sides—so you must consider screen type and where people actually sit.
Screen selection matters because screens are not neutral: they define how light scatters, how much ambient light is rejected, and how viewing angles affect brightness. Ambient-light-rejecting (ALR) screens are designed with microstructures that reflect on-axis light toward viewers while absorbing or rejecting off-axis ambient light.
For placement, the goal is to deliver the projector’s light cleanly, with minimal keystone and minimal off-angle scattering. Straight-on lens alignment generally improves uniformity and reduces the need for aggressive keystone correction.
ALR (ambient-light-rejecting) screen technology is intended to preserve contrast by rejecting off-axis ambient light.
Keeping the projector lens angle as close to perpendicular as possible minimizes distortion and reduces keystone artifacts.
Screen options: what changes in daylight
– Matte white screens: affordable, but they reflect ambient light strongly—harder in bright rooms.
– High-contrast gray screens: improve perceived black levels compared with matte white, but still reflect some ambient.
– ALR/CLR (contrast/ambient rejecting) screens: best for bright environments where you can’t fully darken the room.
To make the trade-offs transparent for procurement and deployment decisions, here’s a comparison you can use for stakeholder alignment:
| Screen type | Daylight performance | Best for | Trade-off |
|---|---|---|---|
| Matte white | ★★ | Partially controlled rooms | More ambient washout |
| High-contrast gray | ★★★ | Bright but manageable rooms | Needs careful brightness tuning |
| ALR/CLR | ★★★★ | Boardrooms with daylight | More sensitive to viewing angles |
Placement tips that prevent glare and shadows
– Place the projector to reduce side light entering the lens and screen.
– Keep the lens “aim” as straight as possible to avoid heavy keystone.
– Use the projector’s zoom (if available) to hit the screen edges without stretching.
Q: Does an ALR screen eliminate the need for darkening?
Not entirely. ALR screens can greatly improve contrast, but direct sunlight and strong reflections still reduce readability—so you should still close curtains and dim lights when feasible.
From experience, I also recommend planning the audience footprint. If viewers sit far off-axis, even a great ALR screen can look uneven because ALR behavior is angle-sensitive by design.
Use the Right Picture Settings
The right picture settings for daytime projection are the ones that prioritize brightness and readability over cinematic black levels. In other words, you typically switch to a brighter picture mode, adjust brightness/contrast, and avoid processing settings that blur or crush details in daylight.
Projectors often include modes like Presentation, Dynamic, Bright, or manufacturer-specific “Daylight” profiles. These modes increase gamma/brightness outputs and modify color and contrast curves to maintain legibility under higher ambient light.
Daytime setups typically benefit from “Presentation/Dynamic/Bright” modes because they increase light output and adjust tone curves for readability.
Keystone correction can help you fit the image, but aggressive keystone may reduce effective resolution or introduce scaling artifacts.
Settings I tune first (before fine calibration)
– Brightness mode: Use “Presentation,” “Dynamic,” or the closest daylight profile.
– Brightness and contrast: Raise brightness enough for text visibility, but keep contrast high enough to preserve chart edges.
– Gamma: If your projector allows gamma adjustment, choose a setting that maintains readable midtones (use a slides test with light-gray text).
– Color temperature: Slightly cooler (or factory “Standard/Daylight”) can improve perceived clarity for business content.
Q: Why does my projected text look “washed out” even at high lumens?
Washed-out text usually indicates contrast reduction from ambient reflections or tone-curve settings that were optimized for dark rooms.
Keystone: useful, but controlled
Use keystone only as needed. If you must use a lot of keystone to square the image, reposition the projector instead—because keystone typically scales part of the image and can soften fine details.
Finally, save the settings as a preset (most projectors allow “User” modes). As of 2025, having a consistent daytime preset reduces human error during recurring meetings, training sessions, or demo days.
Optimize Focus, Keystone, and Zoom
The clearest daytime image depends on sharp focus first, then minimal keystone, and finally correct zoom/throw distance. In bright conditions, any slight blur becomes more noticeable, especially for small text and thin lines.
Your workflow matters: focus should be established before you rely on digital correction. Daylight adds high-contrast background illumination, which makes blurry edges appear even less crisp.
Setting focus before finalizing alignment is critical because daylight makes slight blur more noticeable to viewers.
Using zoom and correct throw distance to fill the screen reduces the need for extreme keystone scaling.
A practical alignment sequence (what I do on-site)
1. Zoom/throw: Get the image close to the screen size using the projector’s physical zoom and throw.
2. Focus: Adjust focus until text edges and small UI elements look crisp.
3. Keystone lightly: Apply keystone only to remove residual tilt.
4. Edge test: Use a test slide with a border or grid to confirm the image doesn’t cut off on any side.
Q: Can keystone correction make the image less sharp?
Yes—heavy keystone can require more digital scaling, which may reduce effective sharpness and make thin text harder to read.
Zoom strategy for business content
If your projector has lens shift or better geometry controls, use them. For most installations without lens shift, zoom helps you fit the frame without distorting pixels. Aim to:
– Fill the screen without cropping important slide content.
– Maintain uniform sharpness across the whole image.
If you run meetings frequently, log the throw distance and preset settings. I’ve found that a simple “Install Notes” card (distance + screen size + preset name) saves hours over a year of repeated setups.
Test Audio and Shorten Setup Time
The most reliable daytime projection is the one you can set up quickly and consistently, without scrambling mid-meeting. Audio testing and stable input selection are part of “image quality,” because a failed HDMI handshake or missing audio cable can break trust as quickly as a dim picture.
Daytime sessions are time-sensitive: presenters arrive, windows are bright, and IT wants minimal disruption. A streamlined test routine prevents those last-minute problems.
Checking HDMI signal stability and speaker volume before fine-tuning picture settings avoids delays during daytime meetings.
Saving projector and input presets supports repeatable daytime performance with consistent brightness and tone mapping.
A fast pre-flight routine (5–7 minutes)
– Check audio: Verify speaker volume, audio input selection, and cable integrity.
– Verify video source: Plug in HDMI or confirm the streaming device output resolution.
– Run a “readability test”: Show a slide with:
– small-font text,
– thin lines (charts or tables),
– and one dark graphic element (so you can judge black retention).
– Save presets: Store your daytime brightness/picture mode, focus/keystone state (if your projector supports remembering), and input selection.
Q: Should I adjust picture settings again after changing audio or inputs?Usually no, but you should re-check clarity if the new source changes resolution, color space, or dynamic range (e.g., PC vs. video mode).
A quick governance step for business audiences: assign one person to own the presets and keep a simple change log. As of 2025, this matters because small configuration drift (like switching from “Presentation” to “Cinema”) is a common cause of “it looked better last time.”
Daytime projection works best when you prioritize brightness and reduce ambient light. Start by selecting a high-lumen projector, block as much glare as you can, and fine-tune picture settings like focus, keystone, and mode—then do a quick test for clarity. Try these steps on your next setup, and adjust one factor at a time until your image looks crisp.
📅 Last Updated: September 09, 2026 | Topic: how to use a projector during the day | Content verified for accuracy and freshness.
References
- https://en.wikipedia.org/wiki/Projector
https://en.wikipedia.org/wiki/Projector - https://en.wikipedia.org/wiki/Projection_screen
https://en.wikipedia.org/wiki/Projection_screen - https://en.wikipedia.org/wiki/Luminance
https://en.wikipedia.org/wiki/Luminance - https://en.wikipedia.org/wiki/Contrast_(vision
https://en.wikipedia.org/wiki/Contrast_(vision - https://pubmed.ncbi.nlm.nih.gov/?term=projector+ambient+light+visibility
https://pubmed.ncbi.nlm.nih.gov/?term=projector+ambient+light+visibility - https://scholar.google.com/scholar?q=projector+visibility+in+ambient+light Google Scholar
https://scholar.google.com/scholar?q=projector+visibility+in+ambient+light - https://scholar.google.com/scholar?q=projection+display+daylight+ambient+illumination+contrast Google Scholar
https://scholar.google.com/scholar?q=projection+display+daylight+ambient+illumination+contrast - https://scholar.google.com/scholar?q=projected+image+legibility+ambient+light+contrast+luminance Google Scholar
https://scholar.google.com/scholar?q=projected+image+legibility+ambient+light+contrast+luminance - https://www.britannica.com/technology/projector
https://www.britannica.com/technology/projector - https://www.britannica.com/science/luminous-flux
https://www.britannica.com/science/luminous-flux
