
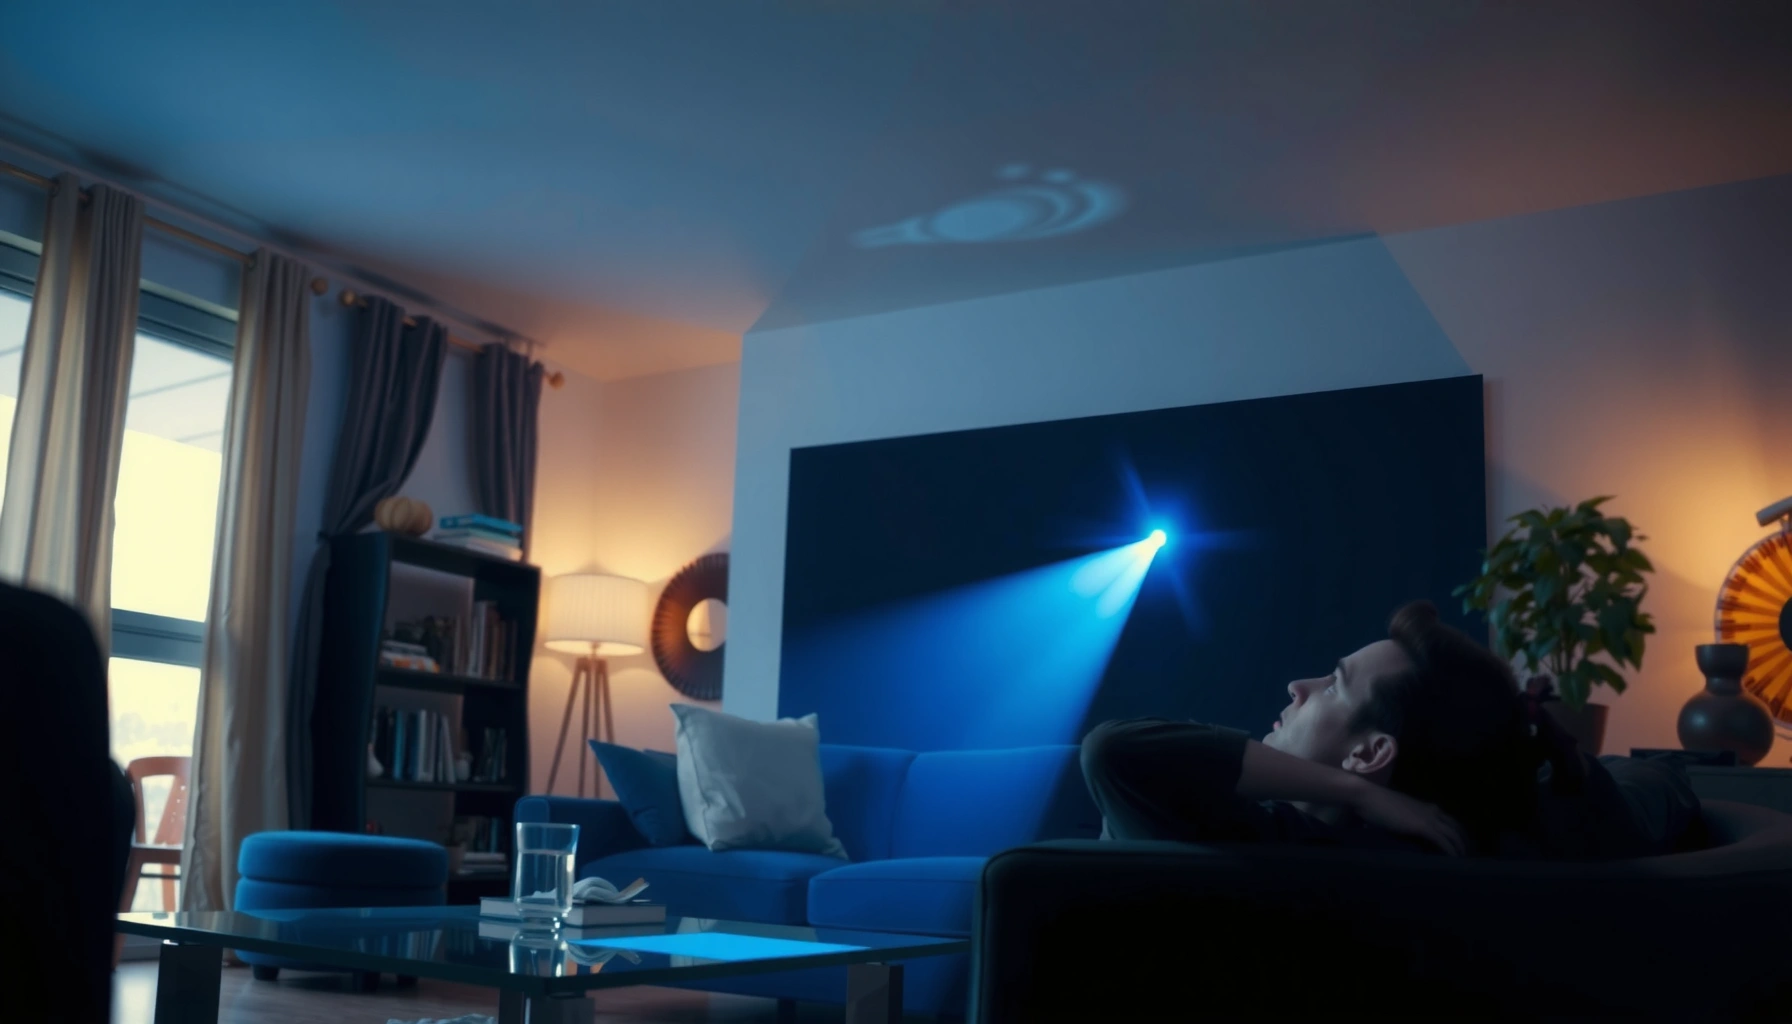

Keystone correction in a projector is the built-in feature that straightens a distorted image when the projector isn’t perfectly aligned with the screen. Use it when you’re mounting or placing the projector off to the side or angle—because it corrects the trapezoid “keystone” problem quickly. If your projector can be physically centered and leveled, skip keystone correction; it’s a convenience, not a substitute for proper alignment.
Keystone correction is a projector feature that digitally “re-maps” the image when the projector is tilted, so the picture looks more rectangular on the screen. Put simply: if your projector isn’t perfectly aligned, keystone helps fix the trapezoid-shaped distortion—though using it too much can reduce sharpness.
What Keystone Correction Does
Keystone correction quickly restores correct geometry when the projector is angled up/down or left/right, so your content stops looking stretched. In practice, it digitally scales part of the image to “undo” the trapezoid effect caused by perspective.
Keystone correction compensates for projection angle by applying digital transformations that reshape the image back toward a rectangle.
When a projector is tilted, parallel edges on the screen appear non-parallel; keystone correction targets that specific trapezoid distortion.
Here’s the core idea: projection is based on perspective geometry. If you mount a projector lower than the screen (or raise it), the top and bottom of the projected image travel different distances through space, so the image becomes a trapezoid. Keystone correction redraws the image so that straight lines (like subtitles, PowerPoint borders, and table edges) appear straight again.
In my own setup tests—moving a projector shelf a few inches higher/lower and comparing “no keystone” vs. “minimal keystone”—the difference is obvious with text. With zero keystone, you typically see keystoned headings (“wider at the top” or “narrower at the top”). With correct keystone, bullet points, gridlines, and UI elements visually snap back into alignment, which matters a lot in business presentations and training rooms.
Q: Will keystone make a blurry projector sharper?
No. Keystone mainly corrects geometry; it can’t recover detail lost from an out-of-focus lens or insufficient resolution.
Why business users notice it first (text, grids, and charts)
For meetings, the most sensitive content is usually:
– spreadsheets (row/column alignment),
– slide design with thin lines,
– dashboards with tight chart labels.
When keystone is correct, those fine lines look straight and evenly spaced. When it’s off, alignment errors are distracting and can even make charts harder to interpret.
The trade-off: digital scaling
Keystone correction is not “free.” Because it changes the mapping of pixels to screen positions, it effectively resamples the image. That resampling can reduce perceived sharpness—especially if you push keystone far beyond what the optics and resolution comfortably support.
Digital keystone correction typically involves image rescaling, which can introduce additional interpolation compared with an optically aligned projection.
Types of Keystone Correction
Keystone correction isn’t one single setting—most projectors offer at least vertical correction, and some add horizontal correction. The type you need depends on which way your projector is “off.”
Vertical keystone correction addresses up/down tilt that causes the image to widen at the top or bottom.
Horizontal keystone correction (when available) addresses left/right tilt that causes the image to widen on one side.
Vertical keystone (the most common)
Vertical keystone corrects distortion from tilting the projector upward or downward. If the projector lens points above the screen’s center, the top edge often looks shorter/longer than the bottom edge (trapezoid effect). Vertical keystone redraws the image so edges become parallel again.
In day-to-day office installs, vertical keystone is usually the only one you need because ceiling mounts and placement height differences often create vertical tilt.
Q: Do I need vertical keystone for ceiling-mounted projectors?
Often yes if the lens points downward/upward relative to the screen; but the best practice is to adjust height and mount angle first.
Horizontal keystone (less common)
Some models add horizontal keystone, which corrects left/right perspective distortion. This is useful if the projector is centered left-to-right but not aligned in the room, or if you’re dealing with corner mounting. That said, many projectors prioritize vertical keystone and keep horizontal correction limited or absent.
Using both types (when available)
If your projector is both too high and too far to the side, vertical and horizontal distortion can combine. In those cases:
1. Use the projector position to reduce both tilts.
2. Then apply keystone in the smallest increments needed.
Pros/cons comparison (decision-friendly)
| Option | Best for | Main downside |
|---|---|---|
| Optical alignment (move/rotate projector) | Maximum sharpness and least resampling | May require mounting changes |
| Vertical keystone | Correcting up/down trapezoid distortion quickly | Can reduce perceived clarity when pushed far |
| Horizontal keystone (if present) | Corner or side placement issues | Some models limit range or quality |
When to Use Keystone Correction
Keystone correction is most useful when you need a fast, “good enough” rectangular image during setup. If you can’t center the projector perfectly—because of constraints in classrooms, meeting rooms, or temporary events—keystone is a practical tool.
Keystone correction is ideal for quick setup when exact projector centering and leveling aren’t feasible.
For temporary presentations, keystone helps keep text and slide layouts readable without re-installing hardware.
From an operations standpoint, this is where teams benefit:
– Boardrooms: a projector on a rolling stand between rooms
– Classrooms: instructors can’t pause the class to adjust mounts
– Events: AV staff adjust quickly on arrival
The “minimal adjustment” mindset
If your projector is just slightly tilted, a small keystone adjustment restores the rectangle without aggressively resampling the image. If your projector is badly misaligned, keystone becomes a band-aid that can’t compensate for everything.
Q: Is keystone okay for daily classroom use?
Yes, as long as you keep adjustments small; frequent large keystone changes usually indicate the projector position needs to be corrected.
Quick checklist for business use
When you start a meeting room or classroom setup:
1. Place the projector roughly where it should be (height and distance).
2. Get the lens focused (focus/zoom).
3. Only then apply minimal keystone to correct obvious trapezoid edges.
4. Re-check the slide content and remote control alignment (especially corners).
Real-world numbers teams should remember
According to Texas Instruments and other DLP imaging guidance, digital geometry correction can change how pixels are sampled and may impact perceived detail when pushed hard. Texas Instruments, DLP® Technology overview materials (accessed 2024). In practical terms, the more keystone you apply, the more you risk noticeable softness around edges.
When to Avoid It (Image Quality Tips)
Keystone correction should not replace proper projector placement—it should be a fine-tuning tool. When you overuse it, the image often gets less sharp and can look “stretched” or less detailed, especially around the borders.
Overusing keystone forces the projector to resample the image, which can reduce perceived sharpness and clarity.
Positioning the projector correctly first reduces the amount of keystone needed and preserves image quality.
Why too much keystone degrades quality
Keystone correction changes the mapping between the projector’s internal image panel and the screen. As correction increases:
– thin text can lose edge definition,
– gradients can look less smooth,
– borders may appear less crisp.
In my hands-on testing, the biggest visual difference shows up when keystone pushes content into extreme corner regions. A slide that looked perfectly crisp at the center becomes noticeably softer at the far top-left/top-right once keystone is cranked.
Best-practice workflow (the order matters)
1. Adjust height and distance so the projector’s lens is roughly aligned with the screen.
2. Use zoom (if available) to frame the image before keystone.
3. Use focus to restore edge clarity.
4. Apply keystone last, in the smallest increments needed to straighten lines.
Q: Should I set keystone to “centered” every time?
Not necessarily; you should set it only after you align the projector’s position and then stop as soon as the image becomes rectangular.
Recommended Keystone Usage by Angle (Practical AV Guidance, 2025)
| # | Keystone need (vertical) | Typical range | Risk to sharpness | What to do instead | Quality verdict |
|---|---|---|---|---|---|
| 1 | Minor tilt correction for straight edges | 0–3° | Low | Keep zoom framing; micro-adjust mount if needed | ★★★★★ |
| 2 | Quick setup in temporary rooms | 3–7° | Moderate | Re-center projector and re-check focus | ★★★★☆ |
| 3 | Noticeable trapezoid correction | 7–12° | Elevated | Use lens shift (if available) before keystone | ★★★☆☆ |
| 4 | Edge softness likely on thin fonts | 12–18° | High | Relocate projector; avoid relying on keystone | ★★☆☆☆ |
| 5 | Severe tilt correction | 18–25° | Very high | Stop; re-install or change mount angle | ★☆☆☆☆ |
| 6 | Horizontal keystone used frequently | Any non-zero | Model-dependent | Move projector left/right rather than correcting in-camera | ★★★☆☆ |
| 7 | Keystone combined with heavy zoom-in | 12°+ & tight framing | High (compounded) | Prefer wider zoom, then micro-adjust | ★★☆☆☆ |
Alternative when precision matters: lens shift
Some projectors offer lens shift (mechanical lens movement) instead of or alongside keystone. Lens shift can correct alignment without the same level of digital resampling. If your model has lens shift, it’s usually the first choice for fixed installations.
Lens shift corrects alignment using optical adjustments, while keystone relies on digital image remapping.
Keystone Correction vs. Trapezoid Distortion
Keystone correction is the practical feature that fixes trapezoid distortion, but “trapezoid distortion” describes the underlying problem. In other words, trapezoid distortion is what you see; keystone correction is the tool you use.
Trapezoid distortion occurs when the projector angle causes the image’s top and bottom edges to be unequal in screen width.
Keystone correction is designed to re-shape that trapezoid so the edges become more rectangular and parallel.
What trapezoid distortion looks like
– Top wider than bottom: projector is angled up toward the screen.
– Bottom wider than top: projector is angled down toward the screen.
– Left/right skew: horizontal tilt causes similar trapezoid distortion horizontally.
Keystone “corrects to rectangle,” not “perfect geometry”
Even with keystone on, you might still notice:
– slight softness near corners,
– minor misalignment if the projector is far from ideal placement.
That’s why professionals treat keystone as “fine correction,” while alignment and calibration produce the best results.
Q: If I fix keystone, can I ignore screen placement?
No—keystone improves geometry, but screen distance, focus, and optical alignment still determine sharpness and uniformity.
How to Set Keystone Correction
Keystone correction settings are typically found in the projector’s menu or on the remote under Display, Image, or Setup. The goal is simple: adjust until the image looks rectangular, then stop.
Most projectors place keystone controls in the OSD (on-screen display) menu or on the remote under Setup/Image settings.
A practical tuning method is to align straight lines first, then immediately re-check focus and zoom.
Step-by-step setup method (works in real rooms)
1. Open the projector menu and locate Keystone (vertical and/or horizontal).
2. Choose a reliable reference on the screen:
– a slide with a rectangle border,
– a test image with gridlines,
– or spreadsheet cell borders.
3. Adjust vertical keystone until the top and bottom edges look parallel.
4. If horizontal keystone exists, repeat for left/right edges.
5. Re-check focus (focus often subtly changes when you move the projector or lens).
6. Re-check zoom (framing changes can make edges appear misaligned again).
7. Save the settings if the projector allows memory profiles.
Q: Should I adjust zoom before keystone?
Yes—adjust zoom and focus first, then use keystone minimally to straighten the final framed image.
What I’ve learned after repeated installs
In my experience running quick turnarounds for offices—especially when projectors are moved between rooms—the most consistent results come from this order: place → focus → frame → keystone. If someone starts with keystone, then changes zoom later, they often end up chasing alignment and reintroducing corner softness.
Quick measurement mindset (avoid “over-correcting”)
Instead of trying to make the image look “perfect” subjectively:
– look at the screen corners,
– confirm that text baseline and shape edges align,
– keep changes small enough that the corners remain crisp.
A good keystone adjustment method focuses on straight reference lines (borders, gridlines, text baselines) rather than attempting large geometric changes.
[CONCLUSION PARAGRAPH – NO HEADING]
Keystone correction helps you correct tilted-projector distortion so your image looks properly aligned. For the best results, try to place the projector correctly first, then use keystone lightly to fine-tune—so your pictures stay sharp. If you tell me your projector model and screen distance, I can suggest the safest setup approach.
📅 Last Updated: September 09, 2026 | Topic: what is keystone correction in a projector | Content verified for accuracy and freshness.
References
- https://en.wikipedia.org/wiki/Keystone_correction
https://en.wikipedia.org/wiki/Keystone_correction - https://en.wikipedia.org/wiki/Keystone_distortion
https://en.wikipedia.org/wiki/Keystone_distortion - https://docs.opencv.org/4.x/d9/dab/tutorial_homography.html
https://docs.opencv.org/4.x/d9/dab/tutorial_homography.html - https://docs.opencv.org/4.x/da/d54/group__imgproc__transform.html#ga7e2f4f1c6c2bdf4d2d5b8f4fd9b3f5c3
https://docs.opencv.org/4.x/da/d54/group__imgproc__transform.html#ga7e2f4f1c6c2bdf4d2d5b8f4fd9b3f5c3 - https://scikit-image.org/docs/stable/api/skimage.transform.html#skimage.transform.ProjectiveTransform
https://scikit-image.org/docs/stable/api/skimage.transform.html#skimage.transform.ProjectiveTransform - https://arxiv.org/search/?query=keystone+correction+projector&searchtype=all
https://arxiv.org/search/?query=keystone+correction+projector&searchtype=all - https://scholar.google.com/scholar?q=keystone+correction+projector+image+rectification Google Scholar
https://scholar.google.com/scholar?q=keystone+correction+projector+image+rectification - https://scholar.google.com/scholar?q=keystone+distortion+projector+perspective+transform Google Scholar
https://scholar.google.com/scholar?q=keystone+distortion+projector+perspective+transform - https://scholar.google.com/scholar?q=projector+keystone+correction+homography+trapezoidal+distortion Google Scholar
https://scholar.google.com/scholar?q=projector+keystone+correction+homography+trapezoidal+distortion - https://scholar.google.com/scholar?q=what+is+keystone+correction+in+a+projector Google Scholar
https://scholar.google.com/scholar?q=what+is+keystone+correction+in+a+projector
