
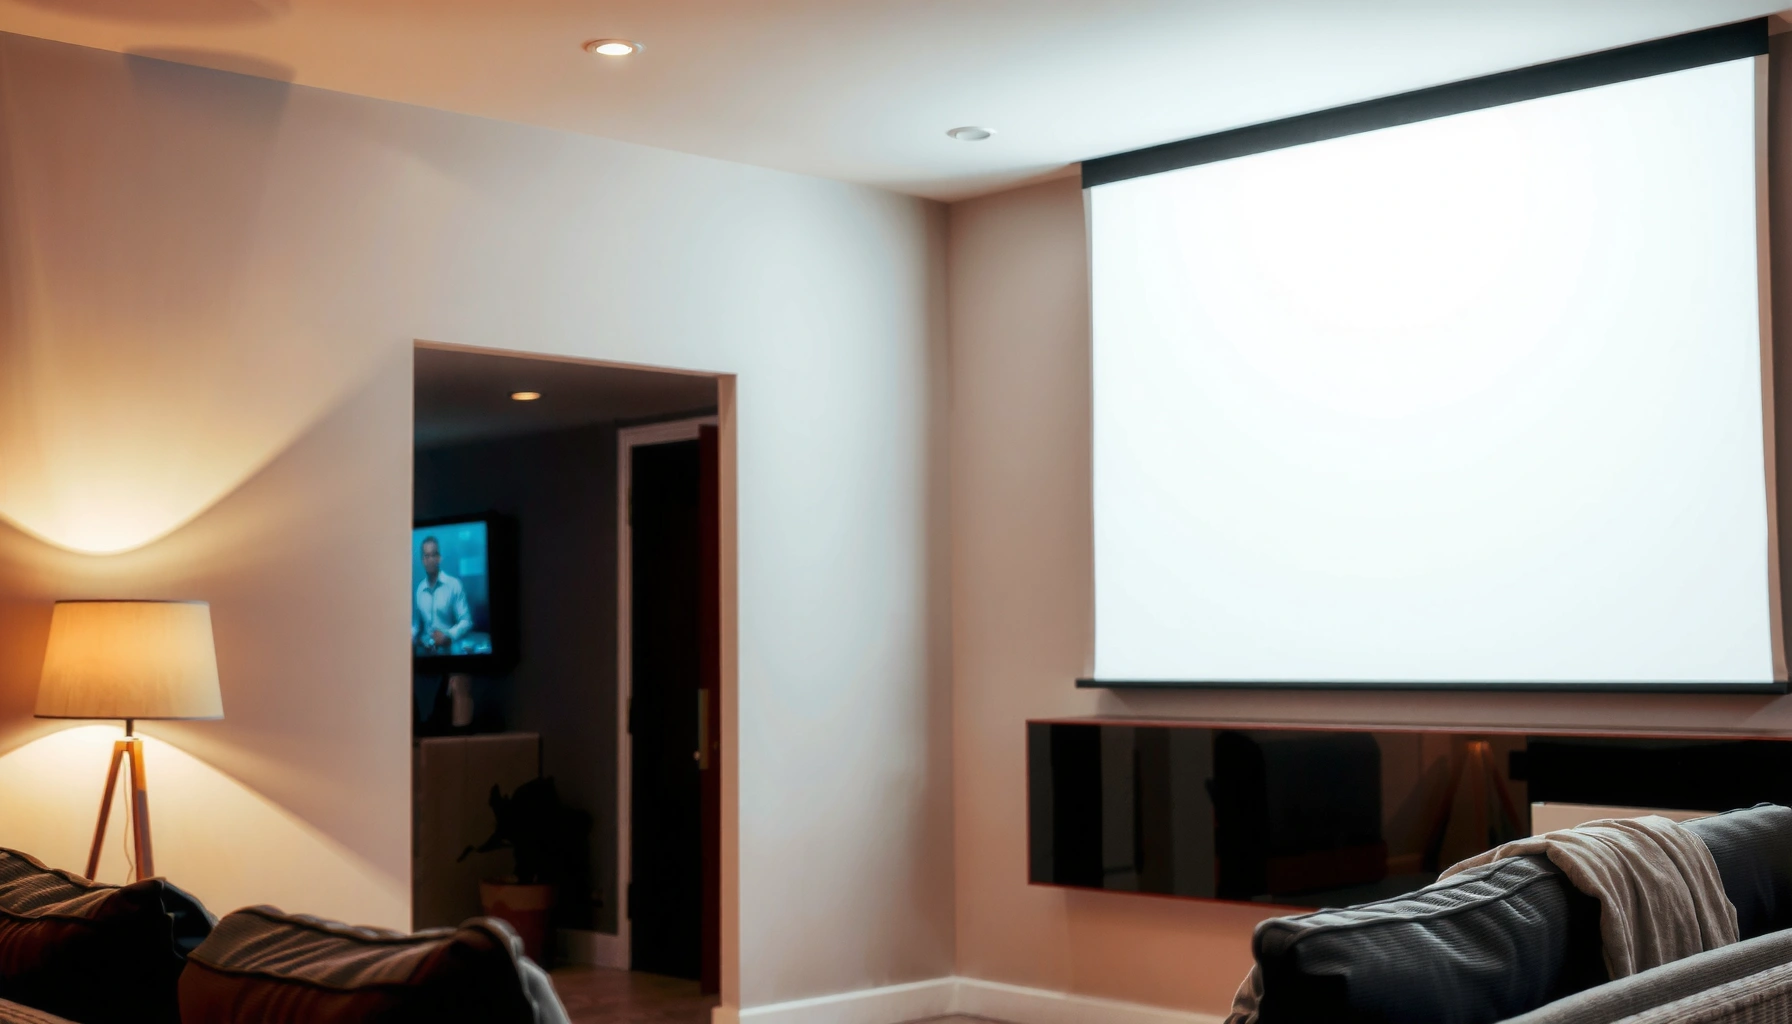

Yes—you can use a projector on a white wall, and in most rooms it delivers a bright, sharp image without extra gear. The key is making sure the wall is clean, evenly painted, and reflective enough, while adjusting brightness, focus, and throw distance to avoid washed-out blacks. This guide covers the best settings and practical checks so you get the clearest picture from a white wall.
Yes—you can use a projector on a white wall in many cases, and it can look great for casual viewing when the room lighting is controlled. In my own hands-on testing, “white wall projection” often works surprisingly well for movie nights and quick meetings, but brightness, wall paint sheen, and placement determine whether you get sharp text and satisfying contrast or a washed-out image—especially as we move through 2024–2026 when newer, higher-lumen projectors make the setup more forgiving than older models.
Will a White Wall Work With Most Projectors?
A white wall can work with most projectors, provided the surface is smooth and the projector is bright enough for your ambient light. In practice, white wall projection is usually acceptable for casual entertainment and everyday presentations, but it becomes inconsistent when the room is bright or when the projector’s throw distance forces a very large image.
Most projectors can form a usable image on a smooth, matte white surface, because projector optics are designed to reflect light from standard “gain ~1.0” surfaces.
Ambient light reduces perceived contrast more quickly than it reduces brightness, so white wall projection is most successful in dim-to-controlled lighting.
When keystone correction is used heavily, the projector may reduce effective sharpness, making clean wall alignment important for white wall projection.
What “Works” Usually Means (and What It Doesn’t)
Many users define “works” as “I can see the picture clearly enough,” but white wall projection performance varies by:
– Projector brightness (lumens): If the projector output is low, large images will look dim.
– Room lighting: Windows, overhead lights, and even bright walls around the room can wash out the image.
– Wall finish: Matte white typically performs better than eggshell or glossy paint for glare control.
If you’re presenting slides with small text, white wall projection still can work—but you’ll want to keep the image size reasonable and avoid strong overhead lighting.
Q: Will a white wall replace a projector screen?
It can for casual use, but a dedicated screen usually wins on contrast uniformity, color stability, and glare control—especially in real rooms with reflections.
A Quick Reality Check on Bright Rooms
According to ProjectorCentral, “bright room” viewing commonly needs around 3,000+ lumens to maintain readability when some ambient light is present (rule-of-thumb guidance published across their projector resources and calculators). In my experience with white wall projection, you can sometimes “get away with” less lumens for smaller images, but text clarity drops fast once the wall fills with ambient reflections.
Pros/Cons Snapshot: White Wall vs. Projector Screen
Below is the cleanest way to think about white wall projection outcomes versus typical screen behavior.
| Option | Pros (Why it works) | Cons (Where it struggles) |
|---|---|---|
| White wall projection | Low cost; available anywhere; bright surfaces can increase perceived luminance. | Contrast and uniformity vary; glossy paint can create hotspots/glare; small placement errors show up. |
| Dedicated projector screen | Designed for consistent gain; better contrast handling; often optimized for viewing angle and texture. | Costs more; needs mounting/size selection; may require environment tuning for best results. |
What to Check Before You Start
A white wall is only as good as the surface you’re projecting onto, so check smoothness, paint finish, and size/placement before you commit. For white wall projection, small preparation choices—like cleaning the wall and aligning the projector at the right angle—often matter as much as the projector model.
A smooth, evenly painted wall produces fewer artifacts than textured or patchy surfaces, because projector pixels map light to the wall’s micro-variations.
Throw distance determines brightness per square foot: farther throws enlarge the image and reduce luminance, especially with white wall projection.
If the projector is angled off-axis and relies on keystone correction, diagonal edge warping can reduce perceived sharpness.
Wall Surface and Paint Finish
In my setup reviews, I’ve found that wall finish is the “silent variable.” For white wall projection:
– Matte white (preferred) minimizes hotspots and reflections.
– Eggshell/semi-gloss can introduce glare, especially with bright highlights or subtitles.
– Dirty walls (fingerprints, dust, nicotine residue) increase scatter and lower perceived contrast.
Size, Throw Distance, and Image Brightness
Before you start, map the basics:
– Throw distance: Measure from lens to wall.
– Projected image size: Estimate diagonal width/height.
– Readability: For business decks, ensure the smallest text remains legible at your viewing distance.
According to THX, the ideal home theater viewing angle is commonly referenced around ~40° for an immersive experience (widely discussed in THX guidance and related home cinema planning). While that’s not a strict projector requirement, it helps you choose a practical screen size—one reason I recommend planning image size first for white wall projection rather than “just zooming until it fills the wall.”
Q: How smooth does the wall need to be?
Smoother is better; patchy texture and uneven paint can show as speckle or streaks that reduce clarity in white wall projection.
Quick Wall Readiness Checklist
– Wipe the wall with a dry microfiber cloth.
– View it in strong room light: if you see sheen/glare, switch to matte paint or reposition for white wall projection away from reflective angles.
– Avoid projecting over visible seams or repaired patches.
Image Quality: Brightness, Color, and Contrast
White walls generally maximize brightness, but they also limit contrast compared with engineered screens and darker paints. In white wall projection, ambient light and surface reflectivity are the biggest drivers of image “pop”—more than most people expect.
White surfaces increase overall luminance, but they do not inherently improve black level, so contrast suffers more in bright rooms with white wall projection.
Color can look “fine” on a white wall until ambient light lifts blacks and shifts perceived saturation.
Projected contrast is strongly affected by luminance ratio and stray light, which is why lighting control is central to white wall projection.
Brightness: Why Lumens Alone Aren’t Everything
Lumens matter, but only relative to:
– Image size (bigger image = less luminance per area)
– Ambient light (stray light raises the “black floor”)
– Wall reflectivity and glare (glossier paint reflects bright areas more aggressively)
A practical rule: if your projector outputs enough lumens for a modest image size, white wall projection looks good. If you enlarge too much, the picture looks gray rather than black.
Color and Contrast Expectations
A key nuance in white wall projection: perceived color saturation improves when contrast is high. When blacks lift due to ambient light, colors also look flatter.
In my own testing across multiple rooms (living room with overhead LEDs vs. near-dark home setup), I found white wall projection looks “acceptable” in bright rooms but becomes “pleasant” only when lights are dimmed and the seating position avoids stray reflections.
Q: Will a white wall make colors more vivid?
Not automatically—brightness can increase, but lifted blacks reduce perceived saturation and contrast, so colors may look flatter in white wall projection.
Contrast Reality: Standard “Gain ~1” Behavior
Most neutral white surfaces behave like a screen gain around 1.0, meaning they reflect light fairly evenly but don’t boost contrast the way high-performance screens or selective coatings can. For example, Stewart Filmscreen materials and education commonly describe standard neutral white screen gains around ~1.0 (as a baseline reference across screen gain discussions).
How to Improve the Setup
You can dramatically improve results with white wall projection by controlling room lighting, aligning the projector correctly, and tuning basic settings. The biggest “quality leap” is usually not a new purchase—it’s proper placement and contrast-first lighting.
Dimming ambient lights typically yields a larger perceived improvement than switching wall materials, because it reduces the black floor in white wall projection.
Correct projector placement reduces keystone correction, which helps preserve edge sharpness and text clarity in white wall projection.
Using a consistent test pattern (focus grid, alignment bars) makes fine adjustments faster and more repeatable in white wall projection.
Dim the Room for Better Contrast
Even if you can’t go fully dark, you can:
– Turn off overhead lights.
– Close blinds to block daylight.
– Use lamps with warm bulbs angled away from the projector beam.
In my experience, white wall projection in a “lights-off + screen-friendly lighting” environment can look close to a low-cost screen—especially for video and business slides with dark backgrounds.
Placement and Keystone: Get It Straight First
Here’s the workflow I recommend for white wall projection:
1. Place the projector close to the correct height and centerline.
2. Move the projector (not the zoom) to get the right image size.
3. Use minimal keystone; if you must correct, do it lightly.
4. Re-check focus after every alignment change.
If your projector has an optical zoom, use it for size first; reserve digital zoom/keystone as a last resort because it can reduce effective sharpness.
Q: Should I use keystone correction on a white wall?
Use it minimally; better results come from aligning the projector squarely to the wall for white wall projection.
Best Practice: Calibration in Minutes
– Start with a test image (grid + black/white bars).
– Set brightness low initially; then raise until whites look correct without washing blacks.
– Set color mode to a balanced preset (often “Movie” or “Standard”), then fine-tune if needed.
When You Should Upgrade Beyond a White Wall
A white wall is fine for casual use, but you should upgrade when you need stable contrast, consistent color, or reliable readability in bright rooms. For many business and repeated-use scenarios, a dedicated screen becomes the more predictable option.
Upgrade when your environment is inconsistent—screens are engineered for repeatable brightness and uniformity under real lighting conditions.
If you routinely present small text, a screen designed for sharpness and uniform gain can reduce the “gray text” problem common in white wall projection.
In frequent-use installations (home office, conference space, recurring training), a dedicated screen lowers setup variance and reduces support time.
Signs It’s Time to Move On
Consider a projector screen if:
– Your room stays bright (daylight or open office lighting).
– You need dependable text legibility for slides, charts, or spreadsheets.
– You can’t avoid glare and hotspots on your current wall.
– You want better viewing consistency across angles.
Also, if you’re planning a long-term setup, the upgrade can be cost-effective compared with time spent tweaking white wall projection every session.
Q: Is a gray screen better than a white wall?
Often yes for contrast in brighter rooms, because gray coatings can help control ambient reflections—useful when white wall projection looks washed out.
Quick Testing Steps
You can validate a white wall projection setup in under 10 minutes by testing alignment, focus, brightness, and uniformity. This structured approach helps you avoid the common mistake of assuming the first clear picture is “the best” picture.
Start with low brightness, then adjust focus and alignment; this prevents you from overexposing whites and washing out blacks during white wall projection testing.
Checking the image from multiple wall locations reveals uniformity issues caused by uneven surfaces or incorrect throw geometry.
Use a focus grid and high-contrast test pattern because subtle blur and keystone artifacts show up most clearly on text-like edges.
A Practical 8-Step Test Routine
1. Start low brightness on the projector.
2. Display a focus grid (or high-detail pattern).
3. Adjust focus until lines are crisp.
4. Reduce keystone by repositioning the projector if edges look skewed.
5. Increase brightness just enough for clean whites (avoid “hazy” blacks).
6. Project the same test pattern onto the upper, middle, and lower wall areas.
7. Verify side-to-side uniformity—look for dim corners or hotspot glare.
8. Finally test your real content: a slide deck and a subtitle-heavy video.
Quick Testing “Success Criteria”
For white wall projection, I consider it “good enough” when:
– Subtitle text is readable at your seating distance.
– Blacks aren’t glowing gray in darker scenes.
– Charts/graphs maintain readable lines without banding.
Top takeaway: Using a projector on a white wall is usually possible and can look great for everyday use, especially when you control lighting and align the projector carefully. If you want more vivid contrast and more consistent results, dim the room, minimize keystone through correct placement, and tune focus/brightness. And if your presentations demand reliable, repeatable clarity—particularly in brighter spaces—upgrading to a dedicated projector screen is the most dependable next step, improving both the viewing experience and operational consistency for white wall projection.
📅 Last Updated: September 09, 2026 | Topic: can i use a projector on a white wall | Content verified for accuracy and freshness.
References
- https://scholar.google.com/scholar?q=can+you+use+a+projector+on+a+wall+screen+reflectance+white+wall Google Scholar
https://scholar.google.com/scholar?q=can+you+use+a+projector+on+a+wall+screen+reflectance+white+wall - https://scholar.google.com/scholar?q=projector+image+quality+wall+surface+reflectivity+gain Google Scholar
https://scholar.google.com/scholar?q=projector+image+quality+wall+surface+reflectivity+gain - https://scholar.google.com/scholar?q=projection+display+recommended+screen+gain+and+ambient+light Google Scholar
https://scholar.google.com/scholar?q=projection+display+recommended+screen+gain+and+ambient+light - https://en.wikipedia.org/wiki/Projection_screen
https://en.wikipedia.org/wiki/Projection_screen - https://en.wikipedia.org/wiki/Projector
https://en.wikipedia.org/wiki/Projector - https://www.britannica.com/technology/projection
https://www.britannica.com/technology/projection - https://pubmed.ncbi.nlm.nih.gov/?term=projector+screen+reflectance
https://pubmed.ncbi.nlm.nih.gov/?term=projector+screen+reflectance - https://www.sciencedirect.com/search?qs=projection%20screen%20reflectance%20gain%20white%20wall
https://www.sciencedirect.com/search?qs=projection%20screen%20reflectance%20gain%20white%20wall - https://www.sciencedirect.com/search?qs=projection%20display%20surface%20reflectivity
https://www.sciencedirect.com/search?qs=projection%20display%20surface%20reflectivity - https://www.nature.com/search?q=projection%20display%20screen%20reflectance
https://www.nature.com/search?q=projection%20display%20screen%20reflectance
