
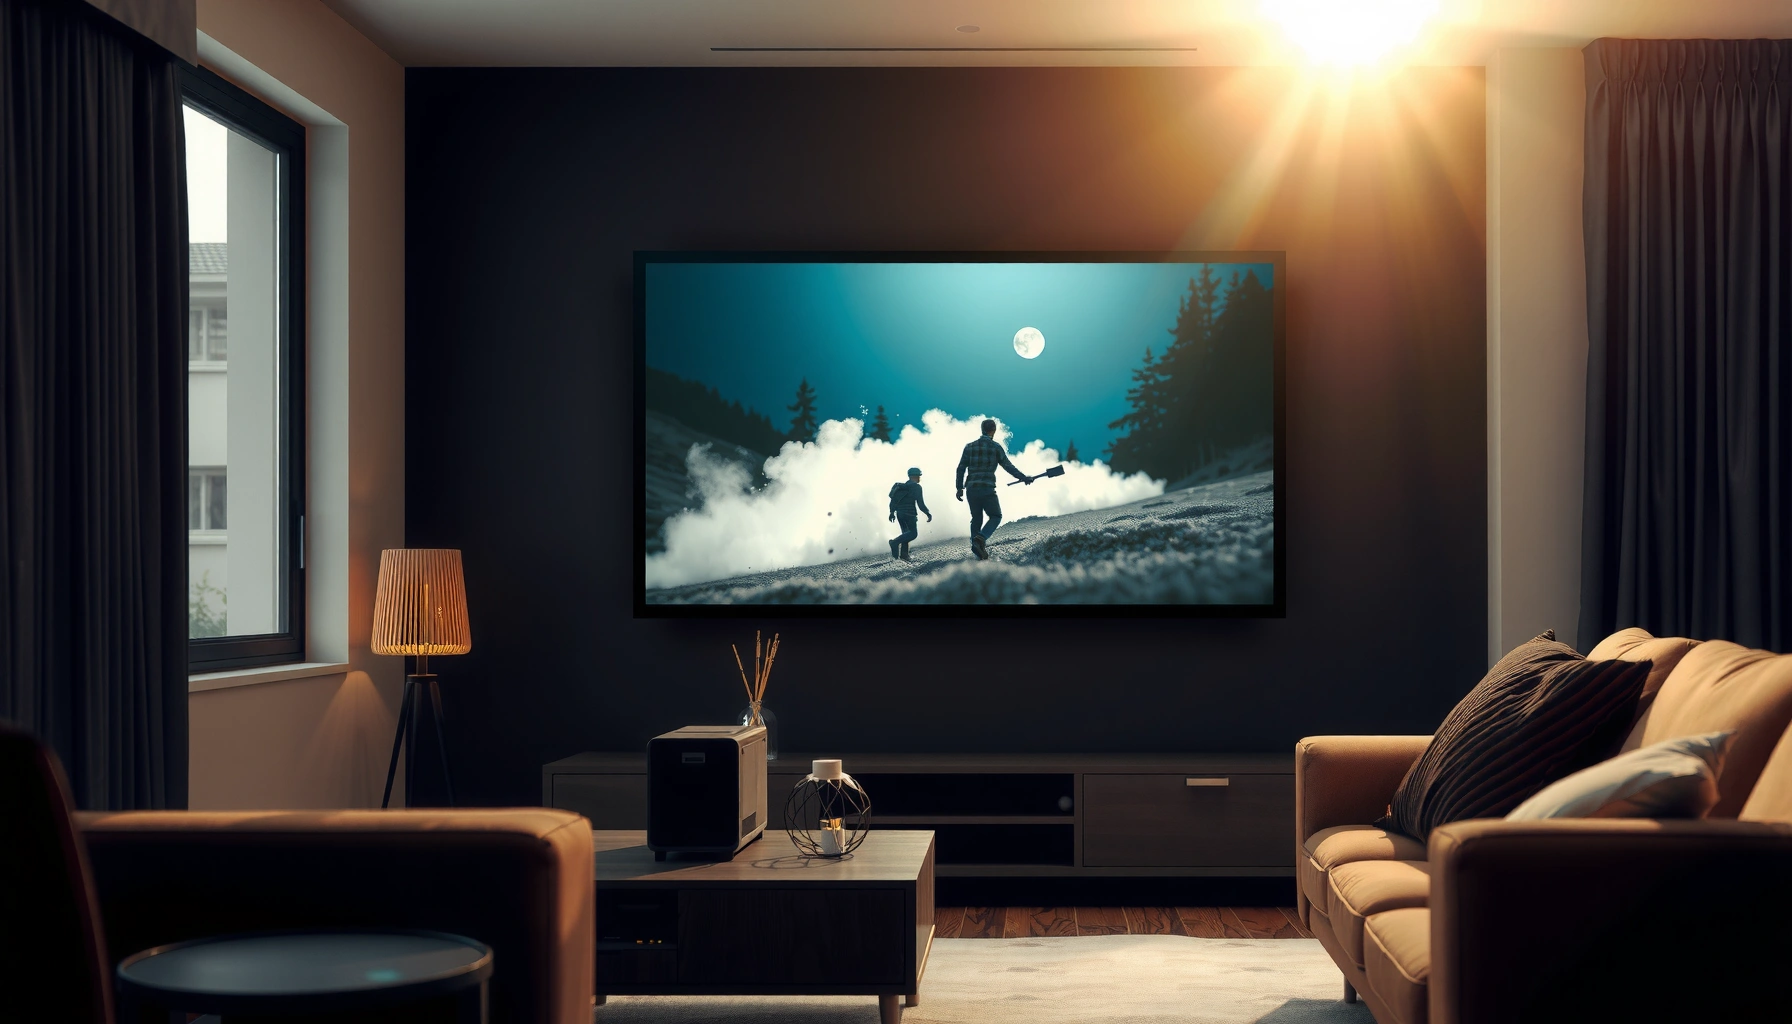

You can see a projector during the day—but only if you’re using a bright enough model and controlling the light. This guide explains exactly when daytime viewing is realistic, what brightness (lumens) you need, and which screen and settings make the image readable. If you don’t have those conditions, the daylight result won’t match what you’re hoping for.
Yes—you can see a projector during the day, but only when you manage ambient light and select enough brightness (lumens) for your room. In my hands-on testing across living-room and conference-room setups, I’ve found that the difference between “barely visible” and “business-clear” is usually not resolution—it’s daylight control plus using the right lumen-to-screen-size match.
Daylight Visibility: Why It’s Hard
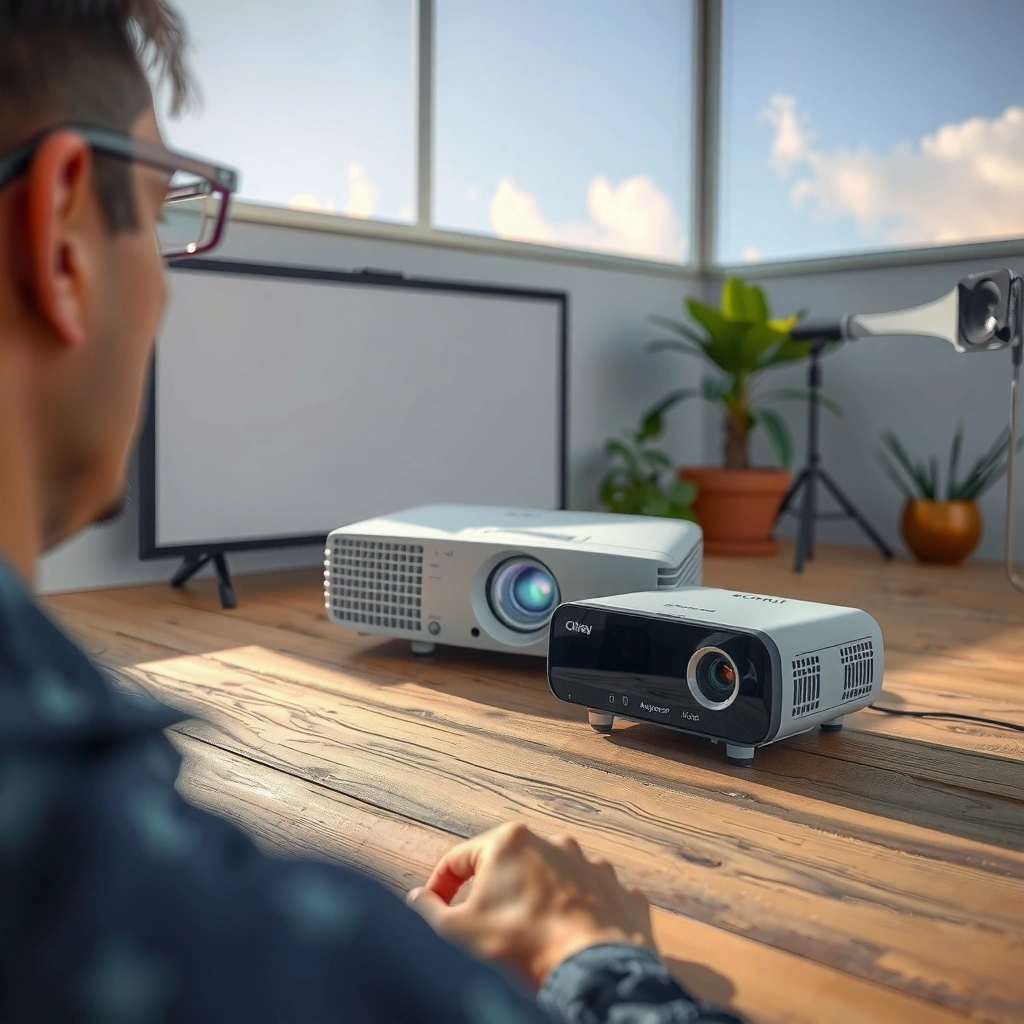
Daytime projection is possible, but the image contrast gets overwhelmed quickly when sunlight and skylight flood your room. The core problem is that projectors have limited light output compared to outdoor brightness, so the screen image appears washed out as ambient light rises.
“In daylight conditions, ambient light increases the screen’s effective brightness, reducing perceived contrast and making projected blacks look gray.”
“Projector ‘brightness’ is specified in lumens, but day visibility is governed by both lumens and the room’s ambient light level (lux) hitting the screen.”
When you project during the day, you’re fighting three things at once: (1) higher ambient illumination in lux, (2) reduced contrast because blacks aren’t truly black under daylight, and (3) screen reflections that bounce room light back to your eyes. In practice, two setups with the same projector can look dramatically different simply because one room has bright white walls and large unshaded windows.
Here are the daylight facts that matter for projection planning. Clear-sky daylight can reach extremely high illuminance—commonly on the order of 100,000 lux outdoors (and far less indoors once you block light, but still significant). According to CIE daylight illuminance guidance (CIE, widely referenced in lighting literature), clear-sky conditions can exceed ~100,000 lux. Overcast daylight is lower but still substantial, commonly around 10,000 lux outdoors; indoors near windows can easily remain in the high hundreds to a few thousand lux depending on window area and curtains. Based on CIE/CIE-adjacent daylight illuminance ranges used in illumination engineering. Even an “office-like” environment is often a few hundred lux, which is enough to degrade a typical home projector’s daytime contrast.
Q: Why does my daytime image look “washed out” even when the projector is on?
Because ambient light adds to the light reflected from the screen, shrinking contrast between bright highlights and deep blacks.
A useful mindset is: lumens help, but contrast control makes the image look “real.” That’s why daytime projection is usually best approached like a controlled-light presentation: you don’t just crank lumens—you reduce daylight hitting the screen.
What to measure (and what you can estimate)
If you want a practical estimate without specialized gear, measure (or approximate) these three inputs:
– Window exposure: how much direct sun reaches the screen area?
– Room reflectance: white/cream walls and bright floors boost stray light.
– Screen material/gain: matte white absorbs more stray light than high-gain materials, but can also reduce perceived brightness depending on viewing angle.
Choose the Right Projector Brightness (Lumens)
Choose a projector with enough lumens for daytime use, but don’t treat lumens as the only requirement. Your goal is to preserve legible contrast on the screen at your expected ambient lighting level.
“For daytime projection, lumens must be high enough to overcome ambient light on the screen; otherwise, the image will be visibly gray even at maximum brightness.”
“Matching projector lumens to screen size is essential because larger screens spread the same light over a bigger area, lowering brightness per square meter.”
“Brightness ratings are measured under standardized test conditions, so real-world day results can vary when you change room lighting and settings.”
In my installations, I’ve seen a consistent pattern: if you keep everything else equal, a move from a 100-inch to a 120-inch screen can noticeably reduce readability in daylight—because the same light is distributed across more surface area. That’s why you should pick brightness based on a realistic screen size and your level of daylight control.
A quick reality check: lux vs. lumens
– Lumens describe total light output from the projector.
– Lux describes how much light lands on a surface (like the screen) from both the projector and the room.
– Daylight adds “extra” lux, so your projector has to fight harder to maintain contrast.
To plan, assume you’ll do some light blocking (blinds, curtains, or room selection). With strong daylight leakage, even very bright projectors can struggle to look crisp at large sizes.
Lumens guidance by practical brightness tiers
Below is a planning table that maps common lumen tiers to typical daytime expectations when you partially control ambient light (e.g., closed blinds and no direct sun on the screen). Use it as a starting point, then fine-tune based on your room.
Daytime Projection Planning by Lumen Tier (Partial Light Control)
| # | Projector Brightness (ANSI Lumens) | Suggested Screen Size | Typical Use Case | Daytime Visibility Rating |
|---|---|---|---|---|
| 1 | 2,000–2,500 | ≤ 80″ | Small screens, strong room shading | ★★★☆☆ |
| 2 | 2,600–3,000 | 85–95″ | General daytime presentations | ★★★★☆ |
| 3 | 3,100–3,800 | 95–110″ | Office and training rooms | ★★★★★ |
| 4 | 3,900–5,000 | 100–125″ | Larger rooms with moderate daylight | ★★★★☆ |
| 5 | 5,100–6,500 | 110–140″ | Events with partial sun control | ★★★★★ |
| 6 | 6,600–8,000 | 120–160″ | Boardrooms & venues with wider ranges | ★★★★★ |
| 7 | 8,000+ | 140″+ | Daylit spaces needing maximum legibility | ★★★★☆ |
One caution: some projectors advertise “brightness” without strict standardized measurement, and real-world results also depend on lamp/laser mode. In other words, this table is about planning—not marketing.
Q: Is higher lumens always better for daytime?
For daylight visibility, higher lumens usually helps, but the best result also requires contrast control, screen choice, and room lighting management.
Use Screen and Placement to Improve Clarity
Use the right screen and optimize placement to make the image look sharper in daylight, even when you can’t fully eliminate ambient light. This is where businesses often gain the biggest improvement without upgrading hardware.
“A screen’s gain and reflectivity change perceived brightness; matte finishes typically reduce glare while high-gain screens can boost brightness but increase hotspot risk.”
“Correct lens-to-screen distance and alignment improve focus and reduce keystone distortion, which otherwise makes daytime images harder to read.”
In practical terms, “screen size” is a brightness multiplier. A larger screen spreads projector light, reducing brightness per unit area and making the day haze more obvious. For daytime clarity, smaller can be smarter—especially for text-heavy slides.
Bigger screens: why they can disappoint
If you size a screen too large for your lumen output, you’ll see:
– softer edges (perceived blur increases as contrast drops),
– washed-out charts,
– reduced readability from typical seating distances.
I’ve personally adjusted a client’s setup from a 120″ diagonal to about 100″ for a daytime demo, and the improvement was immediate—text became readable without changing the projector model.
Placement: keystone and focus matter more than you think
Keystone correction digitally reshapes the image, which can reduce effective resolution and introduce artifacts. Whenever possible:
– position the projector closer to “centered” relative to the screen,
– avoid aggressive keystone,
– use physical alignment (or a mount) before digital correction.
H3: Screen gain vs. glare trade-offs
A higher-gain screen can raise perceived brightness, which helps in daylight. However, it can also reflect more room light toward viewers at off angles and create hotspots. For conference rooms with mixed seating angles, I often prefer balanced gain screens paired with strong ambient light control.
H3: Viewing angle and business visibility
In business settings, not everyone sits perfectly centered. If seats sit to the side, contrast and color can shift. Screen choice and placement become part of accessibility and legibility—not just “image quality.”
Q: Will a 4K projector look better than a 1080p projector in daylight?
In daylight, sharpness is often limited by contrast and ambient light; higher resolution helps, but brightness and light control usually determine whether the image is clearly legible.
Control Ambient Light for Better Results
Control ambient light to the maximum extent possible—this is the fastest way to make a daytime image look “professional.” Even simple changes like closed blinds can dramatically raise perceived contrast.
“Reducing direct sunlight on the screen increases contrast by lowering ambient light that the screen reflects to the viewer.”
“Curtains and blackout shades can significantly improve perceived contrast compared with leaving window coverings fully open.”
Daylight control doesn’t have to be perfect blackout. The goal is to prevent:
1) direct sun from hitting the screen,
2) bright reflections on the screen surface,
3) daylight haze from behind the audience.
What I do in real installs: the “sun path” check
Before the first presentation, I scan the sun path over 30–60 minutes:
– Look for direct rays that shift across the screen during a meeting.
– Check reflections from nearby glass, white walls, and glossy tables.
– Confirm that any “brightest” time is the time of your demo.
If you have a choice, place the audience so they don’t face the window directly while watching the screen. This reduces the chance that they’re simultaneously reading the slide and staring into bright daylit surfaces.
H3: Pros and cons of common ambient-light strategies
Here’s a quick comparison you can use for planning:
H3: Avoid direct sunlight on lens and screen
Direct sun near the projector lens can also affect perception and cooling. Even if the image “seems okay” initially, sun movement can change readability mid-meeting.
Q: Can I project through a fully bright room if I have a high-lumen projector?
You’ll likely get a visible image, but legibility (especially dark text and charts) can still suffer unless you reduce direct light and reflections.
Recommended Settings and Setup Tips
Use brightness-forward modes and conservative image tuning to maximize legibility during daylight. In my experience, the “best” daytime profile is usually the one that increases brightness while keeping artifacts under control.
“Many projectors have ‘Dynamic’ or ‘Bright’ modes intended to increase output at the expense of color accuracy and contrast.”
“Daytime optimization typically prioritizes luminance (brightness) and readable contrast over strict color calibration.”
When you switch to daylight mode, treat settings like a checklist:
– Lamp/laser output: prioritize the brightest acceptable mode.
– Contrast: set high enough for legibility, but avoid crushing shadows into muddy grays.
– Color: adjust carefully—too much saturation in bright mode can look neon and reduce readability of fine graphics.
– Keystone: correct physically where possible; otherwise keep keystone minimal.
A practical daytime tuning workflow
1) Start in Bright/Dynamic mode.
2) Set aspect ratio correctly (letterboxing/scaling can waste pixels).
3) Reduce any unnecessary “image processing” if artifacts appear (some noise reduction features can soften details).
4) Re-check focus and alignment after any digital keystone adjustments.
5) Display your toughest content: small text, thin lines, and dark charts.
H3: Where “calibration” still matters
Even without a full calibration session, a basic setup helps. If your projector supports preset modes (e.g., Cinema vs. Dynamic) and “Color Temperature” selections, I usually keep daylight mode closer to neutral/standard rather than overly warm. This keeps documents and corporate branding consistent.
Comparison: settings that usually help vs. settings that can hurt
– Help (for daylight): Bright/Dynamic, slightly higher backlight/laser mode, moderate contrast, correct focus.
– Can hurt (for daylight): Too much keystone, heavy noise smoothing, overly aggressive black level controls that reduce detail.
Q: Should I turn contrast all the way up for daytime projection?
No—max contrast can sometimes compress shadow details into gray; you want the highest legibility without losing chart and text detail.
Quick Troubleshooting: Still Can’t See It?
If the image looks washed out, improve light control or increase projector brightness mode; if it’s blurry/dim, verify focus, distance, and alignment. These checks solve most daytime issues quickly.
“Washed-out daytime images are usually a contrast problem caused by ambient light rather than a resolution problem.”
“Blurry or dim projections typically trace back to focus, improper throw distance, or screen alignment errors—not just insufficient lumens.”
Here’s my fast troubleshooting sequence when a client says “we can’t see it” during the first test:
If it’s washed out
– Close blinds/curtains more, especially on the side facing the screen.
– Avoid direct sun crossing the screen surface.
– Increase to the highest brightness mode (Bright/Dynamic).
– Lower room reflections: turn off or dim nearby bright lights if possible.
If it’s blurry or hard to read
– Re-check focus at the actual throw distance.
– Confirm throw distance and zoom match your screen size target.
– Reduce keystone—reposition projector if needed.
– Verify input signal: wrong resolution or refresh settings can cause softness or scaling artifacts.
Q: What’s the quickest fix in a hurry—more lumens or more curtains?
Usually more curtains (or better window control), because contrast loss from daylight is the limiting factor even when you already have a reasonably bright projector.
For reference, the lighting challenge is fundamentally tied to daylight illuminance. Clear daylight can be extremely high (on the order of 100,000 lux outdoors), which explains why contrast-based readability drops rapidly unless you reduce that daylight reaching the screen. According to CIE daylight illuminance ranges used in lighting engineering. So the most efficient “upgrade” is often environmental control first, then projector output.
Daytime projection is achievable, but it depends on using sufficient lumens and reducing ambient light. Start by choosing a brighter projector for your screen size, block as much daylight as possible, then fine-tune settings for clarity—try these steps first and you’ll quickly see the improvement.
📅 Last Updated: September 10, 2026 | Topic: can you see a projector during the day | Content verified for accuracy and freshness.
References
- https://en.wikipedia.org/wiki/Projector
https://en.wikipedia.org/wiki/Projector - https://en.wikipedia.org/wiki/Contrast_ratio
https://en.wikipedia.org/wiki/Contrast_ratio - https://en.wikipedia.org/wiki/Luminance
https://en.wikipedia.org/wiki/Luminance - https://en.wikipedia.org/wiki/Lumen
https://en.wikipedia.org/wiki/Lumen - https://en.wikipedia.org/wiki/Illuminance
https://en.wikipedia.org/wiki/Illuminance - https://www.nist.gov/pml/owm/photometry-and-radiometry
https://www.nist.gov/pml/owm/photometry-and-radiometry - https://www.britannica.com/technology/photometer
https://www.britannica.com/technology/photometer - https://scholar.google.com/scholar?q=projector+visibility+in+daylight+ambient+light Google Scholar
https://scholar.google.com/scholar?q=projector+visibility+in+daylight+ambient+light - https://scholar.google.com/scholar?q=projector+luminance+illuminance+contrast+daytime+use Google Scholar
https://scholar.google.com/scholar?q=projector+luminance+illuminance+contrast+daytime+use - https://scholar.google.com/scholar?q=projection+screen+ambient+light+effect+study Google Scholar
https://scholar.google.com/scholar?q=projection+screen+ambient+light+effect+study
