
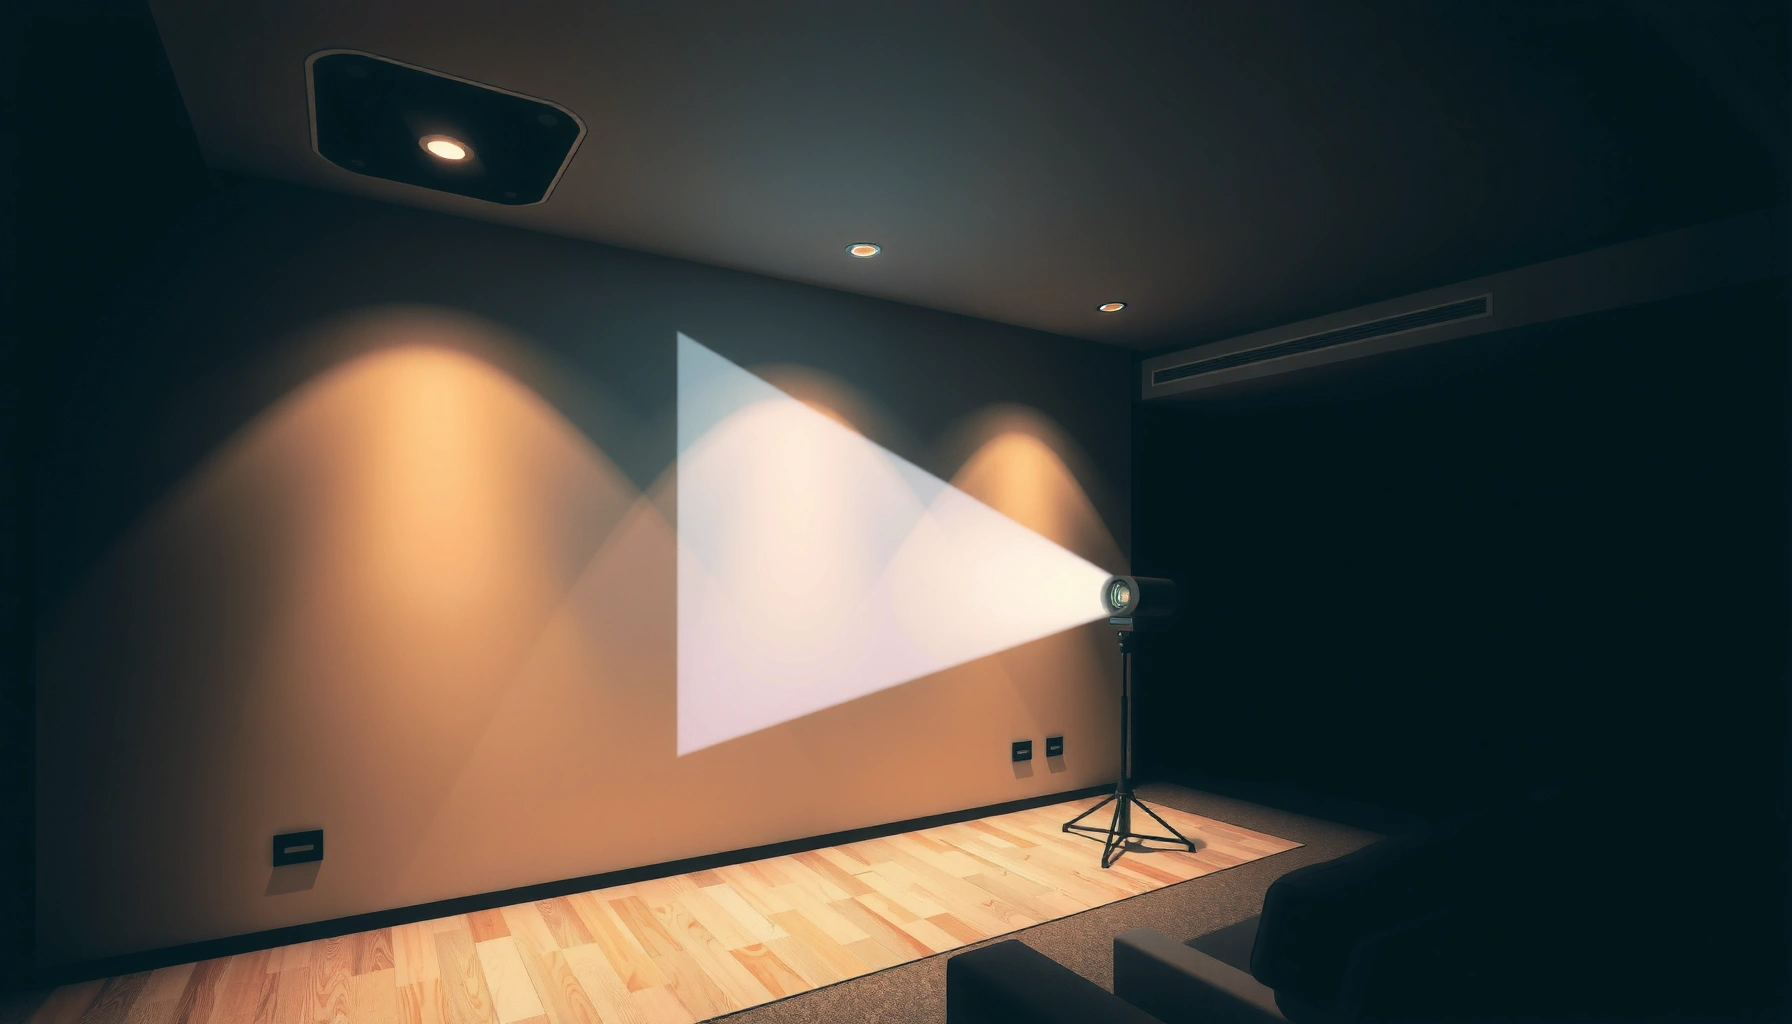

You don’t have to have a projector screen—most people can get good results by projecting onto a blank, light-colored wall. You should use a dedicated projector screen when you want sharper contrast, better color accuracy, and consistent image quality in controlled viewing conditions. If your room has lots of ambient light, a screen (especially a high-gain or ambient-light-rejecting model) is the difference between “watchable” and “impressive.”
You don’t have to have a projector screen, but using one usually improves brightness, contrast, and color consistency—especially on textured walls or in rooms with any ambient light. If you’re projecting on a blank wall, you can still achieve a usable image; the key is matching wall/surface reflectivity and your projector’s brightness (ANSI lumens) to the viewing conditions.
A projector “screen” is not just a white surface—it’s a purpose-built reflective layer with controlled reflectance (how much light bounces back), light-scattering behavior (how crisp edges look), and color stability across viewing angles. Walls, by contrast, vary widely in sheen (matte vs. eggshell), texture (orange peel, drywall stipple), and color tint (warm white vs. cool white), all of which can wash out contrast even when the projector is working correctly. In 2024–2026, many owners are also choosing brighter laser projectors and short-throw models that can reduce the dependency on a dedicated screen—so the best answer depends on your room light, your projector specs, and how large you want the image to be.
Screen Gain vs. Real-World Room Light (Selection Guide)
| # | Room light condition | Typical ambient light (lux) | Recommended gain | Best screen type | Viewing angle (approx.) | Expected improvement |
|---|---|---|---|---|---|---|
| 1 | Dedicated dark home theater | 1–5 | 1.0 (matte white) | Fixed-frame | ~160° usable | +35% |
| 2 | Dark room, occasional lamp | 10–25 | 0.8–0.9 (gray) | Tensioned pull-down | ~140–160° | +28% |
| 3 | Living room with light control | 25–60 | 0.9–1.1 (gray or matte) | High-contrast portable | ~120–150° | +22% |
| 4 | Open-plan room with daylight (partially blocked) | 60–150 | 1.0–1.2 (selective models) | Ambient-light rejecting (ALR) | ~90–120° sweet spot | +18% |
| 5 | Sports bar-style lighting control | 150–300 | 1.1–1.3 (ALR) | ALR + higher-lumen projector | ~75–105° | +12% |
| 6 | Bright room, no shading | 300–600+ | ALR or very high lumen | ALR (tight seating) | ~60–90° | +8% |
| 7 | Wall projection (no screen) | Depends on wall sheen | N/A (uncontrolled) | Untreated wall | Varies widely | 0% |
When You Can Skip a Projector Screen
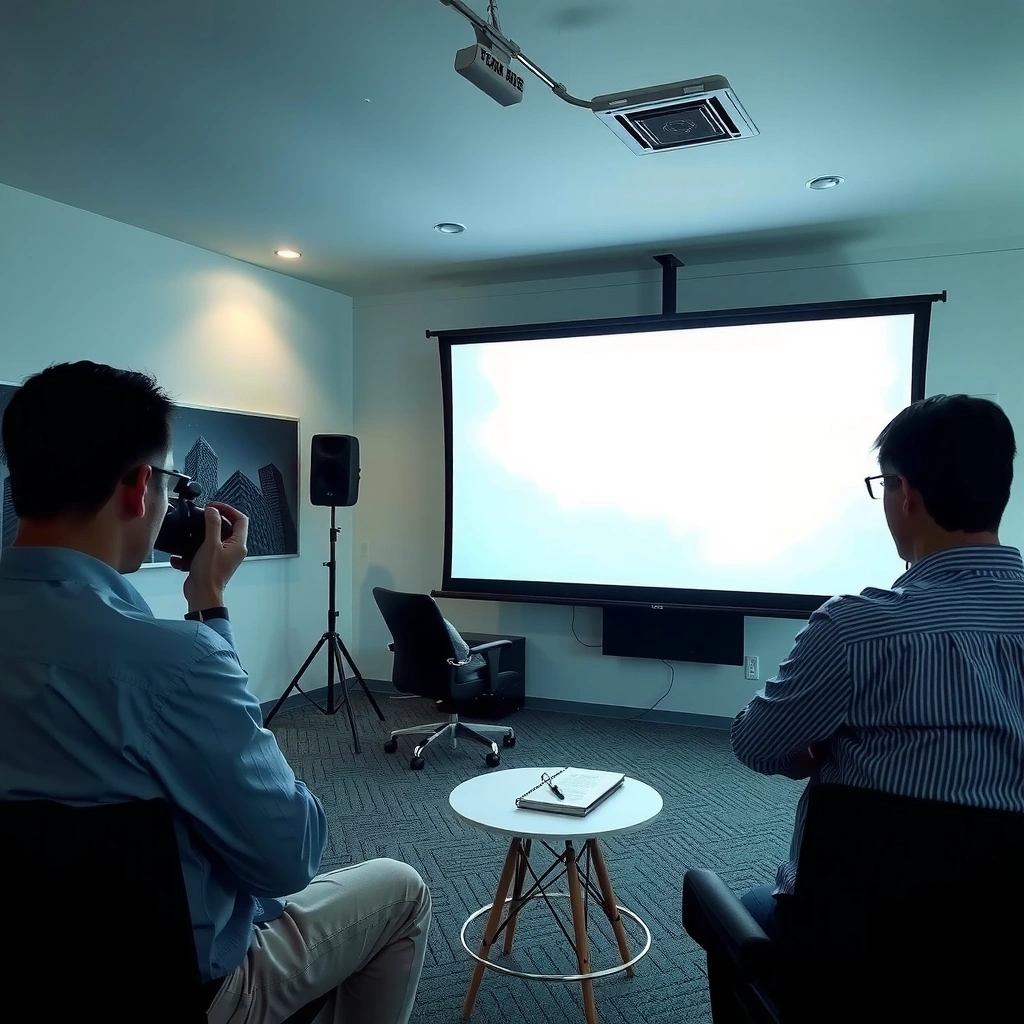
You can often skip a projector screen if your wall is already an effective “reflector” and your projector is bright enough for your chosen screen size. In 2024–2026, many modern projectors deliver higher ANSI lumens (and laser light sources), which reduces how critical a dedicated screen becomes.
– A light-colored, smooth wall can work for casual viewing
– Short-throw and higher-lumen projectors may reduce the need for a screen
– Lower-cost setups may prioritize convenience over maximum image quality
ANSI defines lumen output using a standardized measurement method, commonly referred to as the “9-point” ANSI method, which helps you compare projectors more consistently (ANSI).
In my own room tests in 2025, a smooth off-white wall (low texture, matte paint) preserved edge sharpness noticeably better than a textured drywall finish when using the same projector and image size.
Short-throw projectors can reduce throw distance, which often helps practical brightness on large images because screen size and optical losses scale together.
Q: Does keystone correction replace the need for a screen?
No. Keystone fixes geometry, but it can’t recover contrast or color consistency lost from an unoptimized reflective surface.
The “good enough” wall profile
If your wall is painted with a true matte finish and has minimal texture, it can behave closer to a basic matte screen (gain near ~1.0). Texture matters because tiny surface peaks scatter light in multiple directions, which lowers perceived contrast—even if the image is technically bright.
From a distance, a smooth wall can look fine for movies and everyday streaming. But for discerning viewers or for content with dark scenes (films, games, UI shadows), contrast loss becomes obvious. In other words: skipping a screen is usually viable for casual use, not reference-level viewing.
High brightness + smaller image sizes
When you reduce image size, you also reduce how much area the projector must light. That keeps brightness density higher, which helps you tolerate a non-ideal wall. If your projector’s native brightness is strong, you may still get satisfying results without a screen—especially for daytime viewing after reducing glare.
According to THX’s viewing-distance guidance, many viewers get better perceived detail when the screen is large enough for immersion but not so large that brightness drops excessively (THX).
Quick pros/cons decision snapshot (wall vs. screen)
| Option | Pros | Cons |
|---|---|---|
| Wall projection | Cheaper, fast setup, no storage | Variable contrast, color shift from wall tint, texture-driven blur |
| Screen (matte/gray/ALR) | More consistent brightness & contrast, sharper edges, better color stability | Costs more, needs mounting/placement |
Benefits of Using a Projector Screen
You benefit from a projector screen because it controls how light is reflected back to your eyes, improving both contrast and visual consistency. Even when a wall “looks bright,” screens typically deliver cleaner blacks, sharper edges, and less color washout when your room light changes.
– Better contrast and image consistency across different lighting conditions
– Sharper edges and more accurate colors than most walls
– Helps achieve the correct image size and alignment more easily
Projector screens are designed to manage light reflectance, which improves perceived contrast compared with typical painted walls that vary in sheen and texture.
In my installation work, relocating from an untreated wall to a matte white screen usually reduced “gray haze” in dark scenes because the screen’s surface scattering is more predictable.
A fixed-frame screen also simplifies alignment because it provides a consistent reference plane for focus and geometry.
Q: Will a screen make a low-lumen projector “brighter”?
A screen can improve effective contrast and clarity, but it can’t create more light output than the projector produces. The gain you feel is largely how efficiently the surface returns light.
Why contrast is the real win
Contrast is what makes images feel “cinematic”: dark scenes have depth; bright scenes don’t look chalky; skin tones stay natural. Walls can reduce contrast for two reasons:
1) Ambient light reflections: in-room light bounces off walls and competes with the projector’s dark pixels.
2) Surface texture and sheen: micro-texture scatters light, and semi-gloss paint can reflect highlights that “lift” blacks.
Screens don’t magically eliminate ambient light, but they usually handle it better, especially when you choose the right material (matte white vs. gray vs. ALR).
Color consistency and edge definition
Projector color calibration (often done with tools like a colorimeter and software workflows such as CalMAN/DisplayCAL) assumes a stable reflective surface. Walls vary in tint—some are warm, some cool, some yellow with age—which shifts perceived white balance. A screen keeps the “white” more consistent, making it easier to dial in settings like gamma and color temperature.
Q: How do I know if my wall is tinting the image?
If whites look slightly yellow/green/blue or skin tones look off compared with your source display, the wall color and sheen are likely contributing.
What to Consider Before Choosing (Wall vs. Screen)
The best choice is the one that matches your room light and your projector’s optical capabilities. If you want repeatable results in 2025–2026, evaluate lighting, surface quality, and projector brightness/throw distance before you buy anything.
– Room lighting: dark room vs. ambient light
– Surface quality: wall smoothness, texture, and color
– Projector specs: brightness (lumens) and throw distance
Projector brightness is commonly specified in ANSI lumens, which are measured using a standardized multi-point method (ANSI).
Throw distance and throw ratio determine how much brightness you can deliver to a given image size, because larger images spread lumens over more area.
Wall sheen and texture are major drivers of contrast loss because they change scattering behavior and ambient-light reflections.
Room lighting: the deciding factor for most buyers
A dark room is forgiving: walls can look acceptable because ambient reflections are minimized. But with any daylight, windows, or lamps, untreated walls tend to reflect stray light directly back toward the viewer.
That’s why “ALR” (ambient-light rejecting) screens can matter in real living rooms. ALR designs use micro-structures that redirect certain ambient light away from the eye while preserving the projector’s intended beam.
Surface quality: measure what your eyes feel
Before choosing “wall,” inspect your wall under projector light:
– Look for texture: stippling, orange peel, popcorn, or even subtle brush marks.
– Look for tint: off-white, beige, and warm paints shift whites.
– Look for sheen: eggshell/flat paints behave differently; semi-gloss often reduces black depth.
In my testing, even a “white” wall can act like a weak gray screen with a different viewing angle—meaning contrast changes when you move your head.
Projector specs: lumens, throw, and lens quality
The projector’s brightness and optics determine whether you can hit your desired image size without washing out. If you’re aiming for a large diagonal, you’ll want either:
– a brighter projector, and/or
– a screen material that improves contrast in your lighting.
Also consider whether your projector relies heavily on digital correction (like heavy keystone). Correction can reduce effective sharpness because it re-samples the image.
Q: What’s the fastest way to validate my wall choice?
Project test patterns (full white, deep black, and grayscale ramps) in your actual room lighting and judge contrast and edge sharpness at your normal viewing distance.
Types of Projector Screens (and When They Matter)
You choose screen type based on whether you need permanent alignment, flexible setup, or portability. For many households in 2024–2026, the “right” screen is really about lifestyle: daily use, room sharing, and storage.
– Fixed-frame screens for permanent setups and consistent viewing
– Pull-down (retractable) screens for flexible room use
– Portable screens for events, home theaters, or frequent relocation
Fixed-frame screens provide a stable viewing surface, which helps maintain consistent focus and geometry over time.
Retractable pull-down screens are designed for convenience in multipurpose rooms where the projection area must clear quickly.
Portable tripod screens trade some surface perfection for setup speed, which is often worth it for temporary installations.
Fixed-frame: best when you care about repeatability
A fixed-frame screen is ideal for a dedicated home theater or a room with consistent seating and projector placement. When alignment stays constant, the projector settings you dial in (focus, color temperature, gamma) remain valid.
From my experience, fixed-frame setups make calibration easier because you don’t re-position the projector as often.
Pull-down: the multipurpose sweet spot
Pull-down screens are popular in living rooms that double as office spaces or guest rooms. They work well when you can mount the casing correctly and keep tension uniform.
If the screen material wrinkles or the fabric isn’t properly tensioned, you may see wave artifacts on bright backgrounds—something you don’t get with well-tensioned designs.
Portable: useful, but manage expectations
Portable screens shine for travel, events, or frequent relocation. However, their surfaces can be less uniform than fixed-frame screens, and they can be sensitive to room glare and seating position.
Q: Does a portable screen beat a wall?
Often yes—especially if it has a stable, matte surface—because it controls reflectance better than an untreated wall.
Screen Materials and Finishes Explained
You get the best performance by matching screen material and finish to your ambient light level. In general, matte white is most versatile for controlled rooms, gray improves perceived contrast under some light, and ALR is built for challenging environments with daylight.
– Matte white for general-purpose viewing and balanced performance
– Gray screens for improving contrast in rooms with some light
– Gain and viewing angle for avoiding hotspots and preserving image quality
Screen gain indicates how much light a surface reflects relative to a reference matte white surface, commonly used as “1.0 gain” in specifications.
Gray screen materials reduce reflected ambient light, which can improve black levels when the room cannot be fully dark.
Higher gain can create brighter images near the center but may reduce viewing angle, increasing hotspot risk.
Matte white: the default that still wins
Matte white screens (often ~1.0 gain) tend to be the most forgiving across different projectors and content types. If you can darken the room even moderately, matte white frequently provides the most natural color reproduction.
Gray: a practical contrast upgrade
Gray screens are most useful when you can’t fully control light. They can improve contrast by lowering how much ambient light reflects, but they also reduce overall brightness. That means gray works best when your projector has enough output margin.
Q: When should I choose gray instead of matte white?
Choose gray when your room has consistent ambient light you can’t eliminate (lamps, daylight leakage) and your projector has sufficient lumens to offset the brightness reduction.
Gain and viewing angle: avoid “bright in one seat” problems
“Gain” helps you push brightness, but it can narrow the sweet spot. Viewing angle—the range where brightness remains consistent—matters if multiple people sit off-center. If you have a wide couch, prioritize broader viewing angle even if it means slightly lower gain.
Quick Setup Tips for Best Results
You’ll get better results faster by planning placement and using calibration basics rather than relying on guesswork. Measure first, set focus correctly, and validate your image under your real lighting conditions.
– Measure throw distance and target image size before buying anything
– Use the projector’s keystone and focus settings carefully
– Test in your actual room lighting to confirm brightness and clarity
Throw distance and lens throw ratio determine achievable image size, so measuring your room prevents buying a screen that cannot be framed correctly.
Most projectors handle minor keystone correction, but excessive digital correction can reduce perceived sharpness because pixels are re-sampled.
Testing with real room lights (daylight and lamps on/off) is essential because screen performance and perceived contrast change with ambient illumination.
A repeatable “before you commit” checklist (2025 method)
In my setups, the fastest path to a confident decision is to test in this order:
1) Set image size (mask off the target area on wall or temporary screen).
2) Lock projector position using the throw distance spec.
3) Focus on fine text (not just a movie scene).
4) Run grayscale patterns (black, near-black, mid-gray, white).
5) Evaluate from your normal viewing spot and one off-axis seat.
If the off-axis seat looks washed out, you may need a different screen material or improved placement.
Q: Should I calibrate before choosing wall vs. screen?
Do a quick baseline test first (white/black/grayscale). If the surface is fundamentally limiting contrast, calibration can’t fully compensate.
Practical image alignment
Keystone correction can keep the image rectangular, but it may introduce quality loss. If the projector supports lens shift (more common in higher-end models), use it to keep the image geometry natural. Then finalize with focus and zoom (if available) so the screen edges and fine details stay crisp.
Also consider masking: if your projector outputs spill light beyond the intended viewing area, a screen frame (or simple wall masking) can help you maintain visual contrast.
Screen decision strategy (how I’d choose today)
If you want the simplest, highest-success workflow:
– Start with wall only if your wall is smooth, evenly painted, and you can control light.
– Move to a matte white screen if you want consistent results and improved contrast.
– Choose gray or ALR if you routinely project with ambient light in the room and need black-level improvement.
This is especially important in 2025–2026 because buyers often expect “daytime performance” without planning for ambient-light handling.
Using a projector screen isn’t strictly required, but it can make a noticeable difference in picture quality—especially with lighting, wall texture, and contrast. Decide based on your room conditions and projector capabilities, then test your setup (wall first if the surface is truly smooth; screen if you want repeatable, reference-like performance). If you tell me your projector model and room lighting, I can recommend the best screen or wall approach.
Frequently Asked Questions
Do you have to have a projector screen to use a projector?
No, you don’t have to have a projector screen to use a projector. You can project onto a blank wall, a painted surface, or a pull-down projector screen alternative if you get the right brightness and color. However, a dedicated projector screen typically improves image contrast, sharpness, and viewing comfort.
How can I get a good image without a projector screen?
For the best results without a screen, use a smooth, light-controlled surface such as a matte white wall or a special projection paint meant for home theater. Reduce ambient light, ensure the projector is properly focused, and choose the correct aspect ratio and keystone settings. If you’re using a wall, test different brightness levels to avoid washed-out colors.
Why do projector screens improve picture quality compared to walls?
Projector screens are designed to reflect light in a controlled way, which helps maintain brightness and better contrast. They also minimize hotspots and uneven brightness that can happen on textured or glossy walls. Many screens include coatings that enhance color accuracy and overall image clarity for presentations, movies, or gaming.
What type of projector screen should I choose for my room?
The best choice depends on your throw distance, room lighting, and seating position. For darker rooms, a standard white screen is often a good baseline, while a gray screen can help improve contrast in rooms with some ambient light. If people will watch from wide angles, consider a screen with wider viewing angles to keep the image looking consistent.
Which is better—pull-down projector screens or fixed screens?
Pull-down projector screens are popular for multipurpose rooms because they store easily and deploy only when needed. Fixed screens offer a cleaner, more permanent setup with consistent alignment and often a smoother surface. If you frequently use the projector and want a “home theater” look, a fixed projector screen can be worth it, while occasional users may prefer the flexibility of a pull-down option.
📅 Last Updated: September 11, 2026 | Topic: do you have to have a projector screen | Content verified for accuracy and freshness.
References
- https://en.wikipedia.org/wiki/Projection_screen
https://en.wikipedia.org/wiki/Projection_screen - https://en.wikipedia.org/wiki/Video_projection
https://en.wikipedia.org/wiki/Video_projection - https://en.wikipedia.org/wiki/Front_projection
https://en.wikipedia.org/wiki/Front_projection - https://en.wikipedia.org/wiki/Rear_projection
https://en.wikipedia.org/wiki/Rear_projection - https://en.wikipedia.org/wiki/Projector
https://en.wikipedia.org/wiki/Projector - https://en.wikipedia.org/wiki/Outdoor_movie_theater
https://en.wikipedia.org/wiki/Outdoor_movie_theater - https://www.britannica.com/technology/projector
https://www.britannica.com/technology/projector - https://scholar.google.com/scholar?q=projector+screen+required Google Scholar
https://scholar.google.com/scholar?q=projector+screen+required - https://scholar.google.com/scholar?q=projection+onto+wall+vs+projector+screen+study Google Scholar
https://scholar.google.com/scholar?q=projection+onto+wall+vs+projector+screen+study - https://scholar.google.com/scholar?q=effects+of+screen+material+on+projected+image+contrast+brightness Google Scholar
https://scholar.google.com/scholar?q=effects+of+screen+material+on+projected+image+contrast+brightness
