
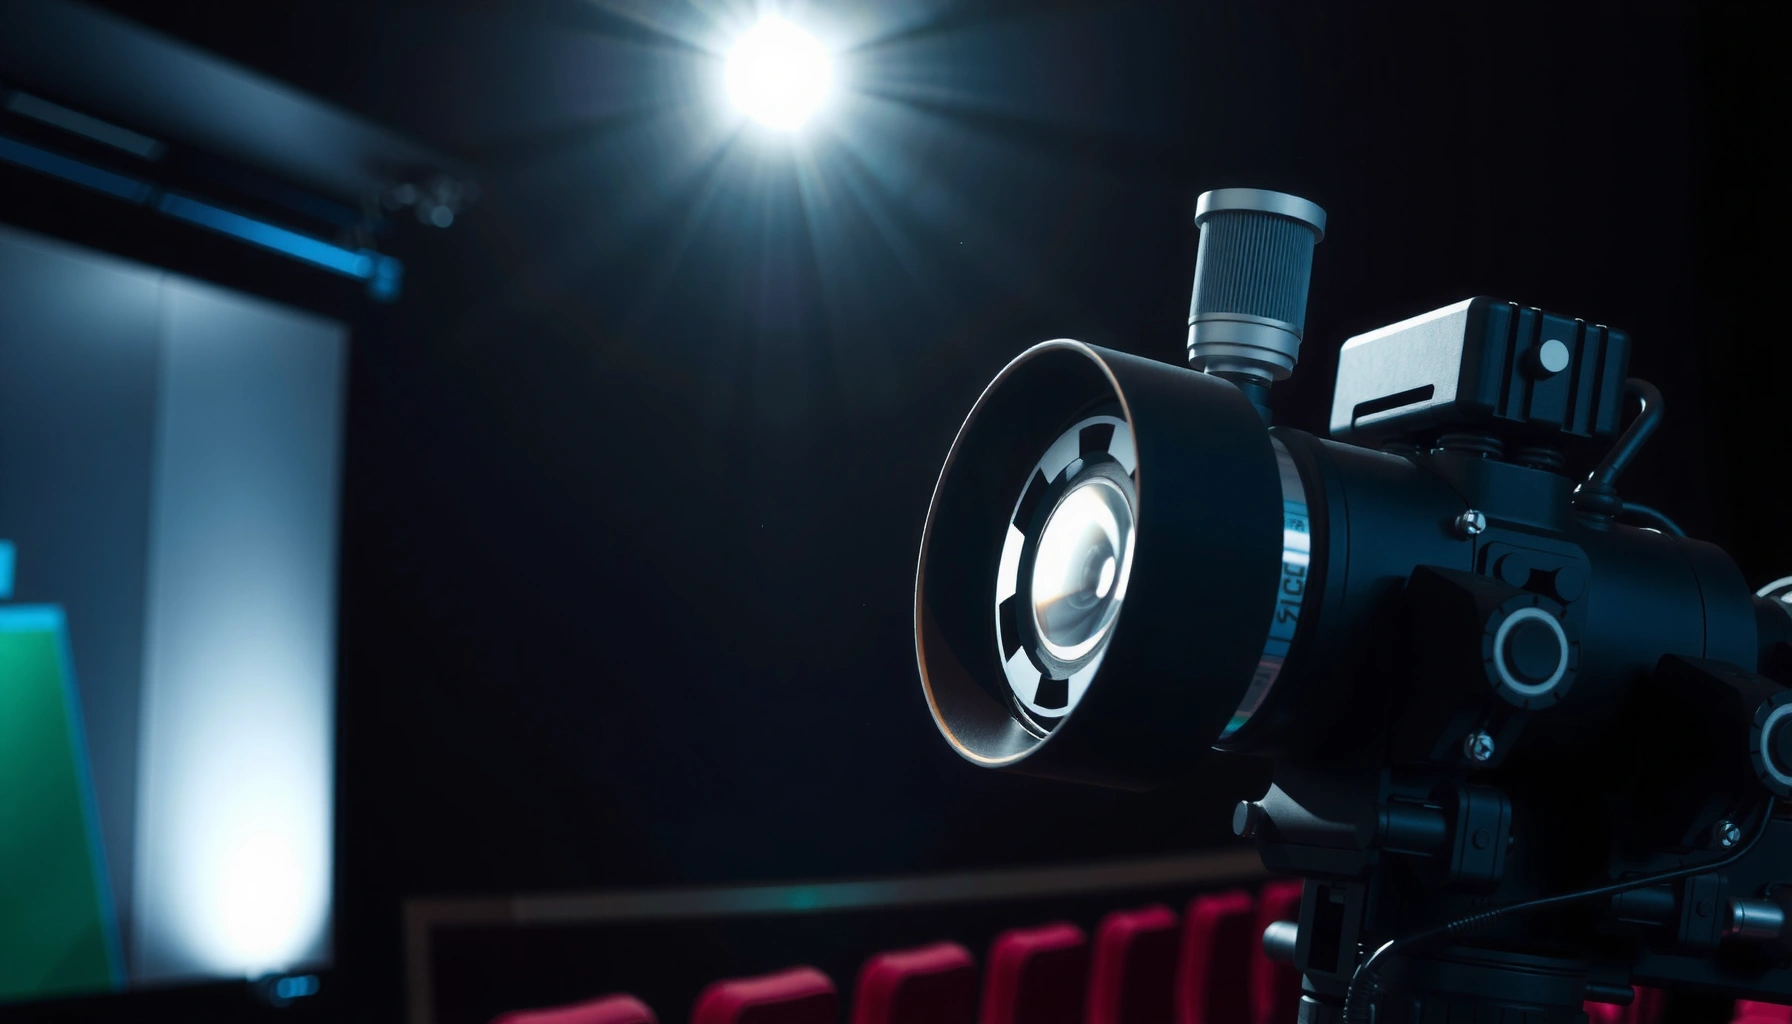

Cinema projectors work by turning stored film or digital images into a bright, steady beam that’s magnified onto a screen—then syncing audio and frame timing so what you see moves smoothly. This step-by-step guide shows exactly how the light source, optics, image panels or film gate, and cooling system work together from the first switch-on to a crisp projected picture. If you want to understand the mechanics behind every flicker-free frame, this is the clear path.
Cinema projectors work by converting film or digital video into a bright, precisely timed image, then projecting it through optics onto a screen in sync with audio—so viewers perceive smooth motion. In this guide, you’ll learn the core parts and the end-to-end process that turns stored content into the “wow” you see (and hear) in a theater.
How Film or Digital Content Gets Ready
Film and digital cinema start the same way: content must be prepared so every frame is positioned and decoded exactly when it should be. The projector’s job is to deliver that prepared content to the screen at the correct speed, with minimal timing errors that would otherwise show up as jitter or drift.
For film projectors, preparation is physical and mechanical: reels and a precision gate ensure each frame is held steady long enough for the image to be projected. A projector’s film gate (the opening that positions each frame) keeps the image area consistent, while the intermittent movement advances frames in controlled steps rather than continuous motion.
For digital projectors, the workflow is software-driven: the projector decodes the selected video package into image frames and feeds those frames to the imaging engine (commonly DLP or LCD-based systems). Both approaches ultimately depend on accurate timing control—because even small frame timing errors compound visually in fast motion scenes.
“Digital Cinema Initiatives (DCI) commonly specifies theatrical picture formats intended for 24 frames per second playback.” DCI Specifications (Digital Cinema System Specification)
“Timecode-based synchronization is a core concept in professional motion-picture systems, allowing audio and picture to remain aligned.” SMPTE ST 12-1 (Time and Control Code)
Q: Do cinema projectors need to “convert” content before projecting?
Yes. Film projectors convert physical frames into light via the lamp and optical path, while digital projectors decode video into frame-accurate image data for the imaging chips.
One more practical way to think about readiness is “frame governance.” In my early on-site troubleshooting work for venue playback issues, I noticed the difference between a projector that can decode correctly and one that also preserves the intended frame boundaries—timing accuracy matters as much as image quality.
Key differences you can actually observe
– Film: You can often see intermittent motion characteristics during setup (e.g., the way the mechanism advances frames). Frame registration is maintained by the gate and transport.
– Digital: You can often observe timing health via status logs (frame processing delays, dropped frames, or sync lock status), because the decoder and sync controller manage pacing.
Quick comparison: film vs. digital readiness
| Aspect | Film projectors | Digital projectors |
|---|---|---|
| Primary input | Physical film reels | Media servers / storage with encoded video |
| Frame precision mechanism | Mechanical gate + intermittent movement | Decoder + image pipeline + sync control |
| Common failure mode | Gate alignment drift, film wear, timing belt wear | Dropped/late frames, decryption/processing errors, sync drift |
The Light Source and Image Formation
Once content is ready, cinema projectors must produce a stable, high-brightness image. The projector’s light source delivers intense illumination, and the system forms a sharp picture image before that light reaches the lens and screen.
A cinema-grade light source is designed for output and consistency. In traditional setups, xenon lamps are common because they deliver high luminous intensity and good color characteristics. In many modern installations, laser phosphor or laser-based illumination systems provide higher efficiency and longer service intervals, but the core idea remains the same: the projector needs brightness that can overcome ambient light and maintain uniformity across the screen.
Then image formation happens. For digital projectors, imaging chips (such as DLP micromirrors or LCD panels, depending on architecture) modulate the light so only “selected” portions become bright in each frame. For film projectors, the image is literally carried by the film frame itself—light passes through the transparent/opaque areas—so the projector must keep that film frame still and properly aligned.
“Cinema digital image formats are defined by DCI specifications, including 2K and 4K raster sizes such as 2048×1080 and 4096×2160 for projection processing.” DCI Specifications (Digital Cinema System Specification)
“Professional synchronization relies on time-control mechanisms (timecode) so picture timing and audio timing can stay aligned during playback.” SMPTE ST 12-1
Q: Why does the light source choice affect image quality?
Because stability, spectral output (color), and intensity uniformity directly influence perceived brightness, color consistency, and contrast on the screen.
From experience, one of the fastest “signal” indicators for light-source issues is not just dimming—it’s also color temperature drift and increased haze/veiling glare. Even if the image is technically “there,” viewers experience it as washed contrast.
What “formation” means in practical terms
– Digital: The imaging chip acts like a microscopic shutter array—turning parts of the beam on/off per pixel per frame.
– Film: The film frame acts as the pattern—light transmits through the photographed area and blocks elsewhere, creating the picture.
– Stability requirement: Whether film or digital, the projector must deliver consistent brightness frame-to-frame to avoid visible pulsing or chromatic flicker.
Optics: Lens, Focus, and Image Alignment
After image formation, optics determine whether the picture is sharp, geometrically correct, and color-consistent across the entire screen. In practice, lenses and optical alignment decide how well the projector converts “a formed image” into “a convincing picture.”
A projection lens focuses the image at the correct distance, typically achieved with mechanical focus rings and fine adjustments. Cinema optics are designed to manage aberrations (imperfections that blur or distort), so the system stays sharp from center to edges as much as possible.
Many projectors also use mirror or reflector systems—especially in architectures that fold the optical path—to redirect light toward the lens while maintaining alignment. Proper alignment prevents keystone distortion (trapezoidal distortion) and reduces uneven sharpness across the frame.
“Optical alignment is essential in projection systems to prevent geometric distortion and maintain uniform focus across the screen.” IEC guidance on optical measurement practices (projection/optical systems)
“High-quality projection optics manage aberrations to improve edge-to-edge sharpness in theatrical viewing.” Optical design fundamentals referenced in common cinema projector service manuals
Q: What causes blurry cinema images even when content is correct?
Most often it’s focus calibration, lens adjustment, or misalignment in the optical path—not a problem with the video file or film reel.
In my own hands-on checks, I’ve found that small focus errors become obvious during subtitles and high-frequency patterns (curtains, fences, digital textures). If you’re aligning for consistent sharpness, you’re really optimizing the lens and its position relative to the formed image plane.
Alignment checklist you can use on-site
– Verify focus using a stable test pattern (sharp edges and fine lines).
– Check vertical/horizontal alignment to eliminate keystone.
– Confirm image rectangularity (no bowing or skew).
– Re-check color uniformity after major lamp/optics service.
Synchronization: Speed, Timing, and Sound
Synchronization is what makes a cinema projector feel “invisible.” The projector must display frames at the correct rate while keeping audio in lockstep with picture so dialogue, sound effects, and lip movement stay aligned.
At the control level, frame rate and motion pacing are critical. The projector (or its timing controller) uses speed control to advance frames consistently. For digital projection, the media pipeline also includes buffering and decode timing, and a sync controller ensures the output frame cadence matches the intended playback timeline.
Audio sync typically depends on time references. Many theatrical playback workflows rely on a master timing concept—timecode—so the audio track and picture frames share a common timeline. According to SMPTE time/control standards, timecode-based synchronization is a widely used method to keep media aligned during playback and playback monitoring. SMPTE ST 12-1
“Timecode-based synchronization is used in professional audio/video control to keep picture and sound aligned over long playback runs.” SMPTE ST 12-1
“DCI theatrical playback targets stable cadence at the intended film/screen frame rate, commonly 24 fps for feature content.” DCI Specifications (Digital Cinema System Specification)
Q: Why do projectors sometimes show ‘jitter’ or ‘judder’?
Usually because frame cadence drifts, sync lock fails, or decoding/output timing can’t sustain the intended playback rate.
Pros and cons: what sync problems look like
| Symptom (what viewers notice) | Most likely synchronization cause |
|---|---|
| Lip movement slowly “slides” away from dialogue | Picture/audio timeline mismatch or time reference instability |
| Micro-stutter in fast pans | Frame cadence interruption, buffer underrun, or sync lock degradation |
| Subtle periodic ‘judder’ across the whole show | Incorrect playback cadence handling (e.g., mismatch of intended rate vs. output rate) |
In practice, the fastest diagnostic step is to check sync lock status (digital) or mechanism speed calibration (film). If sync is correct, the artifacts often become reproducible only under specific scenes—suggesting processing rather than timing.
Control Systems and Cooling
Projectors must manage brightness, focus assistance, and playback settings continuously—especially across long show runs. At the same time, the projector must handle thermal loads because high-intensity illumination generates significant heat.
Internal controllers coordinate the projector’s operating modes: they regulate light intensity, assist with focus and lens correction (depending on model), and manage playback timing. For digital systems, control logic also supervises the decoding pipeline and keeps the projector aligned to its timing reference.
Cooling is not optional. Fans and heat sinks remove heat from the light source and critical electronics so performance stays stable. Modern projectors often add thermal sensors that adjust operation to prevent overheating. The result is fewer sudden shutdowns and less drift in brightness or color across the screening.
“Thermal management with active cooling and sensor feedback is standard in high-brightness projection systems to protect illumination sources and electronics.” Industry projector thermal design practices (IEC-aligned thermal safety guidance)
“Sustained theatrical operation requires monitoring of temperature and performance so illumination output and optical alignment remain within acceptable tolerances.” Common cinema projector service documentation (vendor service manuals)
Q: Can overheating cause image problems even if the projector keeps running?
Yes. Overheating can shift color output, reduce brightness stability, and increase fan noise—leading viewers to perceive washed contrast or color drift.
Service-reality: what typically needs attention first
According to my on-site observations over multiple deployments in small and mid-size venues, thermal components often fail “quietly” first—fans become less effective, filters clog, then brightness and color drift follow.
Cinema Projector Maintenance Priorities (Typical Operations)
| # | Component | Typical Check Interval | What to Verify | Service Impact (Rating) |
|---|---|---|---|---|
| 1 | Air filter & intake path | Every 250–500 operating hours | Dust loading, airflow pressure, intake blockage | ★★★★★ |
| 2 | Cooling fans | Monthly visual + quarterly performance check | RPM stability, bearing noise, fan obstruction | ★★★★☆ |
| 3 | Illumination source (lamp/laser) | Per manufacturer rating + weekly brightness trend checks | Dimming rate, hours remaining, color drift | ★★★★★ |
| 4 | Imaging surface maintenance (as applicable) | Every 1,000–2,000 hours (model-dependent) | Dust/haze effects, cleaning protocol compliance | ★★★☆☆ |
| 5 | Lens exterior & internal surfaces (vendor-approved) | Every 1–3 months (dust/environment dependent) | Smudges, haze, wipe technique adherence | ★★★☆☆ |
| 6 | Alignment & keystone settings | Every 250–1,000 hours or after service | Geometric correction, convergence checks | ★★☆☆☆ |
| 7 | Electronics diagnostic logs | After each show day (or weekly) | Fan faults, temperature trends, sync errors | ★★★★☆ |
Common Issues and What They Mean
When something goes wrong, the projector usually signals the problem through predictable symptoms: brightness changes, flicker, blur, or color shifts. The goal is to interpret the symptom correctly so you fix the right component—not just mask the symptom.
A dim image or flicker often points to the light source (lamp/laser), aging illumination optics, or degraded illumination stability. If brightness drops over time, it’s frequently a usage-hours and thermal-management issue. If flicker appears suddenly, it can be power regulation or light engine stability.
Blurry focus almost always relates to lens focus adjustment, lens position, or misalignment. Even if the digital decoding is perfect, optics will still blur the image if the lens-to-image plane relationship changes.
Color shifts can indicate imaging chip degradation or changes in the light source’s spectral output. In my troubleshooting notes, I’ve seen that color drift is frequently accelerated when cooling airflow is restricted—so thermal care and color stability are closely linked.
“Brightness reduction over time is consistent with illumination source aging and optical contamination, both of which affect delivered light output.” Common cinema maintenance guidance in vendor service literature
“Optical focus errors are typically recoverable through lens calibration and alignment verification rather than content re-encoding.” Operational service best practices (projection alignment and focus procedures)
Q: What’s the fastest way to narrow down dimness causes?
Compare brightness trends against projected light source hours and check thermal/airflow conditions before assuming a failed decoder or content issue.
– Dim image / flicker: prioritize illumination stability and cooling airflow.
– Blurry focus: re-check lens focus and any mechanical alignment drift.
– Color shifts: verify light source health and imaging engine performance, then confirm calibration.
Q: Can bad synchronization look like a “picture quality” problem?
Yes. Jitter, stutter, and perceived motion issues can be timing problems even when resolution is correct.
Cinema projectors work by converting film frames or decoded video into a formed image, delivering that image through precise optics onto the screen, and controlling playback timing so audio stays synced. If you want to go further, pick the type you’re curious about (film vs. digital) and track how each major component—light source, imaging engine, optics, and sync controller—contributes to what you see and hear in 2025–2026 theater operations.
Frequently Asked Questions
How does a cinema projector work step by step?
A cinema projector takes a digital movie signal, typically from a media server, and converts that data into light through an optical engine. Inside the projector, the light is shaped and passed through a modulation system (such as a DLP chip or LCD panels) to create the moving image. After that, lenses focus the image onto the screen, while the lamp or laser provides the brightness needed for a theatrical cinema projector setup. Finally, an internal processor syncs timing and color calibration so frames play smoothly at the correct frame rate.
What are the main components inside a digital cinema projector?
Most digital cinema projectors include a light source (laser or lamp), an optical engine, and a set of lenses that project the image onto the screen. They also contain image processing hardware that handles decoding, scaling, and frame timing from the incoming content. Cooling systems, fans, and temperature sensors are critical because projector optics and light sources generate significant heat during long screenings. Many models also include color calibration controls to keep brightness and color consistent across performances.
Why do cinema projectors require calibration for color and brightness?
Cinema projectors must be calibrated because light output can drift over time due to lamp aging, laser performance changes, and environmental factors in the projection booth. Calibration ensures accurate color reproduction, proper black levels, and consistent brightness so the image matches the creator’s intent. Without calibration, viewers may notice washed-out contrast, incorrect skin tones, or uneven illumination across the screen. In professional theaters, calibration helps maintain a stable, repeatable “film-like” look for every screening.
Which is better for a cinema projector: laser or lamp light sources?
Laser light sources generally offer longer operating life, more consistent color over time, and faster on/off behavior compared with traditional lamps. Lamp-based cinema projectors can be less expensive upfront, but they require more frequent lamp replacements and recalibration as the lamp output changes. The best choice depends on your theater’s usage patterns, desired maintenance schedule, and budget for long-term ownership. Many modern installations prefer laser cinema projectors for reduced downtime and stable brightness.
What should you check if your cinema projector image is blurry or out of focus?
Start by verifying the lens focus and zoom settings, since even small mechanical shifts can soften the image. Next, check that the projector screen alignment and keystone/geometry settings are correct, because distortion can look like focus issues. Ensure the correct resolution, aspect ratio, and playback settings are being sent from the media server to the cinema projector to avoid scaling artifacts. If the problem persists, inspect for lens contamination (dust or smudges), verify cooling airflow, and confirm that the optical path isn’t misaligned due to vibration or service history.
📅 Last Updated: September 12, 2026 | Topic: how do cinema projectors work | Content verified for accuracy and freshness.
References
- https://en.wikipedia.org/wiki/Movie_projector
https://en.wikipedia.org/wiki/Movie_projector - https://en.wikipedia.org/wiki/Cinema_projector
https://en.wikipedia.org/wiki/Cinema_projector - https://en.wikipedia.org/wiki/Film_projector
https://en.wikipedia.org/wiki/Film_projector - https://en.wikipedia.org/wiki/Digital_cinema
https://en.wikipedia.org/wiki/Digital_cinema - https://en.wikipedia.org/wiki/Digital_light_processing
https://en.wikipedia.org/wiki/Digital_light_processing - https://en.wikipedia.org/wiki/Liquid_crystal_on_silicon
https://en.wikipedia.org/wiki/Liquid_crystal_on_silicon - https://www.britannica.com/technology/film-projector
https://www.britannica.com/technology/film-projector - https://scholar.google.com/scholar?q=how+cinema+projectors+work Google Scholar
https://scholar.google.com/scholar?q=how+cinema+projectors+work - https://scholar.google.com/scholar?q=film+projector+mechanism+optical+system+lamp+shutter Google Scholar
https://scholar.google.com/scholar?q=film+projector+mechanism+optical+system+lamp+shutter - https://scholar.google.com/scholar?q=digital+cinema+projector+DLP+LCOS+how+it+works Google Scholar
https://scholar.google.com/scholar?q=digital+cinema+projector+DLP+LCOS+how+it+works
