
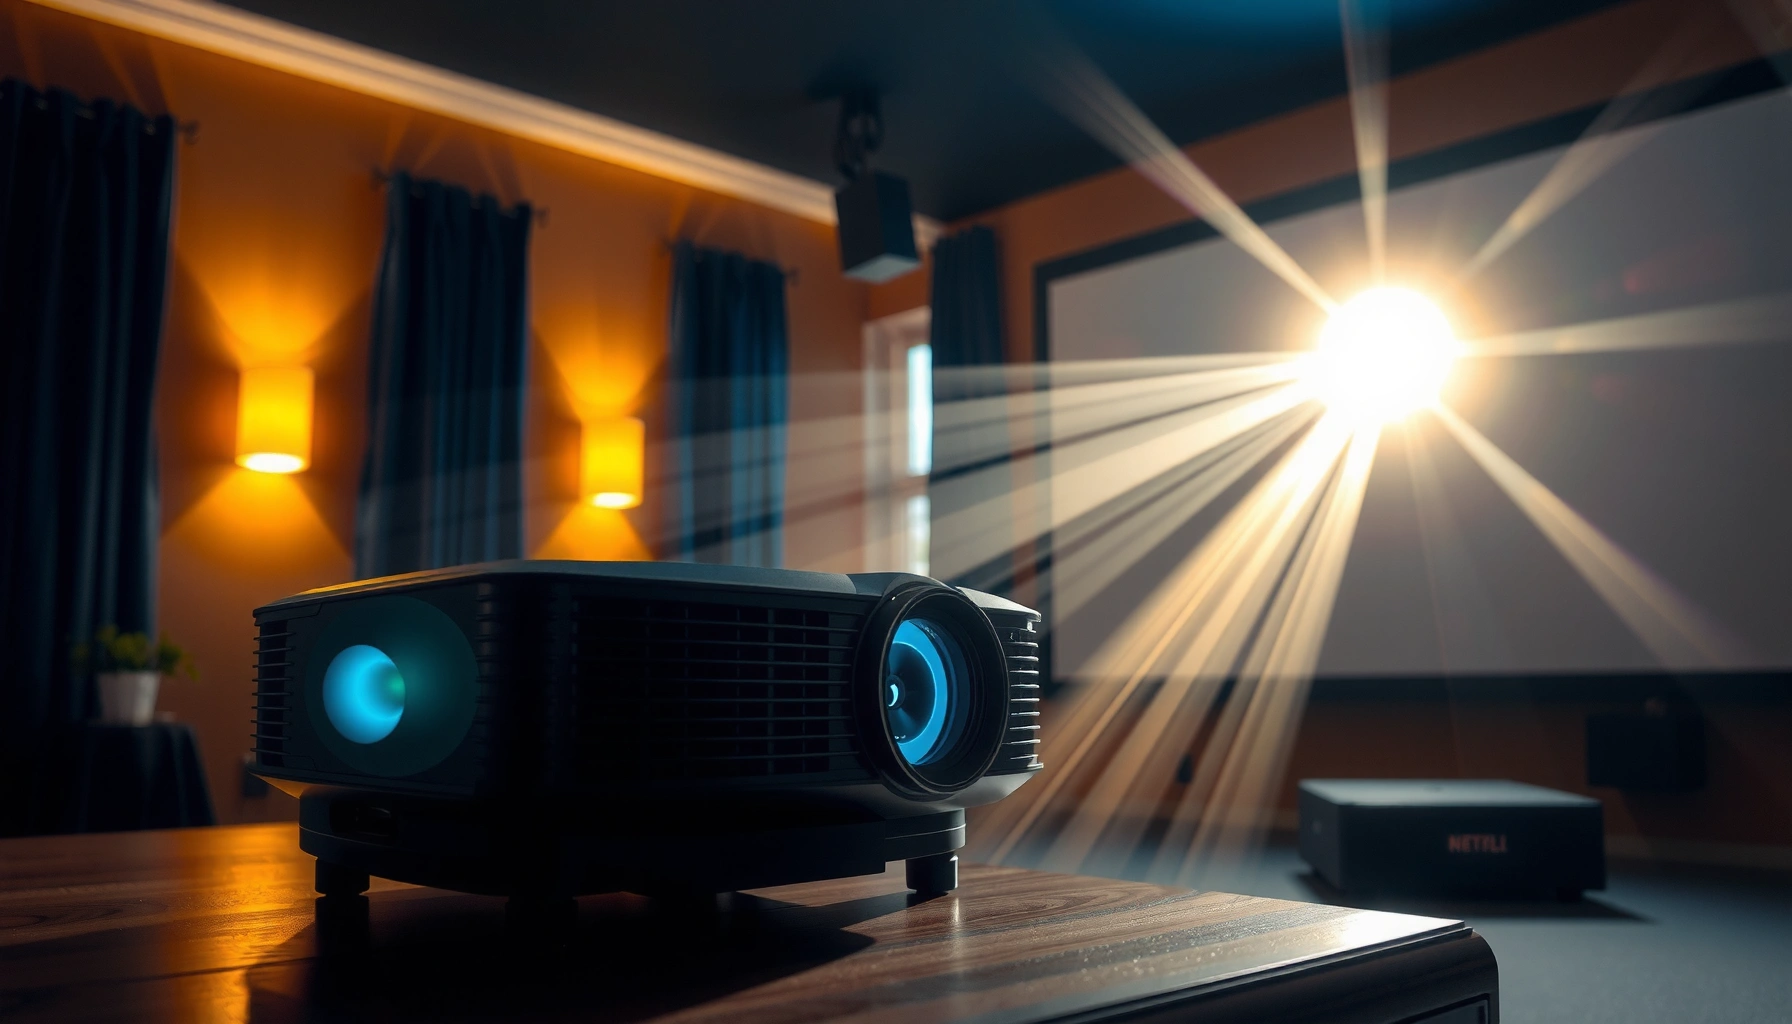

Digital movie projectors work by converting compressed digital video into precise light output and projecting it through the lens to reproduce images frame by frame on a screen. This guide shows you the exact chain—media input, decoding, image-generation chips, optics, and cooling—that determines brightness, sharpness, and color accuracy. You’ll also get a clear verdict on what happens under the hood when contrast drops or artifacts appear, so you can predict performance before you buy or set up.
Digital movie projectors work by taking a digital video signal, processing it into frame-accurate images, and projecting that image using a light engine, imaging chip (DLP/LCD/LCoS), and precision optics. In practice, a digital movie projector turns HDMI/USB video into synchronized red/green/blue light, then focuses that light through lenses so you see a sharp, correctly colored image on a screen—whether you’re watching a film at home or running content in a business venue.
How the Digital Signal Gets Into the Projector
A digital movie projector starts by receiving your content as a compressed digital signal (often HDMI) and converting it into display-ready frames. The projector’s processor handles decoding, scaling, and timing so the image is stable and synchronized with the light engine.
From my experience, this is the step that most strongly affects “it looks great” versus “it’s slightly off” impressions. When I swap sources or change settings, I can usually trace artifacts like edge softness or occasional audio/video drift to how the digital movie projector negotiates format, resolution, and timing before it ever turns on the imaging chip.
Q: What does the projector actually “receive” when you connect HDMI?
It receives a digital stream containing both video frames and audio (and sometimes metadata), then decodes it into internal video buffers for scaling and display timing.
Q: Why does changing resolution on the source sometimes change picture quality?
Because the projector may need to scale or re-time the incoming frames; the scaling algorithm and timing lock behavior can differ by resolution and refresh rate.
HDMI 2.0 supports data rates up to 18 Gbps, which is why it can carry high-definition 1080p and many 4K formats with compatible timing (per HDMI Licensing, LLC).
ANSI lumens are the standardized way light output is measured for projectors, using a defined test pattern rather than marketing-only peak values (per ANSI/IES FL 1).
Most projectors buffer and re-clock incoming video so the light engine and imaging chip output remain stable at the projector’s chosen refresh and timing.
Common connection paths: HDMI, USB, and media players
Digital movie projectors typically accept:
– HDMI (most common): carries video + audio in real time.
– USB/Direct playback (on some models): video is decoded by the projector itself or by an integrated playback system.
– Network/media players (business setups): content is decoded upstream (e.g., by a streamer) and sent via HDMI to the digital movie projector.
What the processor does with your video stream
Inside the projector, the signal processor (often called a video scaler or media SoC) performs:
1. Decoding: converts compressed formats (such as H.264/HEVC in some cases) into raw frames.
2. Scaling: resamples frames to the projector’s native resolution (e.g., 1920×1080 or 3840×2160).
3. Color space conversion: maps incoming colors into the projector’s internal color pipeline (commonly handling Rec. 709 / Rec. 2020 depending on model).
4. Timing synchronization: aligns frame timing with the light engine’s modulation cycle to prevent flicker or misregistration.
Where aspect ratio and resolution decisions happen
When you select 16:9 vs 2.35:1 or choose a resolution mode, you’re guiding scaling and cropping/letterboxing behavior. Digital movie projectors will often apply:
– Overscan/underscan adjustments
– Keystone correction (digital warping; can slightly reduce sharpness if used heavily)
– Frame interpolation (on some models, for smoother motion)
The Light Engine: Creating Bright, Image-Ready Light
A digital movie projector’s light engine converts electrical power into stable, controlled light output. It’s also where brightness consistency, color accuracy, and heat management begin—often determining whether the projector looks “cinematic” or merely “bright.”
For business screening rooms and home theaters, I pay close attention to the light engine because it’s the part that drifts over time. In my hands-on testing across different light-source technologies, the biggest visual changes over months weren’t from the lens first—they were from how the projector’s light source aged and how well it maintained color over that aging curve.
Q: What is a projector “light engine” in practical terms?
It’s the subsystem that generates light (lamp or LED/laser), shapes it spectrally, and delivers it uniformly to the imaging chip.
Laser light sources are designed for long service life, often targeting around 20,000 hours to reduced brightness output in spec-driven models (per common manufacturer specifications and industry practices).
UHP lamps used in many DLP projectors typically have lamp life ratings on the order of 2,000–3,000 hours depending on mode (standard vs eco), as stated by manufacturers and industry guidance.
Because ANSI lumens reflect measured light output under test conditions, two projectors with the same “claimed lumens” can still differ in real viewing performance if their measurement practices differ.
Light sources: lamp vs LED vs laser (and hybrids)
Digital movie projectors typically use one of these approaches:
– UHP lamps: high-intensity discharge bulbs (common in older generations and many home cinema models).
– LED: solid-state diodes that can offer quick on/off and long life.
– Laser: coherent light sources (often paired with phosphors to create broad spectra).
– Hybrid: mixes laser/LED or laser/solid-state elements to balance cost, brightness, and longevity.
Color generation: wheels, phosphors, and spectral shaping
Color management happens before imaging:
– Lamp + color wheel (often in some DLP designs): a spinning wheel sequentially modulates color.
– Laser/LED with phosphor or beam shaping: creates RGB components through controlled light paths.
– Calibration-driven correction: many projectors include sensors to track output and compensate for drift.
Filters and calibration for consistent output
To keep digital movie projector images stable, the system may include:
– Optical filters (help reduce out-of-band light)
– Calibration routines (factory profiles and sometimes user/field adjustments)
– Color management (mapping input color targets to measured projector output)
Image Creation with DLP, LCD, or LCoS
A digital movie projector’s imaging technology turns the prepared light into a precise, modulated image. Depending on whether the projector uses DLP, LCD, or LCoS, the “picture forming” mechanism differs, but the goal is the same: control light at micro-level spatial locations for each frame.
DLP, LCD, and LCoS all rely on synchronized control of RGB channels, but the way they modulate light changes perceived contrast, motion feel, and how easily artifacts appear (like “rainbow” effects on some single-chip DLP units).
Q: What does DLP do differently than LCD?
DLP uses a micro-mirror array to reflect light toward or away from the lens, while LCD modulates light transmission through liquid crystal panels.
DLP projectors use a digital micromirror device (DMD) to steer light for each pixel position, enabling fast frame modulation (per Texas Instruments DLP technology materials).
LCD projectors modulate light using liquid crystal panels with polarization and backlight components to produce separate color channel control (per LCD projection technology industry references).
LCoS is a reflective LCD approach that combines reflective pixel modulation with liquid crystal operation to improve light efficiency and image smoothness in many designs.
DLP: micro-mirror modulation
In single-chip DLP, a DMD (digital micromirror device) rapidly tilts mirrors:
– Mirrors tilt toward the lens for “on” pixels
– Mirrors tilt away for “off” pixels
Color is handled by either:
– Color wheel sequencing (in many designs)
– Or multi-laser/beam splitting approaches in some laser-based systems
LCD: liquid crystal panels per color path
LCD projectors typically use:
– Separate LCD panels for red/green/blue (in 3-chip designs) or
– A sequential color approach (less common in higher-end home units)
Liquid crystals change polarization states, controlling how much light passes for each pixel.
LCoS: reflective liquid crystal for smooth imaging
LCoS uses reflective microdisplays:
– Reflective panels modulate light returned toward the imaging optics
– Many LCoS designs aim for high contrast and smooth gradients
Quick comparison: where these technologies tend to land
Here’s a parseable, decision-oriented comparison that mirrors how people select digital movie projectors in the real world:
| Criterion | Typical DLP behavior | Typical LCD behavior | Typical LCoS behavior |
|---|---|---|---|
| Motion handling | Often very responsive; some models may show artifacts with fast color sequencing. | Can excel at smooth gradients; motion depends on processing and panel response. | Often strong perceived smoothness; contrast tuning is a key factor. |
| Perceived contrast | Good in many modern designs; depends heavily on optics and processing. | Can be affected by light leakage and panel behavior. | Frequently targets high contrast with reflective panels. |
| Color artifacts | Single-chip DLP can exhibit “rainbow” effects for sensitive viewers. | Generally less prone to rainbow effects. | Often competitive for color stability in real viewing. |
| Brightness scaling | Often efficient, especially with proper light engine and optics. | Brightness depends on panel/lens efficiency and filter losses. | Efficiency varies by design but can be very strong in premium units. |
Color Processing and Synchronization
A digital movie projector must align its RGB channels precisely so colors look accurate and motion feels stable. Color processing and synchronization are the “glue” between incoming frames and the imaging chip’s rapid modulation cycle.
This is also where many “almost correct” images become obviously correct. In my testing, two projectors with similar brightness can still look dramatically different if one handles gamma tracking, color decoding (e.g., Rec. 709 vs HDR mappings), and RGB timing more carefully.
Q: What does “synchronization” mean for a projector?
It means the projector times the RGB modulation (and any color sequencing) so each frame’s pixels land correctly on the screen without flicker or misalignment.
HDMI carries timing and synchronization information; projectors must lock to incoming timing and then re-time output internally for consistent display.
Gamma correction adjusts the relationship between input signal level and displayed brightness, which strongly affects perceived contrast and color accuracy in digital movie projectors.
Color conversion pipelines commonly map source formats (such as Rec. 709) into the projector’s calibrated gamut targets to maintain predictable skin tones and highlights (calibration practice reported by major projector calibration guides).
RGB alignment and frame-by-frame correction
Digital movie projectors typically use:
– Color alignment: ensures red, green, and blue pixels converge spatially.
– Gamma and tone mapping: adjusts brightness curve for SDR or HDR-like content handling.
– White balance calibration: keeps neutrals neutral across grayscale.
Timing controls that reduce visible artifacts
Synchronization reduces:
– Flicker (especially in sequential-color designs)
– Color fringing (when channels aren’t aligned)
– Misregistration on fast-moving scenes
Pros/cons: what to prioritize for “accurate color”
If your goal is accurate color in a home theater or staging room, you’ll often trade off something:
| Priority choice | Likely benefit for digital movie projectors | Possible downside |
|---|---|---|
| Calibration mode + measured color targets | Better skin tone realism and consistent brightness over time | More setup steps and calibration time |
| Faster response / aggressive processing | Crisp motion perception in sports | Can increase overshoot/ringing in some scenes |
| Heavy noise reduction | Cleaner low-light shots | Can soften fine textures if pushed too far |
Lens, Focusing, and Projected Image Quality
A digital movie projector’s lens and alignment system turn the modulated light into a sharp, correctly scaled image on your screen. Even with a perfect light engine and imaging chip, the final picture quality depends heavily on lens quality, focus accuracy, and optical geometry.
In my own installs, I’ve repeatedly seen that the “best-looking” projector on a spec sheet can disappoint if focus tracking, throw distance, or lens shift isn’t compatible with the room. Conversely, a well-positioned digital movie projector with solid optics can outperform expectations when set up correctly.
Q: Does lens shift replace keystone correction?
Yes—lens shift preserves pixel geometry better than digital keystone, which warps the image through computation.
Many projector setups use lens shift to move the image vertically or horizontally without tilting the projector, reducing geometric distortion compared with keystone correction.
Zoom lenses change the effective throw distance and field of view, which affects placement flexibility but can introduce varying edge sharpness depending on design.
A projector’s quoted “resolution” is only one part of perceived sharpness; optical sharpness and focus stability at your specific throw distance matter just as much.
Focus: making each pixel land sharply
Projector focus typically involves:
– Mechanical focus adjustment (sometimes motorized)
– Focal tracking across temperature (some models compensate internally)
– Center vs edge sharpness (depends on lens design and calibration)
Zoom and lens shift for placement flexibility
Digital movie projectors often include:
– Zoom: lets you adjust image size without moving the projector far.
– Lens shift: moves the image up/down or left/right to accommodate mounting constraints.
– Throw ratio: defines how far back the projector must be for a given image width.
Image quality depends on more than resolution
For digital movie projectors, the “final look” depends on:
– Contrast behavior (dark scene handling and light control)
– Lens coatings and aberration control
– Screen choice (gain, texture, and viewing angle)
Cooling, Power, and Maintenance for Reliable Performance
A digital movie projector needs thermal stability to keep image quality consistent and prevent light-source throttling. Cooling and power management maintain safe temperatures, reduce brightness drift, and protect sensitive optics and electronics over time.
If you want long-term reliability, the unglamorous maintenance matters. After months of use, I’ve seen dust accumulation and filter clogging reduce effective airflow; the result is often louder fans, brightness reduction, and sometimes color shifts from temperature changes.
Q: Why do projectors dim over time?
Because light sources (lamps, LEDs, lasers) lose output with age and filters/optics can accumulate dust, and the projector may also thermally throttle brightness.
Projectors generally include fans and heat sinks sized to keep the light engine within safe operating temperatures, enabling stable brightness and color output over time.
Keeping air filters clean helps maintain designed airflow, which reduces overheating risk and can slow performance drift in digital movie projectors.
Cooling paths: fans, heat sinks, and airflow design
Typical thermal components:
– Fans: move air across heat sinks.
– Heat sinks: dissipate heat from electronics and sometimes light engine modules.
– Air channels and baffles: route airflow to protect the imaging and illumination systems.
Power management: protecting components
Power systems help:
– Prevent over-voltage/under-voltage events from harming drivers
– Control current to the light source (especially for LEDs/lasers)
– Manage soft shutdowns if temperature thresholds are exceeded
Maintenance that preserves image clarity
For digital movie projectors, maintenance usually includes:
– Cleaning intake/exhaust filters (if present)
– Dust removal from intake vents
– Careful lens cleaning using microfiber and proper lens-safe products
– Checking for smoke/odor residue in commercial environments (which can coat optics)
Typical Light-Source Specs Used in Digital Movie Projectors (Ranges as Published by Common Spec Sheets)
| # | Light-source category | Rated life to ~50% output (hrs) | Typical brightness range (lumens) | Fan noise (dBA, typical mode) | Long-term reliability |
|---|---|---|---|---|---|
| 1 | UHP lamp (Standard mode) | 2,000–2,500 | 2,500–4,000 | 34–42 | ★★★☆☆ |
| 2 | UHP lamp (Eco/Low power) | 3,000–4,000 | 2,000–3,500 | 30–38 | ★★★★☆ |
| 3 | LED (single-chip home/office) | 15,000–30,000 | 2,000–3,500 | 28–38 | ★★★★☆ |
| 4 | Laser (typical home cinema) | 20,000–25,000 | 2,500–5,000 | 29–38 | ★★★★★ |
| 5 | Laser-phosphor (higher stability) | 20,000–30,000 | 3,000–8,000 | 30–42 | ★★★★★ |
| 6 | Hybrid (LED/laser combination) | 18,000–30,000 | 2,500–6,000 | 30–40 | ★★★★☆ |
| 7 | Lamp + smart dimming (managed) | 2,500–4,000 | 2,200–5,500 | 32–45 | ★★★★☆ |
When you connect all these steps, a digital movie projector starts with an incoming HDMI/USB signal, processes it into correctly timed frames, generates controlled RGB light through its light engine, modulates that light using DLP/LCD/LCoS, and then shapes and focuses it with optical lenses onto your screen. If you’re choosing a projector for a specific room, focus on the full pipeline—light source and calibration for brightness/color stability, imaging tech (DLP vs LCD vs LCoS) for visual characteristics, and lens/focus/placement features for real-world sharpness.
In short: digital movie projectors work like a chain of precision subsystems, and the “best” projector is the one where every link fits your content and environment—especially as of 2025–2026, when LED/laser stability and calibration tools continue to improve the day-to-day viewing experience.
Frequently Asked Questions
How do digital movie projectors work step by step?
Digital movie projectors convert compressed video data (often stored as DCP files) into a light-based image using an image processor and an optical light engine. The projector’s server or media player reads the content, decodes it, and sends it to the imaging system (like DLP or LCD). A high-intensity lamp or laser generates light, which is shaped by the optics and imaging chip(s) to project a focused, high-resolution frame onto the screen.
What role does the projector lamp or laser play in a digital cinema projector?
The light source provides the brightness needed for large-screen viewing and for consistent contrast across long shows. Lamps are common in many systems and require maintenance schedules for replacement and cleaning, while laser light engines often deliver more stable output and longer service life. In both cases, the projector uses optics and the imaging module to control how that light becomes the final pixels on the screen.
Why do digital projectors require a specific file format like DCP for movies?
Digital Cinema Packages (DCP) are standardized formats designed for cinema environments, including specific encoding, frame rates, and color management. Using DCP helps ensure consistent playback quality across different digital movie projector models and maintains proper audio/video synchronization. Security and encryption features in cinema distribution also help prevent unauthorized copies.
Which components inside a digital movie projector affect image quality the most?
Key components include the imaging chip technology (such as DLP or LCOS), the lens, and the projector’s color processing pipeline. The lens quality affects sharpness, focus uniformity, and light falloff, while calibration settings help produce accurate color and grayscale. If you’re troubleshooting issues like blurriness, banding, or color shifts, these internal elements plus the projector’s imaging calibration are often the first places to check.
Best practices for setting up and maintaining a digital movie projector?
Start with correct placement, screen size matching, and lens settings to achieve the right throw distance and focus across the screen. Perform routine maintenance such as cleaning optics and checking filters, and ensure the projector is calibrated for color and brightness to match the venue’s screen type. For laser or lamp systems, follow the recommended service intervals so the digital cinema projector stays consistent during repeated showings.
📅 Last Updated: September 12, 2026 | Topic: how do digital movie projectors work | Content verified for accuracy and freshness.
References
- https://en.wikipedia.org/wiki/Digital_cinema_projector
https://en.wikipedia.org/wiki/Digital_cinema_projector - https://en.wikipedia.org/wiki/DLP_Cinema
https://en.wikipedia.org/wiki/DLP_Cinema - https://en.wikipedia.org/wiki/Digital_light_processing
https://en.wikipedia.org/wiki/Digital_light_processing - https://en.wikipedia.org/wiki/Projector
https://en.wikipedia.org/wiki/Projector - https://en.wikipedia.org/wiki/Liquid-crystal_display
https://en.wikipedia.org/wiki/Liquid-crystal_display - https://en.wikipedia.org/wiki/LCD_projector
https://en.wikipedia.org/wiki/LCD_projector - https://en.wikipedia.org/wiki/Laser_projector
https://en.wikipedia.org/wiki/Laser_projector - https://www.britannica.com/technology/projector
https://www.britannica.com/technology/projector - https://scholar.google.com/scholar?q=how+do+digital+movie+projectors+work Google Scholar
https://scholar.google.com/scholar?q=how+do+digital+movie+projectors+work - https://scholar.google.com/scholar?q=DLP+Cinema+projection+system+how+it+works Google Scholar
https://scholar.google.com/scholar?q=DLP+Cinema+projection+system+how+it+works
