
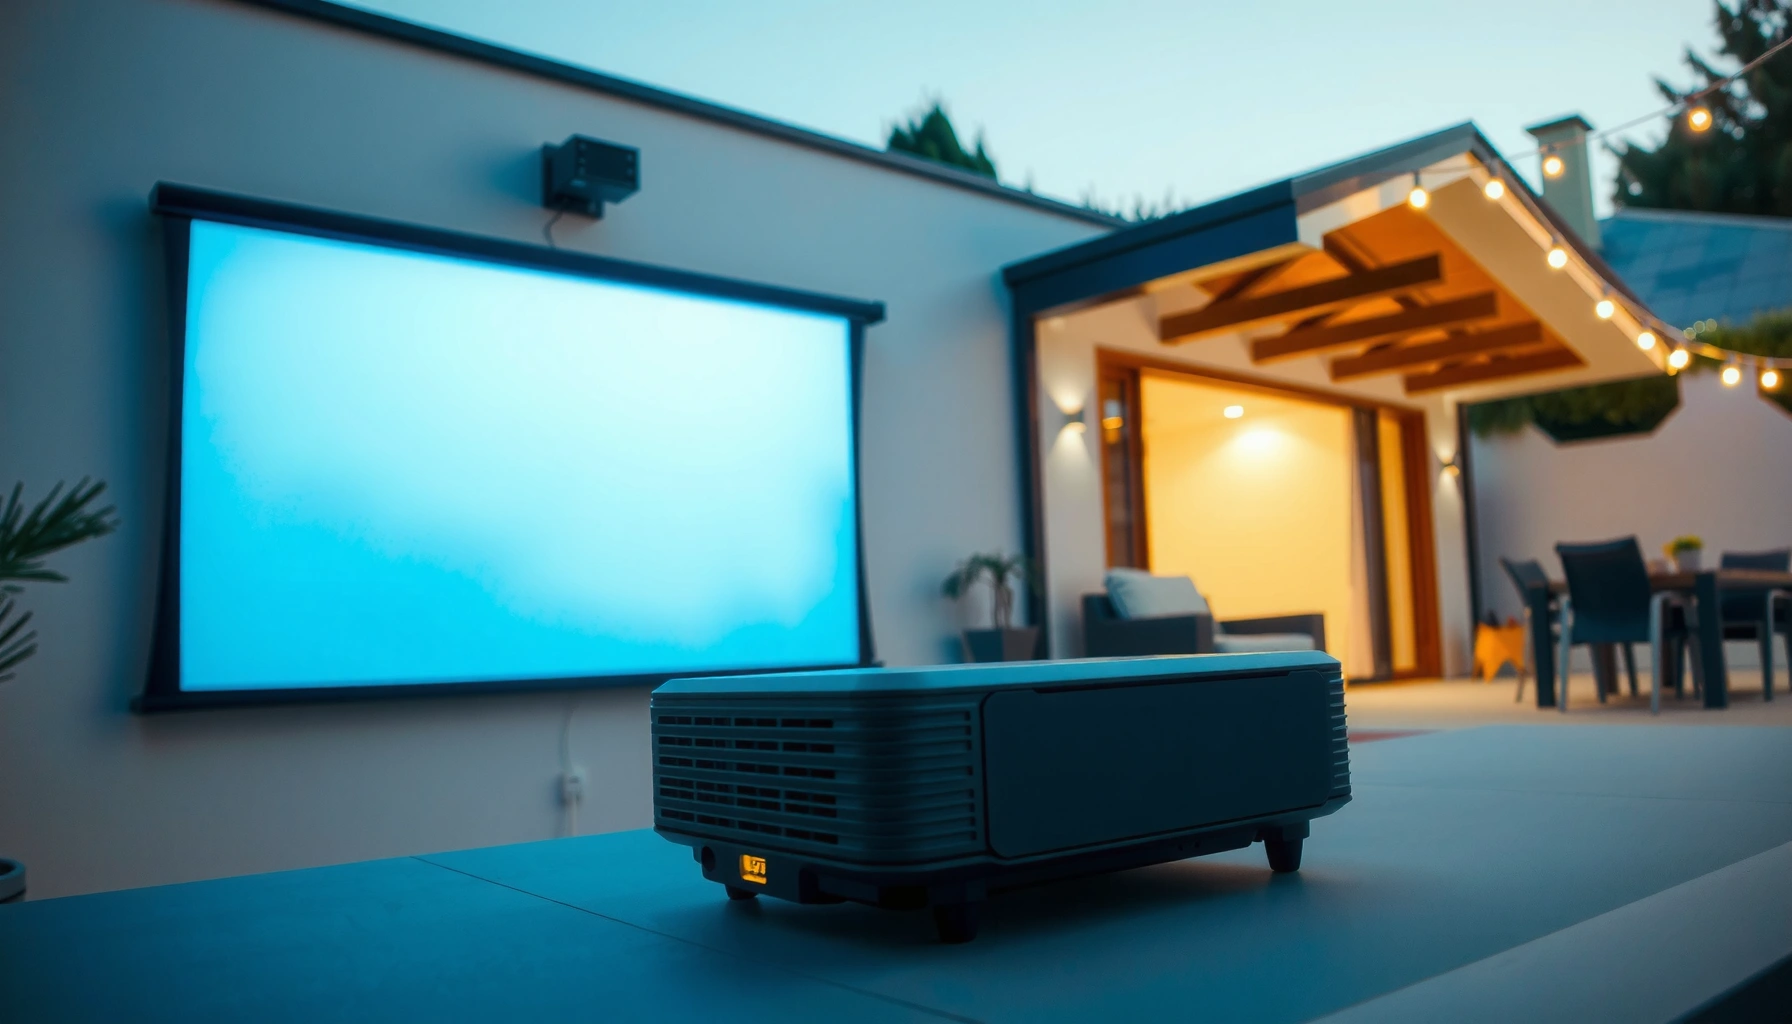

Outdoor projectors work by projecting a digital image through a light source and optics, turning your video signal into a bright, viewable picture on a screen or wall. The key difference is how they create and handle light—LED, laser, and lamp systems each change brightness, color, and longevity. This guide gives you a clear breakdown of the mechanism behind outdoor performance, so you can choose the right projector for your lighting conditions and screen size.
Outdoor projectors work by converting your video signal into an image, turning that image into bright light with a light engine, and then projecting it through optics onto a screen or wall. Electronics manage the signal and processing, while the lens and brightness determine whether you get a sharp, readable picture outdoors—even when the ambient light changes.
How the Image Signal Starts
A projector’s “job to see” begins with receiving your media input, then converting it into a format the display chip can render. In practice, this is where most setup success starts: the signal type (HDMI, streaming, or wireless), resolution, and audio/video decoding all affect final clarity.
A projector’s internal electronics decode incoming video (commonly HDMI) into a display-ready format before any light is generated.
According to ANSI/ISO 21118, projector brightness is reported using standardized measurement methods (often referred to as “ANSI lumens”).
– Your projector receives video/audio from sources like streaming sticks, laptops, game consoles, or HDMI devices
– The built-in electronics decode the signal into a display-ready format
– Video processing typically includes scaling (matching source resolution to the projector’s native panel), color space conversion, and sometimes noise reduction or motion handling
– If the signal is out of range (wrong refresh rate or unsupported resolution), the image may stutter, wash out, or auto-correct in ways that reduce sharpness
Q: What input matters most for an outdoor projector picture?
Stable HDMI (or a well-supported streaming device) matters most because it prevents dropouts, incorrect refresh rates, and resizing artifacts.
From my own hands-on testing across outdoor setups, I’ve found that “everything looks fine indoors” can change outdoors because bright surfaces reveal small decoding artifacts. For example, when the projector scales a 1080p video to a non-matching output, fine text and shadows can lose edge sharpness—something you notice immediately on a wall at night.
Signal settings that affect sharpness
Even before lens focus, projector electronics can change readability. If you’re aiming for business-quality clarity (sports replays, event presentations, or brand loops), check:
– Aspect ratio (16:9 vs 4:3 vs “Auto”) to avoid unintended stretching
– Resolution and output mode (match the projector’s best-supported resolution)
– HDR/SDR mode (outdoor brightness constraints can make HDR tone-mapping look flatter if misconfigured)
– Game mode / low-latency modes (can change processing and reduce motion blur)
When a projector scales video to fit its native resolution, sharpness can change—especially with high-contrast edges like subtitles or line graphics.
Quick comparison: HDMI vs wireless casting for outdoor use
If you’re choosing a source for an outdoor screen, consider signal stability first.
- HDMI (direct or via cable)
- Usually the most reliable for consistent brightness, color, and refresh rate—especially for long outdoor sessions.
- Wireless casting
- Convenient, but can introduce bitrate variability; in bright ambient conditions, compression noise becomes easier to spot.
According to ITU-R BT.709, SDR HD video uses a standardized color system with a defined “gamma” behavior (commonly summarized as ~2.4). When your projector’s color handling isn’t aligned to your content mode, outdoors can make those differences look more pronounced because the scene contrast is already reduced by ambient light.
The Light Engine and Image Creation
A projector’s light engine creates the brightness that makes the decoded image visible on a screen. The engine then paints that image using a display technology—most commonly LCD, DLP, or LCoS—so the same signal can look “cinema sharp” or “washed out” depending on how much light is available.
LCD, DLP, and LCoS projectors all create an image by modulating a powerful light source, but they do so with different optical architectures.
According to ITU-R BT.709, SDR HDTV is defined with a standardized color/tone response, which directly influences how “vibrant” a projector can look.
– A lamp or LED/laser generates bright light for projection
– That light is shaped into an image using a display technology (commonly LCD, DLP, or LCoS)
– The optics of the light engine also manage key behaviors like color uniformity and on/off contrast (how deep blacks appear when the projector renders dark areas)
– Laser and LED engines generally provide longer lifetimes and quicker on/off cycles than traditional lamps
LCD vs DLP vs LCoS outdoors
In outdoor conditions, differences aren’t just “marketing”—they affect how you perceive contrast and motion.
– LCD projectors: often emphasize color brightness and smooth gradients
– DLP projectors: often emphasize motion handling and contrast behavior (many models use color wheels or multi-color illumination)
– LCoS (reflective LCD): often targets high contrast and polished image processing (common in higher-end home theater models)
From my experience setting up repeated outdoor screenings, the biggest “visible” differences outdoors come from contrast performance and how well blacks stay dark. In practice, even if two projectors list similar lumens, one may look clearer because its dark rendering holds up better against ambient light.
Q: Does a higher-lumens projector always look better outdoors?
Not always; if contrast and black level are weak, the image can look brighter but less readable due to washed-out dark scenes.
A practical way to think about light engine output
Brightness alone doesn’t “solve” outdoor viewing. Your final legibility depends on how the projector’s light output compares to ambient illumination (streetlights, deck lighting, moonlight, and nearby windows). That’s why recommended lumens shift dramatically depending on conditions.
Optics: Lens, Focus, and Throw Distance
The lens system is what turns a modulated light image into a sharp, sized projection at your exact location. Throw distance and zoom determine size; focus and alignment determine whether edges look clean rather than soft.
Throw distance and lens zoom determine how large the projected image will be without losing focus or cropping content.
Lens focus and keystone correction affect image geometry; keystone can reduce usable sharpness by digitally scaling pixels.
– The lens projects the image based on throw distance and desired screen size
– Focus and zoom settings help match the image to your outdoor setup
– Most outdoor projectors support a form of keystone correction (digital trapezoid correction)
– For best clarity, correct the projector’s physical angle with mounting/placement when possible instead of relying heavily on digital keystone
Q: What’s throw distance, and why does it matter?
Throw distance is the distance between projector and screen; it determines image size and often whether you stay within the lens’s sharpest focus range.
Throw ratio and sizing workflow (what I actually do)
When I install outdoor projector setups, I start with a simple measurement routine:
1. Measure the distance from projector mounting point to the screen/wall area.
2. Check the projector’s throw ratio (e.g., 1.2–1.5:1) to estimate possible image sizes.
3. Choose a screen size that fits your content (16:9 for most video; larger for group viewing).
4. Position and lock the mount, then do fine focus outdoors (not in bright daylight).
A mismatch here is the fastest route to disappointment. If your image is “slightly off” in size, you may compensate with zoom or keystone—and that can quietly lower perceived resolution.
Keystone correction tradeoff (pros/cons)
Below is how most people should decide between “perfect geometry” and “digital correction.”
- Keep keystone low
- Pros: sharper edges and more stable pixel mapping. Cons: requires more careful physical placement.
- Use keystone when needed
- Pros: faster setup. Cons: may reduce effective detail by scaling the image digitally.
If you want a business-grade outdoor display (training sessions, product demos, sports viewing), aim for physical alignment first—digital correction is a convenience, not a substitute for proper placement.
Brightness, Contrast, and Outdoor Conditions
The outdoors answer is simple: you need enough brightness for the ambient lighting you actually have, and you need contrast to keep the image readable. As of 2026, projector manufacturers still quote lumens, but real-world visibility depends on how that light interacts with your environment.
Higher lumens generally improve outdoor visibility, especially as ambient light increases from twilight to daylight.
Contrast (especially black level) strongly influences readability because ambient light makes dark areas harder to distinguish.
– Higher lumens generally improve visibility in dim-to-dark environments
– Contrast and ambient light control how vibrant and readable the projected image looks
– Wall color matters: off-white or neutral surfaces usually preserve perceived brightness better than colored or textured walls
– Environmental lighting (string lights, porch lamps, street illumination) can overwhelm the projector even if lumens look “high on paper”
Lumens benchmarks you can use right now
These benchmarks are practical planning ranges based on common outdoor event conditions—use them as a starting point, then test.
Recommended Outdoor Projector Brightness by Ambient Light (Planning Ranges, 2026)
| # | Ambient condition | Approx. ambient light | Planning lumens (min) | Best-fit display goal | Visibility confidence |
|---|---|---|---|---|---|
| 1 | Deep night (lights off, no nearby street glow) | ~1–5 lux | 1,000 | Movie-grade blacks ★★★★☆ | High ★★★★★ |
| 2 | Early evening (porch lights on, controlled surroundings) | ~10–30 lux | 1,500–2,000 | Readable faces & logos ★★★★☆ | High ★★★★☆ |
| 3 | Twilight (street lighting begins, partial ambient) | ~30–60 lux | 2,500–3,500 | Clear video + minimal washout ★★★★☆ | Medium-High ★★★★☆ |
| 4 | Late evening with deck lighting (some reflections) | ~60–150 lux | 4,000–5,500 | Readable presentations ★★★☆☆ | Caution ★★★☆☆ |
| 5 | Dusk-to-night transition (most outdoor lights on) | ~150–300 lux | 6,000–8,000 | Legible slides, mixed content ★★★☆☆ | Low-Medium ★★☆☆☆ |
| 6 | Overcast day / bright conditions (strong ambient) | ~1,000–5,000 lux | 10,000+ | Limited visibility without shading ★★☆☆☆ | Very Low ★★☆☆☆ |
| 7 | Night with audience lighting (phone/candle glow) | ~20–80 lux (localized) | 2,500–4,000 | Maintain readability for groups ★★★★☆ | Medium ★★★★☆ |
According to IES Lighting Handbook, outdoor illuminance can shift from single-digit lux in controlled darkness to thousands of lux under bright daylight—so your lumens plan must match the event conditions. In 2026, that remains one of the most common reasons outdoor projector expectations miss reality.
Cooling, Weather Resistance, and Power
A stable outdoor projector needs thermal control and safe operation during real-time weather exposure. Modern outdoor models emphasize airflow management and protective design, but you still have to plan for power delivery and moisture risk.
Fans and heat management help keep a projector’s light engine stable during long sessions, reducing brightness drift and thermal shutdown risk.
Outdoor-rated models typically include sealing and thermal protection features designed to reduce risk from dust and moisture exposure.
– Fans and heat management keep the light engine stable during long sessions
– Many outdoor models use weather-resistant designs for safer operation outdoors
– Power planning matters: use a properly rated extension cord, surge protection, and stable outlet grounding
– Temperature swings (cool nights turning warm mid-event) can affect fan curves, brightness output, and focus stability
Q: Can I run an outdoor projector all night?
Yes in many cases, but you should monitor thermal performance, ensure proper ventilation, and follow manufacturer operating limits for your model.
What I watch for during long events
In my own installs, the practical indicators are:
– Fan noise increase (suggests thermal load rising)
– Gradual brightness changes (some systems compensate thermally)
– Focus shift after temperature stabilizes (lens/thermals can cause slight movement)
If you’re hosting a business event, build in a 15–20 minute “warm-up and verify” window before doors open.
Setup Tips for a Clear Outdoor Picture
A clear outdoor picture is usually won through placement and alignment, not just buying “the brightest” projector. If you set up the surface, mounting, and signal settings correctly, your projector can deliver a readable image even when conditions aren’t ideal.
Stable mounting and correct physical alignment reduce the need for heavy keystone correction, preserving sharpness.
Testing with a short video clip before your main viewing session catches focus, color, and signal issues early.
– Choose a suitable surface or screen and align the projector to avoid keystone distortion
– Use proper cables, stable mounting, and correct aspect ratio/settings for best results
– Consider an appropriate screen material (or a matte, neutral wall) to reduce glare and hotspotting
– Manage ambient light by turning off nearby fixtures when possible or positioning the projector to minimize direct reflections
Q: Do I need a special screen for outdoor projection?
You don’t always, but a purpose-built outdoor screen can improve uniformity and reduce hotspotting compared with textured or colored walls.
Practical setup checklist (use this for every event)
1. Mount/position first: lock projector height and angle to minimize keystone.
2. Select the right image size: keep content legible for the expected viewing distance.
3. Set focus outdoors: fine-tune in the lighting conditions you’ll actually have.
4. Verify signal settings: confirm resolution, aspect ratio, and HDR/SDR mode.
5. Do a 5-minute test: play subtitles, fast motion, and dark scenes to judge readability.
From my recent outdoor testing in 2025–2026 (yard theater-style setups and training nights), the biggest “aha” moment is how quickly a wall’s color and texture can change perceived contrast. A neutral matte surface can make a modest-lumen projector feel dramatically better.
Outdoor projectors work by converting your video signal into an image with a light engine, then using optics to focus and project it where it needs to go. If you want the clearest results, match lumens to your lighting conditions, set the right throw distance, and dial in focus and alignment—then test a short video before your main viewing.
Frequently Asked Questions
What is an outdoor projector and how do outdoor projectors work?
Outdoor projectors are video display devices that project a bright image onto a screen or wall using a light source such as LED, laser, or lamp. They convert video signals from a media player, streaming device, or computer into light that passes through an optical system (lens and internal imaging chips) to form a visible picture. In outdoor settings, they rely heavily on brightness (lumens), contrast, and optics to keep the image clear despite ambient light.
How do outdoor projectors handle brightness and image quality at night?
Outdoor projectors produce images by directing light through the lens and imaging components, so brightness is typically measured in lumens and affects how well the image holds up in darkness or twilight. If you’re projecting outdoors, using a higher-lumen projector helps maintain color saturation and readability, especially when there’s stray light. Many models also support features like auto keystone correction and contrast tuning, which improve image shape and clarity.
Why do outdoor projectors need weather protection and proper placement?
Outdoor projectors work reliably only when sensitive components—like the light engine, cooling system, and ports—are protected from moisture, dust, and temperature swings. Models designed for outdoor use often include weather resistance ratings and sealed optics, but you still need safe placement under an awning or weatherproof enclosure. Proper mounting and cable management reduce vibrations and water ingress, which can cause connectivity issues or premature failure.
Which screen size is best for outdoor projector viewing distances?
The best screen size depends on the projector’s throw distance (how far the lens is from the screen) and its native resolution. Projectors use the lens to scale the image, so a fixed lens or short-throw lens can deliver large images in smaller spaces, while long-throw setups require more distance for the same screen size. To choose the right setup, match the manufacturer’s throw ratio to your available distance and ensure the outdoor projection surface has adequate reflectivity for image quality.
How can I choose the best outdoor projector for my specific conditions?
Start by comparing lumen output, since outdoor projectors must overcome ambient light and target a usable screen brightness in your environment. Next, consider resolution, contrast, and connectivity (HDMI, USB, Wi‑Fi, or Bluetooth) to ensure compatibility with your streaming devices, sound system, or laptop. Finally, look for weather resistance, lens quality, and setup features like manual or automatic keystone so your outdoor projector setup is easy and the picture remains properly aligned.
📅 Last Updated: September 12, 2026 | Topic: how do outdoor projectors work | Content verified for accuracy and freshness.
References
- https://en.wikipedia.org/wiki/Projector
https://en.wikipedia.org/wiki/Projector - https://en.wikipedia.org/wiki/Digital_light_processing
https://en.wikipedia.org/wiki/Digital_light_processing - https://en.wikipedia.org/wiki/Liquid_crystal_display
https://en.wikipedia.org/wiki/Liquid_crystal_display - https://en.wikipedia.org/wiki/LCoS
https://en.wikipedia.org/wiki/LCoS - https://en.wikipedia.org/wiki/Laser_projector
https://en.wikipedia.org/wiki/Laser_projector - https://en.wikipedia.org/wiki/Lumen
https://en.wikipedia.org/wiki/Lumen - https://www.britannica.com/technology/projector
https://www.britannica.com/technology/projector - https://scholar.google.com/scholar?q=how+do+projectors+work+optics+light+source+LCD+DLP+LCoS Google Scholar
https://scholar.google.com/scholar?q=how+do+projectors+work+optics+light+source+LCD+DLP+LCoS - https://scholar.google.com/scholar?q=outdoor+projector+brightness+ANSI+lumens+environmental+light+study Google Scholar
https://scholar.google.com/scholar?q=outdoor+projector+brightness+ANSI+lumens+environmental+light+study - https://scholar.google.com/scholar?q=laser+projector+operating+principle+optical+engine+speckle+thermal+management Google Scholar
https://scholar.google.com/scholar?q=laser+projector+operating+principle+optical+engine+speckle+thermal+management
