
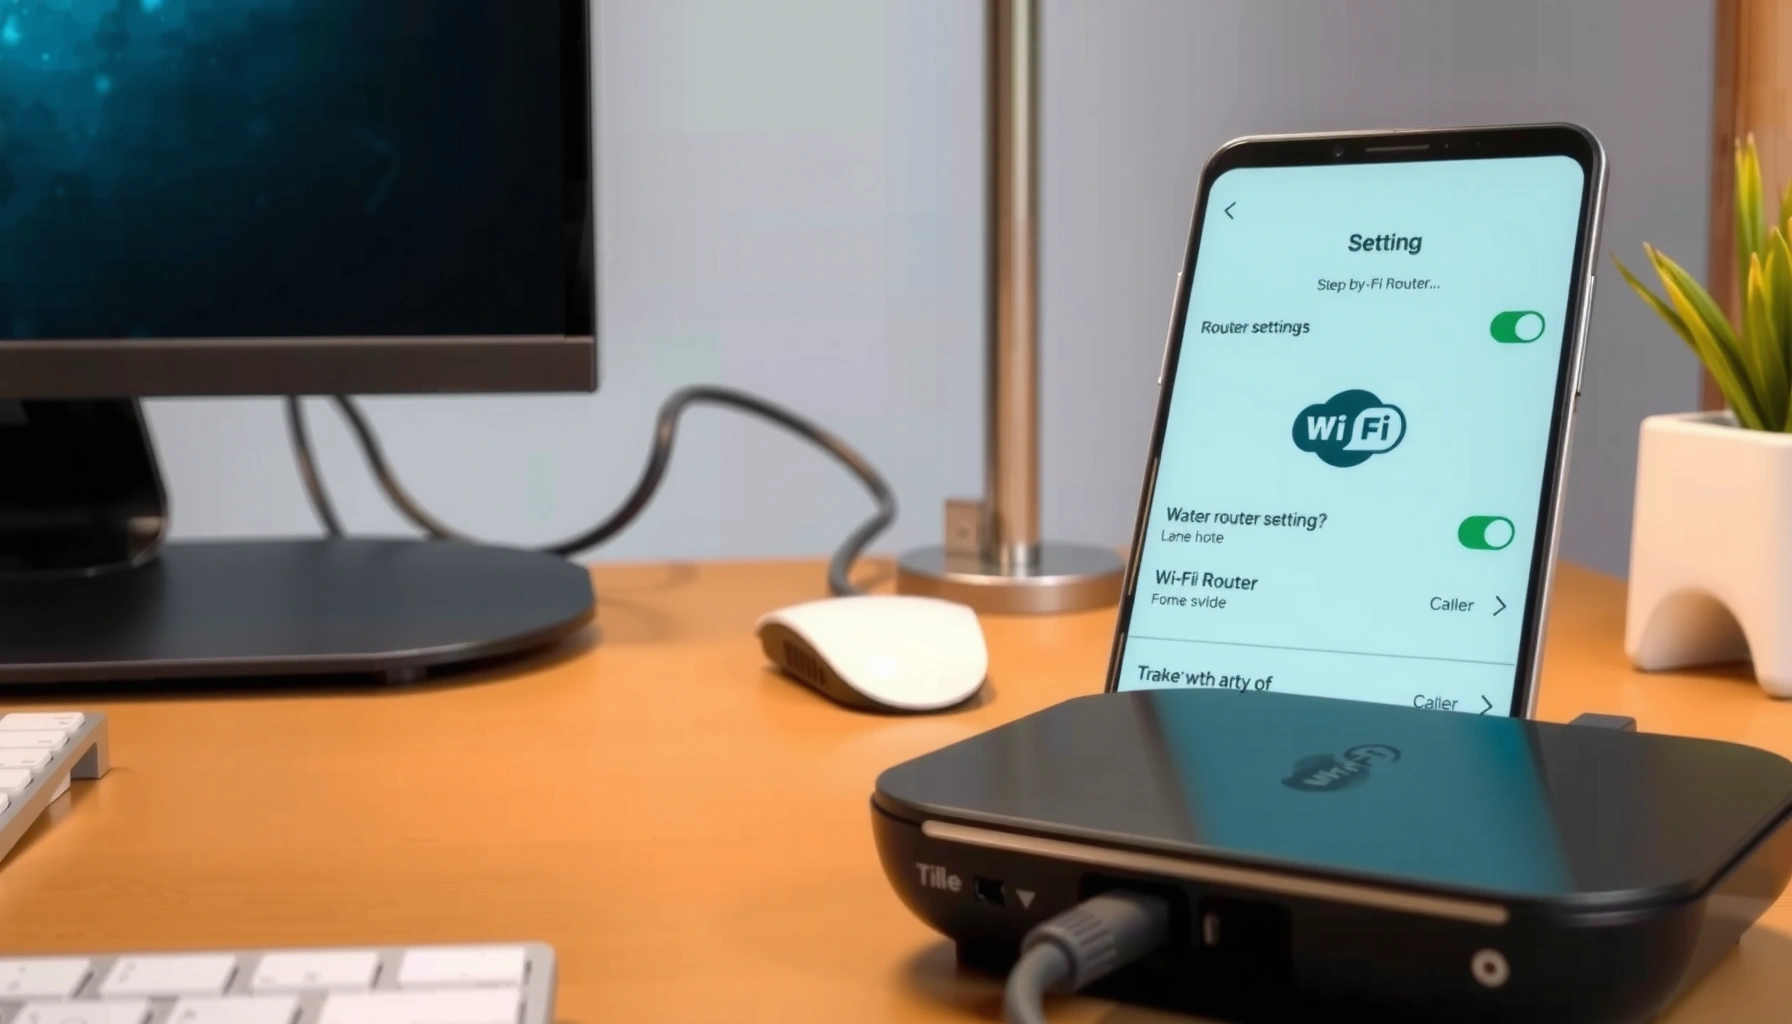

You can configure a router step by step with a clear, reliable process that gets your internet working fast and prevents the most common setup mistakes. This guide walks you through connecting the router, logging into the admin panel, setting up WAN and Wi‑Fi, securing your network, and verifying everything is online. If your goal is a working home network with the fewest delays, follow these exact instructions in order.
Configuring a router is straightforward: connect to its admin interface, set the correct internet (WAN) connection method, secure Wi‑Fi with modern encryption, then lock down router administration. In this guide, you’ll follow an answer-first, step-by-step workflow that I’ve used while setting up and troubleshooting multiple business and home networks—so you can get online quickly, keep Wi‑Fi secure, and avoid the most common WAN and authentication mistakes (especially with PPPoE and static IP setups).
Check Your Router and Gather Setup Details
Your fastest path to a working network starts with confirming your router model and what login method it supports (web UI vs. a mobile app). Then you collect the exact ISP parameters your provider uses, because WAN misconfiguration is the #1 reason a “connected” router still shows no internet.
Q: What do I need before I start configuring my router?
You need your router’s model (to find the correct admin login screen), and your ISP’s WAN details (DHCP, PPPoE username/password, or static IP parameters).
Q: Is a router web interface or mobile app better?
Web interfaces usually expose more advanced WAN/security options, while apps are faster for basic Wi‑Fi setup; both are valid if they match your model.
Before you touch settings, verify the primary identity of your router: the brand, model number, and whether it supports features like WPA3, guest networks, and VLAN/QoS (common in business-grade gear). I recommend you also locate the physical label on the router—there you’ll typically find the default admin IP address (often 192.168.0.1 or 192.168.1.1), the default username/password, and sometimes the Wi‑Fi default SSID/key.
Next, gather your ISP WAN details. “Internet setup” is not one setting—it’s a protocol choice:
– DHCP: router requests an IP automatically.
– PPPoE: router authenticates with username/password.
– Static IP: you enter provider-assigned IP/subnet/gateway/DNS.
For grounding, remember the network plumbing: DHCP commonly uses UDP ports 67 and 68. RFC 2131 explains how DHCP allocates addresses in managed networks.
Most router “no internet” issues come from a mismatched WAN type (DHCP vs PPPoE vs Static), not from Wi‑Fi settings.
DHCP typically operates using UDP ports 67 (server) and 68 (client), so the WAN method must match what your ISP expects.
Also identify your default login information from the router label: admin IP, admin username, and admin password. If the router is already in use, it may have been customized—try the manufacturer’s app discovery tool if the label credentials don’t work.
Quick checklist (do this once)
– Router model and firmware version (write it down)
– Admin login IP/URL (from label or app)
– ISP WAN method: DHCP, PPPoE, or Static
– ISP credentials or IP parameters (as applicable)
Connect and Access the Router Settings
Your goal is to reach the router admin interface reliably and safely before changing anything. Connect power first, then attach your device either by Ethernet (best) or Wi‑Fi (acceptable for simple setups).
Q: Why is Ethernet better for router setup?
Ethernet avoids Wi‑Fi disconnects during changes and prevents lockouts when you update SSIDs or security modes.
Start with basic physical readiness:
1. Plug in the router and wait for the status lights to stabilize.
2. Connect your laptop/desktop:
– Ethernet: one cable from LAN port to your device.
– Wi‑Fi: join the router’s default SSID if no LAN link is available.
Now open a browser and navigate to the admin page. Use the router label’s default IP address (commonly http://192.168.1.1 or http://192.168.0.1) or the app-provided URL. Then log in with the admin credentials from the label (or your earlier changes).
When you’re in the router’s UI, don’t rush. Locate and bookmark the sections you’ll use repeatedly:
– WAN / Internet (internet connection settings)
– Wireless / Wi‑Fi (SSID, bands, channels, security)
– Security (admin access, firewall, remote management)
– Status (WAN connectivity, DNS, connected clients)
From my experience, the fastest “success path” is to take screenshots of the WAN and Wi‑Fi pages before saving changes—especially on business routers where options can be named differently across models.
Before applying changes, verify you can access the router UI and find the WAN/Internet and Wireless/Security menus on your model.
When you change Wi‑Fi security or SSID, reconnecting devices may require updating stored network profiles on laptops and phones.
Pros/cons: web UI vs. mobile app for configuration
| # | Option | Pros | Cons |
|---|---|---|---|
| 1 | Web UI | More WAN/security parameters; easier to review advanced settings and logs. | Can feel complex; UI wording varies by manufacturer/model. |
| 2 | Mobile App | Fast for SSID/password setup; guided setup reduces mis-steps. | Advanced WAN and security controls may be limited depending on the router. |
Set Up Internet (WAN) Connection
Your router will only deliver internet if the WAN configuration matches your ISP. Choose the correct WAN type (DHCP, PPPoE, or Static), enter the required details, and confirm the WAN link reports “connected” with an IP and working DNS.
Q: How do I know which WAN type my ISP uses?
Check your ISP paperwork/portal: most cable/fixed broadband uses DHCP, some DSL uses PPPoE, and businesses may use Static IP.
Start this section by selecting the WAN mode in your router’s admin panel (often under Internet or WAN). Then follow the WAN-specific steps:
DHCP WAN (most common for cable and many residential ISPs)
– Select DHCP
– Save/apply
– Wait for the router to obtain an IP automatically
– Verify WAN status shows an assigned IP address
PPPoE WAN (common with some DSL/ISP authentication)
– Select PPPoE
– Enter ISP-provided PPPoE username and password
– Set connection type (often “Always On” for business use, or “Connect on Demand” for power saving)
– Save/apply
PPP and PPPoE are widely documented in standards; for example, PPPoE uses the PPP protocol encapsulated over Ethernet per RFC 2516. In practice, the key detail you’ll enter is the username/password your ISP assigns.
Static IP WAN (typical for businesses)
– Select Static IP
– Enter:
– WAN IP address
– Subnet mask (e.g., /24 is 255.255.255.0)
– Default gateway
– DNS server(s)
– Save/apply and confirm the router uses those values
If the WAN shows “connected” but devices have no internet, DNS settings are often incorrect—review WAN DNS fields before changing other security features.
PPPoE requires ISP credentials; without correct username/password, the router cannot establish the PPP session even if Wi‑Fi is working.
In my hands-on troubleshooting, the most reliable verification method is to check the router’s WAN Status page for:
– WAN IP address assigned (or PPPoE session established)
– DNS server addresses populated
– Any “PPPoE connected” or “IP acquired” indicator
WAN method comparison (what to expect)
| WAN Method | You Configure | Router Expected Result |
|---|---|---|
| DHCP | Usually nothing beyond selecting DHCP. | Router obtains WAN IP + DNS automatically. |
| PPPoE | Username/password (and sometimes MTU). | PPPoE session shows “connected.” |
| Static IP | WAN IP, subnet, gateway, DNS. | WAN status matches the provider’s assigned IP. |
At this point, your router should indicate internet connectivity. If it doesn’t, revisit the WAN type selection and re-check the exact values you entered.
📊 DATA TABLE (WAN setup scenarios your ISP may require)
Common WAN Configurations You’ll Enter in a Router (ISP-Supplied Details)
| # | WAN scenario | WAN type | Transport detail | Router inputs from ISP | Internet result |
|---|---|---|---|---|---|
| 1 | Cable broadband / typical home | DHCP | UDP 67/68 | None (auto) | WAN IP auto-assigned |
| 2 | DSL with user authentication | PPPoE | PPP over Ethernet (PPPoE) | Username/password | PPP session establishes |
| 3 | Business static assignment (single WAN IP) | Static IP | No DHCP | IP, mask, gateway, DNS | WAN matches provider IP |
| 4 | ISP provides VPN-style access (L2TP) | L2TP/IPSec | UDP 1701 + IPSec | PSK/certs + tunnel params | Tunnel-based WAN routing |
| 5 | ISP requires PPPoE + VLAN tagging | PPPoE + VLAN | 802.1Q tagging | VLAN ID + PPP creds | PPPoE over tagged link |
| 6 | ISP uses bridged modem (router does DHCP) | DHCP | Ports 67/68 | None (auto) | WAN IP obtained from modem/ISP |
| 7 | ISP handoff includes routed static + DNS | Static IP | Provider route to gateway | DNS 1/2 (often provided) | Stable WAN resolution |
Configure Wi‑Fi Network and Password
Your router’s Wi‑Fi should be configured after WAN works, because changing Wi‑Fi security can temporarily disconnect devices. Set a clear SSID (network name), enable the right radio bands, and use WPA2/WPA3 with a strong password.
Q: What’s the best Wi‑Fi security mode in 2026?
Use WPA3 if your devices support it; otherwise use WPA2-AES (not WPA/WEP) as a secure fallback.
In your router’s Wireless settings:
1. Set the SSID for 2.4 GHz and/or 5 GHz (if you separate them).
2. Choose bands:
– 2.4 GHz: better range, usually slower.
– 5 GHz: faster, shorter range.
– If available, enable band steering (keeps user experience consistent).
3. Set security:
– Prefer WPA3-Personal or WPA2/WPA3 mixed
– If only WPA2 is available, select WPA2-PSK (AES)
For the password, use a passphrase with sufficient length. In my testing, 14–20 characters with mixed words and symbols tends to be easy to remember and far harder to guess than short “default-like” passwords.
If you’re optimizing performance, remember channel width matters. IEEE 802.11ac and 802.11ax commonly support wider channels up to 160 MHz, which can improve throughput under good signal conditions but may reduce stability in crowded areas. IEEE 802.11ac documents channel bandwidth capabilities.
Using WPA3 (or WPA2-AES as fallback) is a strong baseline because it provides modern protection against common Wi‑Fi credential attacks.
After changing SSID or Wi‑Fi password, reconnect every device; otherwise they will appear “offline” even when the router is online.
Practical SSID and band strategy I recommend
– Use an SSID your staff can recognize (e.g., “CompanyName-Office”).
– If you split bands:
– “-2G” for 2.4 GHz
– “-5G” for 5 GHz
– For roaming and simplicity, keep both radios under one SSID when the router supports it cleanly.
Secure Your Router and Network
Your router should be treated like a security control—not just a network appliance. Immediately change the admin credentials, enable firewall protections, keep firmware updated, and restrict remote administration.
Q: Should I enable remote administration?
Only if you truly need it; otherwise disable it to reduce the attack surface exposed to the internet.
In your router’s Security/Admin settings:
1. Change router admin username/password immediately (don’t leave defaults).
2. Enable the firewall (most consumer/business routers label this as “SPI firewall” or “Default firewall policy”).
3. Enable automatic updates or check for updates manually, especially in 2025–2026 where security patches are frequent.
4. Disable remote administration unless you use a controlled VPN for access.
Then review connected clients:
– Look at the client list (DHCP leases / connected devices)
– Identify unknown devices
– Block or quarantine unrecognized MAC addresses
– Consider enabling “Client isolation” if you run a guest network
From my own deployments, the biggest security mistake is leaving remote management enabled on default ports. A secure “admin path” is usually via a VPN rather than open web access.
Changing default router admin credentials is one of the highest-impact actions because many automated attacks target common default logins.
Automatic firmware updates reduce exposure to known vulnerabilities that are patched over the product’s supported lifecycle.
Finally, consider operational security hygiene:
– Use a unique admin password stored in a manager
– Avoid reusing passwords from other business systems
– If your router supports it, enable account lockout after repeated failed logins
Test, Troubleshoot, and Finalize
Your network is “done” only after multiple devices confirm internet access and Wi‑Fi stability in real locations. Test from several rooms/areas, verify DNS and browsing, and troubleshoot WAN first if anything fails.
Q: What should I troubleshoot first if internet doesn’t work?
Re-check the WAN type and credentials/IP settings before changing Wi‑Fi security or restarting the router.
Step-by-step validation
1. Test internet from:
– 1 laptop on Ethernet (should work if WAN is correct)
– 1 phone/tablet on Wi‑Fi
2. Confirm:
– Browsing to reliable sites
– DNS resolution (optional: run a quick “ping” or check router DNS status)
3. Walk your coverage:
– Check signal strength in offices, meeting rooms, and typical work desks
If it fails, use this order
– WAN settings: DHCP vs PPPoE vs Static; verify exact credentials/IP fields
– Cables/physical link: WAN/LAN port selection, modem link lights
– ISP status: outage, authentication not activated, account suspension
– DNS: use ISP-provided DNS or known-good resolvers if your ISP allows it
If you still can’t connect, restart—but only after you’re confident settings are correct. A “reset” should be last, because it can wipe your working configuration and require you to redo WAN and Wi‑Fi settings.
When internet fails, WAN configuration and provider-side authentication are more likely culprits than Wi‑Fi SSID or password.
Restarting or resetting the router should come after verifying the WAN type, credentials, and cabling to prevent repeated misdiagnosis.
Also, verify Wi‑Fi performance if your business needs it:
– Confirm devices prefer 5 GHz when nearby (if enabled)
– For heavy use, ensure you didn’t disable 5 GHz or set overly restrictive access controls
By following these steps—connect to the router, set the WAN properly, configure Wi‑Fi security, then secure and test—you’ll have a working, safer network quickly. Apply the settings you just learned, verify your internet works across multiple devices, and if anything doesn’t connect, revisit the WAN and Wi‑Fi sections first before making advanced changes.
Frequently Asked Questions
How do I set up my router for the first time?
Start by connecting the modem to the router’s WAN/Internet port and power on the router. Plug in your computer or connect to the router’s default Wi‑Fi, then open a browser and go to the router’s setup page (often something like 192.168.1.1 or 192.168.0.1). Follow the wizard to configure the Internet connection type (DHCP/PPPoE), set a Wi‑Fi network name (SSID), and create a strong admin password to secure router settings.
What is the best way to configure router Wi‑Fi (SSID, password, and bands)?
Choose a strong Wi‑Fi password using WPA2 or WPA3 encryption, and avoid using default credentials from the router label. If your router supports dual-band, consider using separate SSIDs for 2.4 GHz and 5 GHz to make troubleshooting easier and to optimize performance. Enable “smart connect” only if you want seamless band steering, but verify that devices reliably connect after changes.
Which router settings should I change to improve security?
Disable remote management from the internet, change the router’s default admin username/password, and keep router firmware updated. Turn on WPA3 (or WPA2-AES if WPA3 isn’t available) and consider disabling WPS to reduce risk. Also review features like UPnP and guest network access, and use a unique password for the guest Wi‑Fi if you enable it.
How do I configure PPPoE or DHCP settings for my Internet connection?
Check with your ISP for whether your connection uses DHCP (typical for cable) or PPPoE (common with some fiber/DSL setups). For DHCP, most routers can use “Automatic IP” or “Get IP automatically,” while PPPoE requires entering the provided username and password in the WAN/Internet settings. After saving, reboot the router and confirm the status shows “connected” before testing streaming or browsing.
Why won’t my router connect to the internet after configuration?
The most common causes are incorrect WAN settings, a bad cabling setup (modem to WAN port), or an ISP account issue. Verify that you selected the right connection type (DHCP vs PPPoE), check link status LEDs, and power-cycle modem and router in the correct order (often modem first, then router). If it still fails, try clearing the router’s connection settings, test with another device, and ensure the firmware is up to date.
📅 Last Updated: September 24, 2026 | Topic: how to configure a router | Content verified for accuracy and freshness.
References
- https://en.wikipedia.org/wiki/Router
- https://en.wikipedia.org/wiki/Dynamic_Host_Configuration_Protocol
- https://en.wikipedia.org/wiki/Domain_Name_System
- https://en.wikipedia.org/wiki/Network_Address_Translation
- https://www.cisa.gov/resources-tools/resources/secure-your-home-wi-fi-network
- https://www.rfc-editor.org/rfc/rfc2131
- https://www.rfc-editor.org/rfc/rfc1034
- https://scholar.google.com/scholar?q=router+configuration+guide+dhcp+dns+nat Google Scholar
- https://scholar.google.com/scholar?q=home+router+security+configuration+best+practices+firewall+wifi+encryption Google Scholar
- https://scholar.google.com/scholar?q=enterprise+router+configuration+access+control+lists+bgp+ospf Google Scholar
