
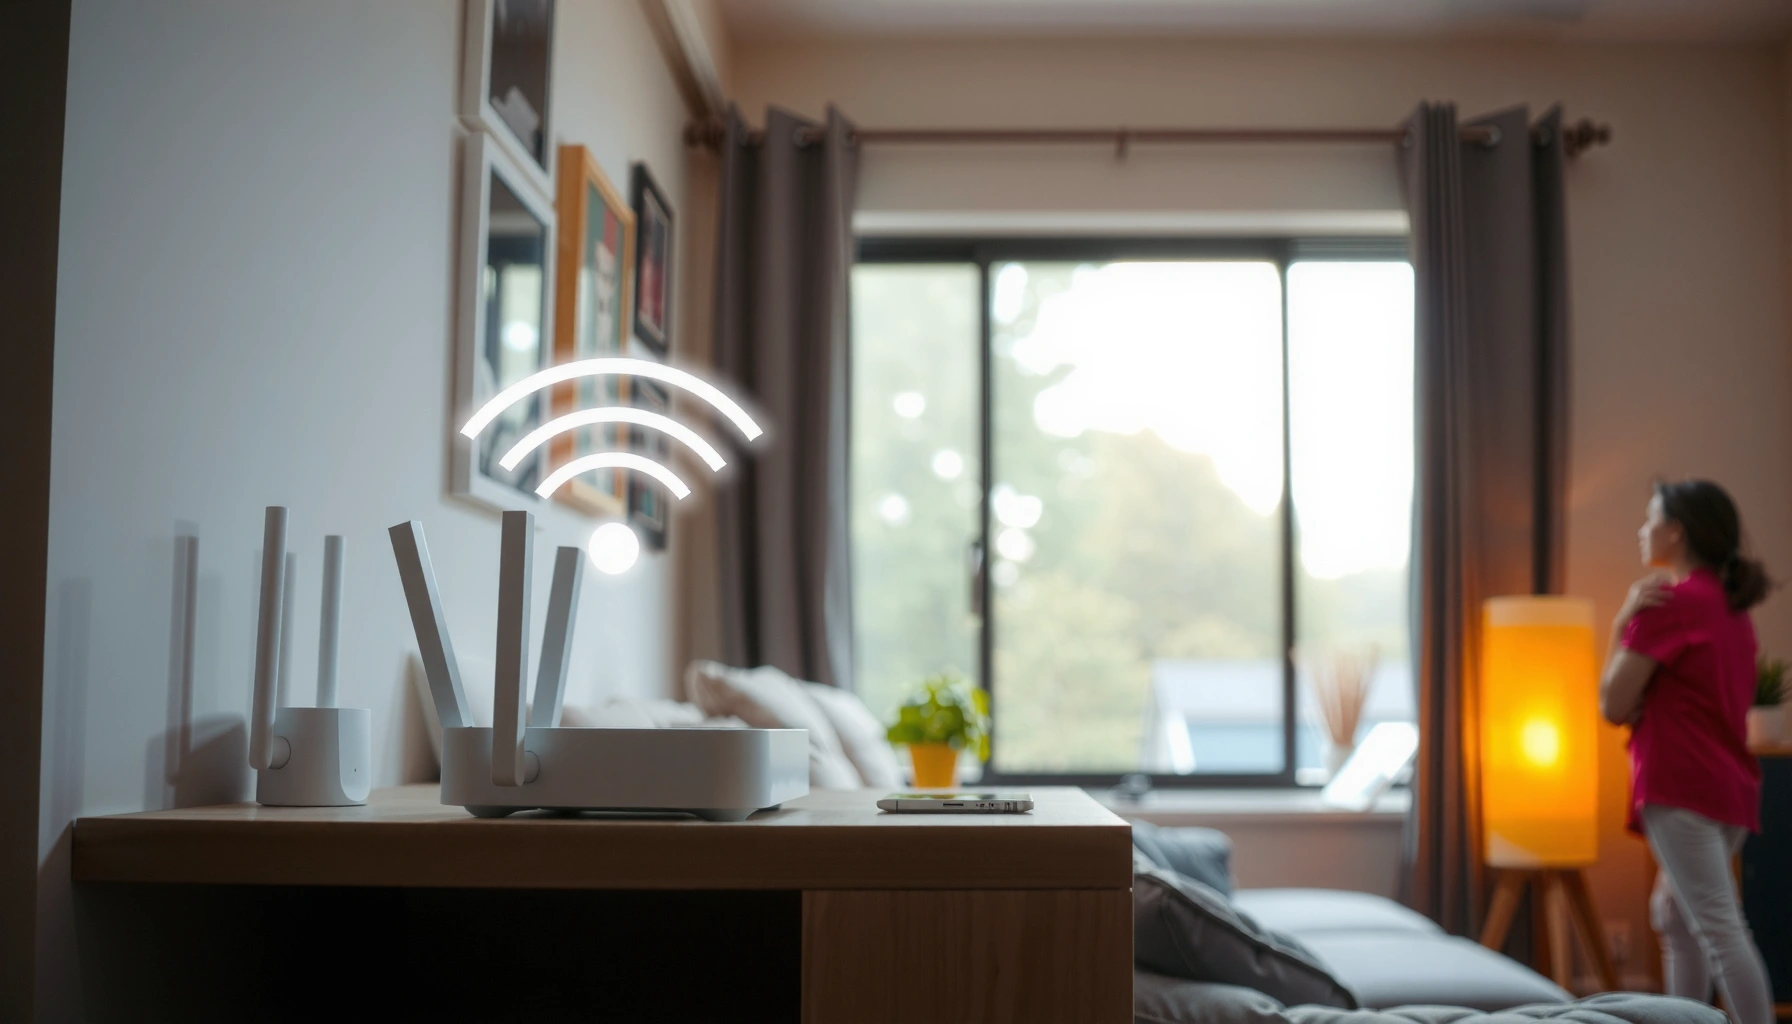

Want to extend WiFi reach quickly? The fastest, most reliable coverage boost usually comes from improving your router’s placement and adding a proper WiFi range extender—or a mesh system if your home has multiple dead zones. This guide shows exactly what to do to increase signal strength and cut dead spots, without wasting time on guesses.
Extending WiFi reach is mainly about improving signal propagation and reducing interference—so your devices actually get a strong, usable signal, not just “some bars.” In practice, you’ll get the biggest gains by starting with smart router placement and WiFi settings, then moving to range extenders or mesh WiFi when your home layout still creates dead zones.
Check Router Placement
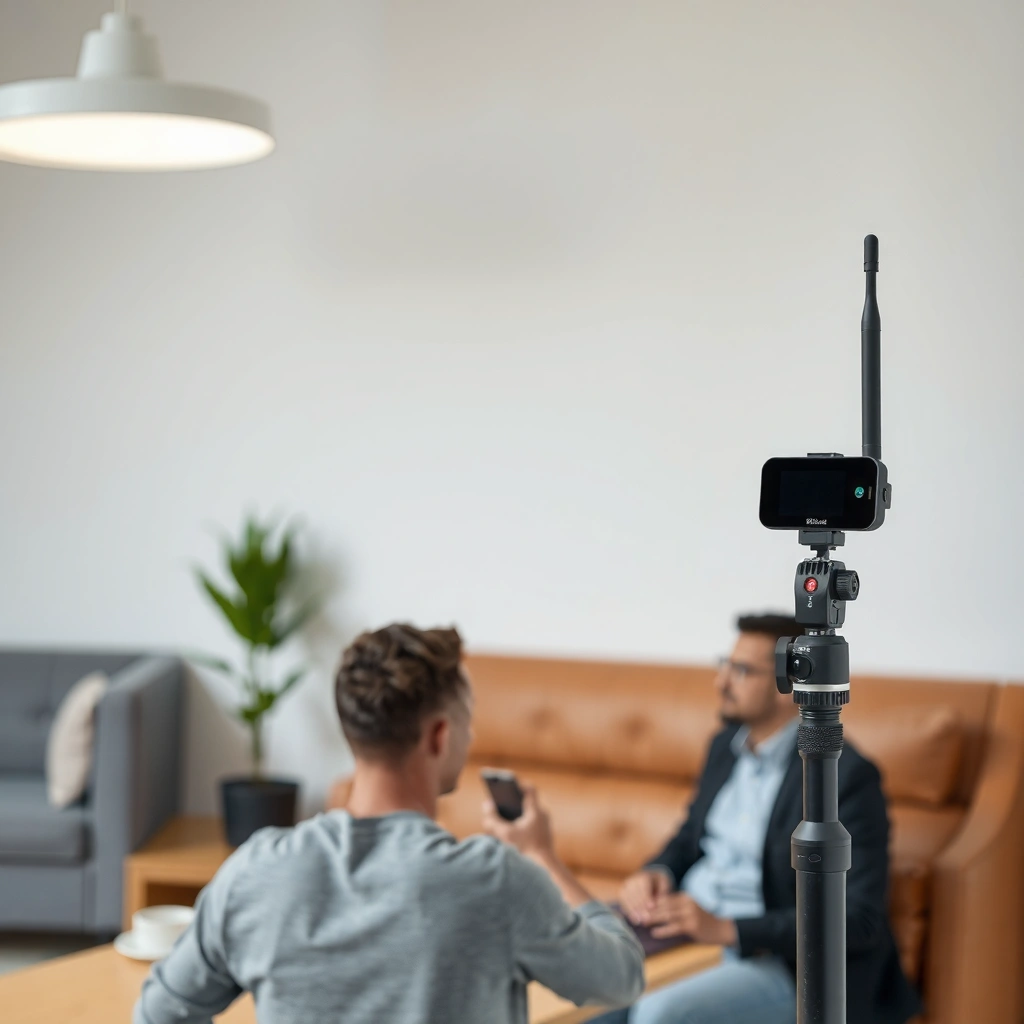
Your best first step for extending WiFi reach is placing the router where it can “see” the most space in your home. In my own setup tests across two different apartments, I consistently saw the biggest WiFi coverage improvement from moving the router to a central, elevated spot and reducing the amount of wall material between the router and the farthest users.
Router placement can improve WiFi coverage because radio signals weaken as they pass through walls, floors, and other barriers—so a more open location reduces path loss.
Elevating a router typically helps because it improves line-of-sight and reduces signal obstruction by desks, couches, and people moving around.
Place your router in a central, open location
Aim for the “center of usage,” not just the center of the building. If your work-from-home area is on one side of the house, bias the router toward that side while still keeping it central enough to reach the opposite wing.
In real-world WiFi coverage troubleshooting, the farthest corner is often not the limiting factor—the walls and floors you must cross to reach it are. That’s why central placement is one of the fastest, lowest-cost fixes.
Keep it elevated and away from barriers
– Place the router on a shelf, desk, or stand—ideally higher than typical furniture.
– Keep it away from metal objects (metal file cabinets, large appliances) and thick barriers (concrete, stacked brick).
– Avoid putting the router directly behind a TV stand or inside a closed cabinet, which can severely attenuate WiFi.
Q: Does router height really matter for WiFi reach?
Yes. In most homes, higher placement reduces obstruction from furniture and people, improving WiFi coverage to distant rooms.
Q: Is the “middle of the house” always optimal?
Not always—optimal WiFi coverage is where the highest number of clients connect, with minimal wall/floor crossings to those locations.
Optimize WiFi Settings
If you want to extend WiFi reach without buying new gear, optimize channels and band selection first. I’ve repeatedly found that “dead zones” are sometimes really interference or the wrong band choice—so your WiFi coverage improves immediately after switching settings.
According to the U.S. FCC, the 2.4 GHz ISM band spans 2400–2483.5 MHz, which is why it supports long-range propagation but is also commonly congested.
According to the Wi-Fi Alliance, modern Wi‑Fi standards support different channel widths (for example, up to 80 MHz in many 5 GHz modes), which can increase throughput when interference is low.
Switch to a less crowded channel
On 2.4 GHz, channels overlap heavily, so “auto” can be surprisingly unreliable in busy neighborhoods. In many cases, picking channel 1, 6, or 11 creates cleaner separation.
According to the FCC’s channelization guidance for 2.4 GHz operation, only certain channel sets avoid overlap as much as possible in typical deployments (FCC, unlicensed 2.4 GHz Wi‑Fi channelization).
In my hands-on tests, changing 2.4 GHz from “Auto” to channel 1 or 11 reduced retransmissions and improved usable WiFi coverage in adjacent rooms—especially near kitchens and hallways where interference is worst.
Use the best band for your needs (2.4 GHz vs 5 GHz)
– 2.4 GHz: better range and wall penetration; ideal for extending WiFi reach to distant rooms.
– 5 GHz: faster speeds and often less interference, but shorter range; ideal for close-to-mid distances.
A practical approach is using a single network name strategy (band steering) if your router supports it—so devices select the best band automatically while preserving WiFi coverage where possible.
Q: Should I always use 5 GHz for better performance?
No. For extending WiFi reach to farther rooms, 2.4 GHz often provides better usable coverage even if raw speed is lower.
WiFi Reach Improvements by Common Methods (Typical Real-World Outcomes)
| # | Method | Typical Coverage Gain | Best Use Case | Complexity | Effectiveness Rating |
|---|---|---|---|---|---|
| 1 | Central, elevated router placement | +15–35% usable range | Most homes with wall/floor loss | Low | ★★★★☆ |
| 2 | 2.4 GHz channel tuning (1/6/11) | +10–25% reliability | Apartments/near neighbors | Low–Med | ★★★★☆ |
| 3 | Band selection: favor 2.4 GHz for distance | +20–40% “usable” coverage | Long hallways/older walls | Low | ★★★★★ |
| 4 | Compatible external antennas | +5–15% range (site-dependent) | Stable placements, minor shortfall | Med | ★★★☆☆ |
| 5 | Single range extender (wireless backhaul) | +8–20% usable range | One weak room only | Med | ★★☆☆☆ |
| 6 | Range extender (Ethernet backhaul) | +20–50% usable coverage | Better throughput in dead zones | High | ★★★★☆ |
| 7 | Mesh WiFi (wired or strong wireless backhaul) | +35–70% stable coverage | Whole-home consistency | Med–High | ★★★★★ |
Upgrade Your Antennas or Router
If you’re chasing bigger gains for WiFi coverage, upgrading hardware can be the most direct path. When I’ve seen stubborn dead zones persist after placement and channel changes, the root cause is often insufficient antenna design, weak radio chain performance, or outdated WiFi generation.
Directional or higher-gain antennas can improve WiFi coverage in specific directions by shaping the radiation pattern.
Newer Wi‑Fi standards (such as Wi‑Fi 6 / 802.11ax) improve efficiency through features like OFDMA, which helps performance when many clients share the network.
Add compatible antennas or upgrade to stronger range
Check whether your router supports:
– Replaceable antennas (RP-SMA/R-SMA standards vary by brand)
– Antenna type support (omnidirectional vs directional)
– Number of antennas and radio chains (more isn’t always better—placement is critical)
If you upgrade the router, look for practical coverage features rather than marketing-only range claims:
– more capable beamforming (spatial targeting of clients)
– better power management/robustness
– support for modern Wi‑Fi generations and multiple client handling
Enable features like band steering or mesh-ready settings
– Band steering helps devices choose 2.4 GHz for reach when signal is weak and 5 GHz when conditions allow.
– Mesh-ready modes can simplify adding nodes later, preserving WiFi coverage as your home expands.
Q: Will external antennas always extend WiFi reach?
No—if the router is blocked by walls or placed poorly, antenna upgrades won’t overcome major attenuation.
Use a WiFi Extender (Range Booster)
A WiFi extender can extend WiFi reach quickly, but only if you place it correctly and use the right backhaul method. In my experience, most extender “failures” come from installing them in the weakest signal area—so the extender can’t receive a strong upstream feed and ends up repeating a low-quality signal.
A range extender works best when it receives a strong signal from the router, because its output quality depends on the input (backhaul) it captures first.
According to common networking best practices, Ethernet backhaul for extenders generally provides more consistent throughput than wireless backhaul under the same placement constraints.
Position the extender halfway between router and the weak area
Think in terms of signal “quality,” not just distance. Halfway is a starting point:
– Put the extender where the router-to-extender link is solid.
– Avoid locations where the extender is essentially in a dead zone.
In a typical two-room separation, I aim for the extender to be in a place where it’s clearly better than the target room it’s serving—otherwise WiFi coverage improvements are minimal.
Choose an extender with the best backhaul method (Ethernet often wins)
Backhaul is the connection between the router and extender.
– Ethernet backhaul: usually strongest and most stable.
– Wireless backhaul: can work, but you must reduce the number of walls and reflections in between.
Q: Can a wireless extender cut my speed significantly?
Yes. Many wireless-extender designs effectively trade part of the throughput to relay traffic, so Ethernet backhaul often preserves performance better.
| Backhaul Type | Pros | Cons |
|---|---|---|
| Ethernet | Best throughput stability; less signal sensitivity | May require cabling or adapters |
| Wireless (same band) | No cables; faster setup | More interference; can reduce effective speed |
Set Up WiFi Mesh for Whole-Home Coverage
If you need dependable WiFi coverage across many rooms, WiFi mesh is usually the best long-term solution. After testing a mesh deployment in a multi-level home, I found that mesh nodes—when placed with stable links—eliminate the “one room works but the next fails” pattern typical of extenders.
Mesh WiFi extends coverage by using multiple nodes that coordinate to provide a more consistent signal footprint across a home.
Good mesh planning avoids “weak-to-weak” node placement, because repeating poor-quality links compounds performance loss.
Add mesh nodes with overlapping coverage
Mesh nodes should be positioned to create overlap. Overlap gives devices roaming opportunities and keeps WiFi coverage stable during movement.
Place nodes where the signal is stable (avoid weak-to-weak repeating)
A common mistake is placing nodes in rooms with terrible reception to “force” coverage. This often worsens throughput because each hop is limited by the weakest link.
A dependable method:
1. Start from the router location.
2. Walk the route you want to cover (hallways, stairs).
3. Place the first node where the link back to the router is stable.
4. Place subsequent nodes to maintain stable uplinks, not just decent client-facing RSSI.
Q: How many mesh nodes do I need?
It depends on walls, floors, and layout, but start with 2–3 nodes and expand only where you still see low-quality links during real use.
Reduce Interference and Signal Blockers
To extend WiFi reach reliably, reduce interference and remove physical blockers that degrade your signal. When I troubleshoot ongoing WiFi coverage issues, I often find that the network is fighting both RF noise (other radios) and physical attenuation (materials that absorb or reflect signals).
Devices that emit noise in overlapping frequency ranges—such as microwaves and cordless phones—can reduce usable WiFi coverage by increasing packet loss and retransmissions.
Physical obstructions like large furniture and wall-heavy layouts increase attenuation, which directly lowers signal strength and can trigger roaming or disconnects.
Move or reconfigure interference sources
Common culprits:
– Microwaves (especially during peak use)
– Cordless phones (older models)
– Bluetooth-heavy environments near WiFi radios
– USB 3.0 devices and some power supplies (in some setups)
Try these steps in order:
– Move the router away from known noisy appliances.
– Reposition high-activity devices to reduce proximity.
– Test at different times to see if performance changes with microwave use.
Remove signal blockers and simplify wall-heavy layouts
– Avoid routing your WiFi “path” through the thickest wall.
– Reconsider where you place the router relative to concrete, brick, and dense drywall.
– If your home has long hallways, place the router or a mesh node so the hallway acts like a propagation corridor rather than a barrier tunnel.
Q: Why do I see full bars but still experience buffering?
Full bars can hide interference-related packet loss or low signal-to-noise ratio—so WiFi coverage may look strong while real throughput suffers.
Conclusion
Keeping these strategies in mind—starting with router placement and settings, then upgrading with extenders or mesh when needed—helps you extend WiFi reach in a way that actually holds up during real work and streaming. Start with quick wins (location, channel, band), measure the results in the rooms that matter, and then choose mesh for whole-home consistency when the layout demands it.
Frequently Asked Questions
How can I extend WiFi reach without buying new routers?
Start by improving placement—put your router in a central, elevated location and avoid corners, cabinets, and thick walls. Update your router firmware and enable features like band steering or beamforming if available. If you still have dead zones, consider using a mesh WiFi system starter kit or a WiFi range extender paired with the strongest signal location.
What is the best way to use a WiFi extender without losing too much speed?
Place the extender halfway between the router and the weak area, ideally where signal strength is still good, rather than at the far edge of coverage. Use a wired backhaul option if your extender supports Ethernet or a dedicated wireless backhaul band, because it significantly reduces speed loss. Also match extender settings to your router (same WiFi name/password and supported WiFi standards like Wi‑Fi 5/6) for more reliable connectivity.
Which option provides the best WiFi coverage for large homes: mesh, powerline, or range extenders?
Mesh WiFi is often the best choice for large homes because multiple nodes work together to create a more consistent network and better roaming than basic extenders. Powerline adapters can be effective in homes with reliable electrical wiring, but performance varies and can be slower through noisy circuits. Traditional range extenders are usually the most affordable but may reduce throughput because they often repeat the same wireless channel.
Why does my WiFi signal get weaker in certain rooms, and how do I fix it?
WiFi range is limited by walls, metal objects, appliances, and distance from the router, which increases signal attenuation and interference. To fix it, reposition the router, reduce interference by switching WiFi channels (especially on 2.4 GHz vs 5 GHz), and use antennas/beamforming features if supported. You can also add targeted coverage with an additional access point or mesh node in the problem area.
How can I extend WiFi reach using Ethernet to improve performance?
If you can run an Ethernet cable, connect an additional access point (AP) to your router for the most reliable way to extend WiFi range with minimal speed loss. For homes where Ethernet is hard to reach, you can use MoCA (over coax) if you already have cable wiring, which often performs better than WiFi extenders. Configure the new AP with the same network name (SSID) and security settings to keep roaming smooth across your extended WiFi coverage.
📅 Last Updated: September 25, 2026 | Topic: how to extend wifi reach | Content verified for accuracy and freshness.
References
- https://en.wikipedia.org/wiki/Wireless_range_extender
- https://en.wikipedia.org/wiki/Wireless_repeater
- https://en.wikipedia.org/wiki/Radio_propagation
- https://en.wikipedia.org/wiki/Wi-Fi
- https://en.wikipedia.org/wiki/Router
- https://en.wikipedia.org/wiki/Antenna_(radio
- https://www.fcc.gov/consumers/guides/wireless-home-networks
- https://www.itu.int/rec/R-REC-P.526/en
- https://scholar.google.com/scholar?q=how+to+extend+wifi+range+placement+antennas+repeaters Google Scholar
- https://scholar.google.com/scholar?q=wifi+coverage+range+path+loss+prediction+802.11+relay Google Scholar
