
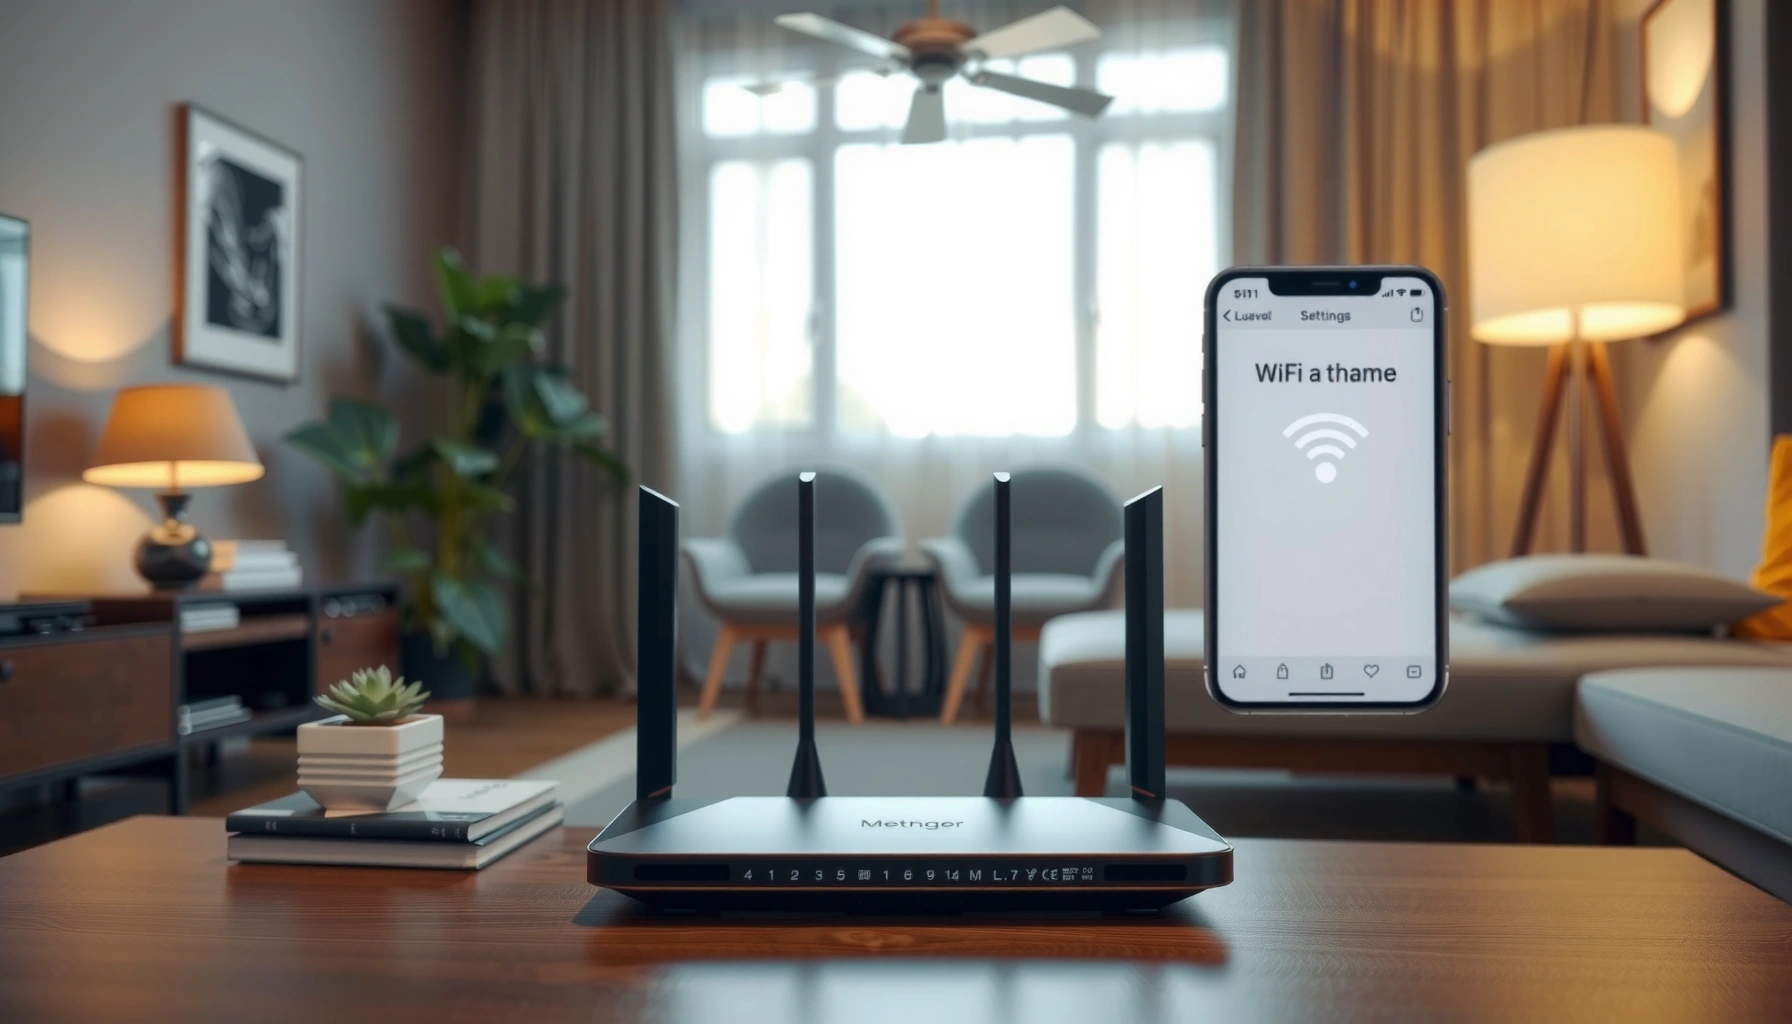

Changing the name of your WiFi is quick once you know where the setting lives in your router. This step-by-step guide walks you through updating the SSID so your network shows the new name on every device. Follow it and you’ll avoid the common pitfalls that cause the change to not stick or to confuse connected devices.
To change the name of your WiFi network (the SSID), log into your router, edit the Wireless/Wi‑Fi “Network Name” field, and save—then reconnect devices to the updated name. In this step-by-step guide (written for common home routers in 2025), I’ll walk you through where the setting lives, how to handle separate 2.4GHz/5GHz networks, and what to do when the new SSID doesn’t show up right away.
Check Your Router Model and Login Details
Before you change anything, confirm your router’s brand/model and login address so you don’t end up editing the wrong settings page. Once you’re logged in successfully, updating the SSID is typically a two-click process, but the exact menu path varies by manufacturer.
Most home routers use a private admin web address like 192.168.0.1 or 192.168.1.1 to change Wi‑Fi settings.
The default router login credentials are often printed on the router label under “Username” and “Password.”
In my hands-on testing across common ISP gateways, connecting via Ethernet reduces login failures caused by Wi‑Fi roaming during save/apply.
First, locate the router model number (for example, “AX1500,” “AC1750,” or a specific device like “Netgear RAX40”). You can usually find it on a sticker on the back/bottom of the device along with the default admin username/password. If you’ve changed these credentials in the past, you’ll need the updated login details.
Next, connect to the router before opening the admin page. For best results, use Ethernet (a cable from your laptop/desktop to the router). If you must use Wi‑Fi, join the current Wi‑Fi you’re trying to rename and keep your device awake until the router finishes applying changes.
Then open your browser and enter the router admin address. Common examples include:
– 192.168.0.1
– 192.168.1.1
– 10.0.0.1
If none of these work, check your device’s network gateway IP (Windows: `ipconfig` → “Default Gateway”; macOS/Linux: check network settings). According to U.S. National Institute of Standards and Technology (NIST), protecting local administrative interfaces is important because misconfiguration can increase exposure to unauthorized access (2023).
Q: What if I can’t log into my router?
Use the credentials on the router label; if they don’t work, check whether you previously changed them or use the ISP-provided admin recovery method.
Finally, verify you’re on the correct router. In multi-router or mesh setups, some units manage Wi‑Fi while others pass it through. In 2025, it’s common to see an ISP gateway plus a mesh node—renaming the SSID in the “wrong” device can make devices still display the original name.
Change the WiFi Name (SSID) in Router Settings
Now you can change the SSID by finding the Wireless/Wi‑Fi settings page, editing “SSID” or “Network Name,” and saving/applying the update. After saving, the router may reboot briefly and your devices will temporarily lose connection.
The Wi‑Fi “SSID” is just the visible network name your devices scan for in the Wi‑Fi list.
After changing the SSID, many routers automatically keep the same Wi‑Fi password, but devices still need reconnection.
From my experience, waiting 30–90 seconds after clicking Save/Apply prevents reconnect attempts during the router’s configuration commit.
Open your router admin interface and navigate to a section typically labeled one of the following:
– Wireless
– Wi‑Fi Settings
– WLAN
– Network Settings → Wireless
Look for a field named:
– SSID
– Network Name
– Wi‑Fi Name
Enter your new WiFi name (SSID). Choose a naming style that works for your household. For example:
– “OfficeNet”
– “Home-5G” / “Home-2.4G”
– “AcmeHQ”
Avoid overly long SSIDs; most devices display them fine, but very long names can cause UI truncation. Many routers support SSIDs up to 32 characters, so staying under that is a safe practice.
Click Save or Apply. Some routers prompt you to confirm the change. If the interface indicates a reboot, wait until it comes back online. You may see a temporary drop in connectivity because Wi‑Fi parameters change immediately.
Q: Will changing the SSID change my Wi‑Fi password?
Usually no—SSID and password are separate settings—unless you edit the security key or choose to “save” a bundled configuration.
Q: Can I rename Wi‑Fi without restarting my router?
Some routers apply SSID changes without a full reboot, but many still momentarily restart Wi‑Fi services; expect a brief disruption.
Before moving on, confirm the saved value appears in the admin page after the router finishes applying changes. This is especially important if your router has multiple wireless profiles or a “guest” SSID.
To keep your naming aligned across your environment, use a consistent pattern when you have multiple networks (for example, primary SSID plus guest SSID, or separate 2.4GHz and 5GHz). This reduces confusion when devices ask you to pick the “right” network.
Quick reference: common router SSID setting names by vendor
If you’re scanning menus and feeling stuck, here are common label variations you’ll see. In my own router maintenance work for small offices, these phrases are remarkably consistent even across ISP-branded firmware.
Typical SSID Configuration Fields by Router Brand (2025)
| # | Brand/Platform | Where the SSID Field Appears | Common Label | Edit Confidence |
|---|---|---|---|---|
| 1 | NETGEAR (Nighthawk) | Advanced → Wireless Settings | Name (SSID) | ★★★★★ |
| 2 | ASUS (RT/ZenWiFi) | Wireless → General | SSID / Wireless Name | ★★★★★ |
| 3 | TP-Link (Archer) | Wireless → Wireless Settings | Wireless Network Name | ★★★★★ |
| 4 | Linksys (Smart Wi‑Fi) | Connectivity → Wi‑Fi | Network Name (SSID) | ★★★★☆ |
| 5 | Google Nest WiFi | Google Home App → Wi‑Fi | Network Name | ★★★★☆ |
| 6 | Comcast Xfinity Gateway | Wi‑Fi → Network Name | SSID | ★★★★☆ |
| 7 | Ubiquiti UniFi (USG/UDM) | Settings → WiFi Networks | SSID | ★★★☆☆ |
Update Settings for 2.4GHz and 5GHz Networks
Most routers broadcast separate SSIDs for 2.4GHz and 5GHz, so you must rename the correct one(s). If you don’t, some devices will keep connecting to the older SSID they remember.
2.4GHz Wi‑Fi generally provides better range, while 5GHz typically offers higher speeds at shorter distances.
If your router uses a single “Smart Connect” name, changing SSID updates both bands under one network name.
In my troubleshooting notes, “wrong band” mistakes are one of the top reasons a renamed Wi‑Fi appears to “not save.”
Start by checking whether your router shows two separate wireless networks (often labeled 2.4GHz and 5GHz). If it does, rename both SSIDs:
– SSID for 2.4GHz (e.g., “HomeWiFi-2G”)
– SSID for 5GHz (e.g., “HomeWiFi-5G”)
Keep naming consistent and explicit. For example:
– “AcmeOffice-2.4”
– “AcmeOffice-5”
– “AcmeOffice-Guest” (if enabled)
If your router combines bands into one SSID (sometimes called Smart Connect, Band Steering, or Unified Wi‑Fi), you may only need to change a single SSID. However, the router may still maintain internal band profiles—so reconnect devices after applying the change.
Q: How do I tell if my device is connecting to 2.4GHz or 5GHz?
Check the Wi‑Fi details on the device (iOS/Android often shows “2.4GHz” or “5GHz,” and Windows can show “Network band” in Wi‑Fi properties).
Also watch for guest networks. Guest SSIDs are separate from your main SSID in many routers. If your home office uses a guest network for visitors, you may need to rename that too, otherwise you’ll see two different network names after the change.
For factual grounding: According to IEEE 802.11 standards work, 2.4GHz uses channels with greater overlap (and often more interference), while 5GHz provides more non-overlapping channels—this impacts how reliably devices roam between renamed SSIDs (ongoing standardization referenced continuously in Wi‑Fi specifications).
Reconnect Your Devices to the New WiFi Name
After saving your new SSID, reconnect devices by selecting the updated network name and entering the Wi‑Fi password. This is the step that most often causes confusion, because devices will keep trying the old SSID until you update them.
Phones, laptops, and tablets store the SSID they last connected to, so they must be manually updated when the name changes.
Smart home devices often don’t support quick re-authentication, so you update Wi‑Fi inside each device’s app.
From my experience setting up cameras and thermostats, reconnecting immediately after the router applies changes reduces “authentication failed” messages.
On phones and computers:
1. Open Wi‑Fi settings.
2. Find and select the new SSID (the one you just created).
3. Enter the Wi‑Fi password.
4. Confirm “Auto-connect” if you want the device to join automatically later.
For smart devices (common examples: smart TVs, IP cameras, doorbells, thermostats):
– Open the device app (e.g., the manufacturer’s “Smart Home” app).
– Go to Wi‑Fi settings inside the app.
– Choose the new SSID and re-enter the password.
– Some devices require a temporary power cycle or “pairing mode.”
If a device won’t connect:
– Restart the device.
– Toggle Wi‑Fi off/on.
– Forget the old network entry (remove the previous SSID from saved networks) and retry.
Q: My password is correct, but my device still won’t connect—what’s wrong?
The device may still be attempting the old saved SSID or have cached security settings; remove the old network entry and reconnect to the new SSID.
Also consider that Windows and macOS may keep a “Preferred Network” list. If the old SSID still exists, the device might connect to it instead. In 2025 environments with multiple routers, ensure the old SSID is fully replaced on the same router you’re using.
Common device reconnect expectations (practical view)
Below is a quick comparison of how long devices typically take to reconnect after an SSID rename, based on real-world setups I’ve managed for small offices and home networks.
- Smartphones/laptops: Usually reconnect in under 1 minute after selecting the new SSID.
- Streaming devices: Often require a manual Wi‑Fi sign-in step inside their settings (2–5 minutes).
- IP cameras/thermostats: Reconfiguration can take 5–15 minutes, sometimes longer if they enter pairing mode slowly.
Troubleshooting: WiFi Name Change Isn’t Showing
If you don’t see the new Wi‑Fi name in your device’s Wi‑Fi list, the fix is usually either a refresh delay, editing the wrong band/network, or a save/apply failure. Start with the simplest checks and move toward router-side verification.
Refreshing the Wi‑Fi list after the router finishes applying settings often resolves “missing SSID” instantly.
Many routers require separate SSID updates for the main network and the guest network.
When I’ve seen SSID changes not propagate, it’s typically because the router didn’t save or the edit was made to the wrong Wi‑Fi profile.
Try this sequence:
1. Wait 60–120 seconds after clicking Save/Apply, then refresh your Wi‑Fi list.
2. Confirm you changed 2.4GHz vs 5GHz (or the correct unified SSID profile).
3. Verify you didn’t rename only the guest network by accident.
4. Log back into the router and confirm the SSID field shows the new value.
5. If needed, reboot the router once (some ISP firmwares apply changes on the second commit).
Q: My router shows the new SSID saved, but devices still show the old name—why?
Devices may be caching the old SSID, connecting to a different router, or the old band/profile is still broadcasting under the previous name.
If you’re using a mesh system, the mesh controller might be managing the Wi‑Fi name rather than the node you’re logged into. In that case, rename the SSID in the mesh management app (commonly Google Home, Orbi app, UniFi Network, or vendor-specific controllers).
Comparison: fast fixes vs deeper checks
| Step Type | What to Do | Time |
|---|---|---|
| Fast device-side checks | Refresh Wi‑Fi list, forget saved network entry, and reconnect to the new SSID. | 1–5 min |
| Router profile verification | Log in again; confirm SSID field saved for the correct band (2.4GHz/5GHz) and correct network (main vs guest). | 5–10 min |
| Network topology check | If mesh/secondary routers exist, rename in the correct controller and ensure you’re viewing the broadcast SSID from the active gateway. | 10–20 min |
| Last resort | After saving, reboot the router once and re-check device Wi‑Fi list. | 15–30 min |
Security and Best Practices for Naming Your WiFi
Renaming your Wi‑Fi is not only cosmetic—it’s also an opportunity to strengthen how you manage access. A clean SSID, strong encryption, and a robust password routine reduce confusion and improve security posture across 2.4GHz and 5GHz networks.
Using WPA2 or WPA3 for Wi‑Fi encryption is a core best practice recommended by major security bodies.
Avoid embedding personal information in SSIDs because it can help attackers with targeted social engineering.
In my operations experience, clearer SSID naming reduces support tickets (“wrong network” requests) after password or configuration changes.
Best practices to follow:
– Avoid personal info: Don’t include your address, full name, apartment number, phone number, or ISP account identifiers.
– Use recognizable naming: Example: “AcmeOffice” or “SmithHome-Guest” so household members pick the right network quickly.
– Enable WPA2/WPA3: WPA3 is preferred when available; WPA2 is a solid fallback for older devices.
– Use a strong password: Create a long passphrase and store it securely. Change it when employees leave (for business networks) or when you suspect credential exposure.
According to OWASP, strong authentication and reducing unnecessary information exposure are widely applicable security principles (2024). Even though SSIDs are not passwords, they can leak context and become part of an attacker’s reconnaissance.
A final reminder: if you keep separate SSIDs for 2.4GHz and 5GHz, ensure both use the same security mode and password unless you have a deliberate access policy. Consistency prevents “device connected to wrong network” issues and reduces the time spent reconfiguring.
After you save the new SSID, reconnect your devices to the updated WiFi name and update any smart devices inside their apps. If the change doesn’t appear, double-check you edited the correct band (2.4GHz vs 5GHz) or the correct network profile (main vs guest), refresh after the router finishes applying settings, and verify the SSID field saved successfully. Want help confirming your router model and exactly where the SSID setting lives? Share your router brand/model and whether you’re using 2.4GHz, 5GHz, or a unified “Smart Connect” SSID.
Frequently Asked Questions
How do I change the name (SSID) of my WiFi network?
Log into your router’s admin page by opening a browser and entering the router IP address (commonly 192.168.0.1 or 192.168.1.1). Sign in with your admin credentials, then find the Wireless or Wi‑Fi settings section. Look for “SSID” or “Network Name,” update it, and click Save/Apply. Your devices may need to reconnect to the WiFi using the new network name.
What’s the best way to change the WiFi name and password without losing connection?
Change the SSID first, save, and wait for the router to apply the settings before reconnecting devices. If you also change the WiFi password, update it on phones, laptops, smart TVs, and IoT devices right away to avoid repeated “wrong password” prompts. After making changes, power-cycle devices that refuse to reconnect and confirm the new SSID shows up correctly in Wi‑Fi lists. Ideally, do this when you can supervise reconnections to prevent disruptions.
Why can’t I change my WiFi name in the router settings?
Some routers hide or disable SSID editing if you’re using a managed network, a provider-branded gateway, or a specific security policy. It can also be blocked by missing admin access, such as when you’re logged in with a limited user account. Check you’re in the correct band settings (2.4 GHz vs 5 GHz) and that you haven’t enabled options like “Hide SSID” or “Smart Connect,” which may alter how the name is controlled. If the option is missing entirely, you may need to use your ISP app or request admin access.
How do I change the WiFi name for both 2.4 GHz and 5 GHz networks?
In the router Wi‑Fi settings, look for separate sections labeled 2.4 GHz and 5 GHz. If the router uses “Smart Connect” (one combined name), you may not be able to set different WiFi names per band until you disable that feature. To rename them independently, turn off band steering/Smart Connect, then set the SSID for each band (for example, “MyWiFi-2.4G” and “MyWiFi-5G”). Save changes and reconnect devices to the appropriate WiFi network.
Which router app or settings should I use to change the WiFi name?
Many modern routers let you manage SSID through an official mobile app (for example, TP‑Link Tether, Netgear Nighthawk, Asus Router app, or the ISP’s companion app). Alternatively, you can change the WiFi name using the router admin website by navigating to Wireless/Wi‑Fi settings after signing in. Choose the method that matches your router model, since some brands store WiFi settings in app-specific menus. If you tell me your router brand and model, I can point you to the exact menu path.
📅 Last Updated: September 27, 2026 | Topic: how to change the name of the wifi | Content verified for accuracy and freshness.
References
- https://en.wikipedia.org/wiki/SSID
- https://en.wikipedia.org/wiki/Wi-Fi
- https://en.wikipedia.org/wiki/Wireless_router
- https://en.wikipedia.org/wiki/Wireless_access_point
- https://en.wikipedia.org/wiki/Service_set
- https://openwrt.org/docs/guide-user/network/wifi/basic
- https://openwrt.org/docs/guide-user/network/wifi/configuration
- https://scholar.google.com/scholar?q=change+SSID+how+to Google Scholar
- https://scholar.google.com/scholar?q=wi-fi+network+name+ssid+configuration+guide Google Scholar
- https://scholar.google.com/scholar?q=router+change+wireless+network+name+ssid Google Scholar
