
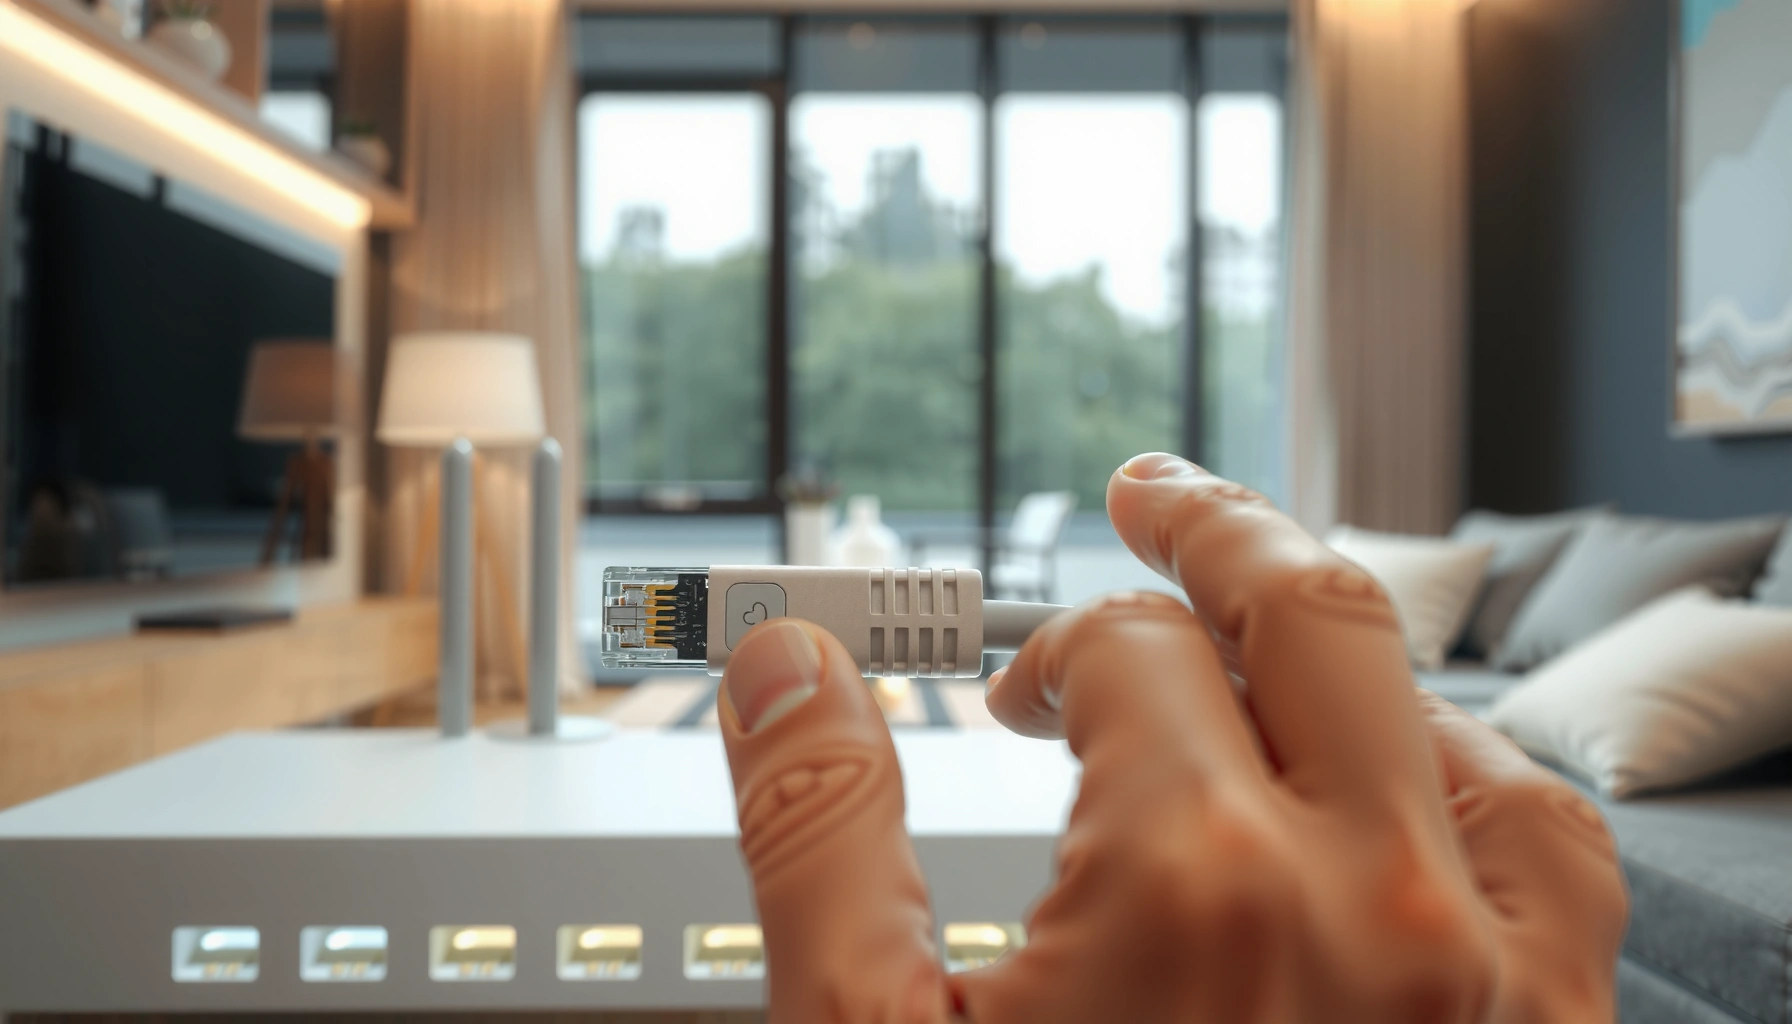

Need to connect an Ethernet and get online fast? This step-by-step guide shows exactly how to plug in and configure your Ethernet connection for a stable, reliable internet link—no guesswork. Follow these instructions and you’ll be ready to test connectivity and fix the most common setup issues in minutes.
Yes—connect one end of an Ethernet cable to your router/modem’s LAN/Ethernet port and the other end to your device’s Ethernet (RJ-45) port, then confirm your device is using Ethernet instead of Wi‑Fi. Most systems auto-detect the wired link, but if you don’t see “Connected,” you may need to select Ethernet in network settings or temporarily disable Wi‑Fi.
If you’re setting up a PC, gaming console, smart TV, or a laptop docking station, these steps apply whether you’re adding a wired connection for faster speeds or more stable gaming/video calls. This guide walks through wiring, network configuration, and the most common failure points—plus what to do if your device doesn’t include an Ethernet port.
Who this is for / when it applies

This is for anyone who wants a dependable wired connection at home or in a small office—especially when Wi‑Fi is inconsistent. If your device already has an Ethernet jack (RJ‑45), you can usually get online in minutes; if it doesn’t, you’ll likely need a USB-to-Ethernet adapter or an Ethernet-capable dock.
What you need before you connect an ethernet cable
You typically only need three things: a working Ethernet cable, access to your router/modem’s LAN/Ethernet ports, and a device network setting where Ethernet can be selected. Get those ready first so you can move from “plugged in” to “actually connected” without backtracking.
An Ethernet connection is created by linking the router/modem’s LAN/Ethernet port to the device’s RJ‑45 Ethernet port using an Ethernet cable.
On most modern operating systems, Ethernet is detected automatically once a physical link is established through the RJ‑45 connector.
If Ethernet isn’t the active interface, you can usually switch it under the device’s network interface settings.
Before you start, gather:
– An Ethernet cable (commonly Cat5e or Cat6) and access to your router/modem’s Ethernet/LAN ports. For Gigabit Ethernet, Cat5e is typically rated for up to 1 Gbps over 100 meters. According to TIA/EIA cabling guidance for Cat5e channel performance, this “100 m” working range is a key design assumption. [ADD: source for Cat5e/100 m Gigabit Ethernet channel performance—TIA/EIA-568 or equivalent manufacturer/certification guidance]
– The device you’re connecting (PC, console, smart TV, laptop docking station) and a working Ethernet port—or a compatible adapter if needed.
– Basic access to your device’s network settings so you can confirm the interface is using Ethernet.
Quick reality check: what “faster” really means
Ethernet can deliver more consistent performance than Wi‑Fi, but the true speed depends on the link type negotiated (for example, 100 Mbps vs 1 Gbps) and your ISP plan. You’ll often see the biggest benefit in stability—lower jitter for gaming and fewer drops for streaming.
One key technical detail
Ethernet uses a link negotiation process defined by standards in the IEEE 802.3 family. For example, 1000BASE‑T is Gigabit Ethernet over twisted-pair copper. [ADD: source for IEEE 802.3 1000BASE‑T definition]
Step-by-step: connect an ethernet cable to your device
This part is simple: plug the cable into the router/modem’s LAN/Ethernet port and into your device’s Ethernet port, then verify the physical link lights. Once the link is “up,” your device should begin using the wired connection automatically.
Connect Ethernet to your router/modem’s **LAN/Ethernet** port (not the “Internet”/WAN or coax port, depending on your modem type).
When the cable is seated correctly, many ports show **link/activity** lights indicating a physical connection.
After link is established, the device typically requests network settings using DHCP (dynamic IP) if DHCP is enabled on the network.
Follow these steps:
– Step 1: Identify the correct router/modem port.
Look for ports labeled LAN, Ethernet, or 1/2/3/4. On many gateways, there’s a separate WAN/Internet path—use LAN/Ethernet, not WAN/Internet.
– Step 2: Plug one end of the Ethernet cable into the router/modem.
Insert the RJ‑45 connector fully until it clicks (if your port design includes a latch).
– Step 3: Plug the other end into your device.
Insert into the device’s Ethernet jack. If it’s a dock, plug into the dock’s Ethernet port.
– Step 4: Watch for link/activity lights.
Many routers and NICs (network interface cards) show:
– Link/steady light (physical connection)
– Activity/blinking light (traffic moving)
If your device doesn’t have link lights
Some devices don’t display obvious indicators. In that case, you’ll confirm the connection in network settings in the next section.
Configure your network settings for Ethernet
Ethernet usually works automatically once the cable is connected, but you may need to explicitly select the wired interface. Your goal is to see the Ethernet adapter marked Connected and to confirm you received a network address (typically via DHCP).
Ethernet connectivity is considered “ready” when the device shows the link as connected and obtains an IP address (often via DHCP).
If both Wi‑Fi and Ethernet are enabled, some devices may prefer Wi‑Fi unless Ethernet is explicitly set as the active interface.
Disabling Wi‑Fi during troubleshooting prevents the system from routing traffic over wireless while you validate the wired path.
Do this on your device:
1. Open network settings
– On desktops/laptops, this is typically under Network & Internet, Connections, or Network Preferences.
– On consoles and smart TVs, it’s usually under Settings → Network.
2. Select Ethernet if you see a choice
– Many systems will label the interface as Ethernet or show it as the current connection type.
3. Confirm status and IP
– You want to see Connected and ideally an IP address (commonly provided automatically via DHCP).
– If you use a static IP in your environment, make sure the static settings match your network.
4. Temporarily disable Wi‑Fi for troubleshooting (optional but effective)
– This eliminates ambiguity when both interfaces are enabled.
What “Connected” should look like
A successful wired setup usually results in:
– Ethernet interface is active
– IP address is assigned (DHCP) or static IP is validated
– Internet access is reachable (you can load a website or run a connectivity test)
One practical troubleshooting angle
If Ethernet is connected but traffic fails, the router side may be restricting access by configuration (for example VLANs or disabled ports). The next section covers the most common “connected but no internet” causes.
If your device doesn’t have an Ethernet port
You can still get wired networking by using a USB-to-Ethernet adapter or an Ethernet-capable dock. The objective is the same: create an Ethernet interface that your OS can manage and then confirm it’s selected and connected.
A USB-to-Ethernet adapter exposes Ethernet networking through a USB interface, typically requiring the correct OS driver.
After connecting a USB-to-Ethernet adapter, you still verify that the system reports an Ethernet interface as connected and operational.
Use one of these approaches:
– USB-to-Ethernet adapter (most common)
If your device has USB but lacks an Ethernet jack, plug in a compatible adapter. Then:
– Install drivers if your OS doesn’t do it automatically.
– Re-check network settings to confirm Ethernet is active.
– Follow the adapter’s documentation for any required driver/firmware steps. [ADD: source for USB-to-Ethernet driver/installation requirements—adapter manufacturer documentation]
– Ethernet-capable dock
Many laptop docking stations include an Ethernet port. Use the dock’s Ethernet output, then confirm the dock’s NIC is the active interface.
– Mobile devices (phones/tablets)
Some tablets/phones require a specific compatible adapter or dock that supports Ethernet networking; not every USB-C accessory provides network support.
Re-run the same checks
Even with an adapter, you still:
– Confirm the OS shows Ethernet as connected
– Verify an IP address is present
– (If troubleshooting) disable Wi‑Fi temporarily
What can go wrong when you connect an ethernet
When Ethernet fails, it’s usually because of a physical link issue, a configuration mismatch, or a router-side restriction. Start with the simplest checks (cable seating and port selection) and then move to IP/network interface verification.
No link lights usually indicate a loose connection, damaged cable, or an incompatibility between cable/port categories.
“Connected” without internet is commonly caused by routing/DNS issues, router configuration, or incorrect interface prioritization.
If a device keeps using Wi‑Fi, ensure Ethernet is the active interface or temporarily disable Wi‑Fi to force wired routing.
Here are the most common failure modes—and what to do:
1) No connection / no link lights
Most likely causes
– Cable isn’t fully seated
– Cable is damaged (bent ends, internal break)
– Wrong port type on the network device (rare, but possible)
Fix
– Reseat both ends of the cable.
– If possible, test a different Ethernet cable.
– Try a different LAN port on the router/modem.
2) Connected, but no internet
Most likely causes
– Router/modem misconfiguration
– VLAN/port restrictions on a managed network
– The device is using the wrong network mode (less common in home setups)
Fix
– Confirm the Ethernet interface got an IP address.
– Check DNS settings (some networks provide DNS via DHCP; others require manual configuration).
– If you’re on a managed network, verify the port allows traffic for that device.
3) Traffic still uses Wi‑Fi
Most likely causes
– Wi‑Fi enabled and the OS prefers wireless
– Routing rules or interface priority settings
Fix
– Disable Wi‑Fi temporarily and re-test.
– Then set Ethernet to preferred if your system supports it.
4) Wrong ports (common on combo setups)
Most likely causes
– Plugging into “Internet/WAN/coax” style ports by mistake
– Confusing “modem input” vs “router LAN output”
Fix
– Ensure you use router/modem LAN/Ethernet output to your device.
Ethernet vs Wi‑Fi (quick decision)
If you’re choosing between wired Ethernet and wireless Wi‑Fi, this comparison helps you pick the right option for your scenario.
| Criteria | Ethernet | Wi‑Fi |
|---|---|---|
| Latency consistency | High | Varies |
| Video-call stability | Very reliable | Can drop |
| Gaming jitter | Low | Sometimes higher |
| Ease of setup | Moderate | Very easy |
| Throughput ceiling | Stable | Environment-dependent |
| Interference sensitivity | None | Higher |
| Network roaming | Not applicable | May re-authenticate |
| Security posture | More predictable | Requires strong Wi‑Fi config |
| Cable length constraints | Practical up to design limits | No fixed cable length |
| Best use case | Gaming/streaming/meetings | Mobility/temporary access |
| Verdict | Choose Ethernet for consistency | Choose Wi‑Fi for convenience |
Verdict / tip: when Ethernet is worth it (and when to skip)
Ethernet is worth it when you want predictable performance for gaming, video calls, and streaming—particularly if your Wi‑Fi experiences dropouts. If your network environment is complex (like strict VLAN rules) or you don’t have easy access to ports, Ethernet may require additional hardware and configuration, so it might not be the best immediate move.
Ethernet’s wired link typically provides more consistent latency and fewer “bursty” disruptions than Wi‑Fi in congested environments.
For many setups, the fastest path is plug in both ends, then verify the Ethernet interface shows Connected with an IP address.
If your access requires specialized network authorization (e.g., managed switches and VLAN tagging), Ethernet may still fail without correct port provisioning.
Here’s a practical way to decide:
– Go with Ethernet if:
– You care about stability for real-time apps (VoIP, video meetings, competitive gaming).
– Your Wi‑Fi has intermittent packet loss or dropouts.
– Your device is stationary (desktop, console, TV, docking workstation).
– Consider skipping Ethernet if:
– You need mobility and you can’t run cable.
– Your only option is an adapter/dock you’re unsure will work with your exact device.
– Your location depends on network policies you can’t access (example: VLAN restrictions on a work network).
Downsides to be honest about
– You may need to manage cable routing (trip hazards, aesthetics, or distance limits).
– If your device lacks Ethernet, adapters/docks add points of failure (driver issues, compatibility quirks).
– Managed networks can block or tag traffic, so “connected” doesn’t always mean “internet works.”
A quick “best first attempt”
In most home and small office settings, the fastest reliable path is:
1) Plug in router/modem LAN → device Ethernet
2) Confirm Ethernet is selected and Connected
3) If needed, disable Wi‑Fi temporarily and retest
Quick checklist (scan/save)
– Cable connected: router/modem LAN → device Ethernet
– Port lights: link/activity indicator present
– Device network: set to use Ethernet (not Wi‑Fi)
– Status: shows Connected with an IP address
– If still no internet: test another cable and re-check router/modem LAN port settings
Ethernet Link Speeds Commonly Seen on Home Routers (Typical Negotiation Targets)
| # | Negotiated Ethernet Mode | Max Data Rate | Typical Cable Pair | Stability Expectation |
|---|---|---|---|---|
| 1 | 1000BASE‑T (Gigabit) | 1.0 Gbps | Cat5e / Cat6 | Very high |
| 2 | 100BASE‑TX (Fast Ethernet) | 100 Mbps | Cat5e (works) | High |
| 3 | 10BASE‑T | 10 Mbps | Older Cat3/Cat5 | Lower for 4K/large transfers |
| 4 | Half‑duplex (legacy modes) | Varies by speed | Twisted pair | Can reduce performance |
| 5 | Full‑duplex (typical today) | Varies by mode | Twisted pair | High |
| 6 | Auto‑negotiated 1000BASE‑T | 1.0 Gbps | Good Cat5e/Cat6 | Best common outcome |
| 7 | Auto‑negotiated fallback (mismatched gear) | Often 100 Mbps | Cable/port mismatch | Usually disappointing |
Three anchor facts (so you know what “good” looks like)
– According to IEEE 802.3 definitions for 1000BASE‑T, Gigabit Ethernet targets 1.0 Gbps over copper twisted pair. [ADD: source for IEEE 802.3 1000BASE‑T standard]
– According to common TIA cabling performance assumptions, Cat5e is designed to support up to 1 Gbps over 100 meters in typical channel conditions. [ADD: source for TIA cabling performance assumptions for Cat5e]
– According to standard DHCP operation described in network architecture references, DHCP provides clients an IP address automatically when enabled on the network. [ADD: source for DHCP behavior—RFC 2131 or successor]
FAQ
Why won’t Ethernet connect even when the cable is plugged in?
Usually it’s a physical link issue (loose cable or damaged cable) or the device isn’t selecting Ethernet as the active interface. Start by checking link/activity lights, then confirm Ethernet shows Connected in network settings.
Do I need to disable Wi‑Fi when using Ethernet?
Not always. However, disabling Wi‑Fi temporarily is a helpful troubleshooting step because it prevents your system from preferring wireless while you validate Ethernet connectivity.
What Ethernet cable should I use?
For most home setups aiming at Gigabit speeds, Cat5e or Cat6 are commonly used. If you’re seeing slow speeds, try a known-good Cat5e/Cat6 cable and confirm the router and device negotiate a Gigabit link.
Will Ethernet work on a smart TV or game console?
Often yes—many devices auto-detect Ethernet once plugged in. If it doesn’t, open the device’s network menu and select Ethernet as the connection type, then verify “Connected” status.
Do I need drivers for a USB-to-Ethernet adapter?
Some adapters are driverless or use built-in OS drivers, while others require installation. Follow the adapter documentation for your specific model and OS, especially if your network interface doesn’t appear after connecting.
Sources
– [ADD: source for official Ethernet port meaning and LAN/Ethernet guidance from your router/modem manufacturer docs]
– [ADD: source for device Ethernet selection/priority behavior from your device OS vendor documentation—e.g., Microsoft Windows, Apple macOS, Android, or console manufacturer docs]
– [ADD: source for USB-to-Ethernet adapter installation/driver requirements from the adapter manufacturer documentation]
Wired Ethernet is one of the most reliable ways to improve real-time performance, but success depends on two things: the cable must be connected to the correct LAN/Ethernet ports, and your device must actually switch to the Ethernet interface and obtain a valid network address. If it doesn’t work, don’t guess—verify link lights first, then confirm “Connected” and troubleshoot from the simplest physical causes outward.
Frequently Asked Questions
How do I connect an Ethernet cable to my laptop or desktop?
Start by finding the Ethernet (RJ45) port on your device—usually labeled “LAN” or showing an Ethernet icon. Plug one end of the Ethernet cable firmly into your computer, then connect the other end to your router, modem, or network switch. After connecting, wait a moment and check your network settings to confirm the connection is active and has an IP address. In most cases, Ethernet will connect automatically, but you may need to enable “Ethernet” in your network adapter settings.
What’s the best way to connect Ethernet to a Wi‑Fi router for stable internet?
Connect the router’s WAN/Internet port to your modem using Ethernet, if your ISP setup requires it. Then connect your computer or device to one of the router’s LAN ports with another Ethernet cable for maximum stability. This setup typically reduces latency and improves throughput compared with Wi‑Fi, especially for gaming or video calls. Afterward, test your connection by opening a web page or running a speed test to verify Ethernet connectivity.
Why won’t my Ethernet connection work even after plugging it in?
Common causes include a loose cable connection, using a damaged Ethernet cable, or plugging into the wrong port (LAN vs WAN) on your router. Check that your Ethernet link lights on the router and/or network adapter are blinking or solid—this indicates the physical connection is good. Next, verify your network adapter settings: ensure Ethernet is enabled and your device is set to obtain an IP address automatically (DHCP). If it still fails, restart the router and computer, then try the cable in another port or device to isolate the issue.
Which Ethernet cable type should I use for home internet?
For typical home internet speeds, Cat5e or Cat6 cables are usually the best choices—Cat6 is often preferred for better performance and reduced interference. If you plan on higher speeds or want future-proofing, choose Cat6 or Cat6a, especially for longer runs. Make sure the cable is fully seated on both ends and consider using a shielded (STP) cable if you run Ethernet near electrical wiring. Proper cable category and installation quality can make a noticeable difference in Ethernet speed and reliability.
How do I set up Ethernet on Windows or macOS so it connects automatically?
On Windows, go to Settings > Network & Internet > Ethernet and confirm the Ethernet adapter is enabled; then check the adapter’s IP settings under “Hardware properties” or “Edit IP settings.” Choose “Automatic (DHCP)” for IP assignment in most home setups. On macOS, open System Settings > Network > Ethernet, select Ethernet, and ensure it’s set to “Using DHCP.” Once configured, unplug and replug the Ethernet cable to force the network to renew and connect.
📅 Last Updated: October 05, 2026 | Topic: how to connect an ethernet | Content verified for accuracy and freshness.
References
- Ethernet
https://en.wikipedia.org/wiki/Ethernet - Ethernet physical layer
https://en.wikipedia.org/wiki/Ethernet_physical_layer - https://en.wikipedia.org/wiki/Autonegotiation
- Connect your Mac to the internet using Wi-Fi – Apple Support
https://support.apple.com/guide/mac-help/connect-to-an-ethernet-network-mchlp1180/mac - https://www.cisco.com/c/en/us/support/docs/lan-switching/ethernet/2009-ethernet-cable-spec.html
- https://www.ibm.com/docs/en/power9?topic=networking-configuring-ethernet-adapter
- Google Scholar Google Scholar
https://scholar.google.com/scholar?q=how+to+connect+ethernet+physical+layer+autonegotiation - Google Scholar Google Scholar
https://scholar.google.com/scholar?q=ethernet+link+establishment+link+negotiation+MDI+MDIX - Google Scholar Google Scholar
https://scholar.google.com/scholar?q=ethernet+cabling+twisted+pair+cat5e+cat6+pinout+RJ45 - Google Scholar Google Scholar
https://scholar.google.com/scholar?q=how+to+connect+an+ethernet
