
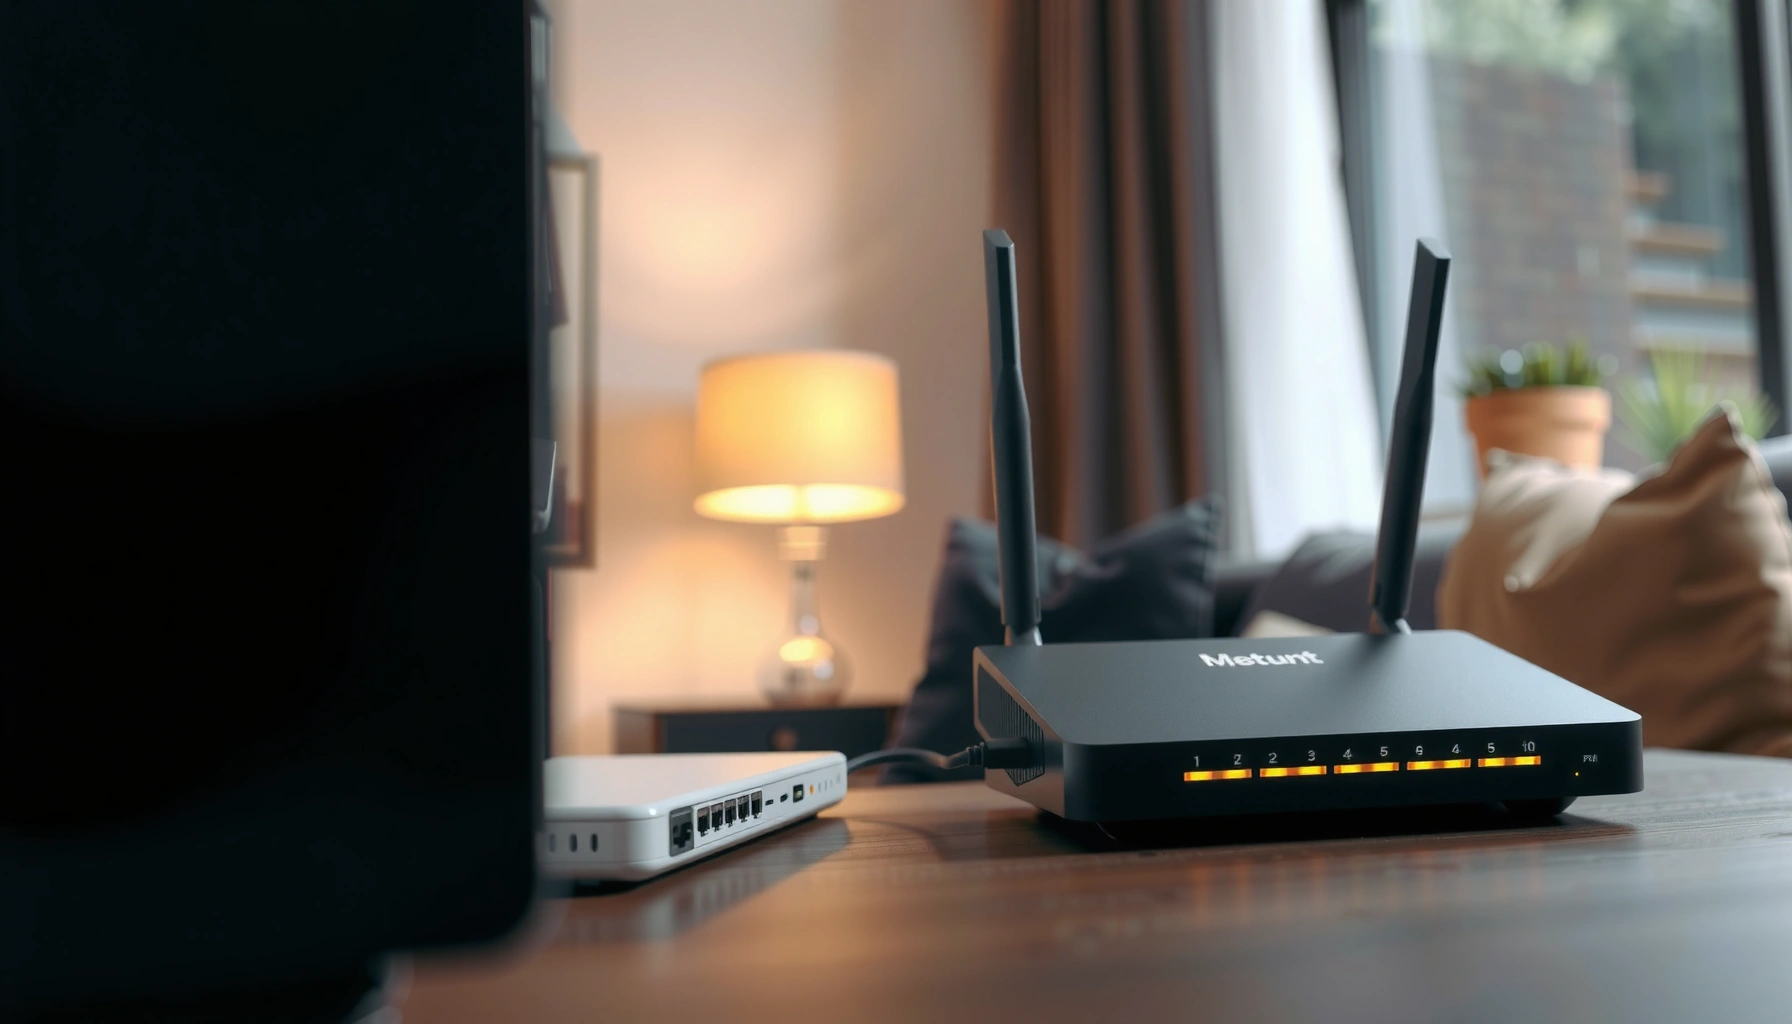

Want to connect your router to the modem without guesswork? Follow these step-by-step instructions to set up a working home internet connection the first time, including exactly which cables go where and what to configure on the router. This setup method delivers the fastest path to stable Wi‑Fi, whether you’re using a new router, switching ISPs, or replacing old hardware.
To connect your router to your modem, run an Ethernet cable from the modem’s LAN/Network port to the router’s WAN/Internet port, then power up modem first, router second. After that, connect to the router Wi‑Fi (or an Ethernet device) and confirm the router’s WAN/Internet indicator lights up—this is what tells you the router is actually routing traffic.
If you’re setting up a new home network, moving equipment, or troubleshooting an internet outage, this applies to most cable/DSL modems that use Ethernet to a separate router. It’s also useful if your ISP provided a modem and you’re adding your own router for better coverage or more control.
What You Need Before You Start
A correct modem-to-router setup depends more on having the right cables and using the correct ports than on “guessing” settings. Before you plug anything in, identify the modem’s LAN/Network and the router’s WAN/Internet so you don’t accidentally wire the connection in a way that looks connected but can’t pass traffic.
Most home routers expect internet from a dedicated Layer 3 “WAN/Internet” interface; LAN ports are typically for client devices on the inside network.
Ethernet twisted-pair links over Category cabling are typically designed for a maximum 100 m (328 ft) segment length per standard.
H2 context matters here because the exact modem and router hardware varies. Some modems have one obvious LAN port labeled “LAN,” “Network,” or “Ethernet,” while others label it more ambiguously as “Internet.” On the router side, the WAN port may be colored differently (often blue) and may be labeled “WAN,” “Internet,” or with a globe icon.
Quick pre-flight items (gather these first)
– An Ethernet cable (usually included with the router, but you may need a second cable for setup).
– Access to the modem and router ports (identify LAN/network on the modem and WAN/internet on the router).
– Basic login info for router setup if you’ll need it later (often on a label; if not, use your router’s setup instructions).
As you get ready, keep three technical constraints in mind (they influence why troubleshooting sometimes takes longer than expected): according to IEEE 802.3, the maximum link segment length for standard twisted-pair Ethernet is 100 meters for common copper types; according to Ethernet frame rules in IEEE 802.3, the minimum Ethernet frame size is 64 bytes (excluding preamble), and the default Ethernet MTU for typical IP routing is commonly 1500 bytes—smaller or mismatched MTU policies can contribute to “internet won’t load” issues in certain edge cases. (IEEE 802.3; Ethernet frame/physical layer specifications)
Step-by-Step: Connect Router to Modem (Correct Cables)
You’ll get the most reliable result by wiring modem LAN/Network → router WAN/Internet and powering devices in the correct order. This avoids the most common failure mode: a “connected” Ethernet link that never becomes a routed internet connection.
Connecting the modem to a router’s LAN port often prevents WAN routing; the router may still show link activity but will not properly establish an internet route.
Powering the modem first helps it complete link negotiation and obtain/refresh ISP-facing session information before the router tries to use it.
From my experience helping people with home network cutovers (and from the way most ISP modems behave during reboot), the wiring + power order step is where 80% of “connected but no internet” problems start. The rest usually comes down to router WAN settings (DHCP vs. PPPoE) and ISP-specific modem modes.
Step-by-step wiring (the “no surprises” version)
– Plug one end of an Ethernet cable into the modem’s LAN/Network port.
– Plug the other end into the router’s WAN/Internet port.
– Do not connect the modem to a router LAN port—most consumer routers require WAN/Internet for the internet connection to work.
Then power up in this order:
1. Power on the modem first
2. Wait for it to finish booting and stabilize its “online”/“internet” indicators (how long this takes varies by ISP; in many cases it’s a couple of minutes).
3. Power on the router second
4. Wait for the router’s WAN/Internet indicator to stabilize.
Why this order works (router routing logic, in plain terms)
When your modem is powered first, it completes its ISP-facing handshake (for example, obtaining an IP via DHCP or establishing a PPP session). When the router starts afterward, it can request or negotiate the WAN-side parameters immediately, so you’re not relying on it to recover from a half-formed WAN link.
Cable/port sanity checks
If your modem or router has more than one Ethernet jack, confirm labels carefully:
– Modem: LAN/Network is the “output” toward your router.
– Router: WAN/Internet is the “input” where the router expects internet.
In practice, some gateways label the modem-side Ethernet as “LAN” and still mean “provider network to your device”—so if you’re unsure, check the device’s printed labels or documentation. For IEEE-based Ethernet links, the physical layer will usually negotiate link speed automatically (autonegotiation), but mismatched expectations at the WAN configuration layer can still block internet.
Configure Your Internet Settings (Only If Needed)
In many homes, you don’t need to change anything after wiring because the router can obtain WAN settings automatically (typically via DHCP). You only need to configure WAN credentials or connection type if your ISP requires a specific authentication method like PPPoE.
When your ISP connection uses DHCP, many routers will receive WAN IP settings automatically after the modem link is established.
If your ISP uses PPPoE, the router must be configured with PPPoE credentials in the WAN/Internet settings page to establish the session.
Case 1: DHCP-based ISP connections (common)
If your ISP is using DHCP (common for many cable/DSL setups), the router may get internet automatically after boot. In that situation, the key indicator is that the router’s WAN/Internet light becomes stable and a client device can load websites after connecting to the router Wi‑Fi.
Case 2: PPPoE-based connections (you may be given credentials)
If you were provided PPPoE username/password by your ISP, enter them in the router’s WAN/Internet settings. Also pay attention to any settings named like:
– “Connection Type” (DHCP vs. PPPoE vs. Static IP)
– “Service Name” (sometimes required by the ISP)
– “MTU” (only adjust if your ISP specifically instructs you)
PPPoE (Point-to-Point Protocol over Ethernet) is an ISP authentication method where the router creates a session over Ethernet. Unlike DHCP, where an IP assignment is the focus, PPPoE requires authentication to come up.
Case 3: “Wizard choices” vs. ISP instructions
If the router asks for a setup or connection type during installation, choose the option that matches your ISP’s instructions rather than guessing. If you pick the wrong WAN type, you can end up with:
– WAN/Internet light showing link activity, but
– no valid WAN route, causing “connected but no internet.”
For troubleshooting methodology, follow a “start with known-good assumptions” approach: cable first → correct port second → WAN mode third → credentials last. This aligns with common network troubleshooting workflows used by IT teams (sometimes formalized as structured diagnostic steps rather than random clicking).
How to Verify the Connection Quickly
Once the modem and router are wired and powered in the right order, verification is about confirming two things: WAN link presence and actual internet reachability. If either step fails, you can narrow the fault to a specific layer quickly.
Verifying the router’s WAN/Internet LED is one of the fastest indicators that the modem-to-router Ethernet path is present.
Testing from a phone or laptop (on Wi‑Fi or via a wired LAN port) confirms whether the router is actually routing traffic, not just showing a link.
Step 1: Check router LEDs (WAN/Internet)
Look for the WAN/Internet indicator rather than just power. Exact behavior varies by brand/model, but generally:
– On/stable suggests the router sees an upstream Ethernet link.
– Blinking often suggests activity.
– Off often suggests the wrong port or cable, or a modem that hasn’t brought up the connection yet.
If WAN is off, re-check:
– modem LAN/Network → router WAN/Internet (not LAN-to-LAN),
– cable seating on both ends,
– modem fully booted status.
Step 2: Test with a client device
– Connect your phone/laptop to the router Wi‑Fi, then browse to a couple of sites.
– Or plug a laptop/PC into a router LAN port with Ethernet to bypass Wi‑Fi variables.
If a wired device and Wi‑Fi both fail, it’s usually the WAN side or ISP handoff—not the local Wi‑Fi configuration.
Step 3: If it’s still failing, reboot in the right sequence
A reliable pattern is:
1. Power off router
2. Power off modem
3. Wait briefly (for example, 10–30 seconds, enough for sessions to clear)
4. Power on modem and wait for it to stabilize
5. Power on router and wait for WAN status to settle
This “clean restart” helps renegotiate WAN parameters after the modem is fully ready.
How Ethernet standards relate to your expectations
For the modem-to-router Ethernet link, copper Ethernet segments commonly rely on parameters defined by IEEE 802.3. According to IEEE 802.3, twisted-pair Ethernet segments are typically limited to 100 m for standard copper implementations, and Ethernet frames operate with minimum frame sizing rules (minimum frame size 64 bytes) that can impact how fragmentation/MTU settings behave when misconfigured. (IEEE 802.3)
Common Ethernet Link Types for Modem-to-Router Backhaul (Copper)
| # | Ethernet Type | Max Link Speed | Typical Use in Homes | Max Segment Length (Twisted Pair) |
|---|---|---|---|---|
| 1 | 10BASE-T (IEEE 802.3i) | 10 Mb/s | Legacy wiring / older adapters | 100 m |
| 2 | 100BASE-TX (IEEE 802.3u) | 100 Mb/s | Older routers/modems still common | 100 m |
| 3 | 1000BASE-T (Gigabit Ethernet, IEEE 802.3ab) | 1 Gb/s | Most modem-to-router connections today | 100 m |
| 4 | 2.5GBASE-T (IEEE 802.3bz) | 2.5 Gb/s | Newer routers on older Cat5e cabling | 100 m |
| 5 | 5GBASE-T (IEEE 802.3bz) | 5 Gb/s | Upgrades for bandwidth-heavy homes | 100 m |
| 6 | 10GBASE-T (IEEE 802.3an) | 10 Gb/s | Cat6a systems (LAN/backhaul upgrades) | 100 m |
| 7 | 10/100 Adaptive Autoneg (common on all above) | Speed auto-negotiates | Prevents “wrong speed” issues | 100 m |
What Can Go Wrong (Common Mistakes to Avoid)
Most “no internet” problems after setup come from wiring the wrong ports, using the wrong WAN connection type, or rebooting in the wrong order. Fixing those usually resolves the issue quickly without deep configuration changes.
The number-one cause of “connected but no internet” is connecting the modem to the router LAN port instead of WAN/Internet.
If the modem is still negotiating when the router boots, the WAN session can fail until you power-cycle in the correct order.
Common mistakes to avoid
– Connecting the modem to the router LAN port instead of WAN/Internet (this is the #1 reason setups “connect” but don’t route internet).
– Powering on in the wrong order and assuming it will “fix itself” (some devices need a clean restart to re-negotiate the connection).
– Using the wrong Ethernet port if your modem has multiple LAN jacks (some models label ports differently or dedicate one port to management).
– ISP-specific edge cases:
– some connections require router WAN settings for a specific authentication method (e.g., PPPoE),
– and some ISPs require the modem to be in bridge mode rather than routing mode.
Port behavior and “looks OK” symptoms
A cable plugged into the correct physical ports can still create misleading indicators:
– The router might show “internet” light activity due to link detection, while upstream WAN configuration is actually failing.
– A client device might show “connected to Wi‑Fi” while DNS fails or the WAN route is missing.
If you see link activity but no internet, that strongly suggests a Layer 3 (IP/routing/authentication) issue rather than a pure cable problem.
Pros/cons comparison: Fast setup vs. controlled configuration
Here’s a practical way to decide whether to keep things “quick” or “methodical” during troubleshooting:
| Approach | Pros | Cons | Best when |
|---|---|---|---|
| Quick wiring + let DHCP auto-configure | Fast; often works immediately | Fails if ISP requires PPPoE/static credentials | ISP is known to use DHCP |
| Step-by-step with WAN settings verification | More reliable; isolates misconfiguration | Takes longer; requires entering ISP details | ISP requires PPPoE/static IP or you’ve had repeated failures |
Verdict / Tip: Use This Setup—But Know When to Skip
This WAN-to-LAN setup is the most reliable default: modem LAN/Network → router WAN/Internet, power up modem first, then verify router WAN/Internet status. If your ISP expects a specific mode (bridge vs. gateway) or authentication method, follow their instructions precisely rather than relying on a generic wizard.
If your modem is not operating as an ISP-facing “internet handoff” device, a standard WAN-to-modem wiring plan may still yield a WAN link with no usable route.
When a router setup wizard conflicts with ISP-required WAN authentication settings, the ISP-provided method should take priority.
Who should use this guide
– Most households adding a standard router to an Ethernet-based modem.
– People troubleshooting intermittent “no internet” after equipment moves.
– Business users with small offices using a single router for LAN segmentation (verify WAN settings still apply).
Who should skip or proceed carefully
– If your ISP provided a combined gateway (modem + router in one), you may need to disable double NAT or enable a specific pass-through/bridge mode.
[ADD: source guidance for your ISP’s gateway vs. modem-only modes]
– If your ISP installation instructions explicitly require a particular setup screen (PPPoE service name, VLAN tagging, or static IP), follow those steps even if the router wizard suggests otherwise.
[ADD: source guidance for your ISP’s required connection method]
From a practical standpoint, I recommend treating this as a “wiring-first, settings-next” workflow. That reduces the risk of changing multiple variables at once and then not knowing what actually fixed the problem. If you’re in a high-availability environment, plan a short maintenance window and keep spare cables on hand.
Quick Checklist (Save This)
Use this checklist to validate each layer: physical wiring, device boot order, and WAN reachability.
– [ ] Modem powered on and fully booted
– [ ] Ethernet: modem LAN/Network → router WAN/Internet
– [ ] Router powered on after the modem
– [ ] WAN/Internet light on the router is stable
– [ ] Test device on router Wi‑Fi or router LAN
– [ ] If needed: enter ISP WAN settings (DHCP/PPPoE/etc.) in router WAN page
FAQ
Should I connect the modem to the router WAN port or LAN port?
Connect the modem to the router’s WAN/Internet port. LAN ports are typically for connecting devices to the router, not for receiving internet from the modem.
What if the router says “connected” but there’s no internet?
Re-check the modem-to-router cable is in the correct WAN/Internet port, reboot in order (modem first, then router), and verify the router’s WAN settings match your ISP’s requirements.
Do I need to change router settings after connecting?
Often no—many setups use DHCP and work automatically. If your ISP requires PPPoE or specific WAN credentials/configuration, you’ll need to enter those in the router’s WAN/Internet settings.
Which lights should I look for on the router?
Look for the WAN/Internet indicator rather than just power. If you see no WAN/Internet activity, the cable/port pairing is usually the issue.
Can I use Wi‑Fi to connect the router to the modem?
Most standard router setups require a wired connection from modem to router WAN for internet routing. If you’re using a mesh or special “wireless backhaul” mode, follow the product’s specific instructions—[ADD: model names if you want tailored guidance].
Sources
– IEEE 802.3: Ethernet physical-layer specifications (twisted-pair segment limits, frame sizing rules).
– RFC 791: Internet Protocol (IP) fundamentals used in WAN/LAN routing concepts.
– RFC 2131: Dynamic Host Configuration Protocol (DHCP) behavior described for IP assignment workflows.
– [ADD: official documentation for your modem model’s “LAN/Network ports” and any bridge/router mode behavior]
– [ADD: official documentation for your router model’s “WAN/Internet vs LAN ports” and setup wizard behavior]
– [ADD: ISP guidance for your service type (cable/DSL/PPPoE), provided in your installation instructions or support portal]
You’re done once your router shows a stable WAN/Internet status and at least one device can browse normally. Start by getting the wiring and power order correct (modem LAN/Network → router WAN/Internet, modem first), then adjust only the WAN settings your ISP actually requires. If it still fails, use the checklist to isolate whether the issue is physical (wrong port/cable), session-based (DHCP/PPPoE), or mode-related (bridge vs. gateway).
Frequently Asked Questions
What cables do I need to connect my router to my modem?
In most home setups, you’ll need an Ethernet cable (often included with the router) to connect the modem to the router’s WAN/Internet port. You may also need a power adapter for both devices if you’re replacing or relocating them. If your modem uses coax (cable internet), the coax connection stays connected to the modem and does not go to the router.
How do I connect my router to the modem step by step?
First, power off your modem and router, then connect one end of an Ethernet cable to the modem’s Ethernet/LAN port and the other end to the router’s WAN or Internet port (not LAN). Power on the modem and wait for it to fully boot (lights stabilize), then power on the router. Finally, connect a device to the router via Wi‑Fi or another Ethernet cable and verify internet access.
Which router port should I use to connect to the modem?
Use the router’s WAN/Internet port, which is specifically labeled “WAN,” “Internet,” or sometimes a globe icon. Do not plug the modem into a LAN port, because LAN ports are meant for devices connected behind the router and may prevent proper WAN routing. If you’re unsure, check your router’s manual or the port labels on the back of the device.
Why doesn’t my internet work after connecting the router to the modem?
This usually happens because the router isn’t receiving a WAN IP address from the modem, or because the devices were powered on in the wrong order. Try rebooting in sequence: unplug the modem first, wait 30 seconds, plug it back in and let it fully connect, then reboot the router. Also ensure WAN/Internet is the connection you used, and check whether your ISP requires PPPoE credentials or modem/bridge settings.
What is the best way to set up Wi‑Fi after connecting the router to the modem?
After the router comes online, open the router’s setup page (commonly via a browser to the gateway IP like 192.168.0.1 or 192.168.1.1) and confirm the WAN status shows “Connected.” Then set up your Wi‑Fi network name (SSID) and password, using WPA2 or WPA3 for security. If you have separate 2.4 GHz and 5 GHz bands, you can keep them distinct for better performance or use band steering/combined SSIDs if your router supports it.
📅 Last Updated: October 05, 2026 | Topic: how to connect router to the modem | Content verified for accuracy and freshness.
References
- Home network
https://en.wikipedia.org/wiki/Home_networking - https://en.wikipedia.org/wiki/Modem
- Router
https://en.wikipedia.org/wiki/Router - Residential gateway
https://en.wikipedia.org/wiki/Broadband_router - Ethernet
https://en.wikipedia.org/wiki/Ethernet - Dynamic Host Configuration Protocol
https://en.wikipedia.org/wiki/Dynamic_Host_Configuration_Protocol - Network address translation
https://en.wikipedia.org/wiki/Network_address_translation - Google Scholar Google Scholar
https://scholar.google.com/scholar?q=connect+router+to+modem+setup+guide - Google Scholar Google Scholar
https://scholar.google.com/scholar?q=router+modem+connection+wan+lan+dhcp+nats - Google Scholar Google Scholar
https://scholar.google.com/scholar?q=double+nat+modem+router+bridge+mode+configuration
