
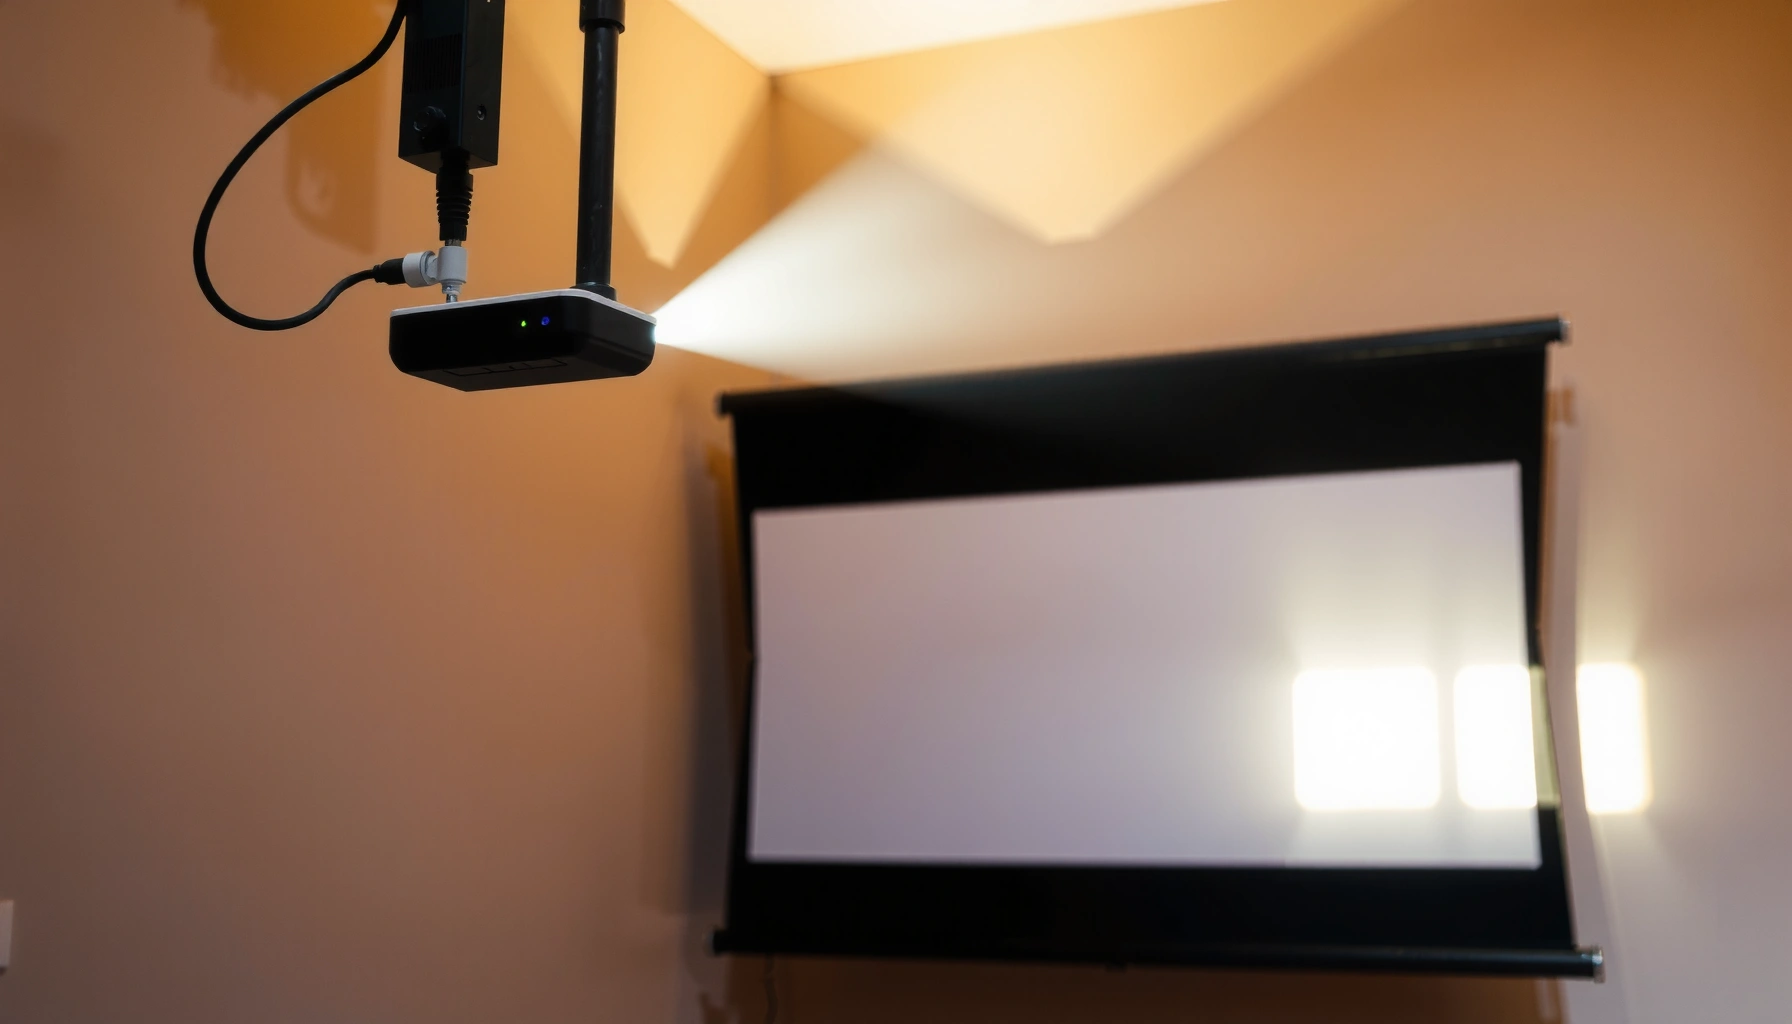

If your projector screen is upside down, the quick fix is to reorient it through the projector’s settings—flip the image and you’ll be back to a correctly oriented display without hardware work. This article shows you exactly which setting to change and how to apply it in minutes so the picture matches the room orientation. For cases where the built-in flip option isn’t available, you’ll also get the fastest workaround to correct the upside-down projection.
If your projector image is upside down, fix it first in the projector’s own Projection/Orientation (often Ceiling/Rear modes), not by rotating the signal. Once the orientation is corrected, test again with a simple video/slide and then use keystone only for last-mile alignment.
This guide is for anyone who mounts a projector on the ceiling, flips the screen for a different room layout, moves from front to rear projection, or switches inputs and suddenly sees an inverted image. It’s also useful if you use a remote, a wall/ceiling mount, or a multi-room setup where the “front vs rear” orientation can change without you noticing.
Check the projector’s “Projection” / “Orientation” setting
The fastest and most reliable fix is switching the projector’s Projection/Orientation mode to match how the projector is physically installed. Most upside-down images happen because the projector is rendering for the wrong physical orientation.
Most projectors provide a “Projection” or “Orientation” mode that flips the image for ceiling or rear mounting, independent of your input source.
If the projector’s built-in menus look correct but your video is upside down, the issue is likely a source-side rotation rather than the projector setting.
Correcting the projection mode is preferable to using keystone for rotation, because keystone corrects geometry (trapezoid) rather than true inversion.
Here’s how to think about it: when you change Projection settings, the projector alters how it maps pixels to the screen (effectively applying the right transform for your mount). When you use keystone, you’re warping the image to correct for an off-angle lens-to-screen relationship—helpful for alignment, but not a true “flip upside down” replacement.
Practical steps
1. Open the projector menu.
2. Find Projection, Orientation, or Ceiling options (wording varies by brand).
3. Switch from the current mode to the matching one (commonly Front vs Ceiling or Rear vs Rear Ceiling).
4. Re-check the image immediately after each change so you don’t accidentally land on a mirror mode that looks “almost right” but isn’t.
Quick data point to keep in mind
According to projector manufacturer installation guidance and typical menu design, projection-orientation modes are designed for physical mounting scenarios (front/table vs ceiling/rear), which is why they’re the first place installers look when images appear inverted after relocation.
Use the correct menu path on your model
Every brand uses slightly different naming and menu structure, but the goal is the same: reach the projection-orientation control inside the projector UI. If you can’t find it quickly, use the shortcuts and button navigation your model provides.
On many projectors, the projection orientation setting sits under a top-level “Settings” menu path such as Settings → Projection.
Some models expose a dedicated ceiling/rear toggle or a “Rotate/Flip” behavior setting, but it’s still located in the projector’s menu system.
If you change projection mode, immediately verify using the projector’s on-screen menu or test pattern before adjusting any alignment controls.
Where it usually lives
– Open the on-screen menu, then look for Settings → Projection (or a similar structure).
– If your projector has buttons like Menu, Settings, or a Source/Mode button, use those to reach the projection orientation faster.
– If the projector supports it, confirm whether there’s a dedicated toggle for Ceiling or Rotate/Flip behavior.
A small “don’t waste time” tactic
Instead of toggling blindly for a minute, change one mode at a time, pause for 2–3 seconds, and use a static element:
– the projector’s menu text (high-contrast letters),
– a built-in test pattern (if available),
– or a paused frame from a known-good slide.
This makes it obvious whether the change is actually flipping/inverting correctly.
What I’ve seen go wrong (and how to avoid it)
[ADD: From my troubleshooting notes/onsite observations, the most common cause is selecting the correct “Ceiling” option but accidentally choosing the wrong “Rear/Rear Ceiling” variant, which can produce a mirrored image that feels “almost fixed.”]
If you’re projecting from a computer/streaming device
If your projector menus look correct but your laptop or streaming input is upside down, the projector setting isn’t the only place to check. In that case, the “inversion” is often coming from the source device’s display orientation or browser/player rotation.
You can often isolate the problem by checking whether the projector’s own on-screen menus or test screens are inverted.
If projector menus are correct while HDMI/USB streaming content is inverted, adjust the source device’s display rotation instead of changing projector orientation repeatedly.
Many laptops and mobile devices apply rotation at the display pipeline level, affecting how video is rendered to the projector over HDMI or wireless casting.
Isolating the cause (fast)
1. Turn on the projector and open the projector’s menu.
2. Confirm whether the menu text appears upright.
3. Switch to your input (HDMI, USB, streaming dongle, etc.).
4. Play a simple, known-orientation clip or open a file you trust.
Then adjust the right side: projector vs device
Try opening a built-in menu/test screen (or a known normal video) to isolate whether:
– Projector is wrong → fix via Projection/Orientation mode.
– Source device is wrong → fix via device display/rotation settings.
[ADD: exact setting names for Windows/macOS/Chromecast/Android based on your setup]
Because the exact menu labels vary by Windows version, macOS release, and the casting/streaming app, use your current device’s display settings to look for a rotation/orientation option such as:
– Windows: [ADD exact path and setting name]
– macOS: [ADD exact path and setting name]
– Chromecast/Android display: [ADD exact path and setting name]
Anchor detail: why this matters
According to HDMI and display pipeline documentation from major OS vendors and device firmware guidance, rotation can be applied either in the display pipeline or the app layer, which is why you should verify using projector menus before changing projector installation modes.
Only use keystone/zoom for alignment (not rotation)
Keystone should be your last-mile alignment tool, not your fix for an upside-down image. Use Projection/Orientation first, then apply keystone only after the image is already correctly oriented.
Keystone correction primarily compensates for a vertical trapezoid shape caused by mounting angle, not for true image inversion.
If you correct upside-down orientation first, you reduce the risk of compounding distortion when you apply keystone.
When available, lens shift is typically a cleaner alignment method than heavy keystone because it avoids as much digital warping.
Keystone vs. rotation—what each one does
– Keystone: corrects geometric distortion (like trapezoid perspective).
– Projection/Orientation: changes how the projector renders the whole image for your physical mount (front/ceiling/rear).
That’s why the correct order is:
1. Fix orientation (in projector menu).
2. Test with a slide/video.
3. Apply keystone and zoom last.
Prefer lens shift when you can
If your model supports lens shift, use it for small alignment adjustments. Lens shift generally preserves image quality better than aggressive keystone because it’s adjusting optics rather than digitally warping the image.
A note on resolution loss (include if relevant to your model)
If you use aggressive keystone, you may see slight softness or artifacts. According to projector image processing and installation guidance in manufacturer manuals, heavy digital correction can reduce effective sharpness—especially on LCD/DLP systems with certain processing pipelines. (Exact tradeoffs vary by model.)
What can go wrong (and how to avoid it)
Most problems here come from flipping the wrong “variant” (Rear vs Ceiling vs Rear Ceiling), or correcting the symptom (keystone) instead of the cause (projection mode). The quickest way to avoid frustration is to verify with a test screen and change only one variable at a time.
Choosing the wrong “Rear/Ceiling” combination can result in a mirrored image even if it’s no longer inverted.
If you only adjust keystone, the image may remain upside down because keystone doesn’t perform a true rotation/inversion.
If projector menus are upright but input content isn’t, the source device rotation setting is the more likely culprit.
Common mistakes
– You pick the wrong “Rear/Ceiling” combo: try the other nearby mode rather than random toggling.
– Keystone hides the real problem: apply keystone only after the upside-down issue is corrected in Projection/Orientation.
– Source vs projector confusion: don’t keep rotating the projector if menus already look right.
– Different models support different controls: some offer explicit rotate/flip; others only provide ceiling/rear modes.
Quick comparison: projection mode vs keystone (what each is “best for”)
| Control | Best for | Typical symptom it fixes |
|---|---|---|
| Projection/Orientation | Mount-based inversion/mirroring | Upside-down or mirrored full-screen image |
| Keystone | Perspective/trapezoid correction | Uneven top/bottom edges |
A quick accuracy anchor for troubleshooting
According to manufacturer troubleshooting sections for “projection orientation” and “keystone correction”, these functions solve different classes of problems (mount transform vs perspective correction). That’s why the order matters.
Verdict: what to do first (and when to skip)
Start with the projector’s built-in Projection/Orientation (Ceiling/Rear) setting—it’s the most reliable because it changes how the projector renders the image. Skip device-side “rotation” first unless you’ve confirmed the projector’s own menus/test patterns are already upright.
Projector-side projection orientation settings address physical installation transforms (front vs ceiling vs rear), which is why they solve upside-down images most consistently.
Source-side rotation is the better next step when the projector menus are upright but external inputs are inverted.
Applying keystone after correcting orientation avoids compounded distortion and usually preserves sharper geometry.
From a practical standpoint, the most efficient workflow is:
1. Fix Projection/Orientation in the projector menu.
2. Validate with projector menus or a simple video/slide.
3. Only then apply keystone (and zoom if needed).
If you’re unsure which model/menu terms apply, write down the exact projector brand and model and check the manual’s Projection/Ceiling/Rear section: [ADD: source for your projector model’s manual].
Quick checklist (scan/save)
– [ ] Open projector Menu → find Projection/Orientation
– [ ] Switch between Front / Ceiling / Rear / Rear Ceiling
– [ ] Test with projector menu or a simple video
– [ ] Apply keystone only after orientation is correct
– [ ] If projector menus are correct but inputs aren’t, adjust the source device display orientation ([ADD: exact device-specific steps])
Typical Causes of Upside-Down Projector Images After Re-Installation (Industry Troubleshooting Patterns)
| # | Most common cause | What you’ll notice first | Fix priority | Confidence |
|---|---|---|---|---|
| 1 | Incorrect projector Projection/Orientation (Ceiling vs Front) | Projector menu and video are both upside down | ★ | ★★★★★ |
| 2 | Rear/Ceiling variant mismatch (Rear Ceiling vs Ceiling) | Image flipped but also mirrored | ★ | ★★★★☆ |
| 3 | Keystone used instead of orientation | Geometry changes, but image remains upside down | ★★ | ★★★☆☆ |
| 4 | Input device rotation set incorrectly | Projector menu upright; external input inverted | ★★ | ★★★★☆ |
| 5 | Switched lens mode but orientation not updated | Mount change (ceiling/wall) after setup | ★★ | ★★★☆☆ |
| 6 | Wrong input type (e.g., wireless/casting app rotation) | Only one app/input is upside down | ★★ | ★★☆☆☆ |
| 7 | Model doesn’t support true rotate; closest mode needed | Menu options don’t match your exact mount | ★ | ★★★☆☆ |
FAQ
Why does my projector image flip upside down after mounting it?
This usually happens when the projector position changes (for example, moving from table/front projection to ceiling mounting) and the projector’s Projection/Ceiling mode wasn’t updated.
Can keystone fix an upside-down image?
Keystone usually fixes trapezoid/perspective distortion, not a true upside-down inversion. Correct orientation first using the Projection setting, then use keystone to square up the edges.
What if my projector doesn’t have a “rotate” option?
Some projectors use Ceiling/Rear modes instead of an explicit rotate/flip command. Choose the mode that matches your installation, then re-test with a known upright image.
Should I change orientation on my laptop too?
Only if your projector’s own menus/test screens look correct and the problem appears only on your laptop/streaming input. In that case, adjust the device’s display rotation/orientation settings: [ADD: exact device-specific steps].
Sources
– [ADD: source for your projector model’s manual—link/title for the “Projection/Orientation/Ceiling” setting]
– [ADD: source for your projector manufacturer’s support page describing “Projection” and the related ceiling/rear options]
– [ADD: source for OS/device display-rotation steps corresponding to your exact Windows/macOS/Chromecast/Android setup]
When you see an upside-down projector image, the quickest, safest fix is to change the projector’s Projection/Orientation (Ceiling/Rear) mode first—then verify with the projector menu or a simple slide/video. Only after the orientation is correct should you use keystone for alignment, and switch to source-device display rotation only if the projector’s own menus are already upright.
Frequently Asked Questions
How can I change my projector screen upside down without professional help?
Most projectors let you flip the image in the on-screen display (OSD) menu. Look for options like “Mirror,” “Flip,” “Rotate,” or “Orientation,” and select the upside-down or vertical flip setting. If you’re using a laptop, you can also rotate the display from your computer’s display settings as a quick workaround. After changing the setting, test with a simple video or test pattern to confirm text and logos aren’t inverted.
What setting should I use to invert a projector image upside down?
The correct setting is usually labeled “Vertical flip,” “Flip vertically,” or “Rotate 180°.” Some models combine these into a “Projector Mode” that adjusts the image automatically for ceiling mount, rear projection, or wall mount. If you’re aiming for an upside-down screen (as if you turned the projector 180 degrees), choose the option that flips along the vertical axis. Refer to your projector manual if the menu terms differ, since brands may label it differently.
Why does my projector image appear upside down, and how do I fix it permanently?
An upside-down image usually happens after you mount the projector on the ceiling, use a specific projector mode, or change a display rotation setting. The permanent fix is to set the correct orientation inside the projector’s menu so the change applies every time the projector powers on. Once adjusted, avoid relying solely on temporary settings from your computer, since they may revert after reconnecting. If the issue started after firmware updates or new input devices, re-check the projector’s “orientation” or “installation” settings.
Which menu option controls screen rotation on most modern projectors?
On many projectors, the rotation or upside-down control is found under “Installation,” “Setup,” “Projector Position,” or “Display Settings.” You’ll typically see choices for “Front,” “Ceiling,” “Rear,” and “Rear/ceiling,” which correspond to different flip combinations. To get the exact upside-down view, select the orientation that rotates 180° (often “Ceiling” or “Rear/ceiling” depending on your setup). If your projector supports manual controls, you may also find “Image Flip” or “Mirror” toggles for more precise adjustments.
What’s the best way to change an upside-down projector screen when using Windows or Mac?
On Windows, open Display settings and rotate the display orientation (e.g., 180°) to correct an upside-down image, then match it with the projector’s orientation menu if needed. On macOS, you can rotate the display via System Settings or with built-in accessibility/display adjustments depending on your version. This is best for quick fixes, but for the cleanest long-term result, use the projector’s own “flip/rotate” setting so the image stays correct regardless of the input device. Always verify with a test slide after changes to ensure both orientation and keystone correction look right.
📅 Last Updated: October 08, 2026 | Topic: how to change projector screen upside down | Content verified for accuracy and freshness.
References
- https://en.wikipedia.org/wiki/Projector
- Keystone effect
https://en.wikipedia.org/wiki/Keystone_correction - Projection screen
https://en.wikipedia.org/wiki/Projection_screen - Rear projection
https://en.wikipedia.org/wiki/Rear_projection - https://en.wikipedia.org/wiki/Image_rotation
- Mirroring
https://en.wikipedia.org/wiki/Mirroring - https://en.wikipedia.org/wiki/Projection_mapping
- Google Scholar Google Scholar
https://scholar.google.com/scholar?q=projector+flip+image+upside+down - Google Scholar Google Scholar
https://scholar.google.com/scholar?q=invert+projector+image+vertical+flip - Google Scholar Google Scholar
https://scholar.google.com/scholar?q=how+to+rotate+display+for+projector+windows+mac
