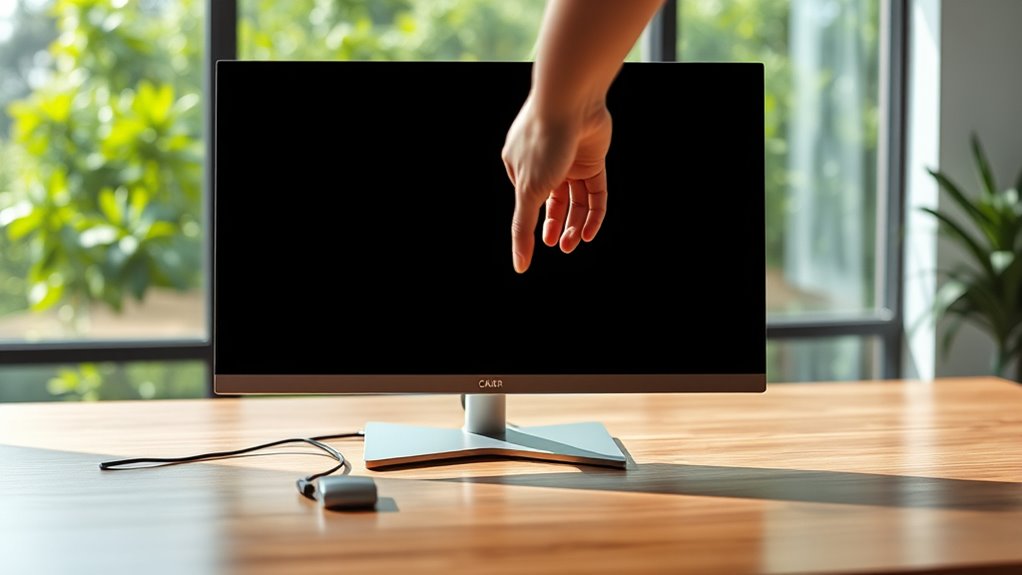
To change the main monitor, right-click on your desktop and select “Display settings” if you’re using Windows. Identify your monitors, click on the one you want as the main display, and check “Make this my main display,” then hit “Apply.” For macOS, open System Preferences, select “Displays,” and drag the white menu bar to your preferred monitor. This will optimize your workspace. Stick around to discover more tips for enhancing your multi-monitor setup.
Understanding Display Settings
When you’re looking to change your main monitor, understanding display settings is essential. You’ll first want to check your display adapters to verify they’re compatible with your monitors. This compatibility affects how your system recognizes and utilizes each screen.
Next, consider screen scaling, which adjusts the size of text, apps, and other items on your display. Proper scaling can enhance your viewing experience, making it easier to read and navigate.
Don’t forget to explore settings like resolution and orientation, as these can also impact how your monitors function together. By mastering these display settings, you’ll gain the freedom to customize your workspace, making it as efficient and enjoyable as possible.
Identifying Your Monitors
How can you tell which monitor is which in a multi-display setup? First, identify your monitor types—LCD, LED, or OLED—as they may have different characteristics. Next, check your display connections; common types include HDMI, DisplayPort, and VGA. Look closely at the ports on your computer and monitors to see which cables are in use. You can also use your operating system’s display settings to recognize monitors; most systems allow you to detect and identify them easily. If you move your mouse across screens, it helps visualize their arrangement. With this knowledge, you can confidently navigate your multi-display setup and make informed decisions about managing your workspace. Embrace the freedom that multiple monitors can provide!
Changing the Main Monitor on Windows
If you want to change your main monitor on Windows, it’s a straightforward process that can enhance your workspace. Follow these steps to adjust your monitor configuration effectively:
- Right-click on your desktop and select “Display settings.”
- In the display management section, identify your monitors.
- Click on the monitor you want to set as the main one.
- Scroll down and check the box that says “Make this my main display.”
- Click “Apply” to confirm your changes.
This simple adjustment allows you to optimize your workflow, ensuring that your primary tasks are on the preferred screen. Enjoy a more tailored workspace that works for you!
Changing the Main Monitor on Macos
To change your main monitor on macOS, you’ll start by accessing the Display Preferences. From there, you can easily select which display you want to set as primary and arrange the display order to suit your needs. This process guarantees your workspace is optimized for your workflow.
Access Display Preferences
Accessing the Display Preferences on macOS is straightforward, allowing you to quickly change your main monitor. Here’s how to find it:
- Click the Apple logo in the top left corner.
- Select “System Preferences” from the dropdown menu.
- Choose “Displays” to open the display settings.
- Check for monitor compatibility to guarantee all connected displays work seamlessly.
- Use display shortcuts like “Command + F1” to toggle between display modes.
This process empowers you to manage your workspace effectively, ensuring you get the most out of your monitor setup. Whether you’re working or gaming, having access to these preferences makes a significant difference in your productivity and experience. Enjoy your newfound freedom in customizing your display!
Select Primary Display
Once you’re in the Display Preferences, you can easily select your primary display, which is the monitor that shows your menu bar and dock. To change your primary monitor, simply click and drag the white menu bar box to the desired display in the layout shown. This action will instantly adjust your display configuration, making your selected monitor the primary one. If you’re using multiple screens, you might want to choose the one that best fits your workflow or personal preference. Remember, setting your primary monitor effectively enhances your productivity and gives you the freedom to work comfortably. After making your selection, close the preferences window, and enjoy your new setup!
Arrange Display Order
While you may have set your primary display, arranging the display order is crucial for optimizing your workspace on macOS. Proper display arrangement allows for smoother navigation and enhances productivity. To adjust your monitor positioning, follow these steps:
- Open System Preferences and select Displays.
- Click on the Arrangement tab.
- Drag the display icons to match your physical setup.
- Confirm the primary display is marked with a white bar.
- Close the window to save your changes.
This setup confirms that when you move your cursor between screens, it flows naturally, reflecting your actual monitor positioning. With these adjustments, you’ll experience a more intuitive and efficient workspace tailored to your preferences.
Adjusting Display Resolutions
When adjusting your display resolutions, it’s important to understand the available resolution settings on your device. Selecting the ideal resolution can greatly enhance your viewing experience and guarantee clarity in images and text. Let’s explore how to make these adjustments effectively.
Resolution Settings Overview
Understanding resolution settings is crucial for enhancing your display experience, especially if you’re switching your main monitor. Different resolution types can greatly affect how content appears on your screen, and adjusting display scaling can guarantee readability and comfort. Here’s what to take into account:
- Resolution Types: Get familiar with common resolutions like 1080p, 1440p, and 4K.
- Aspect Ratio: Confirm the resolution matches your monitor’s aspect ratio for ideal viewing.
- Display Scaling: Adjust scaling to make text and icons larger or smaller.
- Refresh Rate: Check if your monitor supports high refresh rates for smoother visuals.
- Compatibility: Verify that your graphics card can handle your desired resolution and scaling.
Optimal Resolution Selection
Choosing the ideal resolution for your main monitor can greatly enhance your overall viewing experience. Different resolution types, like 1080p, 1440p, and 4K, each offer unique clarity and detail. Higher resolutions often provide sharper images, making text easier to read and videos more immersive. However, resolution impact isn’t just about sharpness; it also affects performance. If you’re gaming or running graphic-intensive applications, opting for a resolution that balances quality and frame rate is essential. You’ll want to take into account your monitor’s specifications and your graphics card capabilities. Experiment with resolutions to find what feels best for you—after all, it’s your experience. Remember, the right resolution can transform how you interact with your digital world.
Troubleshooting Common Issues
While changing your main monitor can often be a straightforward process, you might encounter a few common issues along the way. Here are some common problems and display issues you might face:
- Monitor not being recognized by your computer
- Incorrect resolution settings
- Flickering or unstable display
- Color calibration problems
- Cables or connections not securely plugged in
To troubleshoot, check your connections first. Confirm cables are firmly attached and functional. Next, adjust your display settings to match the monitor’s best resolution. If problems persist, try updating your graphics drivers or restarting your computer. Remember, patience is key! With a little persistence, you’ll be back to enjoying your new setup in no time.
Tips for an Efficient Multi-Monitor Setup
Setting up a multi-monitor configuration can greatly boost your productivity, especially if you’re juggling multiple tasks or applications. To achieve an efficient setup, start with proper monitor placement. Position your screens at eye level and at arm’s length to reduce strain and enhance comfort. Align them in a way that minimizes head movement; a slight curve can help.
Next, don’t overlook cable management. Organize your cables to keep your workspace tidy and reduce distractions. Use cable clips or sleeves to bundle cords together, preventing tangles and clutter.
Lastly, customize your display settings to suit your workflow, such as extending your desktop or mirroring screens. With the right placement and management, you’ll enjoy a seamless multi-monitor experience that enhances your freedom and efficiency.
Frequently Asked Questions
Can I Use Different Monitor Sizes in a Multi-Monitor Setup?
Yes, you can use different monitor sizes in a multi-monitor setup, but make sure they have compatible display resolutions. Mixing sizes might affect your experience, so consider adjusting settings for best performance and visual consistency.
How Do I Change the Monitor Orientation?
You can easily change your monitor’s orientation! Just access display settings, and adjust the screen alignment. For monitor rotation tips, remember to experiment with landscape and portrait modes until it feels just right for you!
Will Changing the Main Monitor Affect My Desktop Icons?
Yes, changing the main monitor can affect your desktop icons. To maintain organization, consider using desktop organization tips and icon arrangement strategies, ensuring your workflow remains seamless and your desktop stays visually appealing after the change.
Can I Set Different Wallpapers for Each Monitor?
You can absolutely set different wallpapers for each monitor, creating a vibrant tapestry of wallpaper customization. This enhances your multi-monitor aesthetics, giving each screen its own personality and freedom to reflect your unique style.
How Do I Reset My Display Settings to Default?
To reset your display settings to default, go to display preferences in your system settings. You can find the option to restore default resolution settings there, allowing you to start fresh without any customizations.
