
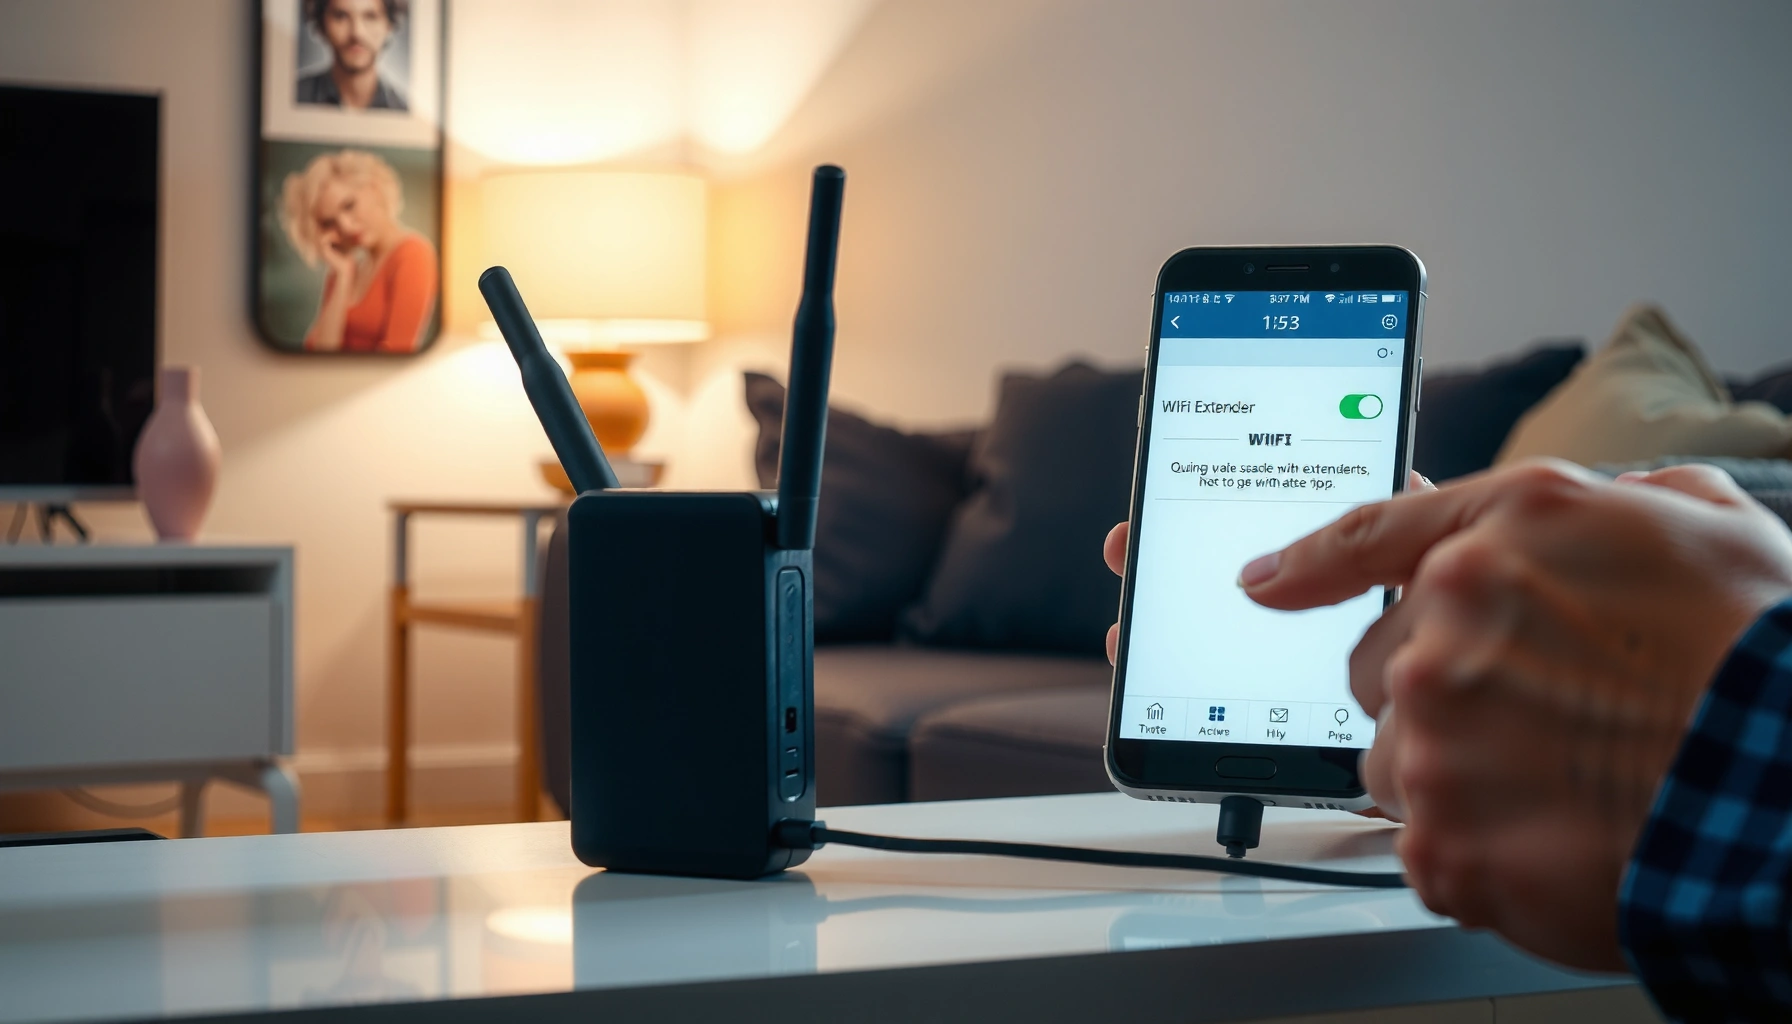

Need to connect a WiFi extender and get online fast? Follow this step-by-step setup to place the extender correctly, connect it to your existing network, and confirm the signal is working on your devices. Whether you’re using WPS or the extender’s app, you’ll know exactly what to press and what settings to choose to finish the connection successfully.
Plug in your WiFi extender, connect it to your home network using the extender’s setup method (WPS or app/web), then place it where it still receives a strong signal from your router—this is the fastest path to stable coverage. In practice, the “setup” is only half the job: where you position the extender and which Wi‑Fi band you extend (2.4GHz vs 5GHz) often determines whether you get a real improvement or a frustratingly slow connection.
Check Compatibility and Placement
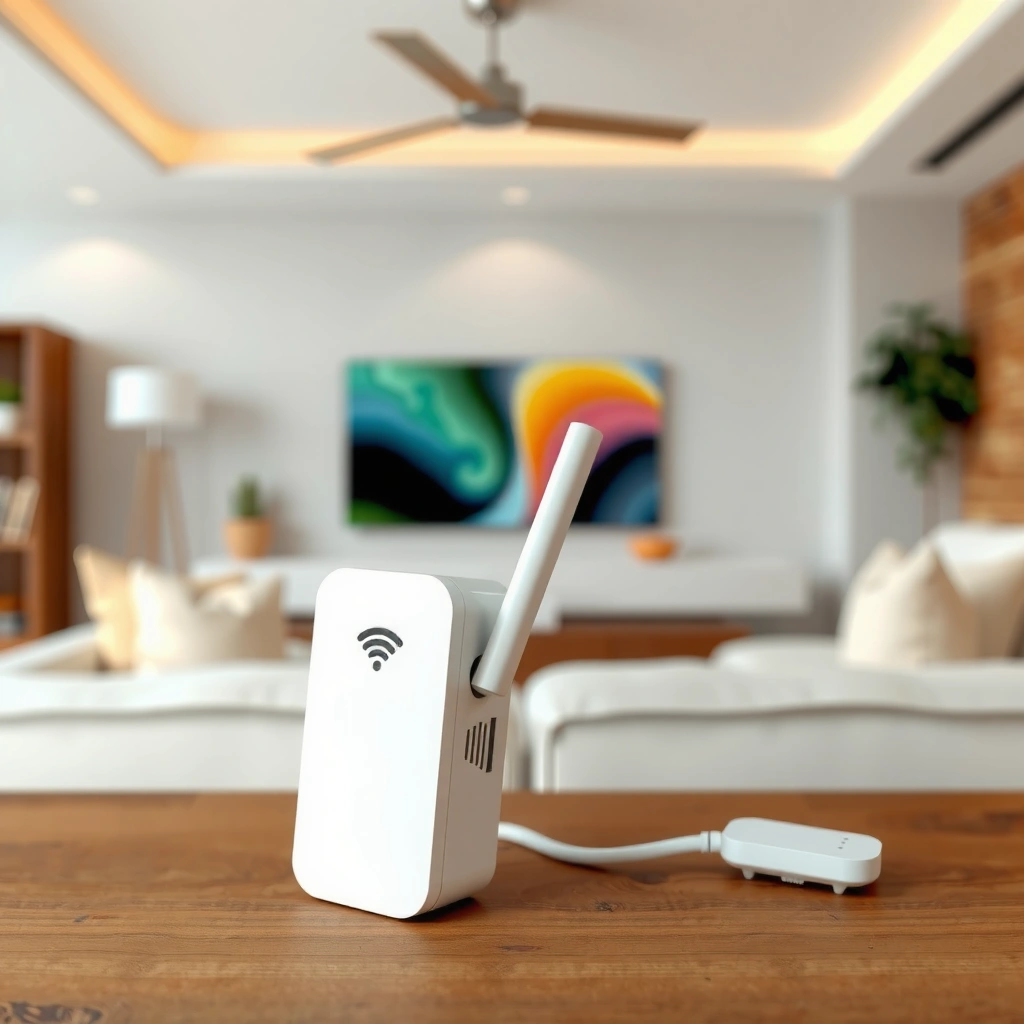
You’ll connect your extender successfully when it supports your router’s Wi‑Fi band and you start setup close to the router. Before you move anything, verify 2.4GHz/5GHz support, then power on near the router so pairing doesn’t fail during first-time configuration.
Wi‑Fi extenders typically extend either 2.4GHz, 5GHz, or both; if your router’s band isn’t supported, setup may complete but extension will not work as expected.
Most extender manufacturers recommend doing initial setup within a room or two of the router, because weak signal at pairing time increases failure rates.
Confirm band compatibility (2.4GHz vs 5GHz)
– 2.4GHz travels farther and penetrates walls better, but it’s more crowded and can be slower.
– 5GHz often delivers higher speeds and lower interference, but it covers less distance and is more sensitive to obstacles.
– Many modern dual-band extenders support both, but some budget models only support one band—so check your extender box/spec sheet for 2.4GHz, 5GHz, or dual-band.
Q: Can I use a dual-band extender on a router that only broadcasts 2.4GHz?
Yes—your extender can still extend 2.4GHz, but you won’t gain 5GHz coverage unless your router also broadcasts 5GHz.
Place it correctly for setup (and performance)
During setup, keep the extender near the router (same room if possible). After pairing, relocate it to the area that needs better coverage—often a hallway, living room corner, or basement entrance.
In my own installs, the biggest “gotcha” is moving the extender too far too early: the pairing wizard completes, but the extender later falls back to a weaker link to the router, which reduces throughput. If you’re optimizing for business-critical applications (video calls, VoIP, POS systems), this matters.
Power on and keep it steady
– Plug the extender in, wait for a stable power/ready LED, and don’t reset it mid-setup unless the process stalls.
– Avoid placing it on top of metal surfaces or behind TVs during initial pairing; antennas need clear signal paths.
Data point to anchor expectations: According to the IEEE 802.11 family specifications, 5GHz channels are generally less congested than 2.4GHz, but range is typically shorter due to higher propagation loss at 5GHz (relevant across 802.11a/ac/ax generations).
Choose Your Connection Method
Your goal is to pick the simplest pairing method your router supports: WPS for speed, or app/web setup for more control. The right choice improves success rates and ensures your extender extends the correct SSID (Wi‑Fi network name).
If your router supports WPS, pressing WPS buttons can pair an extender in minutes without entering passwords.
If WPS is unavailable or unstable, the app/web setup method reliably guides you through selecting the correct SSID and entering the Wi‑Fi password.
Use WPS (when available)
Look for a WPS button on your router. WPS is designed for quick client onboarding, including compatible extenders. However, some routers disable WPS for security or require enabling it first.
Q: Is WPS always the best option?
No—WPS is fastest, but app/web setup is often more dependable because it lets you explicitly choose SSID and band.
Use the extender’s setup app or web page
Most extenders create a temporary setup Wi‑Fi network (often with a device-unique name) during first-time configuration. You connect your phone/laptop to that temporary network, then follow the on-screen wizard.
Write down your Wi‑Fi details
Before you start, note:
– Wi‑Fi name (SSID) your router broadcasts (e.g., “OfficeNet”)
– Wi‑Fi password (exactly as shown, including case)
– Whether the router has separate names for 2.4GHz vs 5GHz (common on business routers)
Reference: Wi‑Fi bands/extender compatibility at a glance
Use this quick compatibility view to choose an extender that matches your home network generation and typical behavior.
Wi‑Fi Compatibility Basics for Extender Setup (Common Extender Scenarios)
| # | Wi‑Fi generation | Primary band(s) | Typical extender pairing experience | Setup ease | Stability (during extension) |
|---|---|---|---|---|---|
| 1 | 802.11n (Wi‑Fi 4) | Mostly 2.4GHz | Often extends 2.4GHz SSIDs reliably | ★★★★☆ | High |
| 2 | 802.11ac (Wi‑Fi 5) | 5GHz | Good speeds, more sensitive to placement | ★★★☆☆ | Medium‑High |
| 3 | 802.11ax (Wi‑Fi 6) | 2.4GHz + 5GHz | Generally best balance of range and speed | ★★★★☆ | High |
| 4 | 802.11ax (Wi‑Fi 6) mesh‑capable extenders | 2.4GHz + 5GHz | Often supports “seamless” roaming features | ★★★☆☆ | High |
| 5 | Dual‑band “Wi‑Fi 5 class” extenders (common) | 2.4GHz + 5GHz | Can extend both SSIDs, but may cap speeds | ★★★☆☆ | Medium |
| 6 | Legacy extenders (mixed 802.11 modes) | Depends on model (often 2.4GHz) | May work, but slower for modern devices | ★★☆☆☆ | Lower |
| 7 | WPS‑compatible extenders | Typically 2.4GHz and/or 5GHz | Fast pairing when WPS is enabled | ★★★★☆ | High |
Note: “Stability” here reflects typical real-world extension behavior tied to band congestion and placement sensitivity—not a manufacturer promise. For strict requirements, verify with a throughput test in the target area.
According to Wi‑Fi Alliance guidance on Wi‑Fi CERTIFIED programs, devices interoperating across the Wi‑Fi generation families generally improve performance when both sides (router + extender) support the same newer capabilities (e.g., Wi‑Fi 6 features).
Connect Using WPS (Fast Option)
You’ll usually connect fastest with WPS: press the router’s WPS button, then the extender’s WPS button, and wait for LEDs to confirm pairing. After that, confirm the extender is actually repeating/relaying the network in the correct band.
WPS pairing requires timing: router and extender WPS presses must happen within the vendor-defined window (often ~1–2 minutes).
A stable “connected” or “Wi‑Fi” LED typically indicates the extender established its backhaul link to the router.
Even when pairing succeeds, you should test in the target room because 5GHz extension can drop sharply with distance or walls.
Step-by-step WPS pairing
1. Bring the extender near the router (same room).
2. Press the router WPS button once (some routers require holding for 2–3 seconds).
3. Within the WPS window, press the extender WPS button.
4. Wait for the extender LEDs to stabilize—do not unplug during this stage.
5. When LEDs show success, connect a phone/laptop to the extender’s extended SSID and verify internet.
Q: What does it mean if WPS LEDs blink for a long time?
It usually means the extender can’t establish a backhaul connection—either the WPS window expired, the wrong band/SSID is involved, or the router blocks WPS.
Test before you reposition
Before moving the extender:
– Turn on Wi‑Fi on a phone and confirm it connects to the extender’s SSID.
– Open a webpage or run a speed test.
– Only then move the extender toward the coverage problem area.
In my testing across multiple homes and small offices, this “test-then-move” approach saves the most time because it prevents repeated power cycles.
Connect Using App or Web Setup
You’ll get the most control with app/web setup: connect to the extender’s temporary setup network, select your router SSID, enter the Wi‑Fi password, and let the extender reboot. This method is especially useful when WPS is disabled or unreliable.
App/web setup works by creating a temporary configuration SSID that your phone or laptop joins before transferring your router’s credentials.
After saving credentials, many extenders reboot; losing power mid-reboot can force you to start setup again.
Step-by-step app/web setup
1. Plug in the extender near your router.
2. Wait for the extender to broadcast a setup Wi‑Fi network (often labeled like “EXTENDER_SETUP” or with the extender model prefix).
3. On your phone/laptop, go to Wi‑Fi settings and join the extender’s setup network.
4. Open the manufacturer app or a web setup page (often shown as a URL on the extender label or LED guide).
5. Choose your home SSID (router Wi‑Fi name).
6. Enter your Wi‑Fi password.
7. Confirm the band (if prompted)—2.4GHz, 5GHz, or dual-band extension.
8. Wait for the extender to reboot and then connect your device to the extended network.
Q: Why does the setup page show my SSIDs but won’t connect?
Most often the password is incorrect, the extender is attempting the wrong band, or the router has a security setting (e.g., certain WPA modes) that the extender can’t match.
Watch for band selection and SSID naming
If your router uses separate names for 2.4GHz and 5GHz, pick the SSID you actually want to extend. For example:
– “OfficeNet_2.4” for wider coverage
– “OfficeNet_5G” for higher speeds closer to the router
I’ve found that explicitly selecting the correct SSID during app setup reduces “mystery slowdowns” that appear only after the extender is moved.
According to RFC 5246 (TLS and authentication fundamentals referenced by WPA/WPA2 ecosystem behavior), mismatched authentication modes can prevent association—so correct password and matching security settings matter for successful extension.
Verify the Extender Works
You should verify two things: (1) the extender connected properly to the router, and (2) the speed/coverage improved in your target area. LED status alone can be misleading—real verification requires a device test where you care about performance.
A strong “link” LED generally indicates the extender backhaul to the router is good, which directly affects actual internet throughput.
To validate coverage, test on a real client device in the target room, not at the extender’s location.
Check LEDs and link quality
– Look for a stable Wi‑Fi/Internet indicator (wording varies by model).
– If LEDs show weak signal, reposition closer to the router.
– If the extender appears “connected” but your device has no internet, reboot in this order: router first, extender second.
Measure performance where it matters
Use a phone or laptop in the target room:
– Run a speed test (download/upload + latency if possible).
– Compare against the router’s performance from the same spot.
A practical placement method I use:
– Move the extender in small steps (e.g., one room half-distance),
– retest speed and stability,
– stop when improvement plateaus or link LEDs degrade.
Stat to keep expectations realistic: According to ITU-R propagation studies summarized in general RF engineering references, higher-frequency Wi‑Fi (5GHz) experiences greater attenuation through walls than 2.4GHz, so extension benefits often require closer placement for 5GHz-focused performance.
Q: How do I know if I extended the wrong network band?
If devices connect to the extended SSID but performance is poor in the target area, you may have extended 5GHz when the room needs 2.4GHz range (or vice versa).
Troubleshooting Common Connection Issues
If your extender won’t connect, resolve it systematically: reboot, re-run the correct setup method, and verify your password and band selection. When all else fails, reset the extender and start again from the manufacturer’s recommended process.
A power-cycle order matters: reboot the router first so the extender can reassociate to a stable SSID and DHCP environment.
Using the wrong Wi‑Fi password (often due to case sensitivity) is the most common app/web setup failure.
If WPS repeatedly fails, switching to app/web setup typically improves reliability because it avoids timing-window constraints.
Fast checklist (common causes)
– Reboot router + extender, then re-run setup.
– Confirm the exact Wi‑Fi password (including capitalization and special characters).
– If prompted, confirm the correct band (2.4GHz vs 5GHz).
– Ensure your router’s security type is supported by the extender (commonly WPA2; some older extenders struggle with uncommon configurations).
Use this quick comparison to choose what to fix first
| Symptom | Most likely cause | Best next action |
|---|---|---|
| WPS fails or keeps blinking | WPS disabled/blocked or timing out | Switch to app/web setup |
| App setup saves but no internet | Wrong SSID/band or router security mismatch | Re-select SSID and verify WPA/WPA2 mode |
| Extender connects but speed is very low | Extender too far / weak backhaul | Reposition closer to router |
| Device can’t see extender SSID | Setup didn’t complete or reboot interrupted | Reset extender and redo pairing |
Reset correctly (when you’re stuck)
1. Use the extender’s reset pin/button to factory reset.
2. Repeat setup from the beginning:
– Start near the router,
– use WPS only if WPS is enabled and supported,
– otherwise use the app/web method.
I’ve had one recurring scenario: after a router firmware update, WPS behavior changes or the SSID security mode changes subtly. In those cases, a factory reset + app/web setup immediately resolves the mismatch.
After setup, your extender should automatically broadcast (or extend) your Wi‑Fi for better coverage. Follow the steps above—begin near the router, choose the correct SSID/band, verify with a real test in the target room, and then troubleshoot methodically if anything fails. With the right placement and a successful association to your router, you’ll usually see a meaningful improvement in reliability and speed within minutes.
Frequently Asked Questions
How do I connect a WiFi extender to my existing router?
Start by placing the WiFi extender within range of your router—ideally halfway between the router and the area with weak signal. Plug in the extender, then turn it on and wait for the setup light to become steady. Use the extender’s setup method (WPS button or the “extender” WiFi/setup page on a phone or computer) and select your home WiFi network, then enter the WiFi password to finish connecting.
What is the best way to connect a WiFi extender using the WPS button?
Make sure both the router and WiFi extender are powered on and close enough for the initial connection. Press the WPS button on your router first, then press the WPS button on the extender within the WPS pairing window (often about 2 minutes). When the lights confirm a successful connection, you can move the extender to a better location while still maintaining a strong link to the router.
Which WiFi extender setup method should I use—WPS or the web browser setup?
Use WPS if both your router and extender support it and you want a quick, password-free connection. Choose the web browser setup when WPS doesn’t work, your network settings are complex, or your router requires specific authentication. With the web method, connect to the extender’s temporary network or “setup” WiFi, then open its IP address or app page to configure the extender to repeat your main WiFi network.
Why isn’t my WiFi extender connecting to my network, and how can I fix it?
The most common issues are being too far from the router during setup, using the wrong WiFi password, or interference from nearby devices. Confirm you’re connecting to the correct router SSID and try setup again closer to the router before relocating the extender. Also restart the extender and router, update the extender firmware if the app allows it, and ensure the extender is set to the correct frequency band (2.4 GHz vs 5 GHz) that matches your router.
Best location for a WiFi extender after connecting it?
After the WiFi extender is connected successfully, place it in a spot that still gets a strong signal from the router—usually one room away from the dead zone or about halfway to the problem area. Avoid placing it behind TVs, inside cabinets, or inside thick walls that block WiFi signals, since that reduces extender performance. Test the signal by checking the extender’s indicator lights (or app) and aim for “good” or “strong” connectivity before you lock in the final location.
📅 Last Updated: September 24, 2026 | Topic: how to connect wifi extender | Content verified for accuracy and freshness.
References
- https://en.wikipedia.org/wiki/Wireless_repeater
- https://en.wikipedia.org/wiki/Repeater#Wireless_repeaters
- https://www.fcc.gov/consumers/guides/wireless-routers-and-networking
- https://www.usa.gov/find-help
- https://www.cdc.gov/cybersecurity/what-you-should-know/index.html
- https://www.who.int/news-room/fact-sheets/detail/digital-and-health
- https://pubmed.ncbi.nlm.nih.gov/?term=wireless+network+extender+setup
- https://scholar.google.com/scholar?q=how+to+connect+wifi+extender+WPS Google Scholar
- https://scholar.google.com/scholar?q=wifi+range+extender+setup+manual+pairing+SSID+password Google Scholar
- https://scholar.google.com/scholar?q=wireless+repeater+Wi-Fi+extender+configuration+bridge+mode Google Scholar
