To reset your JVC earbuds, first, turn them off completely. Then, press and hold the power button until the indicator lights flash, then release it. Next, press and hold the reset button for about 5 seconds until you see a light flash confirming pairing mode. Make sure your device’s Bluetooth is on for a successful connection. If you’re facing issues after the reset, there’s more you can do to troubleshoot and maintain your earbuds effectively.
Understanding the Need to Reset Your JVC Earbuds
When your JVC earbuds start acting up, whether it’s connectivity issues, audio quality problems, or battery drain, resetting them can often resolve these frustrations. One of the common reasons for these issues is interference from other devices or a simple software glitch. By resetting your earbuds, you clear out any temporary bugs, allowing them to reconnect smoothly. You’ll also experience reset benefits like restored audio clarity and improved battery performance. This simple step can bring back the freedom you enjoy when using your earbuds, letting you focus on your music or calls without distraction. If you want to keep your listening experience enjoyable, understanding when and why to reset is essential for maintaining your earbuds’ functionality.
Preparing to Reset Your JVC Earbuds
Before resetting your JVC earbuds, make sure you’ve gathered all necessary materials, like the charging cable and any user manuals. It’s also important to charge your earbuds fully to avoid interruptions during the reset process. Finally, locate the reset button, as knowing its position will make the reset much smoother.
Gather Necessary Materials
Resetting your JVC earbuds requires a few crucial materials to guarantee a smooth process. First on your materials checklist is the charging cable for your earbuds, as it’s essential for ensuring they have power during the reset. Next, have your smartphone or computer ready if you need to access any specific apps or settings related to your earbuds. You might also want a soft cloth handy to clean your earbuds before and after the reset. Finally, keep the user manual close; it can provide useful insights on the reset process. By gathering these essential tools beforehand, you’ll streamline the reset and get back to enjoying your favorite tunes in no time.
Charge Your Earbuds
To guarantee a successful reset of your JVC earbuds, you’ll want to start by charging them fully. Make sure to use effective charging techniques, such as connecting them to a wall charger instead of a computer, as this often provides faster charging. A full charge guarantees that the earbuds have enough power to complete the reset process smoothly. Keep in mind that regular charging habits can greatly impact your earbuds’ battery lifespan. Avoid letting the battery drain completely before recharging, as this can lead to diminished performance over time. Once charged, you’ll be ready to proceed with the reset, restoring your earbuds to their best functioning state. Happy listening!
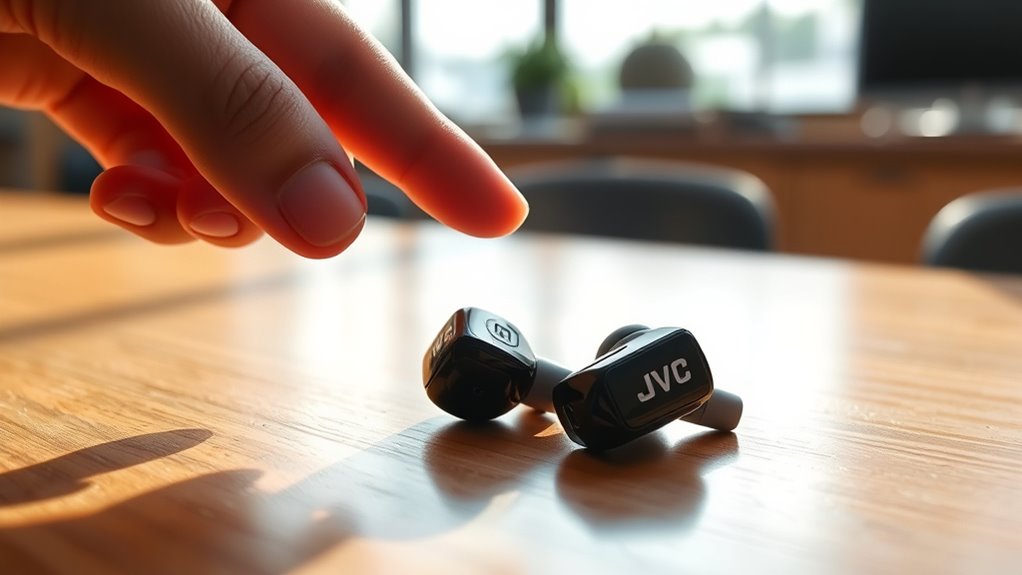
Locate Reset Button
Now that your JVC earbuds are fully charged, it’s time to locate the reset button. This button is essential for restoring your earbuds to factory settings, ensuring they function properly. Typically, the reset button is found on the earbuds’ casing, either on the side or the back. You might need a small tool, like a pin, to press it. Once you’ve identified the reset button location, remember that its function is to disconnect your earbuds from any devices and clear any pairing issues. When you press it, hold it for a few seconds until you see an indicator light flash. This simple step can help you regain control and enjoy your tunes without interruptions.
Step-by-Step Guide to Resetting JVC Earbuds
To reset your JVC earbuds, you’ll first need to locate the reset button. Once you’ve found it, you can activate pairing mode to reconnect your device. This guide will also help you troubleshoot any connection issues that might arise during the process.
Identifying Reset Button
Resetting your JVC earbuds can be a straightforward process, especially once you identify the reset button. First, check the user manual for specific reset button locations, as they can vary by model. Generally, the reset button is often a small pinhole or a distinct button on the earbuds themselves. Look for identifying features like a label or a different color that sets it apart from other buttons. For true wireless models, it’s typically found on one of the earbuds; for wired versions, it may be on the control module. Once you locate it, you’ll be ready to proceed with the reset process, ensuring your earbuds return to their ideal performance.
Pairing Mode Activation
Once you’ve located the reset button on your JVC earbuds, activating pairing mode is the next step in the reset process. To do this, press and hold the reset button for about 5 seconds until you see the indicator light flash. This signals that your earbuds are now in pairing mode. Make sure your device’s Bluetooth is turned on and ready for the pairing process. On your device, search for available Bluetooth devices, and select your JVC earbuds from the list. Once connected, you should hear a confirmation sound. This step is essential for ensuring a successful connection, so if you run into any issues, you may need to revisit the reset procedure before proceeding with troubleshooting connections.
Troubleshooting Connection Issues
If you’re experiencing issues with your JVC earbuds after pairing, troubleshooting connection problems can help restore functionality. Start by checking for Bluetooth interference, which can disrupt connection stability. Here’s a simple guide to follow:
| Step | Action |
|---|---|
| 1. | Turn off Bluetooth on your device. |
| 2. | Restart your earbuds. |
| 3. | Forget the earbuds on your device. |
| 4. | Re-enable Bluetooth on your device. |
| 5. | Re-pair the earbuds. |
After completing these steps, test your connection. If issues persist, consider moving away from potential interference sources, like microwaves or Wi-Fi routers, to enhance your listening freedom.
Troubleshooting Common Issues After Resetting
Although resetting your JVC earbuds can resolve many issues, you might still encounter some common problems afterward. One of the most frequent issues is persistent audio dropouts. If you experience this, check for any interference from other devices or obstacles. Another common problem is the earbuds not powering on even after a reset. In this case, verify they’re charged and try resetting again. You might also find that the sound quality isn’t what it used to be. This could be due to dirt in the ear tips; clean them gently to restore clarity. Remember, the resetting benefits may not be permanent, but these simple troubleshooting tips can help you enjoy your earbuds again.
Reconnecting Your JVC Earbuds
After you’ve reset your JVC earbuds, reconnecting them to your devices is usually a straightforward process. First, make sure your earbuds are in pairing mode. You can often do this by holding down the power button until you see a blinking light. Next, head to your device’s Bluetooth settings. Turn on Bluetooth if it’s not already enabled, and look for your JVC earbuds in the list of available devices. Once you find them, tap to connect. If prompted, enter any required PIN, usually “0000” or “1234.” After a successful connection, your earbuds should be ready to use. Enjoy your freedom to move without wires holding you back!
Tips for Maintaining Your JVC Earbuds
To keep your JVC earbuds in top shape, regular maintenance is key. Start by cleaning them frequently; use a soft cloth to wipe down the surfaces and remove any debris. Avoid exposing them to extreme temperatures or moisture, as this can affect sound quality and earbud longevity. When not in use, store your earbuds in a protective case to prevent tangling and damage. Also, be mindful of the volume levels; excessive loudness can degrade sound quality over time. Finally, regularly check the charging ports and connectors for dirt or lint, as this can impact performance. By following these simple tips, you’ll enhance your earbuds’ lifespan and enjoy the best audio experience possible.
Frequently Asked Questions
Can I Reset My JVC Earbuds Without a Smartphone?
Yes, you can reset your JVC earbuds without a smartphone. Just turn them off, hold the power button for a few seconds, and check Bluetooth connectivity. Regular earbud maintenance helps keep them functioning well.
Will Resetting Erase My Saved Bluetooth Connections?
Yes, resetting your JVC earbuds will erase your saved Bluetooth connections. You’ll need to reconfigure your Bluetooth settings to reconnect, but you’ll regain access to all earbud features once you’ve paired them again.
How Often Should I Reset My JVC Earbuds?
You should reset your JVC earbuds if you experience connectivity issues or sound problems. Frequency recommendations suggest resetting every few months or when you notice reset indicators, ensuring peak performance and a seamless listening experience.
Can I Reset Different Models of JVC Earbuds the Same Way?
You can’t always reset different JVC earbud models the same way; they often have model-specific instructions. Be mindful of potential earbud compatibility issues, ensuring you follow the right procedure for your particular model.
What if My JVC Earbuds Won’t Turn on After Resetting?
If your JVC earbuds won’t turn on after resetting, check for battery issues first. Verify they’re charged and try troubleshooting steps like re-pairing or inspecting for damage. Sometimes, a reset doesn’t fix underlying problems.
