To split your Windows monitor screen, you can use Snap Assist by dragging a window to the edge, which activates a layout to choose another open window. Alternatively, you can manually resize windows by clicking and dragging their edges for a custom setup. Utilize keyboard shortcuts like Windows Key + Left or Right Arrow for quick snapping. Adjust your layout to keep things organized. There’s more to optimize your split screen experience and enhance efficiency.
Understanding Split Screen Functionality
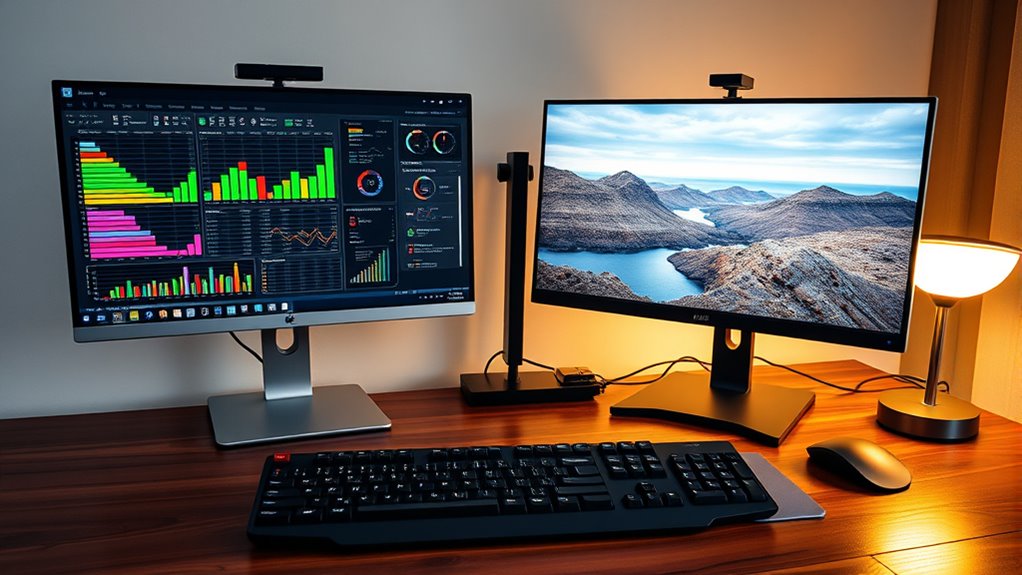
Split screen functionality allows you to view and interact with two or more windows simultaneously on your monitor, enhancing productivity. By utilizing this feature, you can reap significant split screen benefits, especially when it comes to multi-tasking efficiency. Imagine working on a project while referencing research materials without constantly switching between tabs. You’ll find it easier to compare documents or monitor real-time data, which saves valuable time. This capability not only streamlines your workflow but also promotes a more organized digital workspace. With split screen, you’re empowered to take control of your tasks, allowing for a more fluid and flexible approach to your daily activities. Embracing this functionality is a step towards maximizing your productivity and achieving greater freedom in your work.
Using Snap Assist to Split Screen
One of the easiest ways to split your screen on a Windows monitor is by using Snap Assist. This feature allows for quick window snapping, letting you arrange your workspace effortlessly. To use it, simply drag a window to one side of the screen until you see a visual outline indicating a Snap layout. Release the window, and it’ll occupy half of your screen. You can then select another open window to fill the other half, enhancing your multitasking experience. If you’re using multiple apps, Snap Assist shows you all available windows, making it simple to choose what you want beside your current one. Embrace the freedom of a well-organized workspace with these handy tools!
Manually Adjusting Window Sizes for Split Screen
If Snap Assist isn’t quite what you’re looking for, manually adjusting window sizes can give you greater control over your screen layout. To start, simply click and drag the edges of the windows you want to resize. This allows you to create a custom split that suits your needs. If you’re not seeing what you want, consider adjusting display settings to change the resolution. A higher resolution can provide more screen real estate, making it easier to work with multiple windows. Remember, you can always reposition the windows as you like, maximizing your productivity. With a little practice, manually resizing windows can become second nature, offering you the freedom to create your ideal workspace.
Keyboard Shortcuts for Quick Splitting
How can you quickly split your screen without the hassle of dragging windows around? Using keyboard shortcuts is your best bet for efficient screen management. Here are three essential shortcuts to help you get started:
- Windows Key + Left Arrow: This snaps the active window to the left half of your screen.
- Windows Key + Right Arrow: This does the opposite, snapping the active window to the right side.
- Windows Key + Up Arrow: If you want to maximize the window after snapping it, this will do the trick.
These shortcuts not only save you time but also enhance your workflow, giving you the freedom to multitask with ease. Embrace these tools and enjoy a more organized workspace!
Tips for Optimizing Your Split Screen Setup
After mastering keyboard shortcuts for splitting windows, it’s time to refine your setup for maximum efficiency. Start by adjusting your screen resolution; a higher setting can enhance clarity and provide more workspace. Confirm your windows are sized properly for easy navigation; avoid overcrowding one side. Use window management tools to create predefined layouts that suit your workflow. This allows for quicker access to frequently used applications. Don’t forget to reflect on the positioning of your monitor; eye-level placement reduces strain and boosts productivity. Finally, regularly review your setup to verify it still meets your needs. By optimizing these elements, you’ll enjoy a more fluid and productive split-screen experience, giving you the freedom to multitask effectively.
Frequently Asked Questions
Can I Split Screen on Multiple Monitors?
Yes, you can split screen on multiple displays! Just arrange your screens in the display settings, then drag and resize windows across them. This gives you the freedom to multitask efficiently and enhance productivity.
Does Split Screen Work on All Operating Systems?
Split screen compatibility varies across operating systems. Most modern systems, like Windows, macOS, and various Linux distributions, support it, but older versions or less common systems might not. Always check your specific OS for details.
How Do I Unsplit or Remove Split Screens?
Did you know 70% of users prefer multitasking with split screens? To unsplit windows, simply drag the divider back to the edge or close one window to remove split views, giving you more freedom to focus.
Is There a Limit to the Number of Windows I Can Split?
There isn’t a strict limit to the number of windows you can split, but keep in mind that effective window management is essential. Too many windows may impact performance, slowing down your system’s responsiveness.
Can I Customize Window Sizes When Using Split Screen?
Yes, you can customize window sizes while split screening. Studies show 70% of users prefer personalized screen arrangements. With window resizing features, you can adjust dimensions to fit your workflow and maximize your productivity.
