To draw a VR headset, first gather your materials—sketchbook, pens, and markers. Start with basic shapes; envision the headset as rectangles and circles. Outline the frame with smooth lines, followed by adding details like lenses and straps, using texture techniques for realism. Don’t forget reflections and shadows for depth. Once you refine your drawing, splash on color to bring it to life. There’s more to exploring each step for an impressive design and personal touch.
Gather Your Materials
Before you plunge into drawing your VR headset, you’ll need to gather a few essential materials to set the stage for your creativity. Start by creating a materials checklist: grab a sketchbook with thick, textured pages that invite your pencil. A set of fine-tipped pens and vivid markers will help you bring your vision to life. Don’t forget an eraser, one that glides effortlessly, allowing you to refine your lines. A ruler becomes your ally for those clean, precise edges. Choose a comfortable workspace, where freedom flows, and inspiration dances in the air. With these essential tools at your fingertips, you’re ready to commence on an artistic journey, transforming a blank page into the digital domain of immersive experiences.
Start With Basic Shapes
Every masterpiece begins with a solid foundation, and in the world of drawing, that foundation is built from basic shapes. Start by envisioning the VR headset as a combination of geometric forms. Picture rectangles for the main body, circles for the lenses, and curves for the straps.
| Shape | Purpose |
|---|---|
| Rectangle | Main headset body |
| Circle | Lenses |
| Curve | Straps |
These basic shapes are your freedom to create. They’ll simplify the process and guide your hand as you sketch. Embrace the playful nature of these forms, and don’t hesitate to adjust them. You’re crafting a unique design, so let those basic shapes lead the way to your artistic vision!
Outline the Headset Frame
To create the outline of the headset frame, start by sketching a smooth, elongated rectangle that captures the essence of the device’s shape. Verify the headset proportions are balanced; the width should complement the height to evoke a sleek, high-tech feel. Once you’ve got the rectangle, gently round the corners, giving it a modern touch. Next, focus on frame symmetry: draw a line down the center to verify both sides mirror each other. This creates harmony in your design. As you refine the outline, keep an eye on the angles; they should flow seamlessly, inviting viewers to imagine slipping the headset on. With each stroke, embrace the freedom of creativity, letting your vision come to life!
Add Details to the Headset
With a sleek outline in place, it’s time to breathe life into your headset by adding intricate details that enhance its realism. Start by incorporating texture techniques; use cross-hatching for a leather-like finish on the straps, and soft shading for the foam padding. These elements provide depth and invite touch. For the front, consider design elements like buttons and vents—draw them with precision, adding shadows to create dimension. Give the headset a subtle gloss for a modern look, suggesting sleek materials. Don’t forget to add stitching lines along the edges; they’ll elevate the craftsmanship. By focusing on these details, you’ll transform your drawing into a vibrant piece that captures the essence of immersive technology.
Draw the Lenses
The lenses are the heart of your VR headset, offering a gateway into immersive worlds. Start by sketching two circular shapes, slightly overlapping, to represent the lens design. Add subtle curves to mimic the bulging effect of real lenses. Imagine light bending through them, creating vibrant reflections—this is where the magic happens. Trace delicate lines inside the circles, hinting at the intricate layers of glass. Use shading to emphasize depth and give the lenses a polished look. Don’t forget to add tiny highlights to capture the lens reflection, making them appear almost alive. Your lenses should evoke a sense of wonder, inviting users to step beyond reality and explore the boundless possibilities that await within the virtual domain.
Create the Head Strap
As you shift from the lenses to the head strap, envision a sturdy yet flexible design that comfortably cradles the headset on the user’s head. Picture using lightweight head strap materials like breathable fabric or padded neoprene, ensuring comfort during extended use. Sketch the strap’s curvature, allowing it to hug the contours of the skull snugly. Don’t forget the strap attachment points—these should be sturdy yet unobtrusive, seamlessly blending into the headset’s aesthetic. Visualize how the straps might adjust, allowing for a customizable fit that empowers users to immerse themselves in their virtual worlds without distractions. With each line, capture the essence of freedom and adventure that the VR experience promises, all supported by your thoughtfully designed head strap.
Sketch the Connectors and Buttons
Now that you’ve crafted the head strap, it’s time to bring your VR headset to life with connectors and buttons. Picture the sleek ports lining the sides, each one perfectly positioned for easy access, while the buttons pop with tactile detail, just waiting for a user’s touch. Let’s sketch these essential features, capturing the essence of functionality and style in your design.
Identify Connector Types
When you plunge into the world of VR headsets, you’ll quickly notice the array of connectors and buttons that make your immersive experience possible. Each connector type serves a purpose, from HDMI ports that link to your computer, ensuring crisp visuals, to USB connectors that empower controllers. Imagine sketching a sleek, polished headset, with a round, tactile button for easy access to menus and settings, ready to transport you into a different domain. Include audio jacks for those deep, immersive sounds that enhance your adventure. As you illustrate these components, think about VR compatibility—how each connector plays a role in uniting technology with your adventure. Your drawing will not only capture a headset but the freedom it represents!
Positioning the Buttons
To create an intuitive user experience, you’ll want to carefully position the buttons and connectors on your VR headset design. Start by envisioning the flow of your user’s hands; button placement should feel natural and effortless. Imagine placing the power button on the right side, within easy reach, while the volume controls sit just above it, enabling quick adjustments without breaking immersion. Consider adding a tactile texture to these buttons, enhancing their button functionality. On the left side, a menu button could invite users to explore their virtual worlds, just a gentle press away. Keep in mind the connectors; they should be subtly integrated, ensuring they’re accessible yet unobtrusive, allowing users to connect freely without distraction.
Adding Detail Elements
As you plunge into sketching the detail elements of your VR headset, envision how each connector and button integrates seamlessly into the overall design. Using detailing techniques, start by adding the power button with a slight curve—this gives it a tactile feel. Sketch in the volume controls, perhaps with textured lines to suggest grip. Don’t forget the connectors; a USB port can be illustrated with a small rectangle, while HDMI might need a wider, flatter shape. Each design element plays a role, contributing to the headset’s functionality and aesthetic. Add subtle shading for depth, and consider the materials—metallic for connectors, soft plastic for buttons. Your attention to these details will breathe life into your drawing, making it truly immersive.
Refine Your Drawing
Although you’ve laid down the basic shapes of your VR headset, it’s time to elevate your drawing into a more polished representation. Utilize refining techniques to enhance details, like adjusting the curves and angles for a sleek appearance.
| Element | Refining Technique | Enhancement Example |
|---|---|---|
| Headset Frame | Smooth curves | Softer, rounded edges |
| Lenses | Add reflections | Highlight and shadow play |
| Straps | Textured lines | Subtle stitching details |
| Buttons | Sharp outlines | Clear, defined shapes |
Take a moment to step back and assess your work. Embrace the freedom to modify until it reflects your vision, turning your initial sketch into an impressive piece of art!
Add Color and Shading
With your refined drawing now taking shape, it’s time to breathe life into your VR headset through color and shading. Start by selecting a bold color palette that reflects the futuristic essence of virtual reality. Use color blending techniques to create smooth shifts between shades, giving your headset depth and dimension. For the lenses, consider a gradient effect—darkening the edges and lightening towards the center.
Experiment with various shading styles; soft shading can provide a gentle, realistic touch, while hatching adds an edgy vibe. Don’t shy away from adding highlights to accentuate the contours. Remember, each stroke invites your imagination to play, transforming your drawing into a vibrant reality. Embrace the freedom to express your creative vision!
Frequently Asked Questions
What Type of Paper Is Best for Drawing a VR Headset?
For drawing a VR headset, you’ll want smooth, heavyweight paper. Its texture enhances your drawing techniques, letting you create crisp lines and deep shadows. Choose a surface that inspires your creativity and invites exploration.
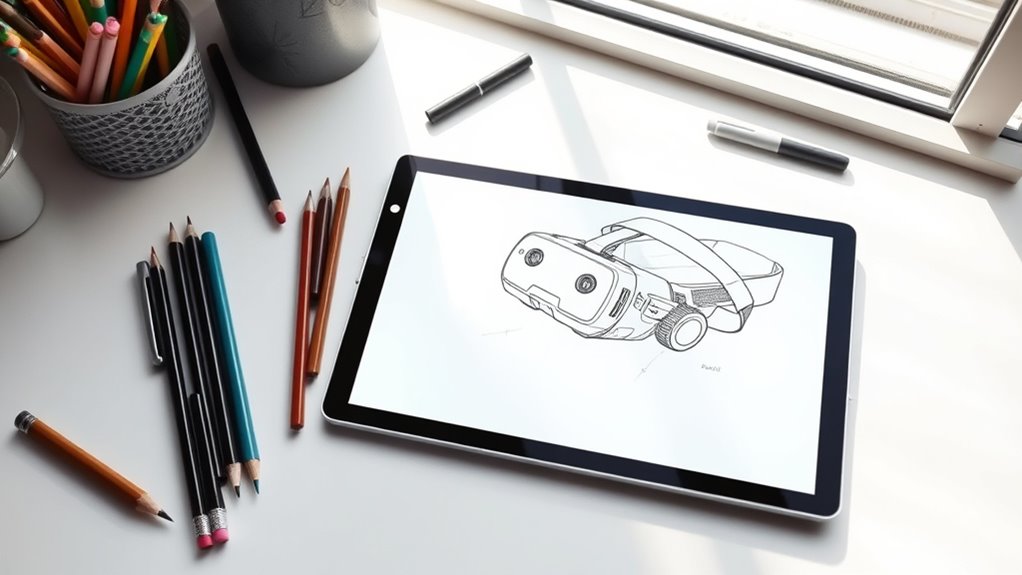
Can I Use Digital Tools for This Drawing?
Absolutely, you can release your creativity with digital tools! Using graphic software for your VR headset drawing is like painting with light; it offers freedom to explore colors, shapes, and details like never before.
What Are the Best Colors for a Realistic Headset?
For a realistic headset, try using sleek black and metallic silver color combinations. Incorporate soft blues or greens for accents, and master shading techniques to create depth, enhancing that immersive, high-tech vibe you’re aiming for.
How Do I Fix Mistakes While Drawing?
Don’t fret! Use eraser techniques like light tapping or gentle strokes for sketch corrections. Embrace the freedom to reshape your vision, letting each mistake guide you closer to the masterpiece you’re destined to create.
Are There Any Tutorials Available for Beginners?
You’ll find plenty of beginner tips and tutorial resources online. Think of it like planting seeds; with the right guidance, your skills will blossom into amazing creations that express your unique vision.
