To calibrate your monitor, start by gathering a colorimeter or calibration software. Adjust your brightness and contrast for ideal viewing, and set the color temperature to around 6500K for natural tones. Use the software to fine-tune color settings and save profiles for different tasks. Regular maintenance and recalibration every few months help maintain accuracy. With these steps, you’ll enhance your visual experience greatly—learn more about advanced techniques to perfect your calibration.
Understanding Monitor Calibration
Understanding monitor calibration is vital if you want your screen to display colors accurately and consistently. When you calibrate your monitor, you’re fine-tuning its settings to match your color perception and guarantee what you see on-screen reflects true colors. This process improves monitor accuracy, which is important for tasks like photo editing or graphic design, where color fidelity matters. Without proper calibration, you might end up with images that look different on other devices, leading to frustration. By taking the time to calibrate, you gain control over your visual experience, empowering you to work confidently. So, invest in calibration to free yourself from color discrepancies and release your creativity fully.
Gathering the Necessary Tools
To get started with monitor calibration, you’ll need a few essential tools. Depending on your monitor types, these tools can vary, but here are the basics you should gather:
- Calibration Software: Look for reliable programs that can guide you through the calibration process and help you achieve accurate colors.
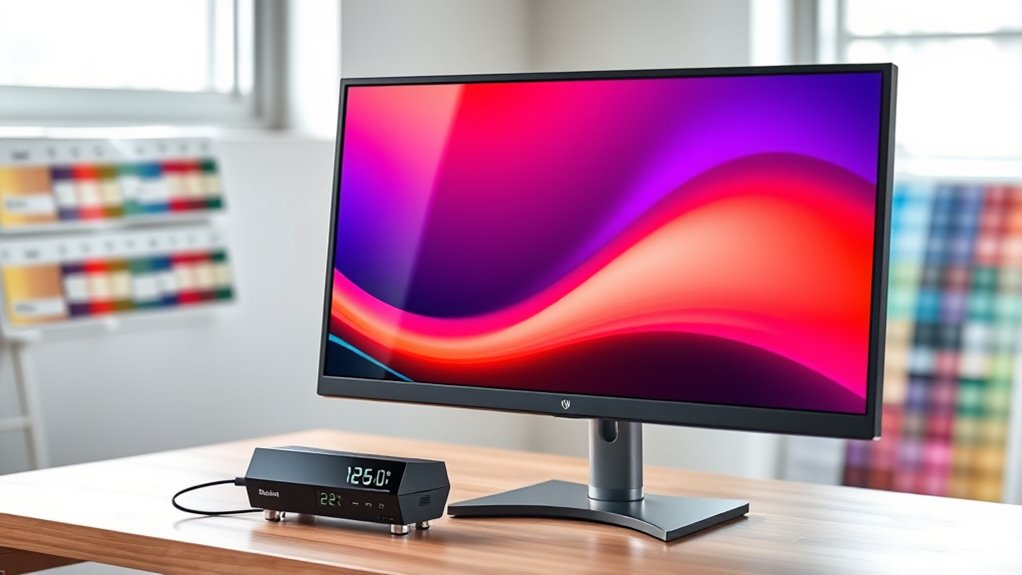
- Colorimeter or Spectrophotometer: These calibration tools measure color accuracy and guarantee your display is tuned to industry standards.
- Test Patterns: Use on-screen test patterns to visually assess and adjust settings like gamma, white point, and color balance.
Having these tools ready will empower you to calibrate your monitor effectively and enjoy a more accurate viewing experience. Remember, quality calibration can free your creativity and enhance your work!
Adjusting Brightness and Contrast
Adjusting brightness and contrast is essential for achieving accurate colors and comfortable viewing. You’ll want to set the ideal brightness levels and contrast ratio to enhance your monitor’s performance. Utilizing calibration tools can help you fine-tune these settings effectively.
Importance of Brightness Levels
Brightness levels play an essential role in your overall viewing experience. Proper brightness settings enhance brightness perception, allowing you to enjoy content without straining your eyes. Here are three key reasons to adjust your monitor’s brightness:
- Optimal Visibility: A well-calibrated brightness guarantees you see details in both dark and bright scenes.
- Reduced Eye Strain: Correct brightness levels help minimize fatigue, especially during long sessions.
- Improved Color Accuracy: Adjusting brightness enhances colors, making images and videos more vibrant and true to life.
Setting Optimal Contrast Ratio
How can you achieve the perfect balance between brightness and contrast on your monitor? It’s all about making the right contrast adjustments to find those ideal settings. Start by adjusting your brightness to a comfortable level, then tweak the contrast until you notice a clear distinction between light and dark areas without losing detail.
| Contrast Level | Description |
|---|---|
| Low | Dull, flat image |
| Medium | Balanced visuals |
| High | Vivid colors |
| Too High | Loss of detail |
| Too Low | Faded appearance |
Aim for a medium to high contrast level for vibrant visuals. Remember, everyone’s preference varies, so trust your eyes and adjust until it feels just right!
Using Calibration Tools
While many monitors come with preset settings, using calibration tools can markedly enhance your viewing experience. To adjust brightness and contrast effectively, follow these steps:
- Choose the Right Tool: Confirm your calibration tool has hardware compatibility with your monitor for accurate results.
- Set Calibration Frequency: Regularly calibrate your monitor, ideally every month, to maintain peak performance and color accuracy.
- Adjust Settings: Use the calibration tool to fine-tune brightness and contrast based on the ambient lighting in your environment.
Setting the Color Temperature
When you’re ready to adjust your monitor’s color temperature, understanding the right settings can make a significant difference in your viewing experience. Proper temperature adjustment enhances color perception, ensuring that whites appear white and colors are true to life.
Here’s a quick guide to help you choose the right settings:
| Color Temperature | Description |
|---|---|
| 6500K | Standard daylight setting |
| 5000K | Warmer, softer tones |
| 9300K | Cooler, bluish appearance |
Experiment with these options to find what feels best for your eyes and environment. Remember, a well-calibrated monitor not only improves your enjoyment but also reduces strain, giving you the freedom to work or play for longer without discomfort.
Using Calibration Software
When it comes to calibrating your monitor, using calibration software can make the process easier and more accurate. You’ll want to select the right software that suits your needs and follow a step-by-step calibration process for the best results. Let’s explore how to choose the right software and what steps to take for effective calibration.
Selecting Calibration Software
How can you guarantee your monitor’s colors are accurately displayed? Choosing the right calibration software is vital. With various software options available, you want to pick one that suits your needs best. Here are three factors to take into account:
- Compatibility: Verify the software works with your operating system and monitor type.
- User Reviews: Look for feedback from others who’ve used the software. High ratings often indicate reliability and effectiveness.
- Features: Check for essential tools like color adjustment, brightness control, and detailed reports to help you fine-tune your display.
Step-by-Step Calibration Process
After selecting the right calibration software, you’re ready to start the calibration process. First, connect your monitor and launch the software. Follow the on-screen prompts tailored for different monitor types, ensuring you choose the right one for accurate results. Next, adjust brightness and contrast according to the software’s instructions, dispelling any calibration myths you might’ve heard. Don’t forget to set the color temperature—typically around 6500K for most displays. The software will guide you through various tests to fine-tune your settings. Once you finish, review the results and make any necessary adjustments. Finally, save your new settings, and enjoy a more vibrant and accurate viewing experience that truly reflects your creative vision.
Fine-Tuning Color Settings
To achieve the best visual experience, fine-tuning your monitor’s color settings is crucial. This process enhances color perception and guarantees display accuracy, making your visuals more vibrant and true to life. Follow these steps to refine your settings:
- Adjust Brightness and Contrast: Start by setting the brightness to a comfortable level and adjusting contrast for clearer details.
- Modify RGB Levels: Tweak the red, green, and blue levels to balance colors; a color calibration tool can help with precision.
- Use Color Profiles: Select or create a color profile suited for your tasks, optimizing your monitor for graphic design, gaming, or general use.
Saving and Applying Calibration Profiles
Once you’ve fine-tuned your monitor’s settings, it’s important to save and apply your calibration profiles to maintain the adjustments you’ve made. This involves effective profile management and proper calibration storage, ensuring your settings are always at your fingertips.
Here’s a simple table to help you understand:
| Action | Description | Importance |
|---|---|---|
| Save Profile | Store the current settings | Retain adjustments |
| Apply Profile | Load previously saved settings | Consistency in display |
| Manage Profiles | Organize multiple profiles | Quick access for different tasks |
Regular Maintenance and Recalibration
Regular maintenance and recalibration are essential for guaranteeing your monitor continues to deliver accurate colors and peak performance. To maximize your monitor’s longevity, here are some monitor longevity tips and routine maintenance practices you should follow:
Regular maintenance and recalibration are key to ensuring your monitor maintains accurate colors and optimal performance.
- Clean your monitor regularly: Dust and smudges can affect image quality. Use a microfiber cloth and a gentle cleaner to keep the screen clear.
- Adjust brightness settings: Over time, your monitor’s brightness may fade. Regularly check and adjust to maintain peak visibility.
- Recalibrate every few months: Environmental factors can shift your color accuracy. Set a reminder to recalibrate to guarantee consistent performance.
Frequently Asked Questions
Can I Calibrate My Monitor Without Special Software?
Yes, you can calibrate your monitor without special software! By making manual adjustments to brightness, contrast, and color settings, you can improve color accuracy and enjoy a more vibrant visual experience without being tethered to software.
How Often Should I Recalibrate My Monitor?
You should recalibrate your monitor every one to three months for ideal display accuracy. Factors like lighting changes or usage can affect recalibration frequency, so trust your eyes and adjust as needed for the best experience.
Will Calibration Improve Gaming Performance?
Yes, calibration can enhance gaming visuals by improving color accuracy. With the right settings, you’ll experience richer colors and better contrast, making your gaming sessions more immersive and enjoyable. It’s worth the effort for any gamer!
Is Monitor Calibration Necessary for Photo Editing?
Yes, monitor calibration’s essential for photo editing. Imagine editing a wedding photo; if your colors aren’t accurate, you’ll misrepresent the moment. Calibration guarantees color accuracy and enhances editing precision, giving your work the freedom to shine.
What Happens if I Skip Calibration?
If you skip calibration, you’ll likely face poor color accuracy and inconsistent visuals. This can lead to misleading edits or prints, making it harder to achieve the freedom of expression you desire in your work.
