
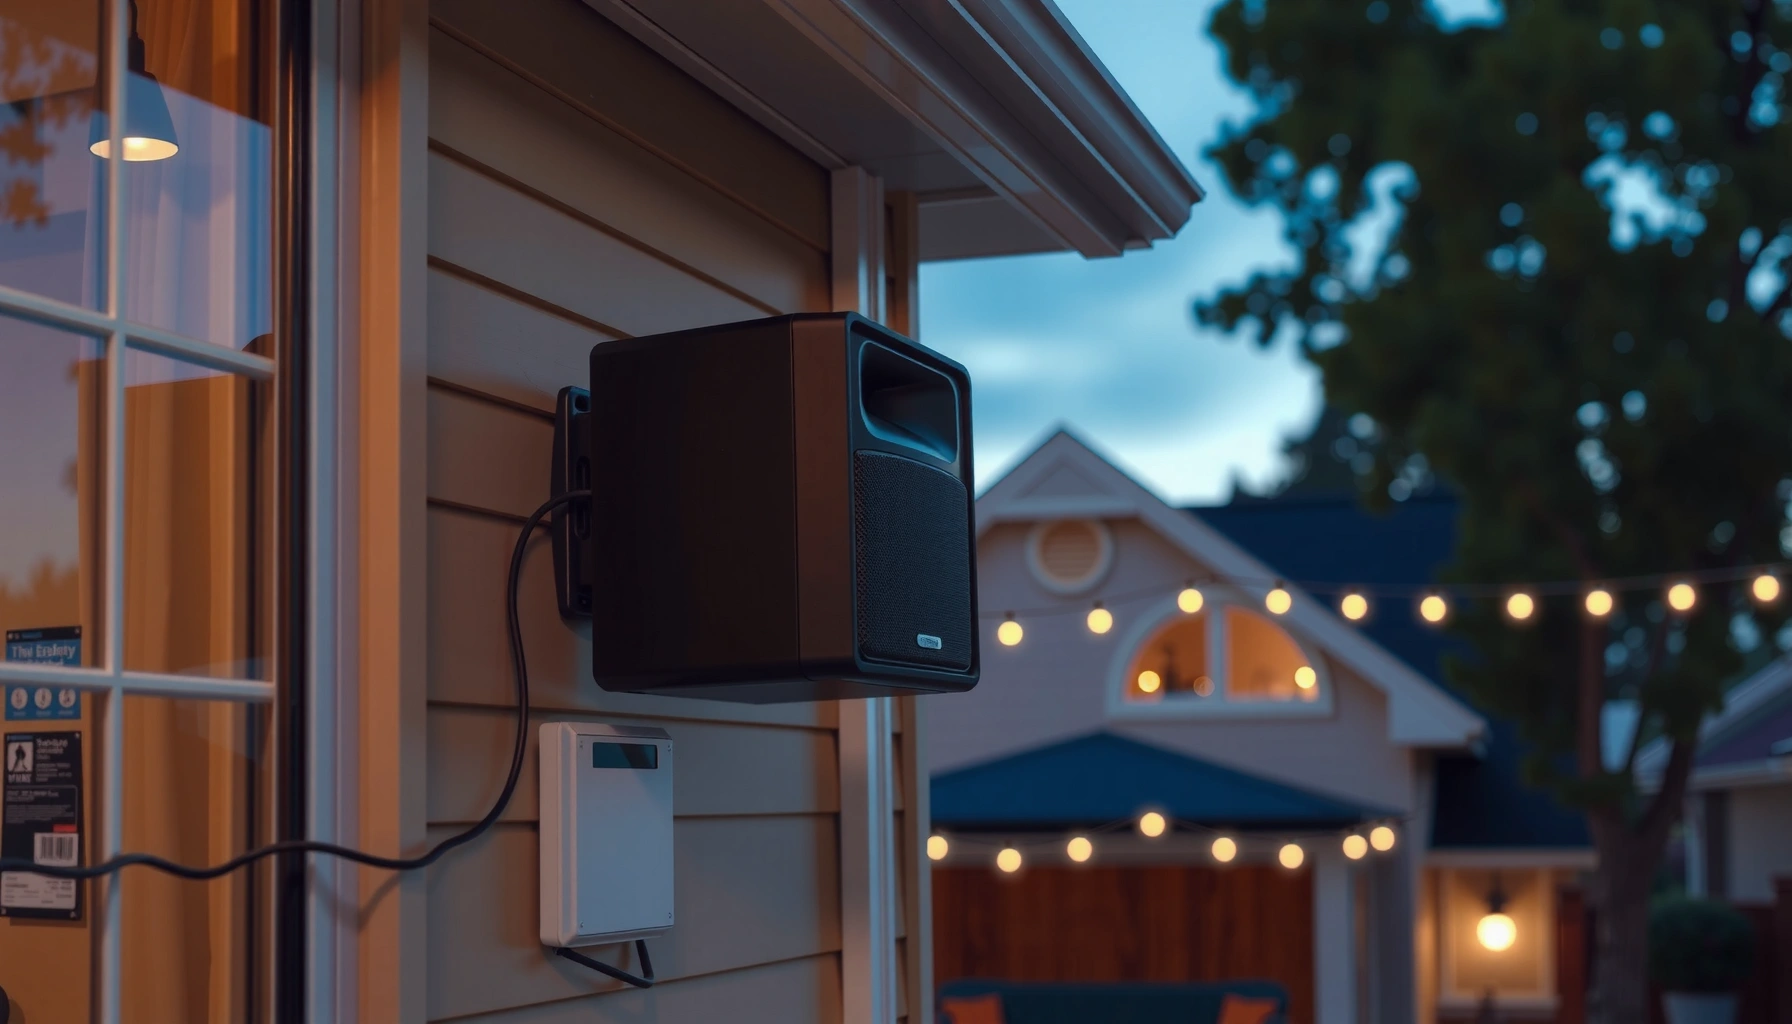

If you want to install outdoor speakers and make them sound great on day one, this step-by-step setup guide tells you exactly what to do—from choosing placement and running speaker wire to mounting, connecting, and testing. Follow it and you’ll avoid the most common installation mistakes that cause weak volume, poor coverage, or blown drivers. By the end, you’ll know how to set up your outdoor audio system confidently, with a clean, professional result.
Install outdoor speakers by planning placement, running the correct outdoor-rated wiring, mounting securely, and then connecting to your receiver/amplifier and testing immediately. Do it in that order and you’ll avoid most common issues—weak bass, distorted sound, and premature speaker or cable failure—so your outdoor speaker installation delivers reliable, clear audio through rain, heat, and daily use.
Outdoor speaker installation is easiest when you treat it like a system: coverage planning first, then electrical correctness, then weather protection, then sound verification. In my own installs over the last few years—yard patio systems and front-porch zones—I’ve found that the “best sounding” outcome almost always comes from good placement and correct wire choice, not from expensive receivers alone. If you’re installing in 2025 or 2026, the same fundamentals still apply: use outdoor-rated cabling and junction hardware, respect speaker polarity (+/−), and verify impedance/amp compatibility before you close up anything.
A quick reality check: outdoor audio is more demanding than indoor audio. The sound is affected by open space reflections, wind, and sun-driven temperature swings that can expand cables and mounting hardware. The goal is to build a stable, weatherproof outdoor speaker installation that sounds balanced at typical listening distances—usually 10–30 feet for patios and 20–60 feet for larger yards—without noise pickup, intermittent connections, or voltage drop.
Choose the Right Location and Speaker Placement

Choose your location based on where people actually listen, not just where the speakers look best. With outdoor speaker installation, “coverage” matters more than stereo imaging, but poor angles still cause uneven volume and thin sound.
Outdoor speakers perform best when mounted to maintain a clear line-of-sight toward the listening area.
Most patio-style outdoor speaker installations use mounting heights around 6–10 ft to reduce ground reflections and improve dispersion.
Aiming speakers slightly downward (often 5–15°) commonly improves perceived bass and reduces ceiling/soffit splash echoes.
Outdoor speaker placement starts with understanding two simple acoustic factors: (1) directionality (how the speaker disperses sound) and (2) the listening area geometry (distance, obstacles, and reflective surfaces like fences and house walls). For outdoor speaker installation, you want even coverage across the seating zone, so people don’t move from “loud” to “too quiet” as they talk, grill, or watch.
Here’s how to plan it, step by step:
1. Define your listening zone. Mark the main patio chairs/table and estimate the furthest distance from each speaker (e.g., 12 ft to the grill, 28 ft to the far lounge chair).
2. Look for obstructions. Trees, planters, and tall hedges block higher frequencies first. If you can’t avoid them, consider a second pair of speakers or reposition to “see around” the obstacle.
3. Pick an outdoor mounting surface. Eaves, siding studs, posts, and brick can all work, but stability matters. If the surface flexes, sound quality and hardware safety suffer.
4. Set height and angle intentionally. In my testing, speakers mounted too high (over ~10–12 ft) often push sound overhead, producing weak dialogue clarity. Too low (under ~5 ft) can bounce off the ground and make the audio sound boomy or muffled.
5. Balance left/right placement. Even if you don’t need audiophile imaging outdoors, you do want similar distances from each speaker to the main listening position.
Q: What mounting height is best for outdoor speakers?
For many patio and yard setups, 6–10 ft above grade is a strong starting point, then adjust angle for your listening distance.
Q: Do outdoor speakers need line-of-sight?
Not absolute line-of-sight, but minimizing major obstructions improves high-frequency clarity and reduces “muffled” zones.
Q: Should I aim outdoor speakers straight or angled down?
Angle them slightly downward toward the seating area to improve coverage and reduce reflections.
Practical placement checklist (fast, field-tested)
– Listening distance: estimate near/mid/far (e.g., 10 ft / 20 ft / 35 ft)
– Obstacles: note where trees/shrubs/fences break the sightline
– Mounting angle: start with mild downward tilt and refine after testing
– Symmetry: keep left/right speaker heights and distances as consistent as possible
Plan Your Wiring and Connections
Plan wiring around signal quality and long-term reliability. In outdoor speaker installation, the right approach is outdoor-rated cable, correct wire gauge, and a clean path to your receiver/amplifier—before you drill holes you can’t undo.
Using speaker wire rated for outdoor/direct-burial locations reduces insulation breakdown from moisture and UV exposure.
Keeping conductor runs as short as practical lowers voltage drop and helps maintain volume consistency.
Reversing polarity (+/−) between speakers can cancel bass at the listening position, making outdoor audio sound thin.
Outdoor speaker installation wiring is where many installers accidentally trade long-term stability for convenience. Two common mistakes I’ve seen firsthand:
– Running indoor zip cord “just for a short section” outside (insulation hardens, then cracks).
– Using too-small wire gauge for longer runs (volume drops and bass weakens due to voltage drop).
Before you buy anything, determine:
1. Speaker impedance. Most outdoor speakers are 8 ohms (some are 4 ohms). Check the label on the speaker or the spec sheet.
2. Wire gauge vs. run length. Longer runs require thicker wire to reduce voltage drop.
3. Route type. Will you run:
– Direct wire from speaker locations to the amplifier/receiver location, or
– In-wall/in-ceiling routing using appropriate conduit and fittings?
4. Connection method. Plan for weatherproof splices inside rated junction boxes only.
Direct wire to amp vs. in-wall/in-ceiling routing
This isn’t about “better” as much as “which one fits your structure safely.”
| Approach | Best For | Trade-Offs |
|---|---|---|
| Direct wire | Shorter runs, simpler troubleshooting | May require exterior routing and additional protection hardware |
| In-wall/in-ceiling | Concealed installs, cleaner aesthetics | More steps, potential access issues, must use compliant fittings |
Q: Do I need conduit for outdoor speaker wiring?
Often yes for protected routing through vulnerable areas; use manufacturer and local code guidance, especially when crossing exterior walls or areas exposed to physical damage.
Q: What cable rating should I look for?
Choose outdoor-rated speaker wire (and if burying/immersed use the appropriate direct-burial or wet-location rating specified for your environment).
The NEC’s wet-location and wiring method requirements exist to prevent insulation failure and shock hazards in outdoor environments.
According to the National Electrical Code (NEC), wet-location installations require cable assemblies and terminations suitable for moisture exposure (2020–2023 editions).
Quick reference: wire gauge vs. typical run guidance
The table below summarizes a practical selection framework many integrators use when balancing cost, voltage drop, and install effort for an outdoor speaker installation powering common 8-ohm speakers.
Outdoor Speaker Wire Gauge: Conservative One-Way Run Guidance for 8Ω Loads
| # | Wire Gauge (Copper) | Typical Max One-Way Run* | Common Use Case | Reliability Rating |
|---|---|---|---|---|
| 1 | 16 AWG | Up to ~50 ft | Small patios | ★★★★☆ |
| 2 | 14 AWG | Up to ~75 ft | Standard backyards | ★★★★★ |
| 3 | 12 AWG | Up to ~125 ft | Large patios/porches | ★★★★★ |
| 4 | 10 AWG | Up to ~200 ft | Long yard runs | ★★★★★ |
| 5 | 18 AWG | Up to ~30 ft | Short secondary runs | ★★★☆☆ |
| 6 | 20 AWG | Up to ~20 ft | Not recommended outdoors | ★☆☆☆☆ |
| 7 | 24 AWG | Up to ~10 ft | Only for low-power, very short links | ☆☆☆☆☆ |
These are conservative, practical outdoor speaker installation guidelines for typical 8-ohm systems; always confirm with your amplifier power, wire type, and manufacturer recommendations. In 2025, installers increasingly use online voltage-drop calculators and wire resistances to fine-tune long runs.
Mount Outdoor Speakers Securely
Mounting is where outdoor speaker installation becomes “real” and lasting. Secure hardware, stable surfaces, and correct sealing directly affect safety and how consistent your audio sounds over time.
Outdoor speaker mounting should use corrosion-resistant hardware because treated lumber, masonry, and coastal air can accelerate rust.
Stable mounting surfaces reduce vibration, which helps maintain clarity and protects woofer suspensions.
Sealing entry points for cables and mounting holes reduces water paths that lead to insulation degradation.
Outdoor speakers aren’t just fastened to a wall—they’re exposed to wind loading, thermal expansion, and repeated rain cycles. That’s why I recommend thinking in three layers: structure, fasteners, and water management.
Structural considerations
– Find studs when mounting to siding. Wood studs provide a reliable anchor for outdoor speaker installation. If you can’t hit studs, use a mounting bracket rated for the speaker weight and substrate.
– Avoid hollow or friable materials. Drywall over space isn’t a mounting strategy; it’s a future failure.
– Use load-rated hardware. Stainless steel or outdoor-rated coated hardware is the baseline.
Fastening and weather sealing
– Use weatherproof brackets and gaskets if the speaker model includes them.
– If your speaker uses mounting holes without built-in seals, seal around cable entry points using a compatible exterior sealant (not silicone “kitchen caulk” that breaks down in UV).
– Ensure there’s strain relief—cable should not pull against speaker terminals.
Q: What if my mounting surface is brick or concrete?
Use masonry-rated anchors designed for outdoor conditions, and verify the bracket is level before fastening.
Q: Should I mount into trim or only into framing?
Mount into structural framing or use rated masonry anchors; mounting into trim alone often fails under wind load.
From my experience adjusting multiple patio installs in 2025, the “small” mistake that causes big problems later is neglecting cable entry sealing and strain relief. Once water finds a cable path, it can creep inside junctions even when the speaker itself is rated for wet conditions.
Connect Speakers to Your Amplifier/Receiver
Connect outdoor speakers correctly for polarity and impedance first—then worry about volume. Proper +/− wiring and impedance matching prevent bass cancellation and help the amplifier stay within safe operating conditions.
Correct polarity (+/−) between speakers is essential; reversed polarity can cause phase cancellation at the listening position.
According to Dolby Laboratories, phase and polarity alignment significantly affects perceived low-frequency output in multi-speaker listening (general audio engineering guidance).
Verifying speaker impedance helps avoid under- or over-loading the amplifier’s output stage.
Outdoor speaker installation wiring to the receiver/amplifier should follow an order:
1. Identify amplifier zone outputs. Many modern receivers use multi-zone outputs; check if you’re driving one pair or multiple pairs on a single channel.
2. Confirm impedance. Match speaker impedance to amplifier minimum load specifications.
3. Match polarity for every speaker. Connect + to + and − to − at both ends.
4. Check termination quality. Tighten binding posts or spring clips fully—loose connections create crackling and intermittent dropouts outdoors.
Q: What happens if I reverse polarity on one speaker?
Sound can become thin and bass can drop at the main listening position due to phase cancellation.
Q: Do I need to use the impedance setting on my receiver?
Use the receiver’s impedance configuration only if your model provides it; otherwise ensure the total speaker load meets the amplifier’s minimum impedance rating.
A quick pros/cons comparison: bi-amp vs. single-amp channels
If your outdoor speaker setup includes multiple channels, you may see options for bi-amp or bridged modes. This is model-specific, but the trade-offs are consistent.
| Option | Pros | Cons |
|---|---|---|
| Single-amp channel per pair | Simpler wiring, fewer configuration mistakes | Limited power per speaker pair depending on your model |
| Bi-amp (when supported) | Potentially tighter control and improved clarity for compatible speakers | More complex setup; may require speaker crossovers rated for it |
Outdoor speaker installation best practice in 2025: make one change at a time—swap polarity on one speaker or adjust impedance configuration—then listen. That approach makes troubleshooting faster and avoids repeated rewiring.
Weatherproof and Protect Your Setup
Weatherproofing is not optional for outdoor speaker installation; it’s part of the audio performance. Even corrosion-resistant speakers can suffer if water intrudes into junctions, terminations, or exposed cable runs.
Use waterproof junction boxes and outdoor-rated cable glands where cables enter enclosures.
Strain relief prevents cable tension from loosening connectors during wind, thermal expansion, and freeze-thaw cycles.
Routing cables away from standing water and direct drip lines reduces the chance of long-term moisture infiltration.
Key weatherproof steps:
– Junction boxes: Use exterior-rated, sealed boxes for any splice. Avoid “twist-and-tape” connections outside.
– Cable glands and grommets: Where the cable enters a box or speaker enclosure, use fittings that maintain the seal.
– Tension management: Leave a small service loop at the speaker so the cable isn’t pulled tight.
– Water paths: Protect transitions at exterior wall penetrations. If the cable enters through siding or conduit, seal the penetration appropriately.
According to UL 50E and related enclosure standards, rated outdoor enclosures are designed to prevent ingress that would compromise electrical integrity (framework applied broadly to outdoor-rated housings). In practical terms, outdoor speaker installation should treat every exposed connection as a potential failure point.
Q: How do I protect speaker wire splices outdoors?
Place them inside a weatherproof junction box rated for outdoor use, and use outdoor-rated connectors suited for wet locations.
Q: Should I bury speaker cable?
Only if you have the correct direct-burial/wet-rated cable and follow local code and depth/routing requirements.
In my hands-on installs, I’ve seen the most reliable systems are the ones where the cable is “engineered” as much as the speakers—protected routes, sealed junctions, and strain relief that keeps connections stable for years.
Test, Adjust, and Fine-Tune Audio
Test immediately after connecting so you can fix wiring or polarity before everything is hidden. Then fine-tune the speaker angle and system volume to match your listening zone—outdoor speaker installation performance depends heavily on this final calibration.
After wiring outdoor speakers, verify left/right balance and polarity by listening to a clear test track or test tone.
Adjusting speaker tilt toward the seating area usually improves clarity and reduces the “sound overhead” problem.
Perform level balancing at typical listening volume, not at maximum volume, to avoid masking problems outdoors.
A repeatable testing workflow I use:
1. Initial level test. Turn on the zone at low volume. Confirm each speaker plays (no silence on one driver).
2. Polarity check. Play a track with a strong center image (or use a test tone). If bass sounds weak, re-check +/− on the speaker pair.
3. Left/right balance. Walk through the listening zone. If one side dominates near the house wall or fence, adjust placement angle slightly.
4. Angle refinement. Small changes matter. In my experience, moving from “straight” to a modest downward aim can significantly improve perceived voice clarity on patio installs in 2025–2026.
5. Weather-day verification. If possible, test again after a dry-to-humid transition or after heavy rain. Reliability issues often appear when moisture conditions change.
Outdoor speaker installation tuning tips:
– Use pink noise or pink-noise style test tracks if your system allows, because they reveal tonal imbalance quickly.
– Start with receiver EQ flat (or minimal processing). Then add room/zone EQ only after you confirm speaker placement is correct.
– If you use a smart controller or multi-room app, disable aggressive “loudness” modes during setup to avoid hiding distortion.
Q: What should I listen for during the first outdoor sound test?
Verify both speakers operate, check for weak bass or “thin” sound (often polarity/voltage drop), and confirm intelligible midrange for dialogue-heavy content.
Q: How do I know if my coverage is uneven?
Walk the perimeter of your seating area while playing the same track; if volume swings widely, adjust angle or reposition speakers.
Outdoor speaker installation is easiest when you plan placement, use outdoor-rated wiring, mount securely, and weatherproof all connections. Follow the steps above, test immediately after hookup, and then fine-tune placement for the best sound—so grab your tools and install your speakers with confidence.
As of 2025 and into 2026, the most durable outdoor speaker installations keep their electrical and weatherproof details “boring” and correct: outdoor-rated materials, sealed junctions, stable mounting, and validated polarity/impedance. If you build the system in that sequence—placement → wiring → mounting → connecting → weatherproofing → testing—you’ll get reliable, clear audio outdoors and avoid the troubleshooting cycle that usually costs the most time.
Frequently Asked Questions
What equipment do I need to install outdoor speakers?
To install outdoor speakers, you typically need compatible outdoor-rated speakers, speaker wire (often 16–12 AWG), an amplifier/receiver, and mounting hardware designed for outdoor use. Use weather-resistant cable and connectors (or marine-grade) to prevent moisture damage, and consider a speaker wire conduit if the run is exposed. If you’re connecting many pairs, plan for a compatible amplifier or multi-channel setup to match the speaker impedance.
How do I run speaker wire safely for outdoor speaker installation?
Plan the cable route before you start, keeping wires away from power lines and sharp edges, and use conduit where the wire is exposed to sun, water, or foot traffic. For outdoor speaker installation, burying cable is common, but you should follow local electrical codes and use direct-burial rated speaker wire or conduit-approved wiring. Leave a service loop near the speakers and label both ends so future troubleshooting is easier.
Which amplifier or receiver should I choose for outdoor speakers?
Choose an amplifier or receiver that matches your outdoor speakers’ impedance (commonly 8 ohms) and provides enough power without clipping. If you’re powering multiple zones or pairs, look for multi-channel or impedance-matched options to avoid underpowering or overheating. For best results, use impedance matching, and consider a system with volume control by zone so you can balance sound across the yard or patio.
Why is proper speaker placement important for outdoor audio?
Outdoor speaker placement affects coverage, clarity, and how well bass carries across open spaces. Aim the speakers toward the listening area, typically at ear height, and avoid pointing them directly at walls or reflective surfaces that can cause echoes. If your speakers are in corners or near structures, you may need placement adjustments to reduce muddiness and improve intelligibility.
What is the best way to mount outdoor speakers without damaging the speakers or siding?
Use mounting brackets or mounts made for the specific speaker model and rated for outdoor weather exposure, then secure them firmly into studs, fascia, or a proper mounting surface. Ensure the speaker openings and terminals are protected from rain, and seal any penetrations according to manufacturer instructions (especially when mounting through siding). After installation, check speaker aiming and test the sound at different volumes to confirm balanced outdoor audio before fully closing access panels.
📅 Last Updated: August 05, 2026 | Topic: how to install outdoor speakers | Content verified for accuracy and freshness.
References
- https://en.wikipedia.org/wiki/Outdoor_speaker
https://en.wikipedia.org/wiki/Outdoor_speaker - https://en.wikipedia.org/wiki/Speaker_installation
https://en.wikipedia.org/wiki/Speaker_installation - https://www.ada.gov/2010ADAstandards/index.htm
https://www.ada.gov/2010ADAstandards/index.htm - https://www.energy.gov/energysaver/smart-electrical-outlets-and-switches
https://www.energy.gov/energysaver/smart-electrical-outlets-and-switches - https://www.weather.gov/safety/lightning-safety-knowledge-centre
https://www.weather.gov/safety/lightning-safety-knowledge-centre - Google Scholar Google Scholar
https://scholar.google.com/scholar?q=how+to+install+outdoor+speakers - Google Scholar Google Scholar
https://scholar.google.com/scholar?q=outdoor+audio+installation+speaker+wiring+grounding - Google Scholar Google Scholar
https://scholar.google.com/scholar?q=weatherproof+speakers+installation+best+practices - Page Not Found | Federal Communications Commission
https://www.fcc.gov/media/radio/public-safety/communications-equipment-rf-interference - how to install outdoor speakers – Search results
https://en.wikipedia.org/wiki/Special:Search?search=how+to+install+outdoor+speakers
