To check the polarity on your speakers with a multimeter, you’ll want to identify the positive and negative connections accurately. This process is crucial to ensure that your speakers are wired correctly, preventing issues like phase cancellation and sound distortion. In this guide, you will learn step-by-step how to use a multimeter to check speaker polarity.
Understanding Speaker Polarity

Speaker polarity refers to the orientation of the positive (+) and negative (-) terminals on a speaker. Correctly aligning these terminals is essential for optimal audio performance. When speakers are wired correctly, the sound waves produced by them move in sync. If the polarity is reversed on one or more speakers in a system, it can lead to phase cancellation, where sound waves interfere with each other, causing a loss in volume and clarity. This misalignment can result in a hollow or muffled sound, significantly diminishing the overall listening experience.
Incorrect polarity can also lead to the phenomenon known as “cancellation,” where the bass response is notably weaker, and the soundstage feels less immersive. It’s vital to understand speaker polarity, especially in home theater and multi-speaker setups, to ensure that you enjoy the full richness of your audio system.
Tools You’ll Need
To check speaker polarity effectively, you will require a few essential tools:
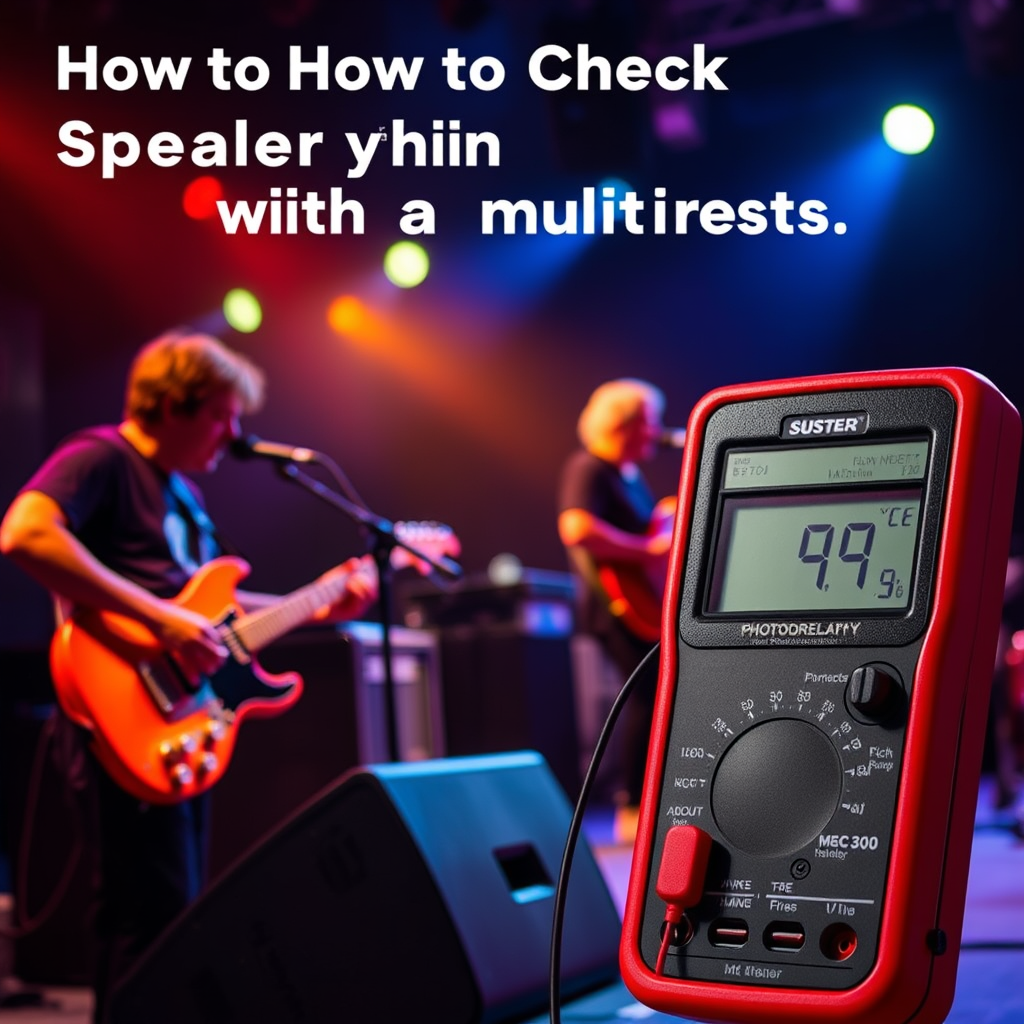
1. Multimeter: This is the primary tool for testing polarity. A multimeter can measure voltage, current, and resistance. For this task, we will focus on the DC voltage setting.
2. Speaker Wire: Ensure you have speaker wire available to connect your multimeter leads to the speaker terminals effectively.
3. Test Leads: These are necessary for connecting the multimeter to the speaker terminals. Most multimeters come with standard test leads, but having extra leads can be beneficial for complex setups.
4. Protective Gear: While not always necessary, using gloves can help prevent accidental shocks, especially if your audio system is still connected.
Preparing Your Setup
Before you begin testing, it’s important to prepare your setup to ensure safety and accuracy:
1. Safely Disconnect the Speakers: Turn off your audio system and unplug it from the power source. This is crucial to prevent electrical shock or damage to your multimeter.
2. Accessing the Speaker Terminals: Depending on your speaker setup, you may need to remove speaker grilles or covers to access the terminals. Make sure you have enough space to work comfortably.
3. Labeling Wires: If you are working with multiple speakers, it can be helpful to label the wires or make note of which is positive and negative for each speaker. This will simplify the process when you reconnect everything.
Using the Multimeter
With your setup prepared, follow these steps to use the multimeter effectively:
1. Setting the Multimeter: Turn on the multimeter and set it to the DC voltage mode. If your multimeter has multiple ranges, set it to the lowest voltage range to ensure the most accurate reading.
2. Connecting the Multimeter Leads: Attach the red lead to the positive terminal of the speaker and the black lead to the negative terminal. Ensure that the connections are secure to avoid inaccurate readings.
3. Taking the Reading: Observe the reading on the multimeter display. A positive reading indicates that the connections are correct, while a negative reading suggests that the polarity is reversed.
Interpreting the Results
Understanding the multimeter readings is crucial:
1. Positive Reading: If the multimeter displays a positive voltage (e.g., +12V), this means that the positive lead is connected to the positive terminal, confirming correct polarity.
2. Negative Reading: A negative reading (e.g., -12V) indicates reversed polarity, meaning the positive lead is connected to the negative terminal. This miswiring can lead to sound quality issues and should be addressed immediately.
3. Zero Reading: If the multimeter shows zero voltage, this may indicate a broken connection or a problem with the speaker itself. Further investigation would be necessary to diagnose this issue.
Troubleshooting Common Issues
Occasionally, you may encounter problems during the testing process. Here are some tips to troubleshoot:
1. Unclear Readings: If your readings are fluctuating or unclear, ensure that the multimeter leads are making solid contact with the speaker terminals. Clean any corrosion from the terminals to improve connectivity.
2. Multiple Speakers: If testing multiple speakers, it’s important to ensure that each one is tested individually to avoid confusion in readings.
3. Common Mistakes: Avoid connecting the multimeter leads to the wrong terminals. Double-check the multimeter settings before taking readings to ensure that you are measuring voltage and not resistance or continuity.
Reconnecting Your Speakers
After testing speaker polarity, it’s essential to reconnect your speakers properly to maintain optimal performance:
1. Reattach Speaker Wires: Connect the positive lead of the speaker wire to the positive terminal and the negative lead to the negative terminal. Ensure that the connections are secure and free from fraying.
2. Double-Check Connections: Before powering up your audio system, double-check all connections to confirm that they match the intended wiring scheme. This will help prevent issues with sound quality.
3. Testing After Reconnection: After reconnecting the speakers, turn on your audio system and play audio to check for sound clarity and quality. If there are any issues, revisit your connections to ensure correct polarity.
Top 7 Multimeter Features for Speaker Testing
| # | Feature | Importance | Recommended Models |
|---|---|---|---|
| 1 | DC Voltage Measurement | Crucial for polarity testing | Fluke 117, Klein Tools MM300 |
| 2 | Continuity Testing | Helps identify broken wires | Amprobe AM-510, Extech EX330 |
| 3 | Auto-Ranging | Simplifies measuring process | Extech EX570, Mastech MS8268 |
| 4 | Data Hold Function | Useful for capturing readings | Klein Tools MM400, Fluke 115 |
| 5 | Backlit Display | Improves visibility in low light | Klein Tools MM320, Extech EX210 |
| 6 | Durability | Long-lasting for frequent use | Fluke 87V, Amprobe AM-220 |
| 7 | Temperature Measurement | Useful for other electronics | Extech EX570, Klein Tools MM300 |
Summarizing the key steps, checking speaker polarity with a multimeter is a straightforward process that can greatly enhance your audio experience. By following the outlined steps, you can ensure that your speakers are connected correctly, leading to better sound quality. If you’re unsure or encounter problems, don’t hesitate to consult a professional for assistance.
Frequently Asked Questions
How do I check the polarity of my speakers using a multimeter?
To check the polarity of your speakers with a multimeter, first set the multimeter to measure DC voltage. Connect the multimeter’s red probe to the positive terminal of the speaker and the black probe to the negative terminal. If the reading shows a positive voltage, the polarity is correct; if it shows a negative voltage, the connections are reversed.
What tools do I need to check speaker polarity with a multimeter?
To check speaker polarity using a multimeter, you will need a digital multimeter, speaker wire, and possibly alligator clips for easier connections. Ensure the multimeter is functioning properly and set it to the correct measurement mode before starting the polarity check.
Why is checking speaker polarity important?
Checking speaker polarity is crucial because incorrect polarity can lead to poor sound quality and phase cancellation, resulting in a weaker audio experience. Ensuring proper polarity helps in achieving optimal speaker performance, better bass response, and a more balanced sound stage.
Which multimeter settings should I use to test speaker polarity?
When testing speaker polarity, set your multimeter to DC voltage measurement mode. This setting allows you to accurately determine the voltage output when you connect the probes to the speaker terminals, helping you identify if the polarity is correct.
What should I do if my speaker polarity is reversed?
If you find that your speaker polarity is reversed, simply switch the connections of the speaker wires: connect the positive lead to the negative terminal and the negative lead to the positive terminal. This adjustment will correct the polarity and improve your audio quality for a more immersive listening experience.
References
- Electrical polarity
https://en.wikipedia.org/wiki/Electrical_polarity - https://www.sciencedirect.com/topics/engineering/multimeter
https://www.sciencedirect.com/topics/engineering/multimeter - https://www.britannica.com/technology/multimeter
https://www.britannica.com/technology/multimeter - https://www.electronics-tutorials.ws/io/io_6.html
https://www.electronics-tutorials.ws/io/io_6.html - Google Scholar Google Scholar
https://scholar.google.com/scholar?q=how+to+check+polarity+on+speakers+with+multimeter - Google Scholar Google Scholar
https://scholar.google.com/scholar?q=multimeter+polarity+measurement - Google Scholar Google Scholar
https://scholar.google.com/scholar?q=speaker+polarity+testing - https://www.aaas.org/news/what-multimeter
https://www.aaas.org/news/what-multimeter - https://www.nature.com/articles/s41598-020-67329-1
https://www.nature.com/articles/s41598-020-67329-1 - how to check polarity on speakers with multimeter – Search results
https://en.wikipedia.org/wiki/Special:Search?search=how+to+check+polarity+on+speakers+with+multimeter
