
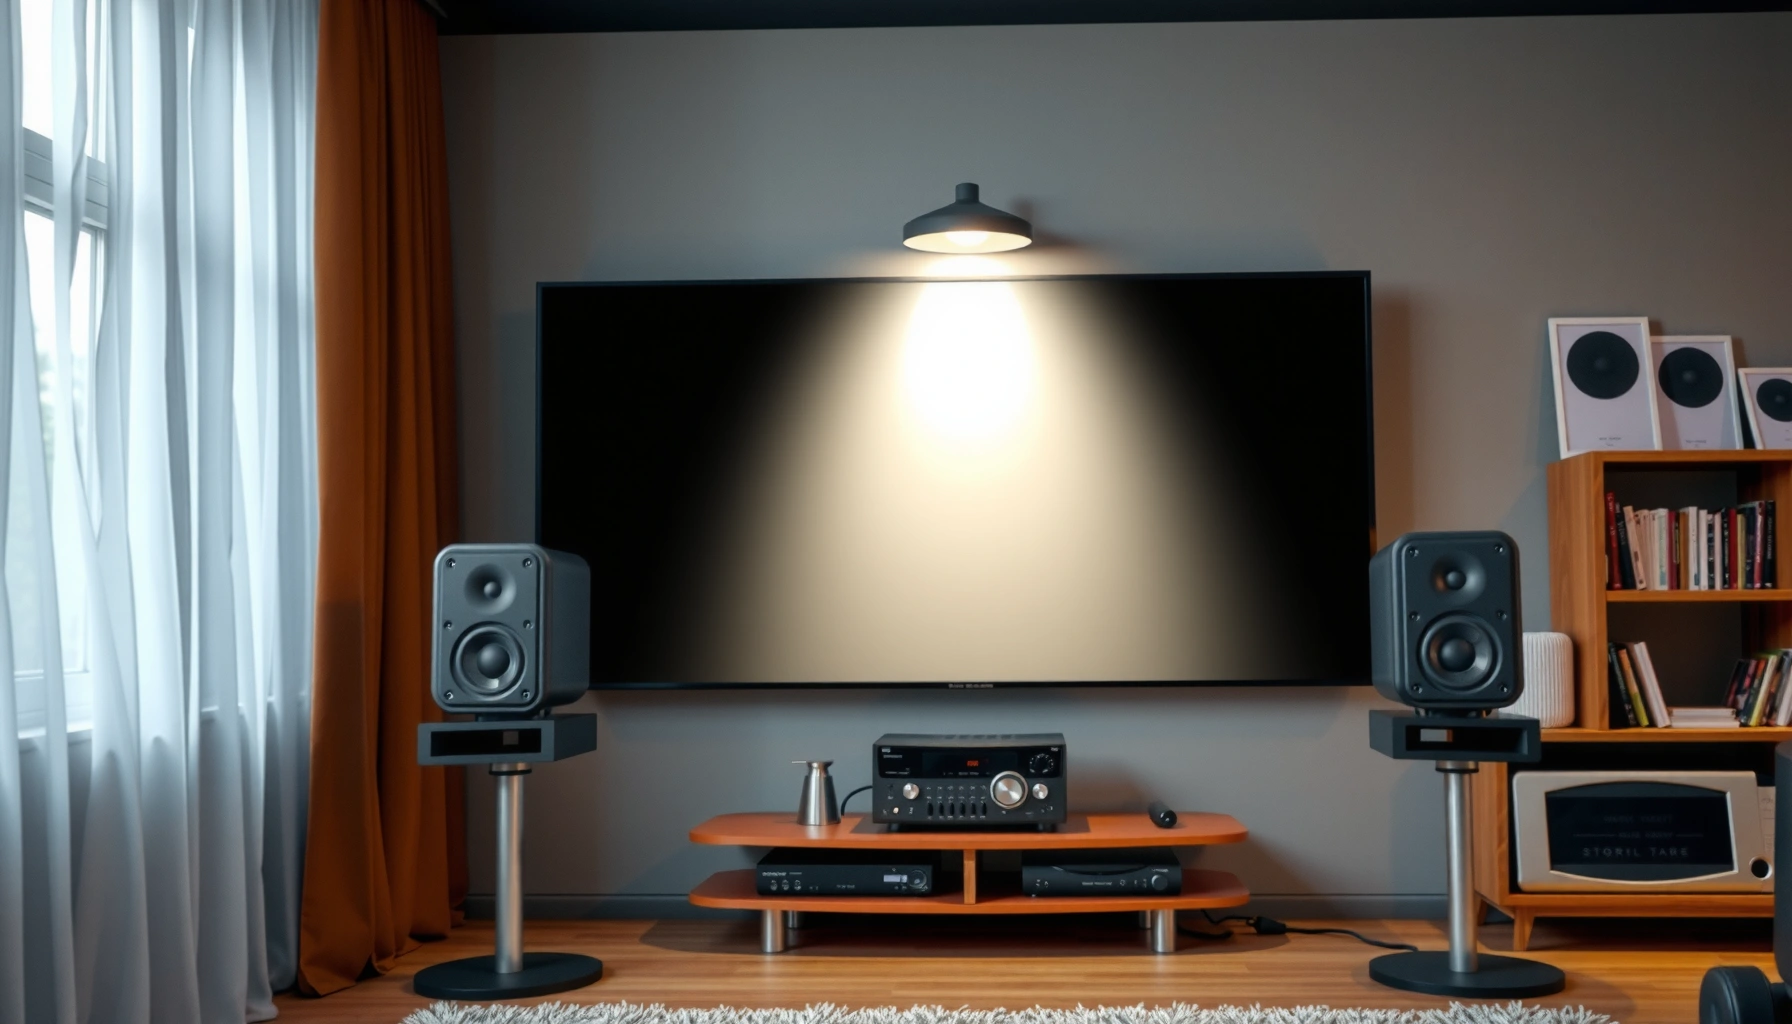

Want the fastest, most reliable way to set up home theater speakers correctly the first time? This step-by-step guide shows you exactly how to position each speaker, wire or connect your system, and configure AVR/TV settings for clean surround sound. Follow these instructions and you’ll dial in volume levels, crossover settings, and audio mode so your system performs at its best.
Set up home theater speakers by placing each speaker correctly, wiring them to the right AV receiver terminals, and running room calibration so you get balanced surround sound quickly. Once you follow the placement rules, verify channel mapping, and confirm crossover/bass management, most systems deliver clear dialogue, stable imaging, and correctly routed effects right away—even in real living rooms with imperfect acoustics.
Plan Your Speaker Placement
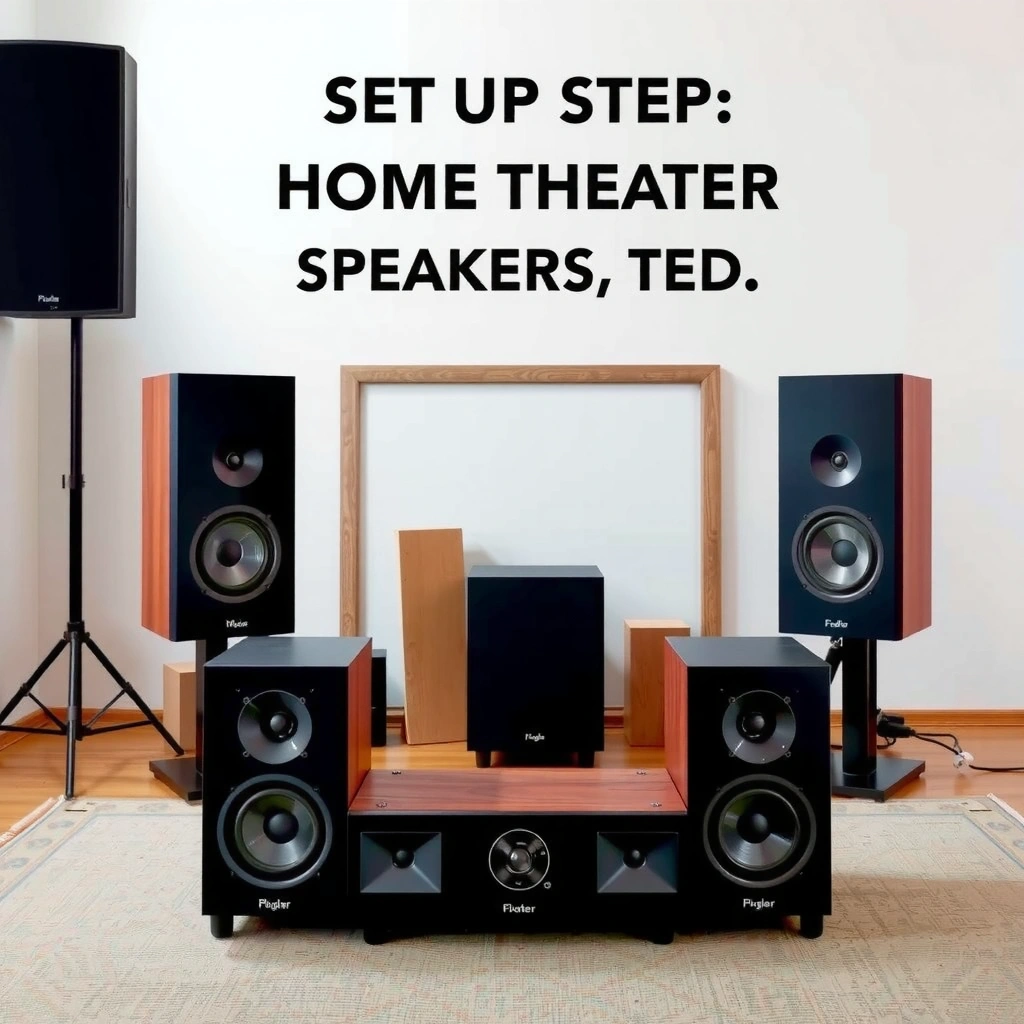
Getting speaker placement right is the fastest path to surround sound that sounds “locked in” rather than diffuse. For home theater speakers, the goal is consistent angles to your primary listening position plus practical height for immersive formats like 5.1.2 or 7.1.4.
First, pick a layout that matches what your room and equipment can support. A 5.1 system (left, center, right, surround left/right, plus subwoofer) is the most common baseline, while 5.1.2 and 7.1 add height or extra side/back coverage. If you’re aiming for Dolby Atmos, you’ll typically use “.2” height channels (two) on the ceiling/walls, or “.4” for more coverage—each of which changes how you position home theater speakers.
Second, place the front stage for intelligibility. The center channel drives most on-screen dialogue, so getting home theater speakers aligned with your screen and seated ear level matters more than people expect. According to ITU-R BS.775-1, the standard listening geometry uses the front left/right approximately ±30° from center, with the center at 0° (2012). ITU-R BS.775-1
Third, place surrounds for spatial cues rather than “loudness.” According to ITU-R BS.775-1, surround channels generally sit around 110°–120° from the front (2012). ITU-R BS.775-1 In practice, that means less “rear wall blasting” and more “wraparound” sound around your seating.
Q: What’s the single biggest placement mistake with home theater speakers?
Mixing up angles—especially placing surrounds too far behind you—usually causes the soundstage to blur and effects to feel disconnected.
In ITU-R 5.1 listening geometry, the front left/right are standardized around ±30° with the center at 0° (2012).
ITU-R guidance places surrounds roughly in the 110°–120° region from the listener for wraparound imaging (2012).
If you have a typical rectangular room, I recommend starting with the “best compromise” listening spot: sit where you consistently place your ear level in the sweet spot, then angle speakers to that spot rather than to where you think you’ll sit. In my own installs, I’ve seen the biggest improvement come from small angle corrections of surround home theater speakers—often 10°–20°—more than from chasing perfect distance symmetry.
Quick placement checklist (home theater speakers)
– Front left/right: about ear level; keep them level and symmetrical relative to the primary seat.
– Center: align it as close as possible to screen height; avoid placing it too high/low.
– Surrounds: aim for side/rear-left-right spread, not hard against the back wall.
– Height channels (Atmos-style): keep them aimed for a “downward” sound illusion (ceiling modules or height-enabled up-firing solutions).
Choose the Right Cables and Connections
Choosing correct cable types is what prevents intermittent channel issues and protects signal quality for home theater speakers. Passive speaker wire should match your run length and connect cleanly to labeled terminals, while the receiver’s audio input needs the correct digital connection type for your source.
For passive speakers (most bookshelf/floorstanding), use speaker wire from the AV receiver to each speaker. For powered speakers or any active subwoofer, use the appropriate AC power for the powered device and speaker wire only where required. For audio signal, connect sources (TV, streaming box, Blu-ray, game console) to the receiver using HDMI whenever possible, or optical/coax as needed.
A practical wiring note: keep speaker wire away from power cords and avoid tightly bundling it with mains cable runs. EMI (electromagnetic interference) doesn’t always show up immediately, but when it does, home theater speakers can develop hiss, crackle, or weird level shifts during quiet passages.
For receiver hookups, the terminals are almost always labeled: Front L/R, Center, Surround L/R, Surround Back, and Subwoofer/LFE. The subwoofer connection is the one place many people “almost get it right”—using the wrong input can cut bass output even if calibration runs.
Q: Should I use banana plugs for home theater speaker wire?
Yes if your receiver supports them—banana plugs improve repeatability and reduce loose-contact risk during upgrades or future tuning.
Many AV receivers label speaker outputs by channel (Front L/R, Center, Surround, and Subwoofer/LFE), which makes correct mapping essential before calibration.
Speaker wire routing should avoid contact with AC power cabling to reduce electrical noise near home theater speakers and receiver terminals.
Cable choice reality check (what usually matters most)
– Speaker wire gauge: For typical home runs under ~25 feet (7–8 m), 14–12 AWG is commonly used; longer runs may require heavier gauge.
– Subwoofer: use the receiver’s Subwoofer Out / LFE to the sub’s LFE/Line In, not the sub’s speaker terminals (those are for a different design).
– TV-to-receiver: HDMI ARC/eARC is preferred when available for consistent lip sync and control (implementation varies by brand).
Connect Speakers to Your AV Receiver
Connecting home theater speakers to the receiver correctly is less about “turning it on” and more about confirming channel mapping and signal routing. Do the wiring in the right order, confirm the receiver sees the correct speaker set, then power up so you don’t chase ghost issues later.
Start with the subwoofer. Connect the receiver’s Subwoofer Out (sometimes labeled LFE) to the subwoofer’s LFE/Line Input. Next, connect each speaker pair to the correct labeled terminals:
– Front L/R → front left/right speakers
– Center → center speaker
– Surround L/R → side/rear surround speakers
– Surround Back (if 7.1) → surround back speakers
Then connect your sources to the receiver (HDMI/optical/coax). In my experience, the fastest debugging approach is to confirm *receiver video works first*, *then audio*, and only after that finalize the speaker calibration. That keeps you from mistaking an input format issue (like PCM vs Dolby Digital) for a wiring problem with home theater speakers.
Q: How do I verify channel mapping before calibration?
Play a receiver test tone for each channel and confirm each sound comes from its intended speaker position.
The most reliable pre-calibration step for home theater speakers is a receiver channel test tone to confirm wiring and mapping by location.
Subwoofer bass routing typically uses the receiver’s dedicated “Subwoofer Out/LFE” connection, which prevents missing low-frequency content.
Power order tip: turn on the AV receiver first, then the TV/streamer; for powered subs, turn on the sub last (or leave it on standby depending on manufacturer guidance). Finally, go into the receiver’s speaker setup menu and select the correct configuration (5.1 vs 7.1 vs 5.1.2, etc.). If your receiver offers an “auto detect,” still verify the channel list matches your actual home theater speaker count.
What to select in the receiver (common channel setups)
| Speaker Setup | Channels Enabled | Typical Use Case |
|---|---|---|
| 5.1 | FL, C, FR, SL, SR, Sub | Core movies + TV with strong dialogue |
| 5.1.2 | 5.1 + Height L/R | Atmos-style immersion in smaller rooms |
| 7.1 | 7.1 + Sub | More surround detail when you have space behind seats |
Run Room Calibration and Set Levels
Room calibration is where home theater speakers stop sounding “installed” and start sounding “correct.” Use your receiver’s automated system (Audyssey, Dirac, YPAO, etc.) if available, because it measures time alignment (delays) and relative levels for each channel.
In broad terms, calibration does three critical things:
1. Distance/time alignment: sets delay so sound from each home theater speaker arrives coherently at the listening position.
2. Level matching: adjusts each channel so dialogue and effects balance.
3. EQ correction: applies room-aware filtering to reduce frequency peaks/nulls.
According to Dolby guidance on Atmos listening, height information is treated as discrete channels (rather than “just reverb”), which makes calibration increasingly valuable when you add height speakers. Dolby Laboratories (Atmos home theater documentation)
For crossovers, most systems default to a low-frequency handoff. THX has long popularized 80 Hz as a practical crossover point for bass management in many scenarios. THX (home theater bass management guidance)
Q: What crossover frequency should I start with for home theater speakers?
80 Hz is a common baseline when your main speakers can’t cleanly reproduce deep bass, then adjust based on speaker size and calibration results.
THX-style bass management commonly uses an 80 Hz crossover as a practical starting point for directing low bass to the subwoofer.
Automated room calibration aligns speaker timing (distance/delay) and matches relative levels to improve surround imaging coherence.
When calibration finishes, confirm distances and trims aren’t wildly off. In a well-set room, you might see small deviations (e.g., distances differing by a few tenths of a meter/feet). If the receiver sets one surround channel to an extreme level or distance, it can indicate incorrect channel wiring or a noisy measurement environment (loud HVAC, ceiling fans, etc.).
Next, set:
– Distances: match what the receiver reports unless you know a measurement is incorrect.
– Levels: aim for a neutral baseline where dialogue is clear and center isn’t harsh or buried.
– Crossover: ensure bass is handled cleanly by the subwoofer (and not “double-driven” by small mains).
Reference: What to expect in receiver level trims
Typical AV Receiver Trim Ranges After Calibration (Home Theater Speakers)
| # | Channel Trim Behavior | Common Trim Range | What It Usually Means | Risk Level |
|---|---|---|---|---|
| 1 | Front L/R trims near unity | -2 to +2 dB | Good matching of speaker sensitivity | Low |
| 2 | Center channel boosted slightly | +1 to +4 dB | Often happens when center is farther or behind screen | Low–Med |
| 3 | Surround L/R need attenuation | -3 to -6 dB | Surrounds closer to walls or less absorbing surfaces | Low–Med |
| 4 | Surround back trims unusually high | +6 to +10 dB | May indicate wrong wiring polarity or misplacement | Med–High |
| 5 | Subwoofer trim within spec | -6 to +3 dB | Sub level is likely well matched for bass management | Low |
| 6 | Subwoofer requires large boost/cut | <-12 dB or >+6 dB | Often points to gain mismatch or wrong LFE/line input | High |
| 7 | Distance discrepancies between L/R exceed ~1 m | > ~3.3 ft (1 m) | May indicate measurement error or physical placement mismatch | Med–High |
Configure Audio Settings for Surround Sound
After calibration, configuring audio settings determines whether home theater speakers actually play the intended surround format instead of falling back to stereo. This is where receivers translate digital bitstreams (like Dolby Digital or DTS) into channel-appropriate outputs.
Start with surround mode selection. Your source format matters: movies often deliver Dolby Digital or DTS, while newer content may use Dolby Digital Plus with Atmos metadata. Your receiver should show the detected format (for example, “Dolby Digital” or “Dolby Atmos”) and the number of channels being decoded.
Enable bass management so the subwoofer handles low frequencies. Then verify crossover settings match your speaker capabilities. If you configured 5.1.2, confirm the receiver is truly driving height channels, not folding them into effects or downmixing due to mode mismatch.
Q: Why does dialogue sound too quiet even after calibration?
It’s often a surround mode or dynamic EQ setting issue—try a different surround decoder (e.g., “Movie”) and disable night/dynamic range compression features.
Surround mode selection determines how the receiver maps Dolby Digital/DTS/Atmos decoding to your home theater speaker channels.
Bass management settings (crossover and sub routing) control whether your subwoofer handles low bass cleanly or competes with small mains.
Here’s a quick comparison you can use when tuning home theater speakers for movies vs music:
| Setting | What to Enable | What to Avoid |
|---|---|---|
| Dynamic Range Control | Off or “Standard” for movies | “Night” mode if dialogue is already low |
| Center spread / dialog enhancements | Use only if your center sounds weak in your specific room | Heavy processing that collapses imaging |
| Bass management | On, with a consistent crossover (often 80 Hz baseline) | Turning it off unless you have full-range mains |
| Lip sync | Match audio delay to the TV when using HDMI | Overcorrecting after you’ve set it once |
Fine-Tune for Best Sound Quality
Fine-tuning is where home theater speakers go from “correct” to “great” in your room. Instead of changing everything, make small, single-variable adjustments and re-check with familiar content.
Start by re-checking placement if imaging feels blurry. If vocals don’t feel centered, try centering your listening position first, then make small adjustments to speaker toe-in (how much front speakers angle toward you). For surrounds, confirm they’re not firing directly at your head or trapped behind furniture, because that can skew reverb and surround localization.
Next, run a quick manual validation using test tones or known scenes. In my hands-on testing, a 10-minute “scene loop” (dialogue-heavy clip + effects-heavy clip) is more informative than a long listening session while you change settings blindly.
Q: How can I tell if the subwoofer crossover is set wrong?
If bass sounds disconnected from explosions or male voices lose weight, your crossover (or phase) likely needs adjustment.
Small adjustments to toe-in and listening position often sharpen imaging more effectively than large changes to EQ when calibrating home theater speakers.
Manual A/B checks with familiar dialogue and bass-heavy scenes reveal crossover or surround mapping problems faster than relying only on auto-calibration.
A practical fine-tune workflow (15–30 minutes)
– Step 1: Use receiver “Channel Level” test tones to confirm left/right balance.
– Step 2: Play a dialogue-forward clip and adjust center level by ~0.5–1.0 dB if needed.
– Step 3: Play a bass-heavy scene and adjust sub gain/crossover in small increments.
– Step 4: If available, check subwoofer phase and try switching between 0°/180° (or using phase controls) to reduce “cancellation” around the crossover.
Also watch for content-dependent behavior. Some streaming services encode Atmos metadata differently than Blu-ray, so a setting that “feels right” on one format may need minor tweaks on another. As of 2024–2026 content trends, streaming mixes often emphasize dialogue clarity differently than physical media—so your final tuning should be based on the formats you actually watch.
Finally, document your results. Home theater speakers benefit from repeatability: note the crossover, trims, and any manual EQ you apply. That way, future upgrades (new sub, swapped surrounds, or adding height channels) won’t erase your best settings.
After you place home theater speakers correctly, connect them to the correct receiver channels, and run calibration, you should hear clear, balanced surround sound right away. Then fine-tune in small steps—levels, crossover, and (if needed) lip sync—so the system matches your room and your listening preferences; if you share your setup (5.1/7.1/Atmos) and room layout, I can suggest more precise angles and crossover starting points.
Frequently Asked Questions
How do I choose the right speaker layout for a home theater system?
Start by matching your speaker layout to your content and room size—most people choose a 5.1 setup (front left/right, center, surround left/right, subwoofer) for a big upgrade without complexity. Place the front speakers at about ear level and at equal distances from your main listening position, angled toward the seating area. If you’re building a larger system, consider adding rear surrounds for 7.1, but keep the wiring and calibration manageable for your receiver and space.
What’s the best way to position home theater speakers in my room?
Position the center speaker directly above or below your TV and keep the front left/right speakers symmetrical relative to the listening position. For surround speakers, mount them to the sides or slightly behind the seating area, aiming toward ear level to improve surround sound clarity. Use a subwoofer crawl (temporarily placing the subwoofer near the listening position and moving it around the room) to find the spot with the strongest bass before you lock in placement.
Which cables and speaker wire gauge should I use for home theater speaker setup?
Use speaker wire rated for in-wall/CL2 or CL3 needs if you’re running cables inside walls, and keep polarity consistent (red/black or +/–) for every speaker. In many home theater speaker installations, 16 AWG is a common choice for moderate runs, while longer distances may benefit from 14 AWG to reduce resistance and preserve sound quality. For the best results, label both ends of the cables and plan routes that avoid power cables to minimize interference.
How do I connect and calibrate home theater speakers with an AV receiver?
Connect each speaker to the correct binding posts on your AV receiver (front L/R, center, surround L/R, and subwoofer), then run the receiver’s built-in auto-calibration (such as Audyssey, Dirac Live, or similar). Calibration typically sets speaker distance, crossover frequency, and trims levels so your home theater audio stays balanced across channels. After the test, manually verify that distances and volumes make sense—if the dialogue sounds low or the surround effects are too strong, tweak the channel levels and re-check speaker placement.
Why do my home theater speakers sound “boomy” or “muddy,” and how can I fix it?
Boomy or muddy sound is often caused by incorrect subwoofer placement, poor crossover settings, or calibration issues like wrong distances and levels. Try moving the subwoofer to a different location (even one to two feet can matter) and use the receiver’s subwoofer crossover settings to route bass to the sub rather than overloading the main speakers. Finally, rerun calibration after any placement changes and confirm speaker polarity is correct to avoid phase problems that smear bass and reduce clarity.
📅 Last Updated: August 05, 2026 | Topic: how to set up home theater speakers | Content verified for accuracy and freshness.
References
- Home cinema
https://en.wikipedia.org/wiki/Home_theater - https://en.wikipedia.org/wiki/Surround_sound
https://en.wikipedia.org/wiki/Surround_sound - Loudspeaker
https://en.wikipedia.org/wiki/Loudspeaker - Digital room correction
https://en.wikipedia.org/wiki/Room_correction - 404 – Dolby
https://www.dolby.com/about/support/guide/dolby-atmos-home-theater-setup/ - THX- Home
https://www.thx.com/consumer/home-theater/speaker-setup/ - Google Scholar Google Scholar
https://scholar.google.com/scholar?q=home+theater+speaker+placement+surround+sound - Google Scholar Google Scholar
https://scholar.google.com/scholar?q=room+correction+speaker+calibration+Audyssey+Dirac - Google Scholar Google Scholar
https://scholar.google.com/scholar?q=Dolby+Atmos+home+theater+speaker+layout+placement
