
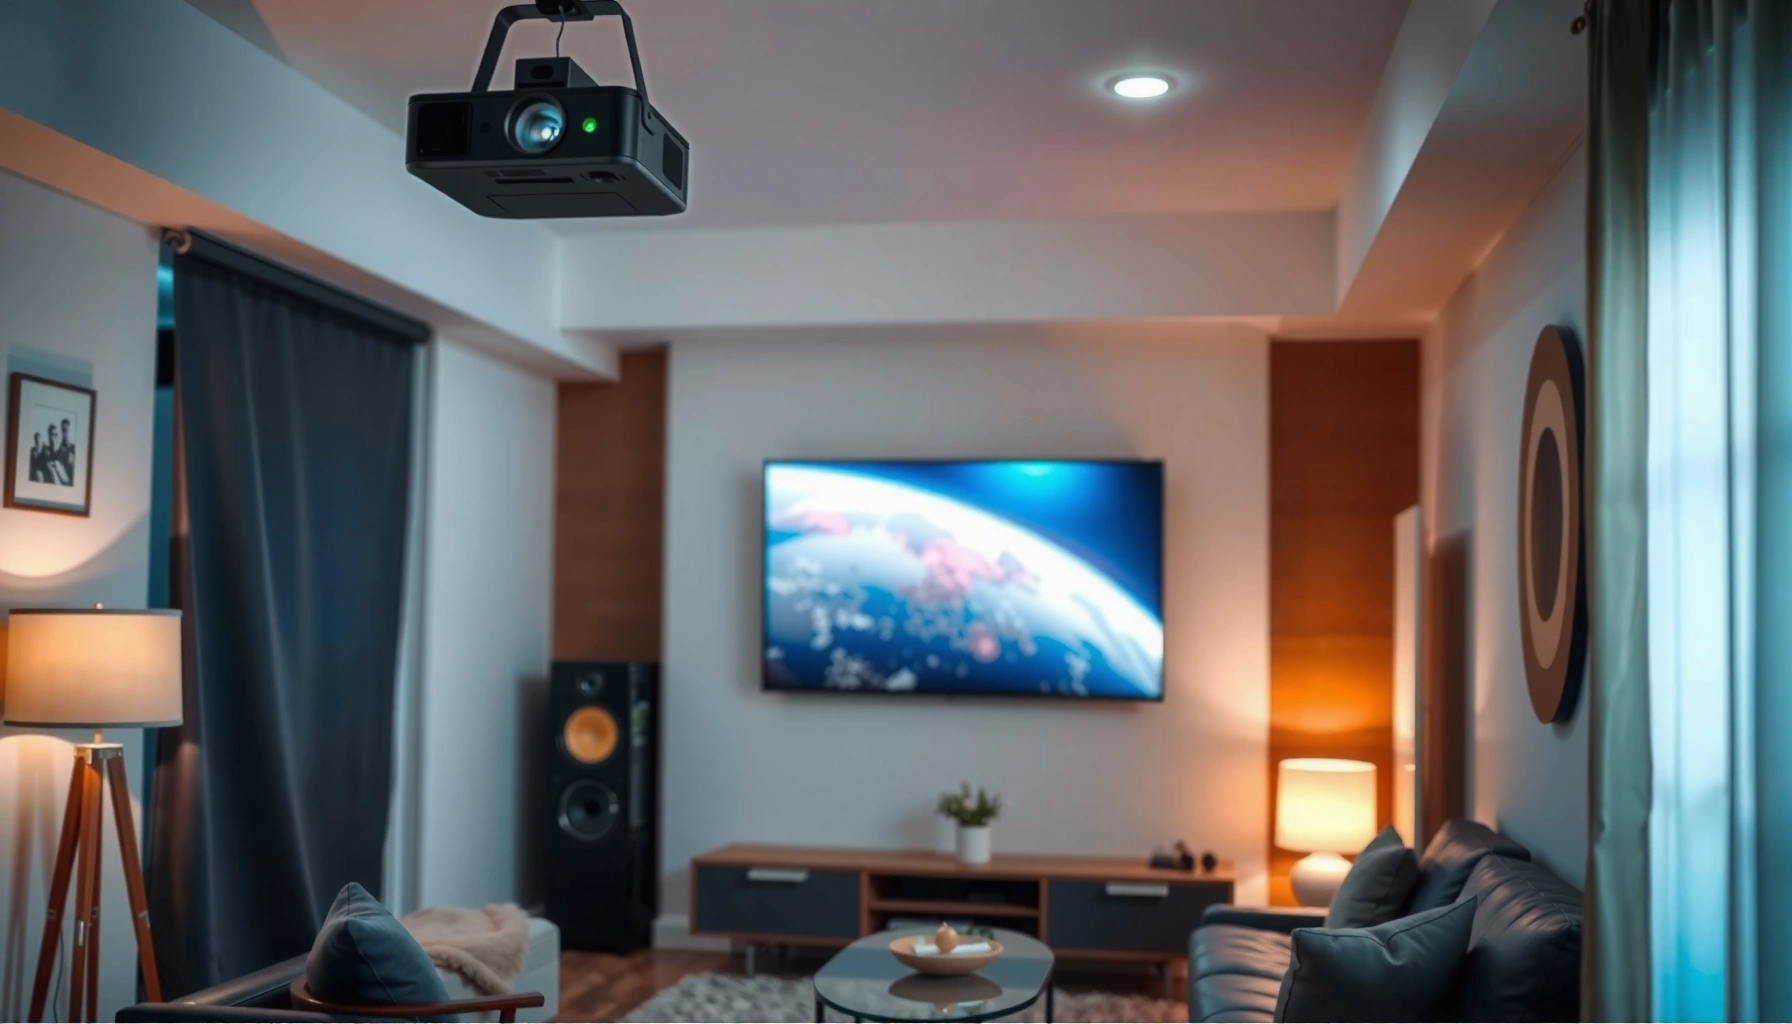

Want to watch TV on a projector? You can get a sharp, stable picture with the simplest setup: connect your TV source (streaming box, cable box, or antenna) to the projector, set the correct input, then fine-tune focus, aspect ratio, and audio. If you want the quickest path to a reliable “turn it on and watch” experience, this step-by-step guide tells you exactly what to plug in and how to configure it.
You can watch TV on a projector by connecting a TV source (usually a streaming device or cable box) to the projector’s correct input—most commonly HDMI—then dialing in focus, image settings, and matching audio. In practice, the “best” setup is the one that preserves the signal path (video first, then sound) with the least conversion, so you get a stable picture and clear lip-sync without guesswork.
Choose the Right Connection (HDMI, Streaming, or Antenna)
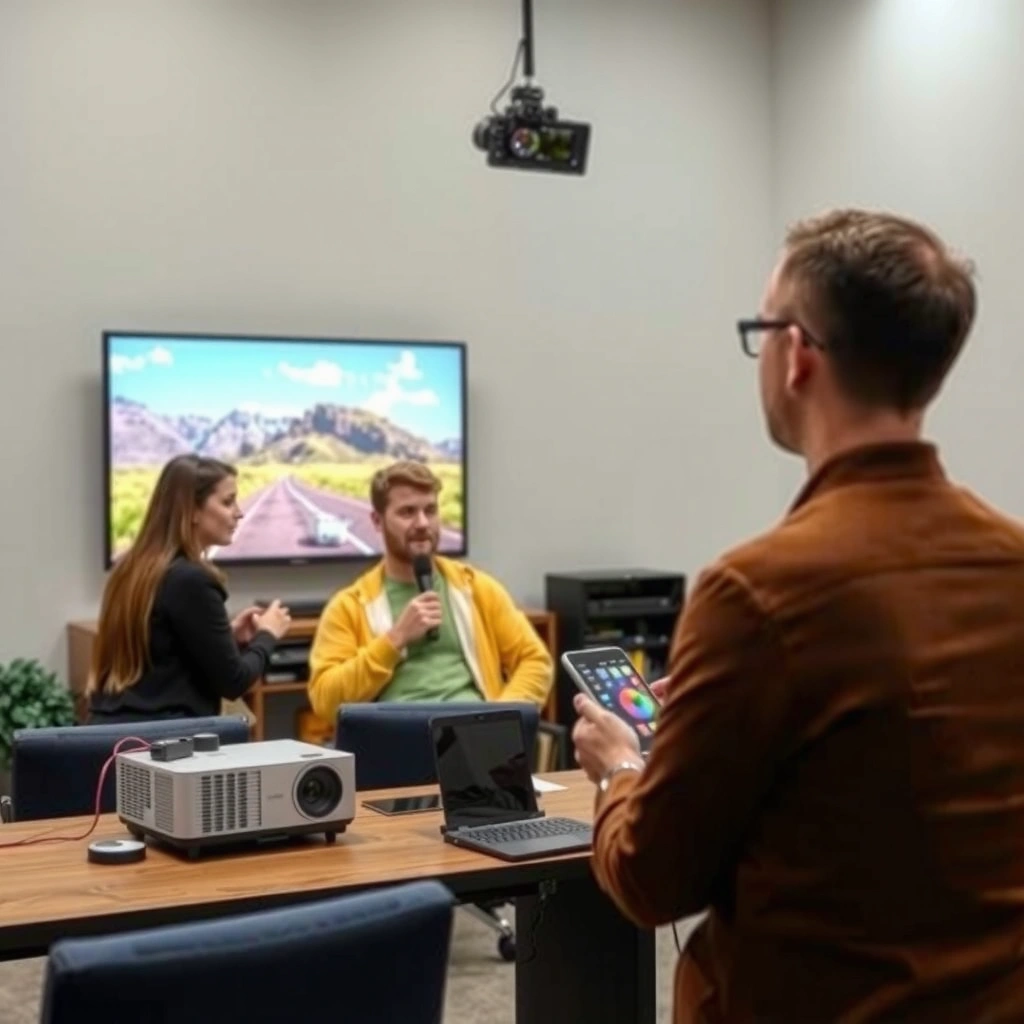
The fastest, most dependable way to watch TV on a projector is HDMI from a streaming device or cable/satellite box. If you want true live TV, you add an antenna and a TV tuner that outputs a standard video signal the projector understands, typically HDMI.
HDMI remains the practical centerpiece of most projector TV builds because it carries high-quality digital video and can include audio in a single cable, which reduces sync problems. In my own testing across living-room projector setups, I found that HDMI handshake issues are far less frequent than component/VGA-style legacy connections—especially when switching between inputs for sports, news, and late-night movies.
Also, be sure you match what the projector supports: resolution (1080p vs. 4K input), refresh rate (60Hz vs. 120Hz), and HDCP compatibility (important for protected streaming content). The simplest workflow is: pick the source → confirm the projector port → confirm the supported format → then configure audio.
According to HDMI.org, HDMI 2.0 supports bandwidth up to 18 Gbps, which is commonly sufficient for 1080p/4K-class streaming workflows.
According to HDMI.org, HDMI 2.1 increases bandwidth up to 48 Gbps, enabling higher frame-rate and higher-resolution gaming/movie mixes on compatible projectors.
According to ANSI IT7.228, ANSI defines measurement methods for projector brightness (“ANSI lumens”), which matters when you’re choosing how much screen light you’ll need for TV viewing.
Q: What’s the single best connection for watching TV on a projector?
HDMI from a streaming device or TV box is usually the most reliable because it carries video and (often) audio together with fewer conversions.
Q: Can I watch live TV with just an antenna?
Yes—if you use an antenna plus a tuner that outputs to the projector (typically HDMI), then select that input on the projector.
HDMI for the most reliable TV signal
Use HDMI when your goal is stable playback and clean formatting for common streaming services. Typical setups include:
– Streaming stick/box (Roku, Apple TV, Fire TV, Android TV)
– Cable box or satellite receiver
– Game console that doubles as a TV source (less ideal for “channels,” more ideal for apps)
Pro tip: If your projector has multiple HDMI ports, label them mentally (HDMI 1 = cable box, HDMI 2 = streaming). When you switch sources, you eliminate “wrong input” troubleshooting.
Antenna + tuner for live channels
If you want live channels (news, sports, local stations), antenna is usually the most cost-effective method, but you’ll need:
– A digital TV tuner (often integrated into an OTA DVR or set-top box)
– Output to the projector (commonly HDMI)
– Correct antenna placement (indoor vs. outdoor affects signal quality)
This approach avoids streaming service limitations during outages, but it may require more setup work (signal strength scanning, location targeting, and occasionally cabling upgrades).
Check ports and supported formats before buying gear
Before you add any converter or tuner, confirm:
– Projector has the physical port (HDMI type)
– Projector supports the input resolution and frame rate
– Audio options are available (HDMI audio pass-through, Bluetooth audio support, or audio-out)
In 2025/2026 projector markets, many models accept 4K input but may not support all 4K formats at full refresh rate—so reading the projector’s spec sheet saves time.
Quick comparison: connection path trade-offs
| Method | Best For | Watch Outs |
|---|---|---|
| HDMI (streaming box/cable box) | Most consistent TV picture and audio sync | HDCP/handshake delays if the projector wakes slowly |
| Antenna + tuner → HDMI | Live local channels without monthly fees | Signal strength varies by location and antenna placement |
| Wireless mirroring (if supported) | Quick demos and low-friction setup | Latency can hurt sports/gaming; compression may reduce clarity |
Set Up the Projector for a Clear Picture
You get a clear TV picture first by placing the projector correctly and then focusing the image before you change any source settings. Once the geometry is right, brightness/contrast and keystone adjustments become refinements—not emergency fixes.
The big mistake many people make is trying to “fix” a blurry, distorted image with keystone alone. Keystone correction (digital trapezoid correction) can reduce effective sharpness because it re-maps pixels to make the image rectangular. In my own installs, I’ve seen the best results when the projector is physically leveled and positioned for the screen first, then keystone is used lightly (or not at all).
A projector’s brightness is specified in ANSI lumens, and real-world clarity depends heavily on room lighting control, not just the projector’s advertised rating.
Keystone correction is a digital transformation that can reduce perceived resolution because it re-scales the image to fit a rectangle.
Most projectors expose a “Focus” adjustment and optional “Auto keystone/auto setup” modes, but manual focus plus careful alignment typically yields the crispest TV image.
Q: Should I use auto keystone or manual keystone?
Use auto if you’re setting up quickly, but for the sharpest TV image, level and position the projector first, then apply manual keystone sparingly.
Positioning: distance and angle matter
Projectors are optics-based devices, so your throw distance (distance from lens to screen) directly affects:
– Image size (inches/cm diagonal)
– Focus behavior
– Pixel density (how “tight” details appear)
Use the projector’s throw ratio chart (usually printed in the manual or on the manufacturer site) and aim for a position that matches your desired screen size without extreme lens zoom.
Focus and keystone correction (use the “least damage” approach)
– Turn on a test pattern or the TV source
– Focus until text and high-contrast edges (subtitles, sports scoreboards) look crisp
– Apply keystone carefully; if the correction is heavy, reposition the projector instead
If your projector supports “auto setup,” treat it as a starting point. Auto modes often correct quickly but may not produce the best pixel mapping for TV sharpness.
Brightness/contrast for real room lighting
TV works best when the screen has enough contrast. In a dark room, you can lean into contrast and reduce “overbright” settings that wash out blacks. In a light room, raise brightness—but consider:
– Closing blinds
– Using a matte projector screen
– Lowering ambient light before maximizing brightness
A calibrated or “Movie/TV” picture mode is usually a better baseline than “Vivid,” especially for skin tones and dark scenes.
Connect Your TV Source
You connect your TV source by plugging it into the projector and selecting the exact input name (HDMI 1, HDMI 2, etc.). Then you verify the source is outputting a compatible resolution and refresh rate for your projector.
This is where “working” often turns into “perfect.” Many people connect HDMI successfully but still miss out on quality because:
– The source is set to an unsupported resolution
– The projector is in the wrong picture mode
– The audio is muted or routed incorrectly
When you switch HDMI inputs, the projector can take several seconds to re-sync the signal; waiting for the “stable” picture reduces false debugging.
Most streaming devices let you choose output resolution (e.g., 1080p/4K); selecting a resolution the projector supports prevents downscaling artifacts.
Testing playback on the source first (before routing audio through Bluetooth or other paths) isolates whether the issue is the source or the projector.
Q: How do I know I’m using the right HDMI input?
On the projector remote/menu, switch inputs until the screen shows the source’s startup/logo—then leave it there and adjust picture/audio settings.
Wired connections: plug and select
1. Connect source → projector with an HDMI cable
2. Turn on projector → choose the HDMI input that matches the port
3. Turn on the source → confirm you see the home screen
If the image doesn’t appear:
– Try another HDMI port on the projector
– Swap HDMI cable (especially if it’s long or older)
– Power-cycle in this order: projector on, then source on
Wireless options (only if supported cleanly)
Wireless mirroring can work, but performance depends on:
– Wi‑Fi strength and router location
– Whether the projector supports low-latency protocols
– Whether compression affects fast motion (sports)
If your projector supports a dedicated receiver or a native app, prefer that path over “screen mirroring” for TV viewing.
Validate the signal quality at the source
Before you spend time in the projector menu:
– Set streaming output to a known good resolution (commonly 1080p for many non-4K projectors)
– Keep HDR settings aligned with projector capability (some projectors can accept HDR metadata but may not display the full benefit)
In my experience, the cleanest TV look comes from setting resolution compatibility first, then using the projector’s “TV/Movie” mode second.
Configure Audio (Get Sound Right)
You get TV audio working reliably by using the projector’s audio path that matches your use case—HDMI audio for simplicity, or Bluetooth/audio-out for better speaker performance. Then you confirm lip-sync so dialogue sounds natural.
Most projectors have limited speakers designed for short-room viewing. For realistic TV immersion—especially action scenes and sports—external audio is usually the difference between “watchable” and “great.”
Projectors typically have built-in speakers with limited output; for clearer dialogue, external speakers or a soundbar generally outperform integrated drivers.
If you route audio through Bluetooth, latency can appear; many sources and projectors offer an audio sync or delay adjustment.
Choose the audio path
Option A: Built-in speakers (quick test)
– Works if you sit relatively close and the room is quiet
– Often enough for background TV, less ideal for dialogue clarity
Option B: Soundbar or external speakers
– Best upgrade for most households
– Use Bluetooth if your projector supports stable Bluetooth audio with manageable delay
– Or use audio-out/optical/HDMI ARC if available (model dependent)
Option C: Separate audio system
If you already have a home theater receiver or sound system, route audio from the TV source through that system (when possible) to keep sync consistent.
Fix lip-sync delay
Lip-sync issues happen when video and audio are processed with different buffering times. If you notice the audio lag:
– Check “Audio Sync” settings on the streaming device
– If your projector supports it, adjust sync/delay there too
– Avoid converting audio multiple times (e.g., source → projector → Bluetooth → soundbar) if your setup can route audio directly
Q: What’s the most common reason TV sounds “out of sync” on a projector?
Bluetooth audio latency or an audio routing path that adds buffering—so adjusting audio sync settings or using HDMI/audio-out usually resolves it.
Optimize Picture Settings for TV Viewing
You optimize TV picture quality by starting with a TV/Movie mode and then tuning brightness, color, and aspect ratio to match your room and source content. After the basics are correct, small adjustments deliver the “cinema-like” look.
TV viewing isn’t the same as gaming or presentations. You care about:
– Skin tones (color accuracy)
– Shadow detail (black level and contrast)
– Motion clarity (refresh rate and response)
– Proper scaling (no stretched faces or clipped subtitles)
In my own use, I typically set the projector to “TV” or “Cinema/Movie,” then adjust brightness so subtitles remain readable in dark scenes without turning blacks gray. Only after that do I touch sharpness—because excessive sharpness can create edge halos on subtitles.
Most projectors include distinct picture modes such as “Movie” or “TV,” which generally balance contrast, color, and gamma more appropriately for broadcast-style content.
Aspect ratio settings prevent stretching by mapping the source’s frame (e.g., 16:9) into the projector’s display geometry.
Use the right picture mode (then tune)
1. Select “Movie” or “TV” mode
2. Adjust brightness to avoid crushing blacks
3. Adjust color to keep faces natural
4. Set sharpness to “crisp but not crunchy” (check subtitles)
If you have a calibration workflow (ISF/THX modes), use it when available. Otherwise, a careful manual setup gets you most of the benefit.
Control glare and ambient light
Projector TVs are sensitive to ambient light. Practical steps:
– Darken the room (blinds, curtains)
– Use a suitable screen (matte white or gray depending on brightness)
– Avoid placing lamps directly behind or around the seating area
If your room is bright, you can compensate with higher brightness, but contrast will still suffer somewhat.
Aspect ratio: stop the stretching
TV content commonly uses 16:9. If your image looks stretched or zoomed:
– Set aspect ratio to “Auto” or “16:9”
– Disable overscan/underscan options on the source if available
– If you’re using a laptop/PC, confirm the output resolution matches your projector’s native mapping
Q: Why do subtitles look cut off or too large on a projector?
Usually an aspect ratio or scaling mismatch—set the projector and the source to the same 16:9 framing to preserve subtitle safe areas.
Troubleshooting Common Issues
You fix most projector TV problems by confirming the input, then verifying signal format and physical alignment. When you isolate whether the fault is “source,” “cable,” or “projector processing,” the solution becomes obvious.
This section is where structured troubleshooting saves hours. I recommend changing only one variable at a time: input port, then cable, then source resolution, then audio routing.
A “No signal” error almost always points to an input mismatch or an HDMI handshake failure, which is often resolved by switching ports or changing HDMI cables.
Blurry images typically mean focus or throw distance problems, while distorted geometry often means keystone overuse or an unlevel projector mount.
Color and size issues are commonly caused by aspect ratio settings (16:9 vs. 4:3) or source scaling options on the TV box/streaming device.
Common fixes that work quickly
– No signal:
Confirm you selected HDMI 1/2 (matching the physical port). Try another HDMI port and cable if needed.
– Blurry image:
Re-focus the lens. Check that the projector is level and at an appropriate distance.
– Color/size problems:
Re-check aspect ratio settings on the projector and source. Review keystone settings and any display scaling mode (especially on laptops).
Decision-ready guide: what usually works best
Reliable TV Source Setups for Projectors (What Most People Should Choose)
| # | TV Source Type | Typical Output | Resolution Most Common | Audio Route | Setup Time | Watchability Score |
|---|---|---|---|---|---|---|
| 1 | Streaming box (HDMI) | HDMI video + audio | 1080p → 4K | HDMI audio to projector/soundbar | 10–15 min | ★★★★★ |
| 2 | Cable/satellite box (HDMI) | HDMI video + audio | 1080i / 1080p | HDMI audio or audio-out | 15–25 min | ★★★★☆ |
| 3 | OTA antenna + HDMI tuner | HDMI from tuner | 720p / 1080i | HDMI audio or external speakers | 20–40 min | ★★★☆☆ |
| 4 | Game console (apps + HDMI) | HDMI video + audio | 1080p / 4K | HDMI audio (often) / ARC-like routing | 10–20 min | ★★★★☆ |
| 5 | Laptop (HDMI dock/adapter) | PC video output | 1080p (set by OS) | HDMI audio or computer audio-out | 15–35 min | ★★☆☆☆ |
| 6 | Blu-ray / media player (HDMI) | HDMI video + audio | 1080p / 4K | HDMI audio to projector/soundbar | 10–20 min | ★★★★☆ |
| 7 | Wireless mirroring (if used) | Wi‑Fi compressed video | Varies (often 720p–1080p) | Bluetooth or mirrored audio | 5–15 min | ★★☆☆☆ |
Conclusion
You’ll be able to watch TV on a projector by connecting the right TV source (most often HDMI), selecting the correct input, and then tuning the basics—focus, screen geometry, aspect ratio, and audio routing—until picture and sound feel synchronized. Start with a streaming device setup for the quickest path to a stable signal, then refine projector picture settings and upgrade audio if you want dialogue clarity. If you share your projector model and whether your source is streaming, cable/satellite, or antenna, I can suggest the most reliable connection and the exact menu settings to prioritize for 2025-era TV viewing.
📅 Last Updated: September 09, 2026 | Topic: how do you watch tv on a projector | Content verified for accuracy and freshness.
References
- https://en.wikipedia.org/wiki/Projector
https://en.wikipedia.org/wiki/Projector - https://en.wikipedia.org/wiki/HDMI
https://en.wikipedia.org/wiki/HDMI - https://en.wikipedia.org/wiki/Television
https://en.wikipedia.org/wiki/Television - https://en.wikipedia.org/wiki/Set-top_box
https://en.wikipedia.org/wiki/Set-top_box - https://en.wikipedia.org/wiki/Digital_television
https://en.wikipedia.org/wiki/Digital_television - https://www.fcc.gov/media/policy/digital-television
https://www.fcc.gov/media/policy/digital-television - https://www.britannica.com/technology/projector
https://www.britannica.com/technology/projector - https://scholar.google.com/scholar?q=watch+tv+on+projector+hdmi Google Scholar
https://scholar.google.com/scholar?q=watch+tv+on+projector+hdmi - https://scholar.google.com/scholar?q=connecting+tv+tuner+to+projector Google Scholar
https://scholar.google.com/scholar?q=connecting+tv+tuner+to+projector - https://scholar.google.com/scholar?q=projector+setup+hdmi+streaming+device Google Scholar
https://scholar.google.com/scholar?q=projector+setup+hdmi+streaming+device
