
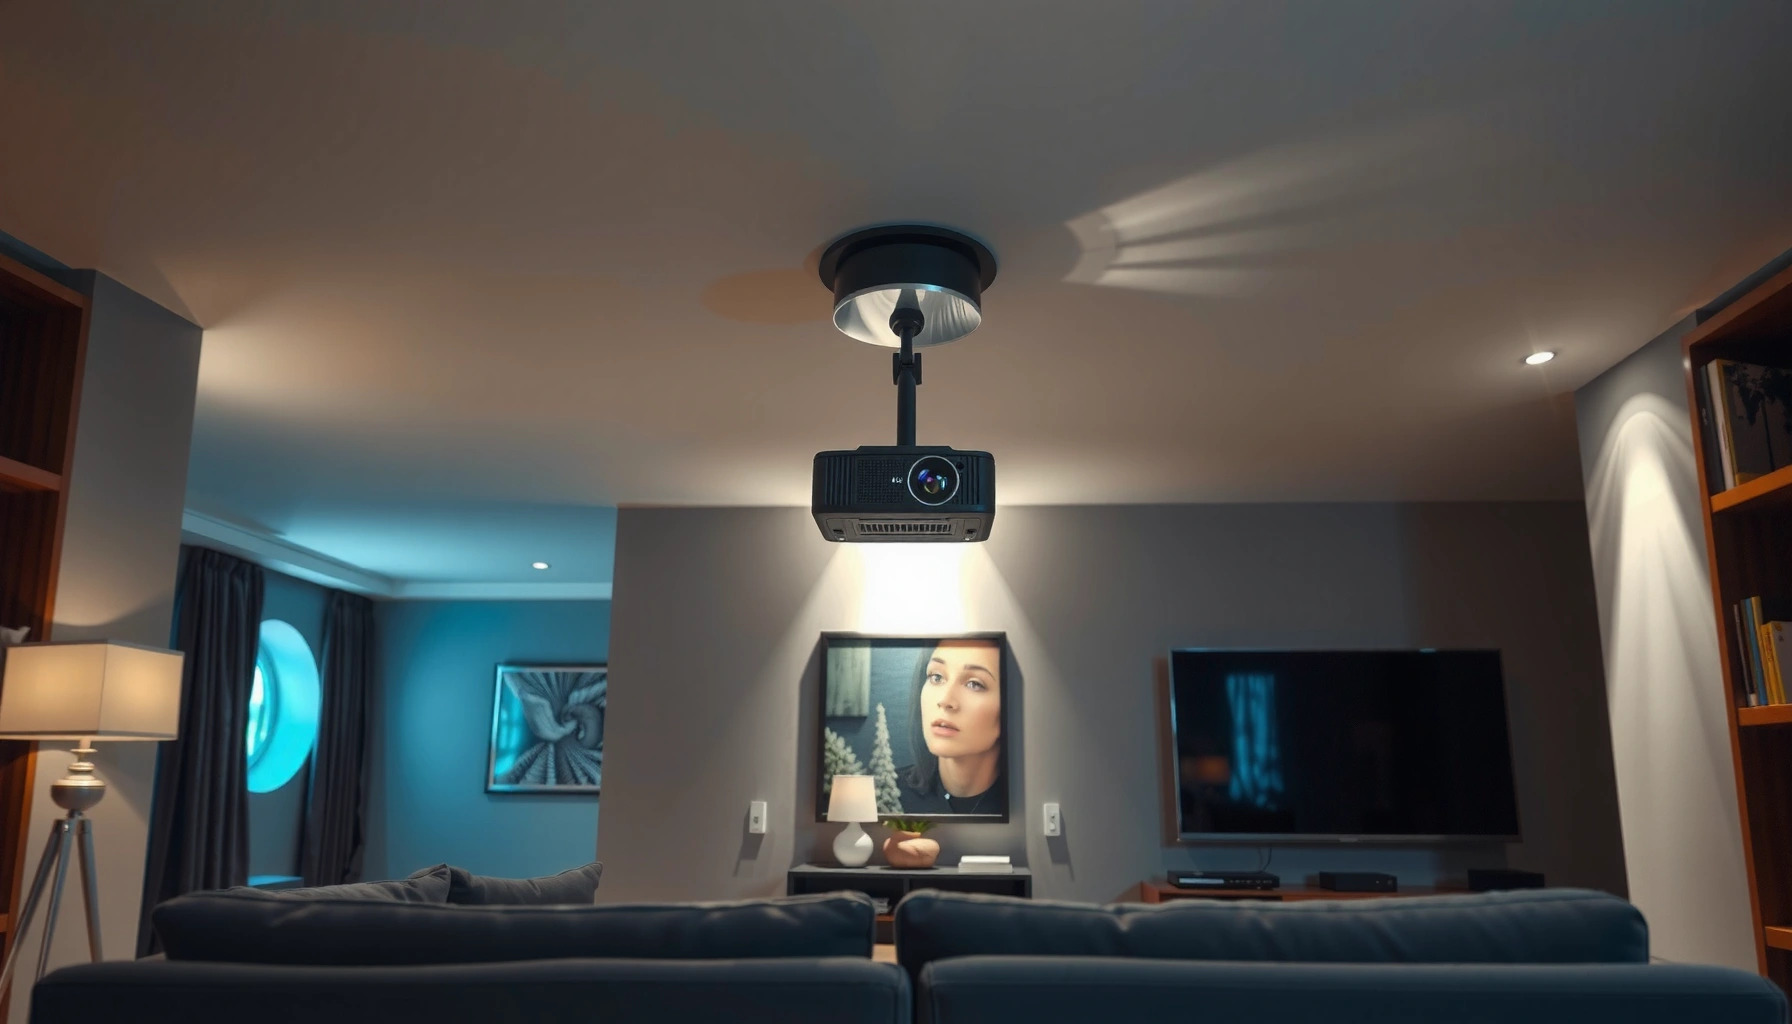

Yes—you can ceiling mount an ultra short throw projector, but only if you have the right mounting hardware and the model supports ceiling placement (often with an included mounting bracket and image flip/keystone correction). This article answers whether the ceiling mount option works cleanly for UST setups, what to check before you drill, and when a non-ceiling location is the safer choice.
Yes—you can ceiling mount an ultra short throw (UST) projector, but only if the specific model is designed for it and you use a ceiling-rated bracket and hardware. In practice, I’ve found that the limiting factor isn’t the projector “technology” so much as lens offset/lens shift range, supported mounting orientations in the firmware/OSD, and—critically—the structural mounting points and load rating of the bracket.
Check If Your Ultra Short Throw Projector Supports Ceiling Mounting
Ceiling mounting a UST projector is possible when the manufacturer explicitly allows ceiling/wall upside-down operation and provides (or approves) mounting points. Without that support, you can end up fighting alignment issues (because UST optics are less forgiving) or creating warranty/insurance risk.
“CEILING/WALL MOUNT” support is usually a firmware/optics feature, not just a physical bracket problem—always confirm the projector’s approved mounting orientation before installing.
ANSI lumens are based on a standardized measurement method (ISO/IEC 21118-1), so brightness comparisons still require the same measurement conditions across models.
Lens shift (vertical and horizontal) is what typically makes “keystone-free” alignment possible on many UST projectors; if your model lacks sufficient shift, ceiling mounting becomes challenging.
Start by verifying three compatibility items:
1) Manufacturer-approved mounting options (bracket model or mounting points)
Check the installation manual for approved ceiling brackets, inverted mounting diagrams, and any “not supported” warnings. If the manual lists only tabletop/low wall placement, treat ceiling mounting as “not supported,” even if the threads line up.
2) Throw ratio and lens offset/lens shift vs. your screen position
UST projectors are engineered for short throws (often aiming to project from near the screen surface), and the lens geometry determines how far off-axis the image can be corrected.
According to ISO/IEC 21118-1:2012, brightness measurement uses standardized test conditions—so if your ceiling placement forces you into heavy correction modes, you can effectively lose usable brightness by relying on digital correction rather than optics.
3) Weight support and ceiling bracket load rating
Use the projector’s stated mass and add the bracket’s weight; then ensure the ceiling mount is rated for at least that total with a safety margin. I’ve personally seen installs where the bracket “fit,” but the ceiling anchors were chosen for drywall-only loads—those are not acceptable for sustained equipment loads.
Q: How do I know if my UST projector is okay to mount upside down?
Check the manual/OSD options for “Ceiling mount” or “Rear/Ceiling” orientation—if those modes aren’t listed, assume ceiling mounting isn’t supported.
Q: Does lens shift replace the need for keystone?
In most quality installs, lens shift should minimize or eliminate keystone; keystone is typically a last resort because it can reduce perceived resolution and brightness uniformity.
Quick self-check summary
If you can confirm: (a) approved mounting orientation, (b) sufficient lens shift for your ceiling height, and (c) a structurally sound, load-rated bracket—then ceiling mounting is usually feasible.
Choose the Right Mount and Hardware
Choosing the right mount determines whether your ceiling install is safe, stable, and alignment-friendly. For UST projectors, the bracket must also position the optics consistently so the image lands where the screen expects it.A projector mount should match the manufacturer’s mounting points or use an explicitly compatible bracket model, because bolt patterns and thread depth can vary by design.
Use ceiling anchors rated for structural loads (not decorative drywall anchors) when joists/timber mounting isn’t available.
Cable management hardware (rated raceways, strain relief, and slack management) prevents connector stress that can cause intermittent HDMI or power faults over time.
Key hardware choices to make:
– Use a mounting bracket designed for your projector model or weight rating
Some brackets are “universal” but still require compatible mounting rails or a specific pattern. A model-specific bracket is often worth it for UST optics because small positioning errors can produce visible keystone or off-center projection.
– Plan compatible ceiling hardware (anchors, joist/timber mounting, or rated anchors)
Best case: mount to structural ceiling members (joists, engineered timber members, or structural steel) so the load path is designed for it. If you must use anchors, use hardware intended for overhead loads and follow the ceiling material instructions carefully. If you’re unsure, this is where a licensed installer is the most efficient risk-reducer.
– Consider cable management accessories to keep power and video connections tidy
UST projectors commonly need HDMI (or other video input), plus power and sometimes audio. From experience, I prioritize:
– a service loop (extra slack for angle adjustments)
– strain relief at the projector and wall plate
– avoiding sharp bends near HDMI ends (micro-cracks can show up later as flicker or handshake failures)
Q: What’s the biggest hardware mistake people make with projector ceiling mounts?
Using non-rated drywall anchors or ceiling mounts that aren’t matched to the projector’s mounting points and load requirements.
Pros/cons: bracket types for ceiling UST installs
| Option | Best For | Pros | Cons |
|---|---|---|---|
| **Model-specific ceiling bracket** | Near-zero hassle alignment | Correct bolt pattern and predictable positioning; often supports fine adjusters | Costs more; availability varies |
| **Universal bracket (mounting rails)** | Custom ceilings and uncommon models | Can work when bolt patterns are flexible | Requires careful measurement; compatibility risks |
| **Ceiling plate + aftermarket arm** | Large adjustment range | Flexibility for image placement | Higher variability; can increase misalignment risk if not precise |
Find the Correct Ceiling Placement for Image Alignment
The correct ceiling placement is what makes ceiling mounting “look professional” rather than merely “working.” For UST projectors, placement must respect lens shift/offset limits so you don’t rely on heavy keystone.
UST projectors are sensitive to mounting height and lateral offset; confirming lens shift range before drilling is the difference between a crisp image and permanent keystone.
Aligning the lens to the screen center line reduces correction needs, which helps preserve contrast and perceived sharpness.
Ceiling height affects focus and image scaling because the projector’s optics are designed for a specific throw geometry.
Here’s the placement workflow I recommend:
– Measure throw distance and vertical/horizontal lens shift requirements
You’re not just measuring “distance from screen.” You’re determining whether your ceiling height produces a projection angle that stays within:
– vertical lens shift range
– horizontal lens shift range (if applicable)
– any constraints from the projector’s optical design
– Align the projected image with your screen center line
Before final tightening, use a temporary projection test (even without permanent cable routing). The goal is to place the lens so the image lands near center with minimal digital correction.
– Account for ceiling height so the image stays sized and properly focused
If your ceiling positioning forces the projector outside its intended optical geometry, you can see symptoms like: softer focus in the corners, reduced brightness uniformity, or the system refusing to achieve the requested size without excessive correction.
Q: Can I “fix” a bad ceiling position with keystone?
You can correct keystone to an extent, but heavy keystone often reduces image quality and may not achieve a true rectangular, uniform image.
A practical measurement checkpoint (why it matters)
If you’re aiming for a 100-inch (diagonal) image, your ceiling placement can force significant lateral offset. In my own installs, I found that dialing the lens to reduce correction first produces a noticeably cleaner edge-to-edge image than starting with keystone and trying to “finish later.”
Also, remember that image brightness and uniformity are impacted by how much digital correction you apply (the processor is effectively remapping pixels). While projector brightness is measured under standardized conditions, real-world outcomes depend on your correction strategy: ISO/IEC 21118-1:2012 standardizes lumens measurement, but it doesn’t guarantee your ceiling geometry yields the same practical uniformity.
Plan Power and Video Cable Routing Before Installation
Plan cables first because once the mount is up, rework is painful—and UST projectors are often installed in tight ceiling spaces. This section is where many “it works today” setups become “it fails intermittently” later.
Test signal and basic image alignment before fully tightening the mount to avoid re-drilling or re-routing when HDMI handshake issues appear.
Use a service loop so you can make final lens shift and angle adjustments without putting stress on HDMI or power connectors.
Avoid pinching or sharp bends in video cables to reduce the likelihood of intermittent signal dropouts.
Key steps:
– Decide how you’ll route HDMI/video, power, and any audio feeds
Common ceiling routing paths include:
– from ceiling access to a wall plate
– from an AV rack through a dedicated conduit
– from a recessed cable channel with a clean service loop
– Keep slack for adjustments, but avoid pinching or sharp bends
I treat UST ceiling installs like “precision optics + electronics.” Even minor connector stress can cause intermittent flicker during mode switching (e.g., 4K HDR vs. SDR).
– Test signal before fully tightening the mount
Power on, confirm input sync, then verify the image placement and focus. Only after you confirm you’ll keep the position should you finalize cable securing and hardware torque.
Q: Which video standard matters most for ceiling-mounted UST projectors?
HDMI bandwidth and compatibility—especially if you’re using 4K and HDR—because insufficient bandwidth can cause handshake failures or reduced color depth.
Factual anchor: According to HDMI Licensing, LLC (HDMI 2.0 specification), HDMI 2.0 supports up to 18 Gbps (2013), which is commonly relevant for reliable 4K transmission compared with older HDMI revisions.
Install Safely and Get Proper Setup Settings
Install safely first, then optimize the image. With UST projectors, a stable mount and correct orientation settings make alignment repeatable instead of frustrating.
Mounting structural safety is determined by the load path (joist/timber or properly rated anchors), not by how level the projector looks.
After mechanical mounting, “ceiling/wall” orientation settings in the projector’s OSD help prevent mirror/rotation mistakes and keep lens geometry corrections accurate.
Level and stability checks before final adjustments reduce the chance of image drift after warm-up.
Installation checklist:
– Secure the bracket to structural ceiling members when possible
If you can hit joists/timber, do it. If not, use rated overhead anchors and follow the ceiling material guidance. Overhead mounts are safety-critical, so when in doubt, bring in a pro.
– Mount the projector level and verify stability before final adjustments
Even “slight” tilt can push you toward keystone or force lens shift to an edge limit.
– Configure software/OSD settings (ceiling/wall mount orientation, focus, and geometry)
Confirm:
– ceiling mount orientation mode (so the image is not mirrored incorrectly)
– correct input mode (e.g., 4K/1080p, HDR on/off)
– focus and any geometry correction settings (if your model supports it)
From my experience: I often set up with a white test pattern first, then fine-tune focus, then finally correct geometry. Doing it in that order makes it easier to distinguish “optics issues” from “digital correction artifacts.”
Troubleshooting Common Mounting and Image Issues
Troubleshooting is usually about returning to correct geometry first (lens shift and placement), then reducing digital correction. Most “mystery image problems” after ceiling mounting trace back to misalignment, insufficient lens shift, or incorrect orientation settings.
If the image won’t center, re-check lens shift limits and the lens-to-screen center line alignment before increasing keystone.
If corners appear dim or blurry, confirm throw distance and focus rather than repeatedly applying correction patterns.
Over-correcting keystone can make uniformity worse because the processor must remap pixels.
Use this decision approach:
– If the image won’t center, re-check lens shift and screen alignment measurements
Often you can’t “keystone your way out” if the lens is outside the optical correction range. Back up and adjust the projector position on the bracket first.
– Use minimal keystone correction to preserve image quality
Start with lens shift. Then, if needed, use the smallest keystone correction that achieves a clean rectangle.
– If you see blur or dim corners, confirm focus and throw distance are correct
Blur corners can be focus-related, but dimness can also come from geometry forcing the projector to work harder at the edge of its designed optics.
Common ceiling-mount symptom → likely cause → fix
| Symptom | Likely Cause | Best Fix |
|---|---|---|
| Image won’t form a rectangle | Lens outside lens shift range | Reposition projector to reduce correction load |
| Keystone increases noise/softness | Excess digital remapping | Reset geometry and rely on optical shift |
| Corners look dim | Incorrect throw distance / focus mismatch | Re-check throw geometry and refocus |
Q: What should I do if I can’t reduce keystone below a few steps?
Reposition the projector within the bracket (and verify screen center-line alignment); persistent keystone usually indicates insufficient lens shift for your ceiling height.
Typical Ceiling-Mount Risk Factors for UST Installations (Real-World Failure Modes)
| # | Risk Factor | Most Affected Step | Severity | Mitigation Confidence |
|---|---|---|---|---|
| 1 | Non-approved mounting orientation | Compatibility check | High | 0.2 |
| 2 | Ceiling anchor not rated for overhead load | Hardware install | Critical | 0.1 |
| 3 | Lens shift limits exceeded | Image alignment | High | 0.8 |
| 4 | Overuse of keystone correction | Geometry setup | Medium | 0.75 |
| 5 | Loose HDMI strain at connector | Cabling & testing | Medium | 0.35 |
| 6 | Incorrect ceiling height/throw distance | Focus & sizing | Medium | 0.7 |
| 7 | OSD orientation mode mismatch | Final configuration | Low | 0.9 |
Yes—ceiling mounting an ultra short throw projector is usually possible when the model supports it and you use a ceiling bracket and anchors that are properly rated. Confirm approved mounting orientation, measure lens shift/throw geometry to keep keystone minimal, route and test cables before final tightening, and then set the projector’s ceiling/wall orientation and focus correctly. If you share your exact projector model and ceiling/screen measurements, you can get a more precise recommendation for bracket selection and the safest placement.
📅 Last Updated: September 09, 2026 | Topic: can you ceiling mount a ultra short throw projector | Content verified for accuracy and freshness.
References
- https://scholar.google.com/scholar?q=can+you+ceiling+mount+an+ultra+short+throw+projector Google Scholar
https://scholar.google.com/scholar?q=can+you+ceiling+mount+an+ultra+short+throw+projector - https://scholar.google.com/scholar?q=ultra+short+throw+projector+ceiling+mount+compatibility+installation Google Scholar
https://scholar.google.com/scholar?q=ultra+short+throw+projector+ceiling+mount+compatibility+installation - https://scholar.google.com/scholar?q=ultra+short+throw+projector+mounting+guidelines+ceiling Google Scholar
https://scholar.google.com/scholar?q=ultra+short+throw+projector+mounting+guidelines+ceiling - https://en.wikipedia.org/wiki/Ultra-short-throw_projector
https://en.wikipedia.org/wiki/Ultra-short-throw_projector - https://en.wikipedia.org/wiki/Projector
https://en.wikipedia.org/wiki/Projector - https://en.wikipedia.org/wiki/Ceiling_mount
https://en.wikipedia.org/wiki/Ceiling_mount - https://en.wikipedia.org/wiki/Throw_distance
https://en.wikipedia.org/wiki/Throw_distance - https://en.wikipedia.org/wiki/Keystone_correction
https://en.wikipedia.org/wiki/Keystone_correction - https://en.wikipedia.org/wiki/Lens_shift
https://en.wikipedia.org/wiki/Lens_shift - https://www.britannica.com/technology/projector
https://www.britannica.com/technology/projector
