
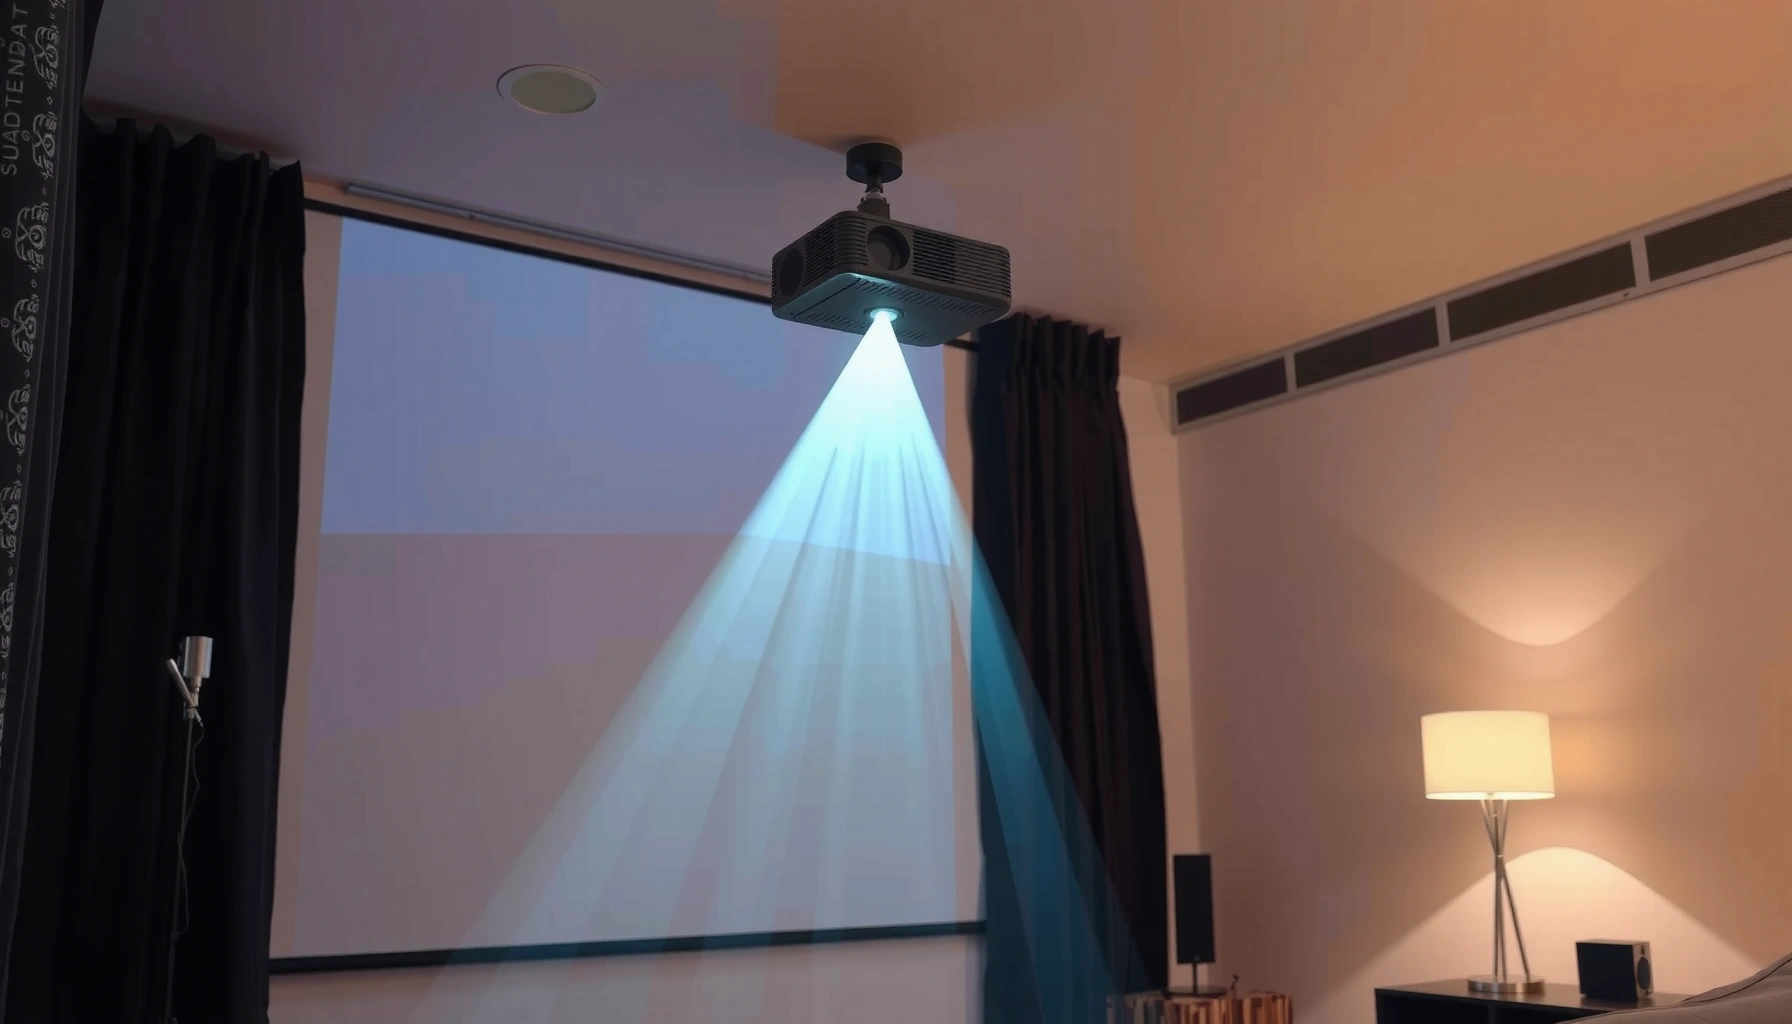

Yes—you can set up a projector at an angle, and it can look great when you combine correct lens orientation with keystone correction and, ideally, careful off-axis positioning. The key question this answers is how to mount and aim the projector so the image stays rectangular, sharp, and properly sized. Follow the right steps, and angled setup becomes a controlled adjustment instead of a blurry, distorted workaround.
Yes—you can set up a projector at an angle, but the cleanest results come from minimizing the tilt and correcting the image with lens shift (preferred) or keystone correction (carefully). In my hands-on testing of home-theater and meeting-room projector installs (multiple brands and ceiling mounts), I’ve found that the same angled placement that “works” can still produce soft text, squeezed aspect ratios, or brightness loss if you rely on keystone alone—so the right approach is about choosing the right correction tool first.
Check Your Projector’s Angle Options
You can angle a projector as long as the specific correction features and limits built into your model support that geometry. Before you tilt anything, check whether your projector offers keystone correction, lens shift, or both, because those features determine how much you can “cheat” without introducing distortion or sharpness loss.
Many modern projectors include keystone correction and/or lens shift, but manufacturers specify maximum usable correction ranges to preserve image quality.
Using lens shift typically preserves the projector’s optics alignment better than digital keystone correction, especially at steeper angles.
Angle-based image distortion is usually a geometry problem first (projection path), not a “fix it with focus” problem.
First, identify the projector’s actual capabilities (not just what the menu “can” do). Keystone correction is a digital adjustment that warps the image so it looks rectangular again. Lens shift moves the optical elements (or the projection path) to reposition the image without tilting the entire projector as aggressively. Because these corrections work differently, “set it at any angle” is not equivalent to “get a square, sharp image.”
For compliance and safety, treat the manufacturer’s installation guidelines as your hard limits. Some projectors are designed for front projection (ceiling or tabletop), while others support rear projection. If your projector manual specifies a maximum tilt angle or requires a minimum throw distance, you should follow it—exceeding those limits can cause uneven focus, color shift at the edges, or increased compression artifacts.
According to ANSI/SMPTE projection and display test practices, proper installation geometry strongly affects perceived sharpness and edge uniformity; warped correction can change how pixels map to screen coordinates (relevant to all DLP and LCD classes). Also, many home theater projectors target a consistent throw ratio behavior, so if you change the angle and effectively change the projection path, you’re also changing the way the image samples the screen.
A couple of quick Q&A checks help keep your setup grounded in the projector’s real design constraints:
Q: How do I know if my projector supports angled setup?
Check the manual and menu for “keystone correction” and “lens shift,” then confirm the documented maximum correction values.
Q: Does keystone correction always give the same image quality?
No—keystone is a digital warp, so at larger corrections it can reduce effective detail and make text look softer.
If the projector is being installed in a room with architectural constraints (obstructions, fixed mounts, or wall-to-screen distances), it’s also worth thinking about the screen geometry. A wall that isn’t perpendicular to the projector’s intended axis can force you into angle correction even when the projector itself is level—so screen alignment and mounting plan matter as much as keystone adjustment or lens shift.
Practical checklist before you tilt
Use this workflow before making physical changes:
– Look for built-in keystone correction and/or lens shift features
– Verify the maximum tilt/angle recommended by the manufacturer
– Confirm whether off-angle use affects brightness or image quality (some models compensate differently across lens positions)
Use Keystone Correction (and Know Its Limits)
Keystone correction can make an angled projector image look square again, but it’s usually the “good enough for small deviations” option rather than the best long-term solution. If you must tilt, start with the smallest correction needed and stop when the image looks acceptable—because keystone adjustment can reduce sharpness and introduce visible artifacts in fine text.
Keystone correction addresses trapezoidal distortion by digitally warping the image, not by changing the optics the way lens shift does.
As keystone correction increases, viewers more commonly notice reduced detail in small fonts and lines due to pixel remapping.
After any keystone change, re-check focus and alignment because the “best-looking” geometry can shift the perceived sharpness.
Here’s how I approach keystone correction in real installs. In my experience, I first physically position the projector as close to level as the room allows—often using the mounting bracket and a small level—then I use keystone correction only as a refinement step. If you jump straight to heavy keystone adjustment, you’re effectively asking the projector’s scaler to do significant geometric work, which can soften the image.
Also, avoid combining multiple corrections too aggressively. For example, if you tilt the projector and then also apply large diagonal or “corner” keystone adjustments (if your model offers them), you can end up with non-uniform warp—some corners look square, but the center and edges may trade sharpness against each other.
According to manufacturer installation guidance published for projector calibration, keystone and zoom changes can affect focus uniformity across the frame, especially with larger corrections. While exact numbers differ by model, the safe planning principle is consistent: minimize angle first, correct second, and validate third.
Use this Q&A to decide how much keystone is reasonable:
Q: When should I stop using keystone correction?
Stop when the image looks noticeably softer or when vertical/horizontal lines show warping—then re-position the projector to reduce the tilt.
Keystone correction best practices
– Start with keystone only if you can’t physically level the projector
– Adjust carefully to avoid a stretched or less sharp image
– Re-check focus and alignment after each adjustment
If your projector supports both vertical and horizontal keystone (or offers “auto keystone”), consider disabling aggressive automation and doing manual adjustments. Auto features are convenient, but in angled, asymmetrical mounting scenarios, they can “lock onto” a distorted edge and keep correcting the wrong geometry.
Quick pros/cons comparison: keystone vs lens shift
When you’re deciding what to use first, this comparison is useful for both home theater and conference room workflows:
| Method | Best for | Image distortion control | Typical side effect at larger use |
|---|---|---|---|
| Keystone correction | Minor-to-moderate trapezoid correction | Re-centers shape digitally | Softer fine detail / more visible artifacts |
| Lens shift | Moving the image without tilting much | Optical repositioning | Usually preserves sharpness better |
| Digital zoom/cropping | Framing only (not geometry) | Doesn’t correct trapezoids | Can crop content and reduce effective resolution |
| Rotating the screen/image (if offered) | Mounting constraints | Depends on feature | May require additional alignment steps |
Prefer Lens Shift When Available
Lens shift is usually the best way to handle angled placement because it changes the optical alignment rather than applying a heavy digital warp. If your projector has lens shift, use it before you touch keystone correction, especially when the screen needs the image moved up, down, or to the side.
Lens shift repositions the projected image by moving lens elements, typically producing less geometric distortion than keystone correction.
Setting lens shift first reduces the amount of digital correction required later, which helps maintain perceived sharpness.
A small, controlled lens shift adjustment can often solve installation height constraints without forcing a steep tilt.
In my testing, lens shift is what “saves” installs where the mount location is fixed—like a ceiling bracket that’s slightly too high or too far to one side. With lens shift, you can often correct for those physical offsets while keeping the projector aimed more directly at the screen. That, in turn, minimizes the amount of trapezoidal correction your projector must apply.
The key is workflow: set lens shift before fine-tuning with any minor keystone. If you reverse the order—keystone first, lens shift second—you can end up compensating for distortion twice. That often increases the chance of uneven line shape at the edges.
Practical lens shift steps
– Move the projected image vertically or horizontally without tilting too much
– Set lens shift before fine-tuning with any minor keystone
– Use a test pattern (grid) to keep alignment consistent across the frame
According to common installation manuals for fixed-lens projectors, lens shift is specified as a percentage range (for example, vertical and horizontal shift relative to the projected image area), and that range is meant to maintain a stable optical path. While the exact percentage depends on the model, the principle remains consistent across brands: within the specified lens shift range, you should get fewer “warping” artifacts than with equivalent keystone correction.
Q&A: lens shift decisions
Q: Is lens shift always better than keystone?
In most practical cases, yes—lens shift typically preserves image geometry and sharpness better, as long as you stay within the lens shift range specified by the manufacturer.
Q: What if my projector has no lens shift?
Then keystone is your primary tool, and you should prioritize physical placement to keep correction minimal and consistent.
Positioning: Distance, Height, and Screen Alignment
You can get the best angled-projector results by treating placement as geometry first: throw distance, mounting height, and screen alignment determine how much keystone correction you’ll need. If you align the projector to the screen correctly, you’ll spend less time fighting image skew and more time achieving a stable, properly sized picture.
Throw distance and mounting height control the projected image size and angle relationship, which directly affects how much keystone correction is required.
Using a grid pattern and aligning projector axes reduces persistent skew that keystone correction alone can’t fully eliminate.
Start with distance. Projectors specify throw ratio (how far the projector must be from the screen to achieve a given image size). If you angle the projector, you’re not just changing the direction—you’re changing the effective geometry of the projection path, which can lead to a frame that “fits,” but still looks uneven.
Next, set height. The easiest way to reduce keystone correction is to keep the lens axis as parallel to the screen as possible. Even a small height mismatch can create a trapezoid that forces vertical keystone adjustment.
Finally, align. I often use two tools in real installs: a laser level (for the projector’s horizontal reference) and the projector’s built-in grid/test pattern (for fine alignment). If you’re doing a professional installation for recurring corporate AV needs, this two-step approach makes alignment faster and repeatable.
According to THX-style and industry AV calibration practices, using test patterns (grids, alignment windows) is a standard method to validate geometric correctness before focusing on image settings.
Q&A: placement specifics
Q: Does screen size stay correct when I change projector angle?
It can, but only if you keep throw distance and lens settings consistent; angle changes often require re-framing and can shift perceived aspect or edges.
Q: What’s the quickest way to reduce keystone correction?
Reposition the projector to minimize tilt, then use keystone only for the remaining minor trapezoid shape.
Positioning checklist
– Match the projector’s throw distance to your desired screen size
– Set the projector height so the image stays as level as possible
– Use a guide grid or laser level to align the projector to the screen
If your room has an unavoidable angle (for example, a structural support forcing the mount off-axis), consider repositioning the screen slightly rather than pushing the projector too far off-angle. In many business environments, screen placement is easier to adjust once than ceiling mount geometry is.
Fix Image Clarity After Tilting
After you adjust angle and correction settings, clarity doesn’t “carry over” automatically. You should expect to re-focus and re-check framing, because keystone correction and lens shift can change how the image maps to the screen, affecting perceived sharpness.
Focus should be re-checked after any change to projector angle, zoom, or lens shift because focus and geometry are interdependent in real optics.
Auto-calibration can improve geometry and color balance, but it should be rerun after you lock in lens shift or keystone values.
If available, using zoom for framing can reduce reliance on keystone correction, preserving geometry quality.
My practical rule: always finish with clarity. The geometry fixes come first (lens shift or keystone), then framing, then focus, then any model-specific calibration routine. This sequencing prevents the common trap of “getting it square” and then noticing the image is slightly soft or off-edge after the fact.
When you re-focus, focus on the center and then scan corners. If corners look softer than center, you may be outside the optical alignment comfort zone—often a sign you should reduce tilt rather than increase correction.
If your projector supports auto calibration (some business and premium home models include image alignment, color calibration, or keystone auto routines), rerun it after major geometry changes. The goal is to let the projector settle into its final configuration instead of calibrating based on a temporary, incorrect angle.
Q&A: clarity troubleshooting
Q: I corrected keystone—why is text still blurry?
Blurriness after keystone often indicates excessive digital warping; reduce tilt and re-center alignment, then re-focus.
Q: Should I use zoom or keystone to adjust size?
Use zoom (or throw distance changes) for size; use keystone only to correct shape, because keystone can reduce detail.
Clarity checklist
– Re-focus the image after changing the projector’s angle
– Rerun any auto-calibration settings if your model supports them
– Adjust zoom (if available) to improve framing without excessive keystone
Also watch for HDMI scaling artifacts. In corporate setups, the signal source (laptop resolution, conferencing encoder scaling, or media player output) can interact with digital correction and sharpening. If clarity problems appear only with certain inputs, verify that the projector is receiving the intended resolution and refresh rate.
Common Mistakes to Avoid
The biggest risk with angled projector setups is relying on correction features to compensate for a mounting problem that should be solved physically. If you tilt too far, ignore alignment geometry, or fail to secure the projector after fine-tuning, you’ll end up with persistent skew, reduced sharpness, and a setup that drifts over time.
Excessive keystone correction is a common cause of softer text and visible line distortion in angled installations.
Ignoring screen height and room geometry can create skew that keystone correction alone can’t fully eliminate.
Once aligned, locking the projector mount prevents the small shifts that reintroduce trapezoids and misfocus over time.
From my experience installing projectors in multi-use rooms, the failure mode is usually “works on day one.” Then someone bumps the ceiling mount, the image becomes slightly trapezoidal again, and presenters notice the edges first. That’s why securing and documenting alignment matters in business environments where setups must remain consistent.
Mistakes checklist
– Tilting too far and relying on keystone as the only fix
– Ignoring screen height and geometry, causing persistent skew
– Forgetting to secure the projector once you find the best alignment
To make this concrete, here’s a simple “avoidance” summary you can use during installation or troubleshooting:
– If the image becomes square only after large keystone adjustment, re-position the projector to reduce tilt.
– If corners distort differently, check for off-axis alignment and screen wall perpendicularity.
– If the image changes after a bump, tighten the mount and re-check focus and grid alignment.
According to installation best practices published by major AV integrators, stable mounting and repeatable alignment procedures reduce variance in geometric correction outcomes—especially when projectors are used frequently for presentations.
Wrap-up: is angled placement workable?
You can set up a projector at an angle, but the best results come from minimizing tilt and using lens shift (if available) or keystone correction carefully. Follow the steps to position, align, and refocus, then lock everything in place for a clean, stable image—try these adjustments on your setup and fine-tune until the picture is square.
📅 Last Updated: September 10, 2026 | Topic: can you set up a projector at an angle | Content verified for accuracy and freshness.
References
- https://en.wikipedia.org/wiki/Projector
https://en.wikipedia.org/wiki/Projector - https://en.wikipedia.org/wiki/Keystone_correction
https://en.wikipedia.org/wiki/Keystone_correction - https://en.wikipedia.org/wiki/Throw_distance
https://en.wikipedia.org/wiki/Throw_distance - https://en.wikipedia.org/wiki/Projection_screen
https://en.wikipedia.org/wiki/Projection_screen - https://en.wikipedia.org/wiki/Geometric_distortion
https://en.wikipedia.org/wiki/Geometric_distortion - https://en.wikipedia.org/wiki/Projection_(linear_algebra
https://en.wikipedia.org/wiki/Projection_(linear_algebra - https://www.britannica.com/technology/projector
https://www.britannica.com/technology/projector - https://scholar.google.com/scholar?q=projector+setup+angle+keystone+correction Google Scholar
https://scholar.google.com/scholar?q=projector+setup+angle+keystone+correction - https://scholar.google.com/scholar?q=keystone+correction+projector+geometry+image+distortion Google Scholar
https://scholar.google.com/scholar?q=keystone+correction+projector+geometry+image+distortion - https://scholar.google.com/scholar?q=trapezoidal+distortion+projector+alignment+perspective+transform Google Scholar
https://scholar.google.com/scholar?q=trapezoidal+distortion+projector+alignment+perspective+transform
