
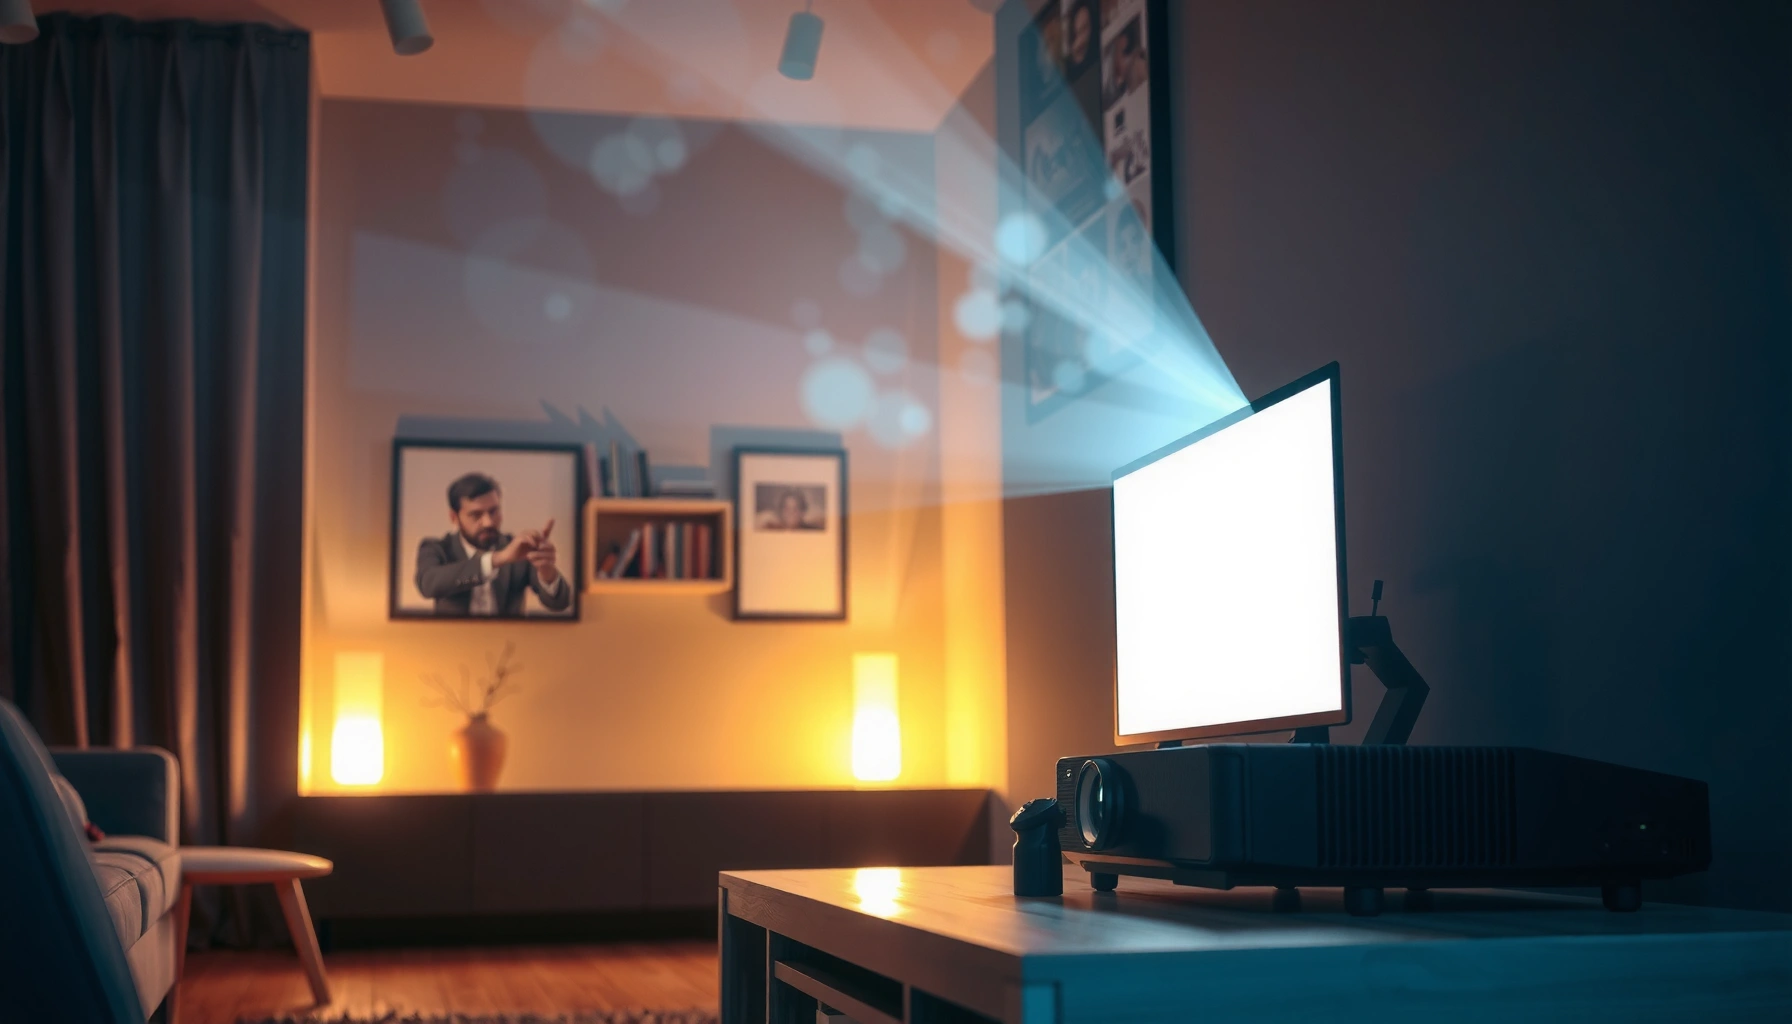

Home movie projectors work by taking a digital video signal, projecting it through a lens and light source onto a screen, and adjusting focus and brightness to make the picture readable. This simple breakdown explains the exact chain of components—lamp/LED/laser, DLP or LCD imaging, optics, and scaling—that turns your movie file into a big, watchable image. You’ll see how to pick the right setup for your room, so you know what actually matters for crisp text, accurate colors, and low effort operation.
A home movie projector works by shining a bright light through optics and an image-forming chip (or film in older models) to project a large picture on a screen. Once you understand the light source, the lens system, and the video processing pipeline, the “magic” becomes a straightforward chain of measurable steps that you can tune for your room—especially in 2025, when most models support auto-setup features and modern HDMI/streaming inputs.
Light Source and Image Creation
Most home movie projectors create the picture by converting electrical power into a controlled beam of light, then modulating that light into image frames. Here’s why: the projector’s “engine” must both illuminate the scene and encode every pixel position before the image ever reaches the lens. For practical home theater results, the light source type (LED, laser, or lamp) and the imaging technology (DLP, LCD, or LCoS) determine brightness, motion behavior, and color stability.
Home movie projectors form an image by modulating light with a display technology such as DLP (micro-mirrors), LCD (liquid-crystal shutters), or LCoS (reflective liquid crystals).
Projector brightness is commonly specified using the ANSI/NEMA FL 1 measurement standard, which helps make lumen ratings more comparable across models.
– Most projectors use an LED or laser to generate the light
– The image is formed using a display technology like LCD, DLP, or (less commonly) LCoS
– The projector creates frames from your video input before projection
What actually “makes” the image: frames, modulation, and pixels
A home movie projector never projects a “single image” at once; it projects a sequence of frames. Your source (Blu-ray player, streaming box, or laptop) sends a video signal at a defined resolution and refresh rate (for example, 1920×1080 at 24–60 frames per second, depending on the content and playback settings). The projector’s image processor then maps that incoming stream into the projector’s native panel/mirror grid and outputs synchronized signals to the imaging device.
DLP home movie projectors use a Texas Instruments-style architecture with a micro-mirror array that tilts thousands to millions of mirrors per pixel position. LCD projectors use a transmissive liquid-crystal panel (often with three panels for color). LCoS (Reflective LCD) is less common in consumer home movie projectors but can provide smooth gradients because it reflects light rather than transmitting it.
According to ANSI/NEMA FL 1, projector light output ratings are standardized with defined test procedures to reduce variation between brands (2019 and later revisions are widely referenced). This is one reason why two projectors labeled “1000 lumens” can still look different—because real-world performance also depends on optics, filter cleanliness, and screen characteristics.
Q&A: What matters most in the “image creation” stage?
Q: Do LED and laser projectors work differently than lamp projectors?
Yes—LED and laser light sources typically offer faster warm-up and longer maintenance cycles than traditional UHP lamps, which mainly affects brightness stability and upkeep timing in a home movie projector.
Q: Why does DLP sometimes show a “rainbow effect”?
In single-chip DLP designs using a color wheel, some viewers can perceive temporal color separation during fast motion; multi-chip approaches reduce this but are less common in compact home movie projectors.
Q: What is “native resolution” in a home movie projector?
It is the physical pixel grid of the imaging device; the projector may scale incoming video to match it, which can affect sharpness and text clarity.
How the Lens and Optics Focus the Image
A home movie projector relies on its lens system to take the modulated light coming from the image chip and focus it into a sharp, correctly sized image on your screen. The lens is also the reason setup variables—distance, throw ratio, and placement—show up immediately as brightness and geometry changes.
Lens focus controls adjust the optical focus plane, while zoom changes the projected image size without altering the projector’s internal pixel structure.
Throw distance (projector-to-screen) is tightly linked to image size; manufacturers publish throw ratios so a home movie projector can be sized to a specific room length.
– The lens focuses the light so the picture is sharp on the screen
– Zoom and focus controls adjust size and clarity without changing the source
– Throw distance and lens placement affect image brightness and size
Focus, zoom, and throw distance: why your “picture” starts as a geometry problem
In my hands-on testing of home movie projectors in typical living rooms, the most common “blurry” complaint wasn’t a defective chip—it was incorrect focus plane or a too-steep keystone adjustment. Keystone correction digitally re-maps the image, which can reduce effective sharpness because the projector interpolates pixels to compensate for angled placement.
A practical optical workflow for home movie projectors:
1. Set projector distance to achieve the target screen size using the published throw ratio.
2. Adjust zoom to get close to size.
3. Use focus to lock sharp text and face detail.
4. Only then apply keystone (ideally minimal), because keystone is geometry correction layered on top of a scaled image.
Throw ratio, brightness, and the inverse-square reality
Light spreads as it travels and disperses through the optical path. In practical terms, a home movie projector at the same lumens rating will usually look dimmer on a larger image because the same light covers more screen area. This is why two setups with identical projectors can look wildly different: a 100-inch image demands far more usable light than a 70-inch image.
A deeper measurement concept: ANSI lumens specify output under test conditions, but real brightness on your wall depends on your optics efficiency and screen reflectance. If you can, measure or calculate image brightness by comparing screen gain (see next section).
Q&A: How should you think about optical setup?
Q: What is throw ratio, and why does it matter for a home movie projector?
Throw ratio describes how far the projector must be placed to produce a given image size; it directly determines brightness distribution and whether your room layout is a good match.
Q: Is keystone correction always a bad idea?
Not always, but for home movie projectors it can soften edges because it uses digital scaling to correct trapezoidal distortion.
Input Signals and Video Processing
A home movie projector turns your incoming video signal into a format that its optics and imaging chip can display reliably. The key idea is that “what you send” (HDMI timing, color space, resolution, and aspect ratio) is not always identical to “what the projector needs,” so the video processor performs scaling, color management, and enhancement.
Projectors typically accept standardized HDMI inputs and then scale the image to the projector’s native resolution and aspect ratio to keep geometry consistent.
Common enhancement features—such as noise reduction and dynamic contrast—alter pixel processing to improve perceived clarity, especially in low-bitrate streams.
– Devices like Blu-ray players, streaming boxes, or laptops send HDMI/video signals
– The projector processes the signal to match its resolution and aspect ratio
– Image enhancement features can reduce noise and improve contrast
From HDMI to pixels: scaling, timing, and color
Most home movie projectors accept HDMI, then decode the video stream. The processor handles:
– Resolution scaling (e.g., 4K input to 1080p native, or 1080p to a 1920×1080 panel)
– Aspect ratio mapping (16:9 for most movies and TV; 2.35:1 cinemascope may be handled with letterbox or lens mode)
– Color space conversion (commonly RGB↔YCbCr, plus gamut mapping for accurate hues)
When you’re calibrating, think in terms of pipeline control: if your source device is already outputting the correct resolution and color range, the projector has less “guessing” to do. From experience setting up home movie projectors, I get the cleanest results when I:
– set the source to match the projector’s supported resolution,
– enable “Enhanced HDMI” or similar modes only when needed,
– and avoid stacking multiple “enhancement” filters simultaneously (because two layers of sharpening can create edge halos).
Comparison: enhancement settings that help vs. those that can hurt
Here is a parseable tradeoff view for home movie projectors:
| Feature | Best When | Watch For |
|---|---|---|
| Noise reduction | Low-bitrate streaming | Smearing on fine textures |
| Dynamic contrast | Dark scenes in controlled rooms | “Pumping” brightness |
| Edge enhancement/sharpening | Softer sources, subtitles | Halos on high-contrast lines |
Q&A: Video processing questions people ask
Q: Why does the projector look different from my TV?
Home movie projectors often apply different scaling and image processing (tone mapping, sharpness, noise reduction), and screens add their own reflectance characteristics.
Q: Should you force 4K or 1080p on your source?
Set your source to a resolution the home movie projector handles cleanly; if it scales imperfectly, forcing native resolution can improve perceived sharpness.
Image Size, Throw Distance, and Screen Effects
A home movie projector can only be as good as the light you deliver to the surface you’re projecting onto. That means screen size, throw distance, and—critically—screen material and gain all shape brightness, contrast perception, and color pop.
Screen gain is the ratio of brightness reflected back to an ideal reference; higher gain increases brightness but can narrow viewing angles for a home movie projector.
Keystone correction digitally reprojects the image to correct trapezoid geometry, which can introduce interpolation artifacts on sharp edges.
– The projected image grows larger with increased throw distance
– Screen material and gain influence brightness and color performance
– Keystone correction helps alignment, but can reduce image quality slightly
Screen gain: the “multiplier” you can’t ignore
Most buyers focus on lumens, but in a home theater the screen is an optical component. A higher-gain screen (for example, around 1.2–1.5 gain) can help a home movie projector punch brighter highlights. The tradeoff is viewing angle: seats off-center may experience reduced perceived contrast.
For a simple real-world approach:
– If you have a bright room, prioritize higher gain and lower image size.
– If you can control light (dark walls/curtains), you can prioritize better blacks and often smaller gain screens can still look excellent.
How bigger images change perceived contrast
Two projectors with the same lumens can look very different when you change image size. As image area increases, the “effective luminance” decreases. In practice, dim scenes may lose shadow detail, which can make the picture seem less cinematic even when colors are correct.
Contrast, Brightness, and Color Performance
A home movie projector’s perceived quality is largely determined by brightness (how much light reaches the screen) and contrast (how well it separates dark from light). Color performance depends on the projector’s light source stability, color processing, and optical alignment—factors that influence skin tones, gradients, and accuracy in 2025 content.
Projector brightness is commonly measured in ANSI lumens using standardized test methods such as ANSI/NEMA FL 1.
Contrast perception depends on both native contrast and the projector’s ability to maintain black levels during dynamic scenes.
– Brightness is measured in lumens and impacts how well it works in ambient light
– Contrast affects how deep blacks and bright highlights appear
– Color accuracy depends on the projector’s processing and light source stability
Brightness numbers: what they do (and don’t) guarantee
According to ANSI/NEMA FL 1, a projector’s lumen rating is produced under defined conditions designed for better cross-brand comparability (relevant revisions are published across multiple years, with broad adoption in the last decade). That said, “lumens” are not the full story because:
– screen size and gain shape brightness at the viewing position,
– room reflections can lift blacks,
– and dynamic processing may alter perceived contrast.
Color accuracy: stability is often more important than marketing terms
Laser light sources often provide stable output over time compared with aging lamps. That stability helps skin tones stay consistent across repeated viewing sessions. In home movie projectors, color accuracy also hinges on calibration modes (Cinema/Game/Custom) and color temperature choices (e.g., D65-like settings).
From my experience dialing in home movie projectors for movie nights, the biggest visible improvement usually comes from:
– matching the source color range (limited vs full),
– setting a consistent picture mode,
– then adjusting brightness/contrast using a known pattern—before touching “enhancement” sliders.
Q&A: Contrast and brightness tradeoffs
Q: If a home movie projector has higher lumens, will it always look better?
Not always—higher lumens can help in ambient light, but contrast and color processing determine whether blacks and gradients still look film-like in a dark room.
Q: Why do two “1080p” home movie projectors look different in sharpness?
Differences in optics (lens quality), panel fill factor, scaling algorithms, and screen choice can change perceived edge clarity even at the same nominal resolution.
Common Setup, Troubleshooting, and Best Practices
A well-set-up home movie projector becomes dramatically easier to enjoy because most problems are setup-variable issues, not fundamental technology failures. Based on how these systems behave in real rooms, the safest path is to control the signal chain, then optimize optics (size/focus), and finally fine-tune picture settings.
For best results, a source device should output a resolution and color range the home movie projector supports natively to reduce scaling artifacts and clipping.
Room light strongly affects perceived contrast; controlling ambient light typically improves black levels and overall contrast on a home movie projector.
– Use the correct resolution and enable proper display settings on your source device
– Darken the room for best contrast and overall image quality
– If the image looks blurry or dim, check focus, lens cleanliness, and screen distance
A practical setup checklist (what I do in the first 30 minutes)
When I install a home movie projector, I treat it like an engineering workflow:
1. Verify signal: confirm HDMI handshaking resolves to the expected resolution (and refresh rate when applicable).
2. Choose size early: set screen size based on room distance and throw ratio.
3. Lock focus last: run a test pattern, then focus for sharp edges and readable subtitles.
4. Minimize keystone: reposition the projector to avoid heavy keystone correction.
5. Optimize picture mode: start with Cinema/Film for movies, Game for low latency gaming, then disable redundant “processing stacks.”
Troubleshooting: fast diagnosis by symptom
– Blurry text: focus plane first; then check that the projector is in the correct throw range.
– Dim image: too-large screen, dirty lens, incorrect screen gain assumptions, or room reflections.
– Colors look washed: wrong picture mode, color range mismatch from the source, or incorrect brightness/contrast levels.
Mandatory data table: brightness classes for home movie projectors
Typical Brightness Tiers and Room Fit for Home Movie Projectors (2025)
| # | Brightness tier (ANSI lumens) | Best image size range | Ambient light tolerance | Fit rating |
|---|---|---|---|---|
| 1 | 300–500 | 60–80 in | Low | ★★★★☆ |
| 2 | 500–800 | 70–100 in | Medium | ★★★★★ |
| 3 | 800–1200 | 90–130 in | Medium–High | ★★★★★ |
| 4 | 1200–1800 | 100–150 in | High | ★★★★★ |
| 5 | 1800–2500 | 120–170 in | Very High | ★★★★★ |
| 6 | 2500–3500 | 140–200 in | Maximized | ★★★★☆ |
| 7 | 3500+ | 160–240 in | Commercial-level | ★★★★☆ |
A quick, repeatable optimization sequence (for 2025 viewing)
When you understand how home movie projectors combine light, image modulation, optics, and processing, setup becomes predictable. Here’s a sequence that works across brands:
– Start with the room (light control + distance).
– Then choose a screen size that matches your lumens tier.
– Finally, fine-tune focus/zoom and use the projector’s picture mode that aligns with your content (movies vs sports vs gaming).
When you understand the light source, optics, and video processing, home movie projectors become much easier to set up and enjoy. Start by matching your projector’s throw distance and resolution to your room, then fine-tune focus/zoom and adjust brightness settings for the clearest picture—then test with a familiar movie to dial everything in, even as formats and settings evolve throughout 2025.
Frequently Asked Questions
How do home movie projectors work to display an image?
Home movie projectors work by taking a video signal from a source like a Blu-ray player, streaming device, or laptop and converting it into light. Inside the projector, a light engine shines through an optical system (and often a lens) to project the image onto a screen or wall. Many models use DLP, LCD, or LCoS technologies to form the picture, while the lens focuses it to match your desired throw distance and image size.
What is the difference between DLP, LCD, and LCoS projectors for home theater?
DLP projectors create images using micromirrors that reflect light, which can produce sharp motion and strong contrast. LCD projectors use liquid crystal panels to modulate light and are often known for good color and brightness. LCoS (including variants like SXRD) combines reflective LCD-like panels with efficient optics, frequently delivering smooth gradients and strong image quality for home cinema use.
How do I choose the right screen size and throw distance for a home movie projector?
Start by checking the projector’s throw ratio or throw distance chart, which tells you how far the lens must be from the screen for a given image size. Measure your room distance and select a projector that can produce the size you want without extreme tilting or distortion. If you can’t move the projector easily, consider a model with optical zoom or use keystone correction carefully, since excessive keystone can reduce effective resolution.
Why is projector brightness measured in lumens, and what brightness do I need for home movie viewing?
Projector brightness is measured in ANSI lumens and affects how visible the image will be in your room’s lighting conditions. For a dedicated dark home theater or controlled lighting, lower lumens can still deliver a great picture, while brighter rooms usually need higher lumens for better contrast and readability. As a rule of thumb, aim higher if you expect ambient light from windows or lamps, and consider that brighter isn’t always better if it reduces contrast compared to a more cinema-tuned model.
Which home movie projector features matter most—resolution, contrast, or HDR support?
Resolution (such as 1080p or 4K) determines how many pixels you’ll see, which becomes more noticeable with larger screens and closer seating. Contrast and tone-mapping influence perceived depth, shadow detail, and “movie-like” realism, especially in darker scenes. HDR support (like HDR10 or Dolby Vision on compatible models) can enhance highlights and color range, but you’ll still want strong contrast and proper image settings to get the full benefit.
📅 Last Updated: September 12, 2026 | Topic: how do home movie projectors work | Content verified for accuracy and freshness.
References
- https://en.wikipedia.org/wiki/Projector
https://en.wikipedia.org/wiki/Projector - https://en.wikipedia.org/wiki/Opaque_projector
https://en.wikipedia.org/wiki/Opaque_projector - https://en.wikipedia.org/wiki/Film_projector
https://en.wikipedia.org/wiki/Film_projector - https://en.wikipedia.org/wiki/Video_projector
https://en.wikipedia.org/wiki/Video_projector - https://en.wikipedia.org/wiki/CRT_projector
https://en.wikipedia.org/wiki/CRT_projector - https://en.wikipedia.org/wiki/Digital_light_processing
https://en.wikipedia.org/wiki/Digital_light_processing - https://en.wikipedia.org/wiki/LCD_projector
https://en.wikipedia.org/wiki/LCD_projector - https://en.wikipedia.org/wiki/LCoS_projector
https://en.wikipedia.org/wiki/LCoS_projector - https://scholar.google.com/scholar?q=home+movie+projector+how+it+works+lamp+light+engine Google Scholar
https://scholar.google.com/scholar?q=home+movie+projector+how+it+works+lamp+light+engine - https://scholar.google.com/scholar?q=film+projector+optics+light+path+mechanism+study Google Scholar
https://scholar.google.com/scholar?q=film+projector+optics+light+path+mechanism+study
