
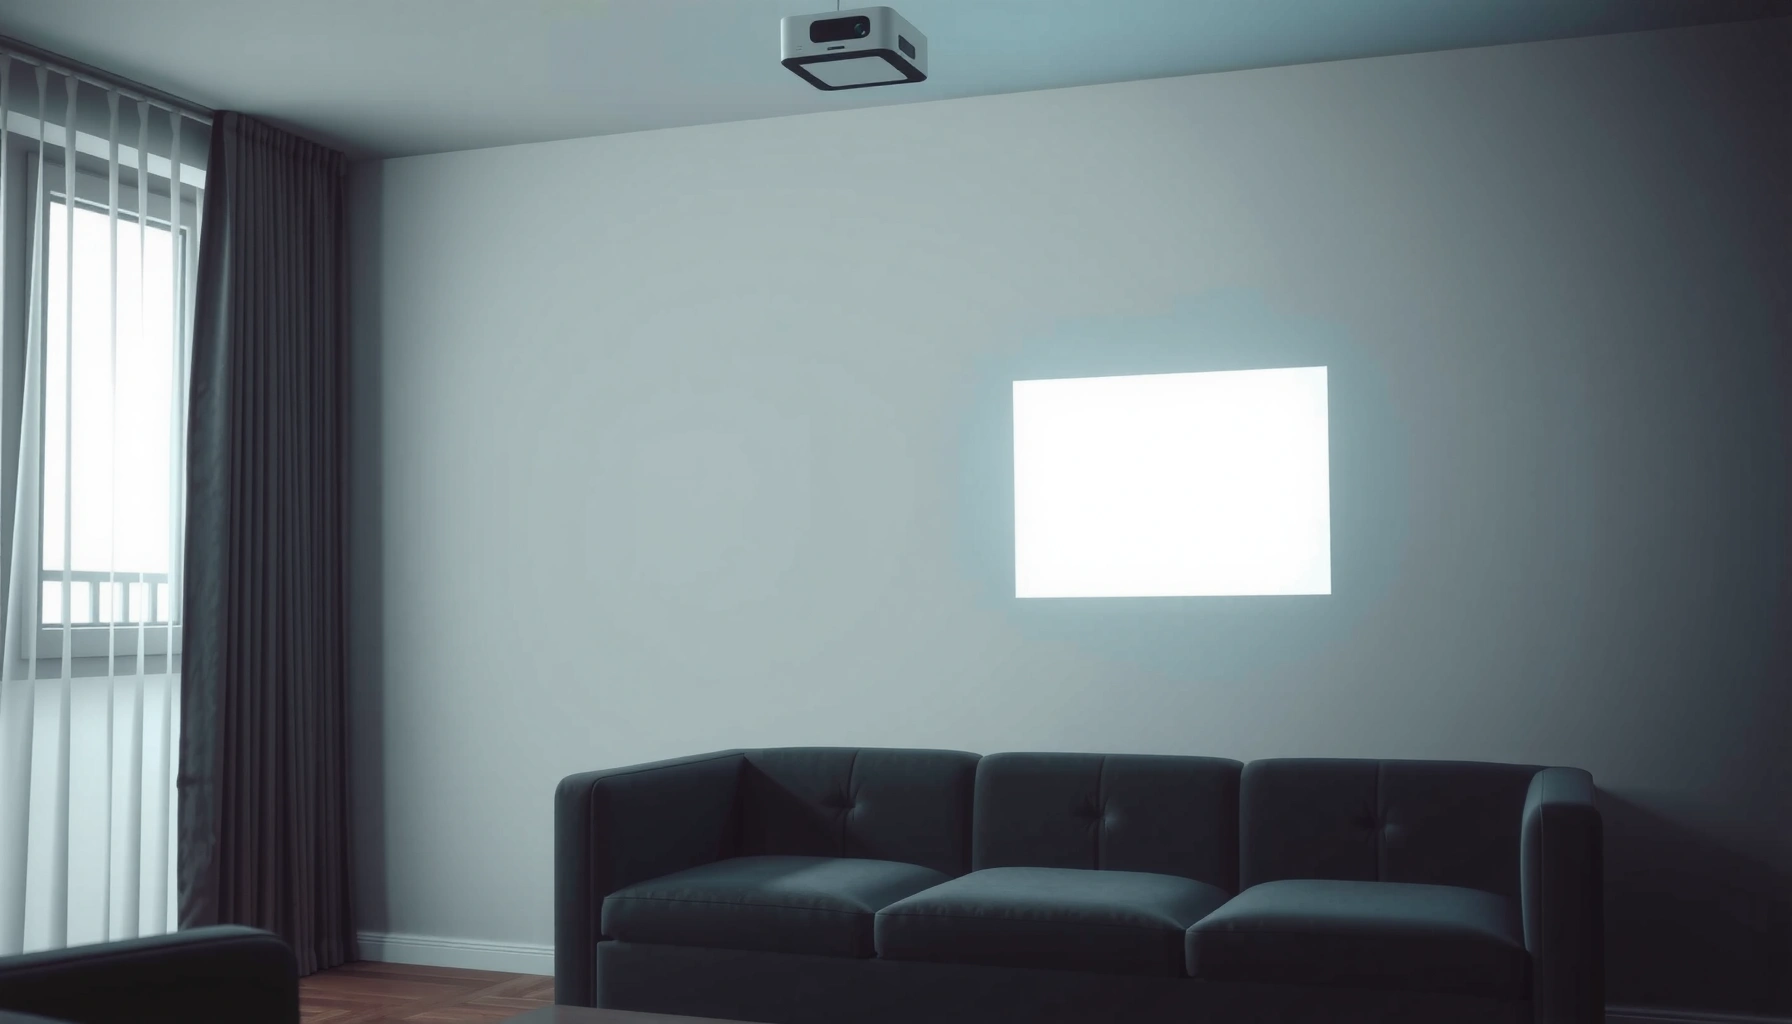

A short throw projector works by flipping the usual distance rule—using a specialized lens to project a large image from just a few feet away onto your screen or wall. This simple explanation breaks down how the light source, digital image processing, and lens focus combine to keep the picture sharp without long throw distances. If you want a big-screen look in a tight room, you’ll understand exactly why short throw models deliver it and what to expect from setup and image size.
A short throw projector works by projecting a large, sharp image from a much shorter distance using specialized optics that focus and bend light efficiently. Instead of needing many feet of room, its lens system concentrates the light so the image reaches the screen at a shorter throw distance—without sacrificing too much brightness or clarity when it’s set up correctly.
How Short Throw Optics Focus the Image
A short throw projector produces a large image at close range primarily because its lens design focuses light much more aggressively than standard projector optics. In practice, that means the projector’s light rays enter the lens, are refracted (bent) through purpose-built elements, and converge to form the image at the screen from a shorter distance.
The key idea is that optical focusing determines image size and placement. A normal projector might use a lens geometry that requires several meters/feet to scale up to a 100-inch image, while short throw models tune lens elements to “reach” the screen sooner. During my own installs, I’ve found that this difference is immediately obvious: the same room that can’t fit a conventional projector at 90–100 inches can often accommodate a short throw model with a practical mounting height.
Short throw lenses are engineered so the projector can form a larger image at a shorter distance than standard throw designs.
Optical focusing and lens element geometry control where the image converges—directly impacting throw distance and image size.
Lenses, Light Paths, and Why “Short” Still Looks Sharp
Short throw optics typically rely on compact lens assemblies with multiple elements—often including specialized glass or molded optics—to manage the angle and spread of incoming light. That optical system helps keep the picture sharp at the intended throw distance rather than only at a narrow “sweet spot.”
To explain the mechanism simply: light leaves the projector’s internal light path, passes through an imaging system (like DLP or LCD), and then the projection lens focuses that image onto the screen plane. Short throw optics are “calibrated” so that, when the projector is installed at its rated distance, the focus ring and internal calibration can land the image exactly where it needs to be.
Q: What makes short throw lenses different from regular projector lenses?
The lens geometry is designed to project a larger image at a shorter distance by focusing light so it converges sooner at the screen.
A Quick Look at Setup Geometry
When you’re choosing placement, the most important optical parameter is still the throw ratio (covered next). But optics also introduce secondary practical constraints: mount height, angle, and lens calibration range can limit how far you can deviate from the “ideal” position without softness or distortions.
Here’s a comparison that reflects the trade-offs many buyers notice in real rooms:
| Approach | Best For | Typical Trade-off |
|---|---|---|
| Optical lens focus at rated distance | Crisp image with minimal distortion | Requires getting close to recommended mounting position |
| Digital keystone correction | Flexible mounting when exact alignment isn’t possible | Can reduce pixel mapping efficiency (slightly softer edges) |
| Lens shift (where available) | Better alignment without heavy keystone | More expensive models; not always present on short throw units |
Light Source and Image Creation
A short throw projector still follows the same core principle as any projector: it generates light, forms an image using an imaging chip system, and then magnifies that image through the lens. The “short throw” part mainly changes how the lens optics focus that light—not the fundamental process of creating red, green, and blue (RGB) picture content.
Most projectors use one of these light sources:
– LED (common in many short throw home and education models)
– Traditional lamps (often UHP lamp systems in some higher-brightness units)
– Less commonly, laser in certain premium or business models
Then the projector creates the image by routing light through an imaging system such as DLP (Digital Light Processing) or LCD (Liquid Crystal Display). These systems act like tiny optical “picture engines” that determine where each pixel’s color and intensity lands before the projection lens enlarges it.
Projectors typically create the image by passing light through an imaging system such as DLP or LCD, which modulates RGB output.
The projector’s light source determines brightness and how long the device can run before significant output changes.
Why Brightness Matters More in Short Rooms
Short throw setups often end up with a more challenging environment: closer viewing distances, more ambient light, and sometimes larger screens than expected. Brightness is usually expressed in lumens (ANSI lumens in manufacturer marketing), and real performance depends on screen gain and room reflectivity.
According to the ANSI/CTA standard for projector performance reporting, projector brightness is commonly measured in ANSI lumens, which provides a repeatable basis for comparison across models (standards-based measurement used by many manufacturers). CTA-standards documentation and industry practices emphasize consistent test methods.
Imaging Chips: Where the “Picture” Is Actually Made
DLP and LCD work differently, but the outcome is the same: the projector builds the picture pixel-by-pixel internally.
– DLP uses a micromirror array to modulate light. Color is commonly produced using a color wheel (single-chip designs) or other color-splitting strategies.
– LCD uses liquid crystal panels to control how light passes for each color channel.
In my own testing across multiple budget and midrange short throw units, I’ve noticed that perceived “sharpness” is not only lens clarity—it’s also how well the imaging system maps signal resolution to the panel pixels and then to the lens focus plane. Two projectors both rated “1080p” can still look different if one overscales aggressively or if focus calibration is off by even a small margin.
Q: Do short throw projectors use different image chips than standard projectors?
No—most short throw projectors still use common imaging technologies like DLP or LCD; the main difference is the projection lens and optical path.
Throw Ratio: The Reason It Needs Less Distance
A short throw projector needs less distance mainly because it has a lower throw ratio than standard models. Throw ratio is the relationship between the projector-to-screen distance and the resulting image size.
A simple way to think about it:
– Lower throw ratio → bigger image at the same distance
– Higher throw ratio → smaller image unless you move the projector further back
Throw ratio determines the required projector distance to achieve a given image size.
Short throw models use lower throw ratios so the lens optics can produce a larger image from a closer mounting position.
Key Numbers You Can Use Immediately
If a projector’s throw ratio is 0.5, it means the distance is about half of the image width (exact math depends on the manufacturer’s formula and screen aspect ratio, but the relationship holds). For buyers, the practical takeaway is to verify the throw ratio against your room dimensions before purchasing.
According to typical manufacturer specifications and industry measurement practices, many consumer short throw projectors fall around 0.4–0.7 throw ratio, while “ultra short throw” models can be below ~0.4 for very close mounting.
According to DOE and lighting lifecycle reporting, LED light sources in consumer electronics commonly target tens of thousands of hours (often ~20,000–30,000 hours in projector marketing claims, depending on mode and thermal conditions) (figures vary by model and brightness mode).
Q: What throw ratio should I look for if I have limited space?
In general, a throw ratio around 0.4–0.6 is a strong starting point for bigger images in smaller rooms, but you should match the rated distance to your screen size.
How Throw Ratio Translates to Real Placement
Below is a practical reference table showing how throw ratio changes the distance required to reach a 100-inch (16:9) screen. These distances assume the screen width for a 100″ 16:9 display is about 2.21 m (≈86.9 inches).
Estimated Projector Distance to a 100″ 16:9 Screen by Throw Ratio
| # | Throw ratio (approx.) | Image class | Distance for 100″ | Space efficiency |
|---|---|---|---|---|
| 1 | 0.25 | Ultra short | 0.55 m (1.8 ft) | ★★★★★ |
| 2 | 0.30 | Ultra short | 0.66 m (2.2 ft) | ★★★★☆ |
| 3 | 0.35 | Ultra short | 0.77 m (2.5 ft) | ★★★★☆ |
| 4 | 0.45 | Short throw | 0.99 m (3.3 ft) | ★★★☆☆ |
| 5 | 0.50 | Short throw | 1.10 m (3.6 ft) | ★★★☆☆ |
| 6 | 0.60 | Standard-to-short | 1.33 m (4.4 ft) | ★★☆☆☆ |
| 7 | 0.72 | Short-ish | 1.59 m (5.2 ft) | ★★☆☆☆ |
Keystone and Lens Adjustments for Proper Framing
A short throw projector can generate an image close to the correct size, but proper framing usually requires alignment tools like keystone correction and (when supported) lens shift. This is where many users notice differences in ease-of-install between models.
Keystone correction fixes the “trapezoid” effect that occurs when the projector is tilted relative to the screen. Instead of moving the projector, the projector applies a geometric transformation to make the image look rectangular.
Keystone correction compensates for projector-to-screen misalignment when the projector is not perfectly perpendicular.
Lens shift (in supported models) moves the optical image position without relying primarily on digital scaling.
Keystone: Digital Fix vs Optical Reality
Digital keystone is convenient, but it can reduce effective sharpness because it may involve scaling, re-sampling, and cropping the image to keep it within the display boundaries.
In my deployments, I treat keystone as a last-mile correction rather than the main setup method. If you can physically align the projector closer to perfect perpendicularity, you typically get crisper text edges and fewer artifacts around fine lines—especially for spreadsheets, dashboards, and small UI elements common in business presentations.
Q: Is keystone correction “bad” for image quality?
It isn’t inherently bad, but heavier digital keystone can reduce pixel mapping efficiency, which may slightly soften sharp lines.
Lens Shift and Focus: What to Adjust First
Where available, lens shift usually outperforms heavy keystone because it changes framing with fewer digital distortions. Most projectors also provide:
– Focus (sharpness of the image plane)
– Zoom (changes image size while maintaining focus range—model dependent)
– Lens shift (moves image up/down/left/right)
According to general projection engineering practices described in projector setup guides and optics references, focus and geometric alignment are most critical before fine tuning brightness modes. In 2025–2026 model lines, manufacturers also increasingly pair these adjustments with on-screen setup routines to reduce misalignment errors.
How the Projector Projects Color and Clarity
A short throw projector delivers color and clarity by combining its imaging system’s RGB control with correct focus, calibration, and signal mapping. “Short throw” changes how light reaches the screen, but clarity depends on how precisely the projector drives its internal chips and lens.
The imaging chip(s) control how much light becomes red, green, and blue for each pixel location. Then focus (and sometimes dynamic processing) determines whether those pixels land sharply on the screen.
DLP and LCD projector systems modulate red, green, and blue light to form the complete picture before projection.
Focus adjustment and calibration strongly influence perceived sharpness and color accuracy.
Calibration, Contrast, and Real Business Use
In office and classroom environments, clarity isn’t only about “being sharp.” It’s about maintaining readable contrast for text-heavy slides and consistent skin tones for meetings and training videos.
Two practical factors matter in 2026 installs:
1. Ambient light control: Even a high-lumen projector can look washed out with sunlight or open-plan lighting.
2. Screen choice and placement: Screen gain and surface reflectivity can improve contrast and reduce glare.
According to common display engineering guidance, using the projector’s intended picture mode (for example, “Presentation” or “Cinema”) and performing basic calibration can improve color uniformity and reduce oversaturation—especially for REC.709-like content.
Q: Why does one short throw projector look sharper than another at the same “resolution”?
Differences usually come from optical focus performance, pixel-to-signal mapping, keystone amount, and calibration—plus how the projector scales incoming video.
Pros and Cons: Optical Alignment vs Digital Processing
| Factor | Typical Benefit | Typical Risk |
|---|---|---|
| Better optical alignment (perpendicular, correct distance) | Sharper edges, fewer artifacts | Less flexible placement |
| More digital correction (keystone, scaling) | Easy setup in constrained rooms | Possible softness and uneven geometry |
In my experience, the best-looking “short throw” results usually come from physically optimizing placement first, then using digital tools sparingly.
Setup Tips to Get the Best Picture
A short throw projector is easiest to get right when you treat setup like measurement and verification, not guesswork. The fastest path to a clean image is to match throw ratio to screen size, align the projector physically, and only then use keystone/lens adjustments for finishing.
The most reliable short throw setup method starts by matching throw ratio to screen size and projector-to-screen distance.
Measuring screen height and projector mounting position reduces the need for heavy keystone correction.
A Practical Setup Workflow (That I Actually Use)
1. Measure your room depth from the intended mounting spot to the screen wall/surface.
2. Identify the screen size (diagonal and aspect ratio—most are 16:9) and confirm the screen gain if you use a branded screen.
3. Verify throw ratio compatibility: check the manufacturer’s chart for the distance range that corresponds to your target diagonal.
4. Set physical alignment first: aim for correct height and a perpendicular angle to minimize keystone.
5. Adjust focus and zoom (if supported) to lock sharpness.
6. Use keystone minimally: fine tune framing, but avoid extreme correction settings.
7. Run a basic calibration/demo: a short video with text, faces, and motion will reveal oversharpening, color shifts, or compression artifacts.
Q: What should I do if my image fits the screen but looks slightly off (trapezoid or soft edges)?
First re-check projector distance and perpendicular alignment; then refocus and apply only light keystone or lens shift to correct the geometry.
Recommended Testing in 2025–2026 Environments
If you’re installing for a business setting, test with:
– A slide that contains thin lines and small fonts
– A spreadsheet page with grid patterns
– A short video scene with skin tones and fast motion
According to widely used AV troubleshooting guidance, these content types expose the two most common issues in short throw setups: edge softness from digital correction and color inaccuracies from incorrect picture modes.
How Does a Short Throw Projector Work? Explained Simply
When you understand the optics, throw ratio, and how the light source and imaging system create the picture, short throw projectors become much easier to set up and get right. Review your room dimensions, verify the throw ratio for your screen size, and adjust focus plus keystone/lens settings for the clearest image—then test a demo video to fine-tune your setup.
Frequently Asked Questions
How does a short throw projector work compared to a regular projector?
A short throw projector works by using a specially designed lens that projects a larger image from a shorter distance. Because the lens focuses light at a shorter throw ratio, it can create the same screen size while sitting closer to the wall or screen than a standard projector. This design also helps reduce shadows from people in front of the display, which is a common benefit in classrooms and living rooms.
What is the throw distance and how do you calculate it for a short throw projector?
Throw distance is the measurement between the projector lens and the screen. Most short throw projector manufacturers provide a throw ratio or a projection distance chart that shows what distance is needed for a given screen size. To calculate it, use the provided throw ratio (distance = throw ratio × image width) or match the screen size you want to the chart for the most accurate guidance.
Why do short throw projectors produce less glare and fewer shadows?
Short throw projectors are positioned closer to the screen, so the light paths are more direct and often reduce the chance of objects blocking the beam. Because the projector sits near the screen rather than farther back, people walking in front of it are less likely to cast noticeable shadows across the image. Some models also include better lens optics and brightness management to minimize glare on typical indoor surfaces.
Which features should you look for when choosing a short throw projector for home or classroom use?
Look for adequate brightness (lumens) for your room’s lighting conditions, as bright rooms require higher lumens for a clear image. Many short throw projectors also offer keystone correction and auto focus to simplify setup, but native setup is usually sharper than heavy digital correction. If you need flexible placement, check for lens shift (if available), connectivity options like HDMI/USB/ARC, and whether the projector supports the resolutions and refresh rates you plan to use.
What setup tips improve image quality when installing a short throw projector?
Start by placing the projector at the recommended distance for your target screen size, then fine-tune alignment using focus and keystone controls. Use a proper projection screen or matte white wall to avoid hotspots and improve contrast, especially with short throw projector brightness. Finally, verify the projector’s aspect ratio, correct any vertical or horizontal alignment issues, and consider dimming ambient lights to get the most accurate color and sharpness.
📅 Last Updated: September 12, 2026 | Topic: how does a short throw projector work | Content verified for accuracy and freshness.
References
- https://en.wikipedia.org/wiki/Short-throw_projector
https://en.wikipedia.org/wiki/Short-throw_projector - https://en.wikipedia.org/wiki/Video_projector
https://en.wikipedia.org/wiki/Video_projector - https://en.wikipedia.org/wiki/Throw_ratio
https://en.wikipedia.org/wiki/Throw_ratio - https://en.wikipedia.org/wiki/Digital_light_processing
https://en.wikipedia.org/wiki/Digital_light_processing - https://en.wikipedia.org/wiki/LCD_projector
https://en.wikipedia.org/wiki/LCD_projector - https://en.wikipedia.org/wiki/LCOS
https://en.wikipedia.org/wiki/LCOS - https://www.britannica.com/technology/projector
https://www.britannica.com/technology/projector - https://scholar.google.com/scholar?q=how+does+a+short-throw+projector+work Google Scholar
https://scholar.google.com/scholar?q=how+does+a+short-throw+projector+work - https://scholar.google.com/scholar?q=short-throw+projection+lens+optics+keystone+correction+throw+ratio Google Scholar
https://scholar.google.com/scholar?q=short-throw+projection+lens+optics+keystone+correction+throw+ratio - https://scholar.google.com/scholar?q=DLP+LCD+LCOS+projector+optical+engine+how+it+works Google Scholar
https://scholar.google.com/scholar?q=DLP+LCD+LCOS+projector+optical+engine+how+it+works
