
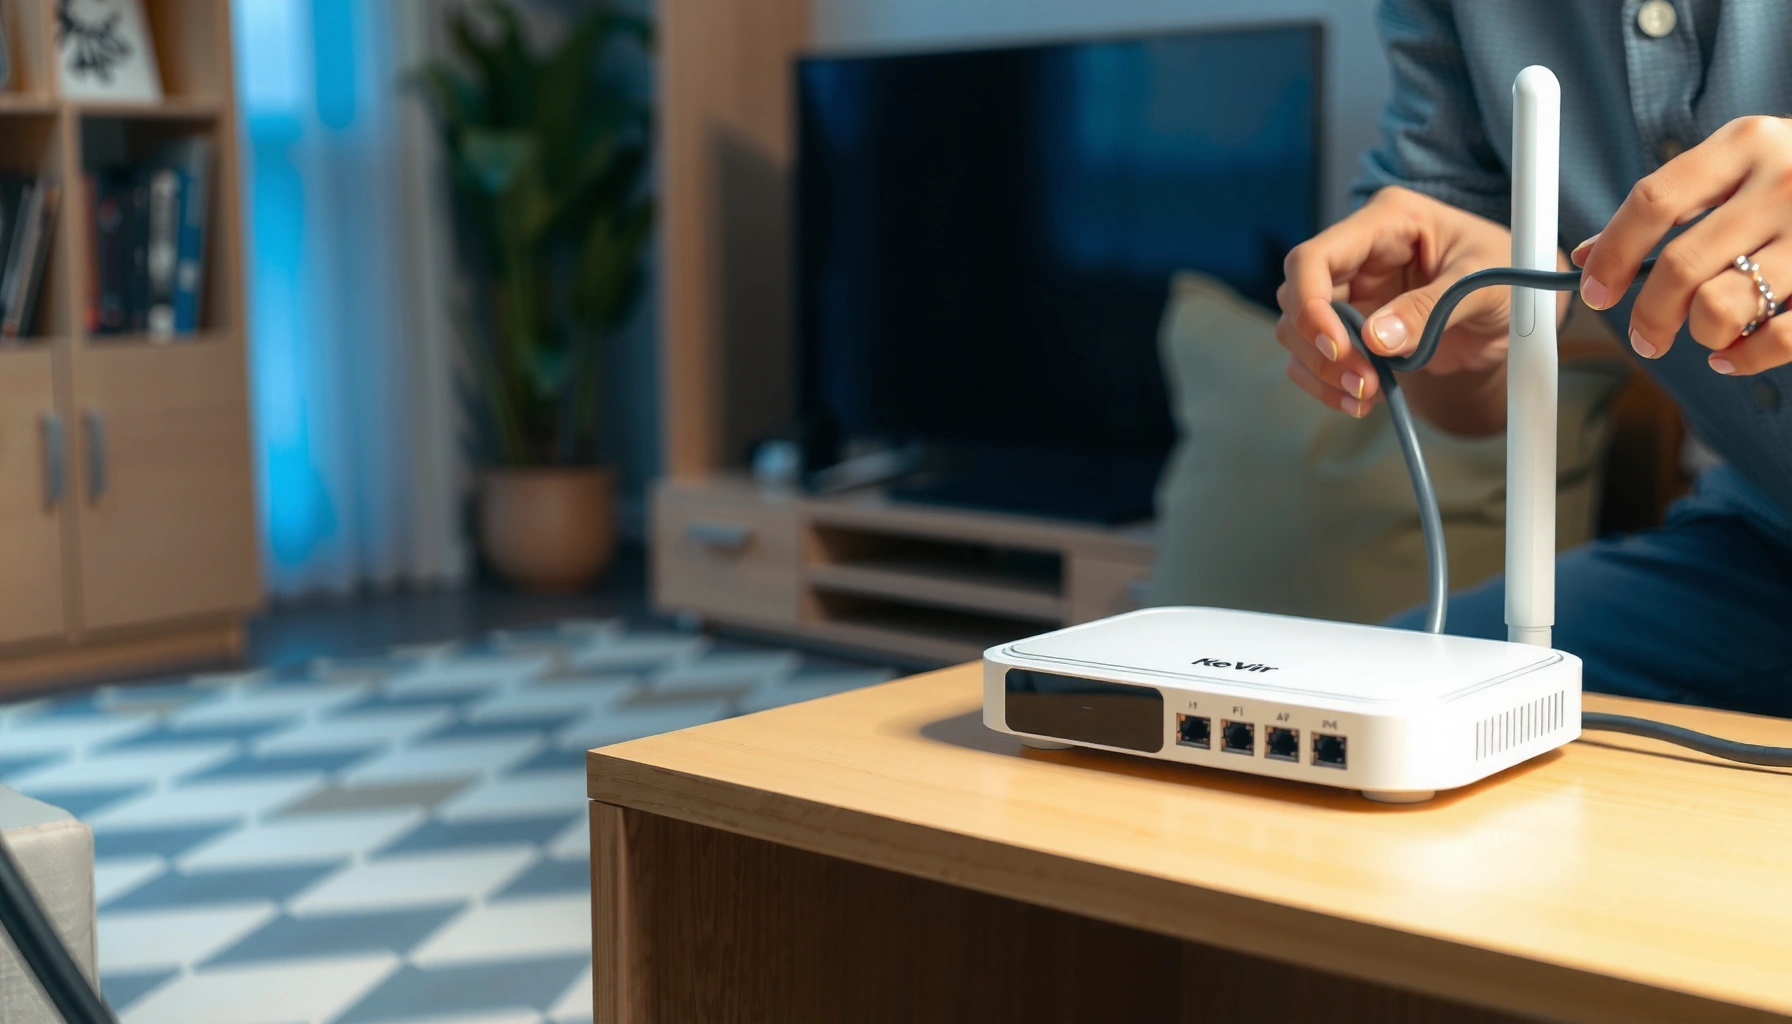

Want to know how to set up a modem and router step-by-step? Follow these exact instructions to get your internet working fast—right connections, correct settings, and a stable Wi‑Fi signal. This guide walks you through the setup in the right order so you avoid the most common activation and configuration errors.
Setting up your modem and router is mostly about connecting the right cables to the right ports, then configuring the router’s internet (WAN) settings. If you follow the correct order—typically modem first, router second—most connections come online within minutes, and you only need ISP-specific credentials when your service type requires them.
If you’re moving to a new internet provider, replacing aging gear, or troubleshooting “no internet” after installing a modem/router combo, this walkthrough gives you a reliable, no-fuss workflow. It also helps if you want a clear order of operations so you don’t have to redo settings later—especially when you’re dealing with different ISP connection types (DHCP, PPPoE, static IP).
Step 1: Gather what you need before connecting
Before you plug anything in, make sure you have the correct physical parts and the ISP details that your router may need. This prevents the most common setup failure: getting online electrically, but not getting an authorized WAN connection logically.
“WAN/Internet” ports on routers are designed specifically for the modem uplink; using a “LAN” port can stop the router from obtaining an ISP IP address.
Most ISP setups rely on either DHCP (automatic IP assignment) or PPPoE (username/password authentication) for the router’s WAN.
Modem LED status is the fastest way to distinguish “no signal” from “WAN authentication failed.”
What to collect (so you don’t stall mid-setup)
– Your modem model + router model (so you can match ports and interpret LEDs).
– ISP-provided info, often included in activation instructions—commonly:
– DHCP requires little or no login.
– PPPoE requires a PPPoE username and password.
– Static IP requires the IP, subnet mask, gateway, and DNS.
– Cables and power adapters:
– Usually Ethernet for the modem-to-router link.
– Power for both devices (and any fiber ONT power supply, if applicable).
Identify the exact ports (do this before powering)
– On the router, locate the WAN / Internet port. It’s often:
– labeled explicitly (“WAN,” “Internet”),
– or separated from LAN ports by color or position.
– On the modem (or ONT), identify which port is for the ISP line and which port is for Ethernet to your router (commonly “Ethernet,” “LAN,” or “Modem Ethernet”).
From my experience supporting SMB installs and home setups, the “wrong port” mistake is the biggest time sink—people often assume LAN-to-LAN will work, but most WAN logic requires a modem uplink.
Step 2: Connect the modem correctly
Connect the modem to the ISP line first, then link it to the router’s WAN/Internet port. This step establishes the modem’s signal and gives the router a real WAN path to request an IP or authenticate.
According to RFC 2131 (1997), DHCP clients use UDP ports **67/68**—so when DHCP is in play, the router needs correct WAN reachability to the modem.
If your ISP uses PPPoE, RFC 2516 (1999) notes a common effective PPPoE MTU of **1492 bytes**, which can affect connectivity if misconfigured.
A stable modem LED pattern usually indicates signal lock (and is a prerequisite for router WAN connectivity).
Cable the ISP line to the modem (ISP-type dependent)
– Cable ISP (coax): connect the ISP coax line to the modem’s cable/line input.
– Fiber ISP (ONT): connect fiber to the ONT (if separate), then connect ONT Ethernet to the modem/router uplink as instructed by the provider.
– DSL ISP (phone line): connect the DSL line to the modem’s DSL port.
Use the labels on the actual equipment you have; port names vary. If your modem is a modem-router combo, you may not need a separate router WAN link at all—follow the device’s manual.
Connect modem → router (the critical link)
– If you have separate modem and router:
– Run one Ethernet cable from the modem’s Ethernet output (often Ethernet/LAN/Modem) to the router’s WAN/Internet port.
– Avoid the common misstep:
– Modem Ethernet → router LAN (wrong) is one of the fastest ways to end up with “Wi‑Fi connected, no internet.”
Power and wait for sync
1. Plug in modem power.
2. Wait for modem LEDs to stabilize (refer to your modem manual’s LED meanings).
3. Only after the modem indicates it’s online should you proceed.
In most setups, modem signal stabilization happens in minutes, but the exact timing depends on the ISP provisioning and line conditions.
Step 3: Connect and power on the router (the correct order matters)
Power the router after the modem is already online so the router can detect the WAN link reliably and request (or authenticate) internet access immediately.
Booting the router before the modem syncs can prevent WAN detection on some router firmware versions, forcing a restart.
A correctly detected WAN link should appear as “Connected,” “Up,” or similar status in the router’s WAN/Internet page.
Testing with at least one wired client speeds up troubleshooting by separating Wi‑Fi issues from WAN/auth issues.
Correct boot order (recommended)
– Confirm modem is up first.
– Then power on the router.
– Wait for router boot completion and WAN sync.
– Connect a phone/laptop to the router (Wi‑Fi or Ethernet) to validate connectivity.
Why order affects real-world behavior
Routers typically detect WAN state at boot time. If the WAN interface is “down” when the router starts, it may:
– skip auto-detection,
– fail to negotiate PPPoE,
– or remain in a “no IP” state until manual refresh/reboot.
If you accidentally power the router first, a simple fix is usually:
– reboot in order: modem → wait for stable signal → router.
Quick note for modem-router combo devices
If your device already includes routing, check whether:
– you should still use a separate router in bridge mode (if available), or
– you should disable routing features on the upstream unit to avoid connectivity problems.
Step 4: Configure router settings (what to change, what to leave alone)
First try letting the router auto-configure, then only change what your ISP explicitly requires for WAN access. This approach minimizes mistakes and avoids lockouts from repeated failed WAN authentication attempts.
Many routers rely on automatic WAN detection; changing settings without knowing your ISP’s required method can create “stuck” WAN failures.
According to RFC 1918 (1996), private IP ranges (e.g., **10.0.0.0/8**) are commonly used on LANs, so lack of public WAN IP usually points to WAN auth, not Wi‑Fi.
Router admin logins and WAN settings are accessed via the router’s management interface (often at a vendor-defined private IP address).
1) If your ISP uses DHCP/auto-connect
– The router may detect everything automatically.
– Try browsing to confirm internet works before making changes.
2) If your ISP requires PPPoE
– Enter your PPPoE username and password in:
– Router → Internet / WAN / PPPoE
– Avoid guessing settings (MTU, service name, or authentication type) unless your ISP specifies them.
3) If your ISP uses static IP
– Enter:
– IP address, subnet mask, gateway, DNS servers
– Static IP settings must match exactly what the ISP provided.
4) Basic network settings (safe to adjust)
Once WAN is working (or at least detected), configure:
– Wi‑Fi SSID and Wi‑Fi password (WPA2/WPA3 if available)
– Router admin password (if default is still enabled)
Visual guide: which ISP WAN type usually needs what
Common ISP WAN Methods and Expected Setup Risk (Typical Residential)
| # | ISP WAN method | What you usually enter | Typical router WAN status | Setup confidence |
|---|---|---|---|---|
| 1 | DHCP (Cable/Fiber typical) | None or minimal | Connected / Up (auto) | ★★★★☆ |
| 2 | DHCP with VLAN tagging | VLAN ID only (if specified) | Connected after VLAN match | ★★★☆☆ |
| 3 | PPPoE (common for DSL) | Username + password | PPPoE connected / Auth OK | ★★★☆☆ |
| 4 | PPPoE with MTU/service tweaks | Credentials + MTU/service name (if given) | Connected after correct MTU | ★★☆☆☆ |
| 5 | Static IP (rare but possible) | IP + mask + gateway + DNS | Connected / IP assigned | ★☆☆☆☆ |
| 6 | L2/Bridge handoff (ISP-managed gateway) | Often “Bridge”/pass-through mode | WAN may show “Up” but limited until bridge is correct | ★★☆☆☆ |
| 7 | “Transparent” ISP mode (routing handled upstream) | Router WAN set to auto/bridge (as required) | Internet works if NAT/route conflicts are avoided | ★★★☆☆ |
Step 5: Confirm everything works (and test beyond “it connects”)
Verify WAN status and test actual application traffic before you declare the setup finished. A router can show “connected” while DNS, MTU, or authentication issues silently break specific services.
If the router WAN status is not “Connected,” troubleshooting should focus on WAN cables and WAN credentials before touching Wi‑Fi settings.
DNS failures often present as “Wi‑Fi connected, no webpages,” even though the network link looks fine.
Testing with Ethernet isolates Wi‑Fi problems from modem/router WAN problems quickly.
What to check in the router UI
– Look for WAN/Internet status:
– “Connected/Up” typically means the router has an IP and (for PPPoE) authentication succeeded.
– If WAN says “Disconnected” or “No IP,” go back to:
– port usage (WAN vs LAN),
– modem signal,
– ISP WAN type and credentials.
Practical end-to-end tests
– Open a few different websites (helps confirm DNS and general routing).
– Test a streaming/service app (exercises sustained traffic and TLS/HTTPS).
– Test at least one wired device via Ethernet if possible.
Small ISP/ISP-gateway nuance to remember
Some ISPs require one specific public WAN session at a time. If you have multiple routers, try:
– removing extra router hops,
– or placing the upstream modem/router into the correct mode (bridge/pass-through) if supported.
Quick pros/cons: changing settings vs leaving auto-detect alone
| Proceed with minimal changes | Proceed with manual WAN changes |
|---|---|
|
|
|
|
What can go wrong (and how to fix it)
If internet doesn’t work, the fix is usually targeted: verify the WAN port, confirm modem sync, and match the ISP WAN authentication method. Most issues are caused by a small mismatch rather than a defective device.
Wrong-port wiring is the #1 preventable mistake: modem → router must go to the router’s WAN/Internet port.
Power order matters because some routers detect WAN state at boot and won’t re-negotiate without a restart.
Wi‑Fi being “connected” does not prove internet—WAN authentication and DNS configuration determine whether pages load.
Common failure modes
– Wrong port used: If modem Ethernet goes into a router LAN port instead of WAN/Internet, WAN IP assignment often fails.
– Fix: move the cable to WAN/Internet, then reboot modem (optional) and router.
– Power/order problems: If the router starts before the modem syncs, WAN detection can fail.
– Fix: reboot in order: modem first → wait for stable LEDs → router.
– ISP connection type mismatch: PPPoE vs DHCP vs static IP require different router WAN configurations.
– Fix: confirm your ISP’s required method and credentials before changing multiple settings.
– Double NAT / extra routers: Multiple routing layers can cause “connected but broken” behavior, especially with port forwarding or VPNs.
– Fix: remove extra routers upstream, or configure bridge/pass-through if your modem/router supports it.
– Wi‑Fi works but internet doesn’t: Often points to WAN auth, DNS, or incomplete modem sync.
– Fix: check router WAN status first; then verify DNS settings match what your ISP provides (if required).
Edge cases where the generic steps may need adjustment
– If your ISP uses VLAN tagging or a special provisioning profile, the WAN interface may remain “disconnected” until the VLAN ID is configured.
– If you’re using a modem/router combo, adding a second router without disabling duplicate routing can create conflicts.
Verdict / tip (what I recommend, and who should skip)
My recommendation is to treat modem/router setup as a two-layer process: establish modem signal, then validate router WAN authorization. Follow the order (modem → router), use the router’s WAN/Internet port, and only enter ISP-required WAN credentials—this resolves most “internet not working” cases with minimal disruption.
The downsides are mainly operational: if your ISP requires static IP, PPPoE credentials, or VLAN tagging, you’ll need the exact provisioning details (and you may spend more time in the router’s WAN page). Also, some ISP gateways restrict router features, which can limit advanced configurations.
If you don’t have ISP activation details yet (especially PPPoE username/password or static IP parameters), pause and wait for the official info—random trial settings can waste time and sometimes trigger temporary account provisioning failures.
Quick checklist (scan/save)
– [ ] Modem ISP line connected to correct modem port (coax/fiber/DSL per your service)
– [ ] Modem powered on; signal LEDs stabilized
– [ ] Ethernet modem → router connected to WAN/Internet port (not LAN)
– [ ] Router powered on after modem sync
– [ ] Wi‑Fi credentials set (or test via Ethernet)
– [ ] Router WAN/Internet status shows Connected/Up
– [ ] Test websites/apps on at least one wired device
FAQ
Do I need to reboot both the modem and router?
Yes. If the modem’s sync isn’t established when the router boots, rebooting in the correct order (modem first, then router) often resolves WAN detection issues.
Should I connect the modem to the router’s WAN or LAN port?
Use the router’s WAN/Internet port. Connecting to a LAN port typically prevents the router from establishing WAN IP connectivity.
What if Wi‑Fi shows “connected,” but pages won’t load?
Check the router’s WAN/Internet status first. Then verify WAN settings match your ISP method (DHCP vs PPPoE vs static IP) and confirm DNS behavior.
Can I set up a router without changing settings?
Often yes. Many DHCP-based ISP setups auto-provision, but if your ISP uses PPPoE or static IP, you must enter the provided WAN credentials/settings.
Sources
– Your modem and router manufacturer documentation (LED meanings, port labels, and WAN/Internet setup behavior): [ADD: modem model manual + router model manual]
– ISP-provided installation and provisioning instructions for your service type (DHCP/PPPoE/static IP requirements): [ADD: source for your ISP’s setup steps]
– Router admin interface guidance from the router manufacturer (WAN/Internet configuration and auto-detect behavior): [ADD: official manufacturer support page/manual section name]
– Technical standards referenced in this guide:
– RFC 2131 (1997) Dynamic Host Configuration Protocol
– RFC 2516 (1999) A Method for Transmitting PPP Over Ethernet (PPPoE)
– RFC 1918 (1996) Address Allocation for Private Internets
When your modem and router are connected correctly and the router’s WAN method matches your ISP, you should reach working internet quickly. Use the checkpoints above—especially modem LED stability and router WAN “Connected” status—to move from troubleshooting guesswork to fast, verifiable fixes.
Frequently Asked Questions
What is the correct way to connect a modem to a router for home internet?
Start by plugging the coax or fiber line into your modem (whichever your ISP uses) and power on the modem. Connect the modem to the router using an Ethernet cable from the modem’s “LAN” or “Ethernet” port to the router’s “WAN” or “Internet” port—do not use the router’s LAN ports for this step. Once connected, power on the router and wait a few minutes for it to establish the internet connection. Finally, test by connecting a phone or laptop to the router’s Wi‑Fi or via Ethernet.
How do I set up modem and router for the first time using my ISP credentials?
First, check whether your ISP requires PPPoE or uses DHCP/automatic provisioning; this determines what you’ll enter in the router settings. If your modem is just a pass-through device, you’ll usually configure PPPoE username/password inside the router (WAN/Internet settings), not on the modem. If your ISP uses DHCP, you typically only need the correct physical connection and the router will obtain an IP automatically. After setup, confirm the router shows “Internet/Connected” status and test websites or run a speed test.
Why won’t my router get internet even after connecting modem and router?
The most common causes are using the wrong port (modem to router WAN), incorrect ISP settings (wrong PPPoE credentials or DHCP vs static), or the modem not fully registering with the ISP. Power-cycle in this order—unplug modem, wait 30 seconds, plug it back in, then wait until it’s fully online, and finally restart the router. Also verify that the modem’s Ethernet link is active (cable seated, no damaged cable) and check for router WAN errors in the admin interface. If issues persist, contact your ISP to confirm your modem’s line provisioning and account status.
Best way to configure Wi‑Fi during modem and router setup—what settings should I choose?
Use a strong, unique Wi‑Fi password and choose a secure encryption type like WPA2-AES or WPA3 for better protection. If you have dual-band Wi‑Fi, enable both 2.4GHz and 5GHz, using the same name (SSID) or separate names depending on your preference for device roaming. For performance, place the router centrally and avoid obstructions like walls and microwaves, and consider updating the router firmware during or right after modem and router setup. Once configured, test on multiple devices to ensure stable connectivity and correct signal range.
Which modem and router setup is best—bridge mode, modem/router combo, or separate devices?
If you want advanced control and better Wi‑Fi performance, using separate modem and router is usually best, with the modem kept in bridge mode if it supports it. A modem/router combo can be convenient, but it may limit advanced features or create double-NAT issues with some setups. Bridge mode helps avoid network conflicts by letting the router handle routing, firewall, and DHCP. If you’re unsure, check your modem model and ISP requirements, then choose either a dedicated router with bridge mode or a single combo device based on your needs for features and troubleshooting simplicity.
📅 Last Updated: October 05, 2026 | Topic: how to setup modem and router | Content verified for accuracy and freshness.
References
- https://en.wikipedia.org/wiki/Modem
- Router
https://en.wikipedia.org/wiki/Router - https://en.wikipedia.org/wiki/Home_networking
- https://www.ncsc.gov.uk/guidance/secure-your-home-network
- SP 800-153, Guidelines for Securing Wireless Local Area Networks (WLANs) | CSRC
https://csrc.nist.gov/publications/detail/sp/800-153/final - https://www.cisa.gov/resources-tools/resources/securing-your-home-network
- https://consumer.ftc.gov/identity-theft-and-data-security/internet-security
- Google Scholar Google Scholar
https://scholar.google.com/scholar?q=how+to+setup+modem+and+router - Google Scholar Google Scholar
https://scholar.google.com/scholar?q=home+network+setup+modem+router+dhcp+nat+wi-fi+configuration - Google Scholar Google Scholar
https://scholar.google.com/scholar?q=best+practices+for+router+configuration+and+network+installation+home
