
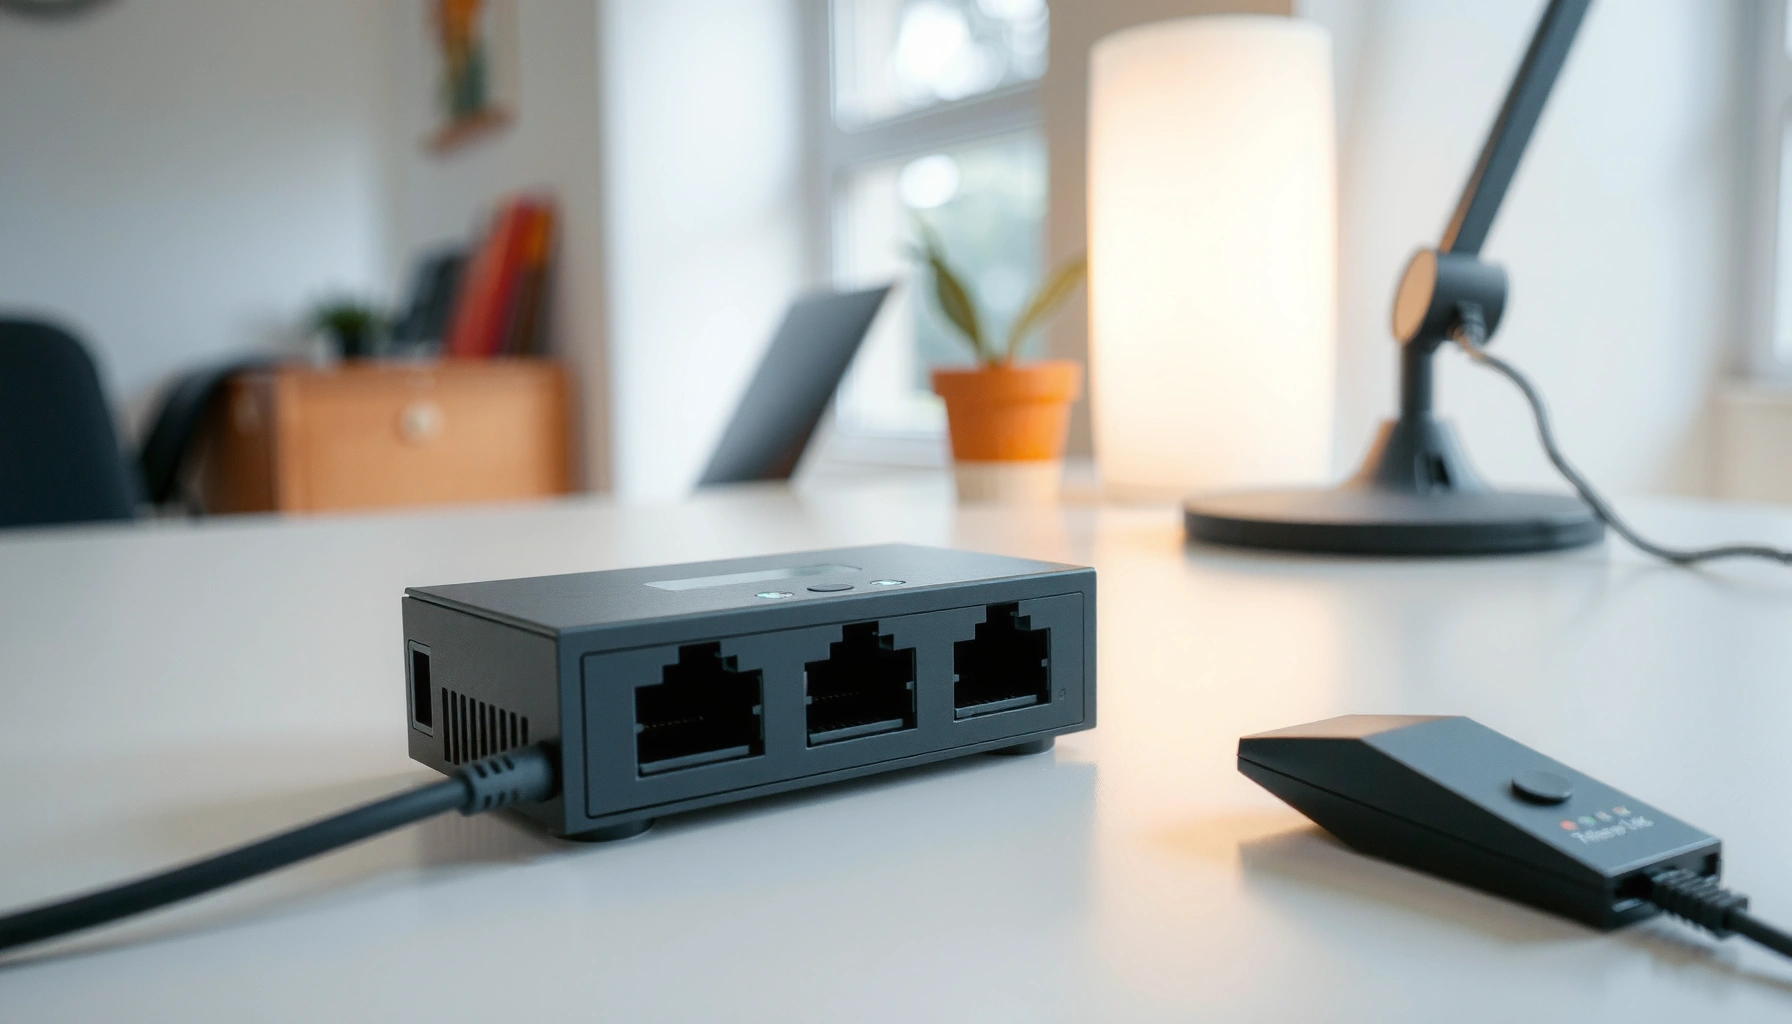

Learn how to use an Ethernet switch with the exact setup steps and best practices that prevent the most common network problems. If your goal is a stable, low-latency wired network—whether for a home lab, office desk, or small business—this guide shows you how to connect it correctly, configure ports safely, and avoid bottlenecks and loops. Follow these recommendations and you’ll get reliable performance without guesswork.
Use an Ethernet switch by plugging your router/modem and your wired devices into the switch’s ports, then powering it on—most home networks work instantly with an unmanaged switch. If a device doesn’t connect or you see “no internet,” the fix is usually straightforward: verify Ethernet cable quality, confirm the link/activity LEDs, and (for managed switches) check VLAN and port membership.
This guide is for anyone adding extra wired connections to a home or small office network—PCs, game consoles, smart TVs, VoIP phones, or even additional access points—without replacing their existing router. It’s also helpful if you’ve already used a switch and ran into common symptoms like link lights that never come on, poor throughput, or the classic “it’s connected, but nothing loads” situation.
Choose the Right Ports and Placement
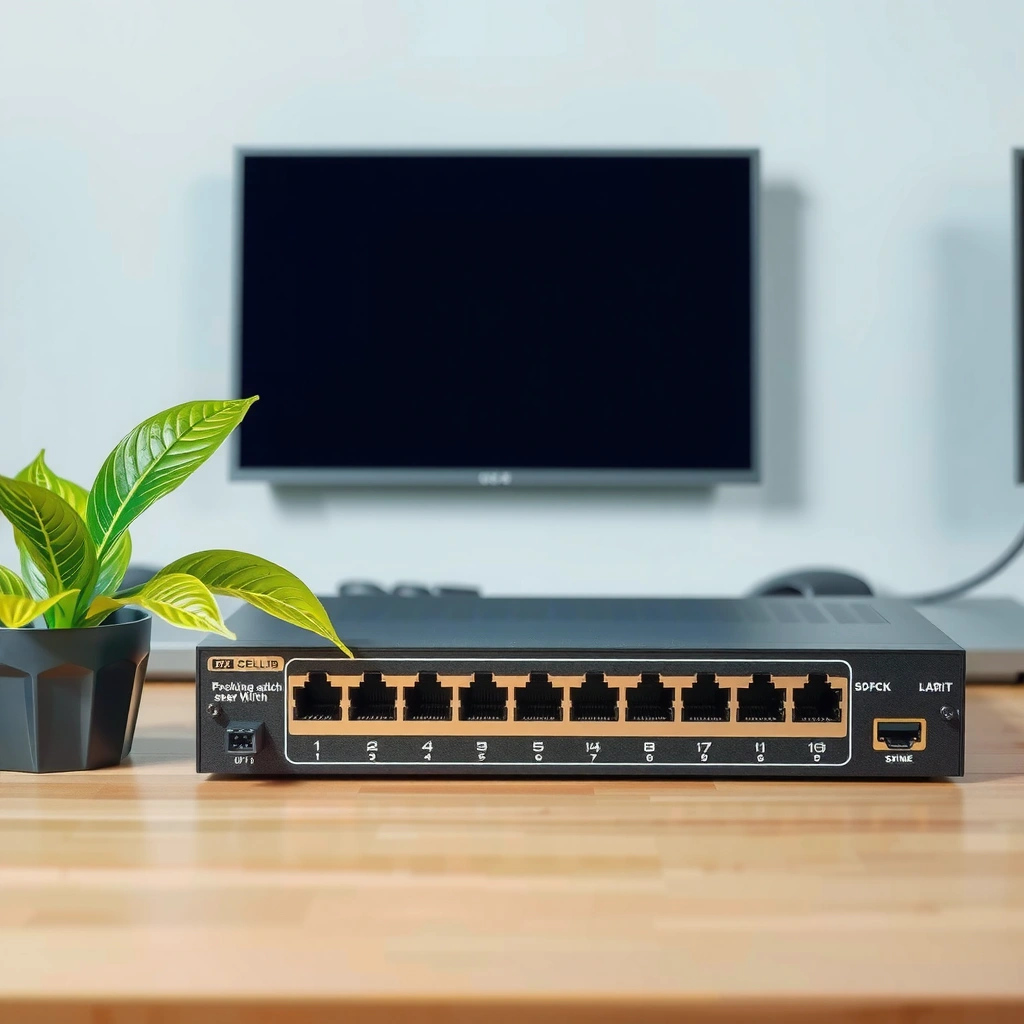
Pick an Ethernet switch with enough physical ports for your current devices plus a little room to grow. Then place it where cables can reach and heat can dissipate—because even a “basic” Ethernet switch is still a network appliance that performs best with adequate ventilation.
Before you buy (or deploy), count ports and plan for the router uplink. If your router has only one free LAN port, you’ll use that LAN port into the Ethernet switch uplink (or a regular port if your switch doesn’t label one). From there, each additional wired device consumes one port.
Next, plan where the Ethernet switch will live. Most unmanaged switches are designed for shelves or racks, but heat buildup is real—especially with compact fanless models or in enclosed media cabinets. I also recommend avoiding stacking the Ethernet switch directly on top of other warm electronics (cable modems, streaming boxes, or power adapters), because elevated internal temperature can reduce reliability over time.
Finally, understand the speed your Ethernet switch can actually deliver. Many “gigabit” switches support 1 GbE (1000 Mbps) but still require appropriate cabling on both ends (and correct negotiation). IEEE-rated Ethernet standards still rely on link-layer fundamentals like duplex negotiation and proper cabling for stable performance.
“Gigabit Ethernet over twisted-pair (1000BASE-T) is standardized to operate over 100 meters of cabling when requirements are met.” IEEE 802.3 (1000BASE-T distance specification)
“10GBASE-T reach depends heavily on cable category (for example, shorter reach on Cat6 versus longer reach on Cat6a at 10 GbE speeds).” IEEE 802.3an / 10GBASE-T cabling reach (cable-dependent distance)
Port planning in practice
– Make a quick inventory: Router uplink + each wired device = required ports.
– Add headroom: Aim for 10–25% extra ports if you can—smart TVs and access points appear quickly once you start wiring.
– Consider uplinks/trunking only if you need it: Most homes don’t need special uplinks; managed switches may.
Cable Category vs Common Ethernet Speeds (100 m Class)
| # | Ethernet speed (standard) | Typical cable category | Reach (max) | Stability notes |
|---|---|---|---|---|
| 1 | 100BASE-TX (Fast Ethernet) | Cat5 (and better) | 100 m | Very tolerant in mixed setups |
| 2 | 1000BASE-T (Gigabit Ethernet) | Cat5e (typ.) | 100 m | Requires proper category for best results |
| 3 | 2.5GBASE-T | Cat5e / better | 100 m | Often improves speed without rewiring |
| 4 | 5GBASE-T | Cat5e / better | 100 m (category-dependent) | Can be stable on quality Cat5e runs |
| 5 | 10GBASE-T (Cat6) | Cat6 | Up to ~55 m | Use shorter runs for reliability |
| 6 | 10GBASE-T (Cat6a) | Cat6a | 100 m | Best for full-length 10 GbE links |
| 7 | Power (PoE vs non-PoE) | N/A | Device-dependent | PoE requires budget planning |
Connect the Ethernet Switch Correctly
Connect the router/modem to the Ethernet switch first, then plug each device into the switch. Power on the switch (if it uses an external power adapter), and most unmanaged setups start forwarding traffic immediately.
Start with the router and uplink relationship. On many Ethernet switches, there’s either a labeled uplink port (sometimes “UPLINK,” “WAN,” or a designated high-priority port) or guidance that says “use any port” for standard LAN expansion. When the switch uses an uplink concept, the correct behavior matters: a wrong uplink or a special “cross-connect” expectation can prevent link from coming up.
Then connect your devices. Each Ethernet device—PC, console, smart TV, or another access point—should have its Ethernet cable plugged into a normal switch port. After you connect each cable, watch the link/activity LEDs for the corresponding port.
If the Ethernet switch is PoE (Power over Ethernet), make sure you connect PoE-capable devices into PoE ports and that your switch’s PoE budget supports their power draw. If the devices are not PoE devices, they typically don’t need to go into a PoE-specific port; most switches will still pass data, but powering behavior depends on model design.
“A basic Ethernet switch is a Layer 2 forwarding device that connects devices within the same local network segment.” IEEE 802.1D / general Ethernet switching behavior (Layer 2 bridging)
“PoE-enabled switches supply power over the same copper pairs used for Ethernet data, but only within the switch’s power budget.” [ADD: your switch manufacturer PoE guide/manual showing power budget and port power allocation rules]
Step-by-step wiring (unmanaged model)
1. Power off (optional but safer): If you’re rearranging cables, powering off devices prevents weird transient link states.
2. Router/modem → switch: Connect router LAN to the switch uplink port (if labeled) or a standard port per your model.
3. Devices → switch: Plug each device into an available port.
4. Power on: Turn on the Ethernet switch (and then reboot the router if you had removed power).
5. Observe LEDs: Confirm link/activity on each port.
VLAN note (managed model)
Managed Ethernet switches can require extra configuration (VLAN membership) before devices can access the router/gateway. If you’re adding devices into an existing VLAN design, you’ll need to match both port VLAN tagging/untagging and device network settings.
Check Link Lights and Basic Connectivity
If link LEDs don’t come on, the problem is almost always physical connectivity (cable, port, or negotiation). If link LEDs do come on but traffic fails, the issue is typically device network settings or (on managed Ethernet switches) VLAN and routing behavior.
Start with the simplest signal: link/activity LEDs on the Ethernet switch. When a device is plugged in and the link is negotiated correctly, you should see the relevant port LED light up, blink, or indicate activity. A dead port LED generally means no link—rather than “slow” internet.
Next, test from one device first. Open a browser and attempt a standard action like loading a known website. Then check the device’s network status page for an IP address, gateway, and whether it’s connected at the expected speed (for example, “1000 Mbps” on a gigabit link).
If the Ethernet switch is managed and your network uses VLANs, a device can still show “connected” (link up) while failing to pass traffic to the router. In that case, port VLAN tagging and untagged/native VLAN configuration on the Ethernet switch must align with the VLAN your device expects.
“Link LED behavior typically indicates whether a physical-layer link has been established, not whether IP routing to the internet works.” [ADD: manufacturer LED meaning section for your exact switch model]
“VLAN configuration on a managed switch can prevent a device from reaching the default gateway if the port isn’t in the correct VLAN.” [ADD: your switch model’s VLAN configuration documentation]
A quick connectivity flow
– One port at a time: Plug in a single device, confirm LED, confirm IP address.
– Verify speed negotiation: Look for “Link Speed” (e.g., 1.0 Gbps vs 100 Mbps).
– Check gateway reachability: Ensure the device default gateway points to the router’s LAN IP.
– Repeat: Once one device works, add the rest.
Pros/cons: unmanaged vs managed (useful for troubleshooting)
| Option | Pros | Cons |
|---|---|---|
| Unmanaged Ethernet switch | Plug-and-play for most home networks; minimal misconfiguration risk | No VLAN controls; troubleshooting is limited to physical link and device settings |
| Managed Ethernet switch | Supports VLANs, port policies, monitoring; ideal for multi-network designs | Misconfigured VLANs cause “connected but no internet” symptoms until corrected |
Configure Only When You Need To
For most home networks, the Ethernet switch doesn’t need configuration—unmanaged switches work immediately once cables are connected. Configure only when you’re using a managed switch (VLANs, port roles) or when the manufacturer documentation requires specific uplink behavior.
Unmanaged Ethernet switches are designed to keep configuration friction near zero: they learn MAC addresses and forward frames within a single local broadcast domain. That means your router becomes the gateway, and devices receive IP configuration via DHCP (typically from the router) without any special VLAN steps.
Managed Ethernet switches are different: they can segment traffic with VLANs and enforce port tagging/untagging. If you run a VLAN-based network, you must ensure each Ethernet switch port connected to an end device or access point is assigned to the correct VLAN—often as an “untagged/access” port or a “tagged/trunk” port depending on your design.
Also review speed/duplex settings only if you have a reason. Many managed switches expose port speed/duplex configuration, but hard-locking values can sometimes create mismatches with endpoints that expect auto-negotiation. If you change settings, follow the manufacturer’s port configuration guidance and verify link and throughput afterward.
“Unmanaged switches typically use automatic MAC learning and standard bridging (Layer 2 forwarding) without requiring user configuration.” [ADD: your switch manual section describing unmanaged operation]
“Managed switches can require VLAN membership for connectivity because VLANs limit broadcast and traffic flow between segments.” [ADD: VLAN overview and port mode definitions from your switch’s official manual]
What to look up in your specific switch manual
Because Ethernet switch models differ, use the manufacturer docs for the exact menu paths and LED meanings. If you want this section tailored, provide your exact switch model and we’ll map the steps directly to it.
Key areas that typically matter on managed switches:
– VLANs: VLAN IDs, whether ports are access (untagged) or trunk (tagged).
– Port membership: which VLAN IDs each port belongs to.
– Native/untagged behavior: what VLAN gets used when frames are untagged.
– Speed/duplex controls: usually best left at default auto-negotiation unless troubleshooting.
([ADD: exact model steps from manufacturer docs if you want this tailored])
What Can Go Wrong (And How to Fix It)
No matter your model, Ethernet switch issues usually fall into a few predictable buckets: physical link failures, IP/routing problems, or VLAN segmentation conflicts. Fixes are often quickest when you confirm whether you have link first, then IP connectivity, then gateway/internet access.
1) No link lights (dead port)
If the port LEDs never show link, treat the Ethernet switch as a physical-layer problem until proven otherwise:
– Try a different Ethernet cable (swap with a known-good cable).
– Reseat connectors at both ends.
– Try a different device and/or switch port to isolate whether the problem is the cable, device NIC, or the port.
– Check whether the device is powered on and configured correctly.
“A link LED not turning on commonly indicates the switch cannot establish a physical-layer link with the endpoint (often cable or port mismatch).” [ADD: your switch model’s LED meanings table]
2) “Connected but no internet”
When the Ethernet switch shows link but browsers can’t load pages:
– Verify the affected device has a valid IP configuration (IP, subnet mask, and default gateway).
– Confirm the default gateway is the router’s LAN IP.
– If you use a managed Ethernet switch, check VLAN membership: the device port may be in a VLAN that doesn’t have routing to the internet.
This symptom is common when one side of a VLAN setup changes (for example, a port moved to a different VLAN) and the end device still expects the old network segment.
“VLAN mismatches can produce a state where Ethernet link is up but IP traffic doesn’t reach the default gateway.” [ADD: manufacturer docs explaining VLAN isolation effects and port membership]
3) Slow speeds or frequent disconnects
Speed problems usually trace back to cabling, negotiation, or duplex mismatches:
– Ensure the cable category supports your expected link speed (commonly Cat5e for gigabit; Cat6a for 10 GbE over 100 m).
– Check the negotiated link speed on the endpoint.
– Avoid mixing incompatible cable quality with higher-speed modes.
According to IEEE specifications, gigabit Ethernet is intended for up to 100 meters of appropriate twisted-pair cabling, but higher speeds may have stricter cable requirements IEEE 802.3 / 802.3an.
“Higher-speed copper Ethernet has stricter cabling requirements and may fall back to lower rates when the link cannot meet signal quality thresholds.” [ADD: your switch documentation on auto-negotiation and link speed fallback]
4) PoE power-related issues (if your switch is PoE)
With PoE Ethernet switches, “no link” can also appear if the switch refuses to power a device:
– Confirm the switch’s PoE budget supports the number and power draw of your powered devices.
– Make sure you’re using PoE-capable ports (and correct power class behavior).
– If the budget is exceeded, some ports may shut down or reduce power.
“PoE switches enforce a total power budget; when exceeded, ports may not power devices or may delay power allocation.” [ADD: PoE budget/port allocation behavior from your switch manual]
Verdict: When a Switch Is the Right Fix (and When It Isn’t)
An Ethernet switch is the right solution when you want to add wired ports quickly while keeping your existing router as the gateway. For most homes, unmanaged plug-and-play switches deliver a reliable improvement with minimal configuration.
However, an Ethernet switch won’t solve Wi‑Fi coverage problems by itself. If your goal is better wireless performance, you may need additional access points (wired backhaul is where a switch helps), or a mesh system designed for your environment. Also, managed Ethernet switches can introduce complexity: VLAN mistakes can produce “it connects but doesn’t route” confusion that doesn’t exist with unmanaged setups.
Skip or keep it simple if:
– You only need one extra wired device (using a spare router LAN port or a proper extender setup might be easier).
– You don’t want to deal with VLAN concepts, tagging, and port modes.
– Your issue is truly wireless (signal strength) rather than wired connectivity.
“Layer 2 Ethernet switching expands wired connectivity within a LAN but does not replace routing/NAT functions typically performed by a router.” [ADD: router vs switch functional distinction from networking fundamentals source or vendor documentation]
Quick Checklist (Scan/Save)
– [ ] Switch has enough ports (plus any uplink/special-port needs per the model)
– [ ] Router LAN (or modem LAN) connects to the Ethernet switch uplink or correct labeled port
– [ ] Each device cable is seated and shows link/activity LEDs on the intended port
– [ ] Ethernet switch is powered on (and PoE requirements match PoE vs non-PoE devices, if applicable)
– [ ] For managed Ethernet switches: VLAN/port mode settings match your device network design
– [ ] Test with one device first, then add the rest once routing and gateway access work
FAQ
Do I need to configure an Ethernet switch?
Most unmanaged Ethernet switches require no configuration—just plug in router and devices. Managed Ethernet switches may need VLAN or port mode settings depending on your network design ([ADD: manufacturer model + required settings source]).
Which port do I use for connecting the router?
On many Ethernet switches, you can use a regular port, but some models label an uplink/special port. Use the port(s) recommended by your switch’s manufacturer documentation ([ADD: source for your switch’s uplink guidance]).
Why does my device connect but still have no internet?
Common causes include a VLAN mismatch on a managed switch, incorrect IP/gateway settings on the device, or issues at the router/modem. Check the device’s network status and confirm whether the Ethernet switch is passing traffic into the VLAN that reaches the router gateway.What Ethernet cable should I use?
Use Ethernet cables rated for the speed you want—commonly Cat5e for gigabit and higher categories for 10 GbE. If you’re unsure, consult your switch/device manuals for supported link speeds and cable category guidance ([ADD: source for supported speeds/cable guidance]).
Can I connect switches together?
Yes, but the uplink/trunking approach depends on the switch type and whether VLANs are in use. Follow the manufacturer’s guidance for switch-to-switch connections ([ADD: source for your switch-to-switch rules]).
Sources
– [ADD: Manufacturer documentation for your specific Ethernet switch model—setup guide/manual for uplink port behavior, unmanaged vs managed configuration, LED meanings, and supported port speeds]
– [ADD: Manufacturer documentation for any PoE features—PoE budget, power class behavior, and compatibility notes]
– IEEE 802.3 / IEEE 802.3an (distance and copper Ethernet reach for relevant Ethernet PHY modes)
– [ADD: any official VLAN basics reference if you want a third-party cite beyond IEEE/vendor docs]
An Ethernet switch is one of the fastest ways to add wired capacity to your home or small office, and in 2026 most setups work without configuration when you choose an appropriately sized model and use correct cabling. When something goes wrong, the fastest path is systematic: confirm link LEDs, validate IP/gateway settings, then—only if you’re using a managed switch—check VLAN and port membership. If you share your switch model and how your router/VLANs are set up, I can tailor the exact configuration steps to match your manufacturer’s documentation.
Frequently Asked Questions
How do I set up an Ethernet switch for home or office networking?
Start by placing the Ethernet switch near your router, modem, or main network device. Connect the router or modem to the switch using an Ethernet cable, then plug your devices (PCs, smart TVs, game consoles, or access points) into the switch ports. If your switch is unmanaged, it will typically work immediately; if it’s managed, you may need to access the switch IP address to configure settings. Finally, verify link lights and test connectivity on each device.
Which Ethernet switch should I choose for my internet and device needs?
For most homes, an unmanaged 5-port or 8-port gigabit Ethernet switch is a simple, reliable choice. If you have many wired devices, choose a higher port count and ensure it supports gigabit speeds (1000 Mbps) to avoid bottlenecks. For advanced control, consider a managed Ethernet switch with features like VLAN, QoS, or port mirroring. If you need stable performance for streaming or gaming, look for a gigabit switch with a good backplane capacity and consider models that support QoS.
What’s the difference between managed and unmanaged Ethernet switches, and which should I use?
An unmanaged Ethernet switch automatically forwards traffic without requiring configuration, making it ideal for plug-and-play setups. A managed Ethernet switch lets you configure network features such as VLAN segmentation, bandwidth prioritization (QoS), and port settings. If you only need to expand the number of Ethernet ports, an unmanaged switch is usually best. If you want better network control, troubleshooting tools, or to separate devices for security, a managed switch is the better option.
How do I connect multiple Ethernet switches without causing network issues?
Use the uplink or WAN-capable port (often labeled as uplink) on the downstream switch, or simply connect any standard port if auto-MDI/MDIX is supported. Connect switches in a star or daisy-chain topology carefully, ensuring you don’t create loops that can cause broadcast storms. If you must use a topology with potential loops, use a managed Ethernet switch with STP/RSTP (Spanning Tree Protocol) enabled. After wiring, check link lights and test connectivity to confirm devices can communicate through the switch chain.
Why isn’t my device getting an IP address after connecting to an Ethernet switch, and how do I fix it?
This usually happens when the device isn’t actually negotiating a link, the cable/port is faulty, or DHCP isn’t reaching the device. First, confirm the Ethernet link light on both the switch port and the device is active, then try a different cable or switch port. If the link is good but there’s no IP, check that your router’s DHCP server is enabled and that the device isn’t set to a static IP that doesn’t match your network. For managed switches using VLANs, ensure the correct VLAN is configured on the port your device is connected to.
📅 Last Updated: October 05, 2026 | Topic: how to use ethernet switch | Content verified for accuracy and freshness.
References
- https://en.wikipedia.org/wiki/Switch_(networking
- Autonegotiation
https://en.wikipedia.org/wiki/Autonegotiation - Spanning Tree Protocol
https://en.wikipedia.org/wiki/Spanning_Tree_Protocol - https://en.wikipedia.org/wiki/Virtual_LAN
- Link aggregation
https://en.wikipedia.org/wiki/Link_aggregation - Ethernet | Definition & Facts | Britannica
https://www.britannica.com/technology/Ethernet - RFC 1213: Management Information Base for Network Management of TCP/IP-based internets: MIB-II | …
https://www.rfc-editor.org/rfc/rfc1213 - Google Scholar Google Scholar
https://scholar.google.com/scholar?q=how+to+configure+managed+ethernet+switch+vlan+spanning+tree - Google Scholar Google Scholar
https://scholar.google.com/scholar?q=ethernet+switch+port+configuration+link+aggregation+LACP+autonegotiation - Google Scholar Google Scholar
https://scholar.google.com/scholar?q=best+practices+for+ethernet+switch+security+access+control+lists+port+security
