
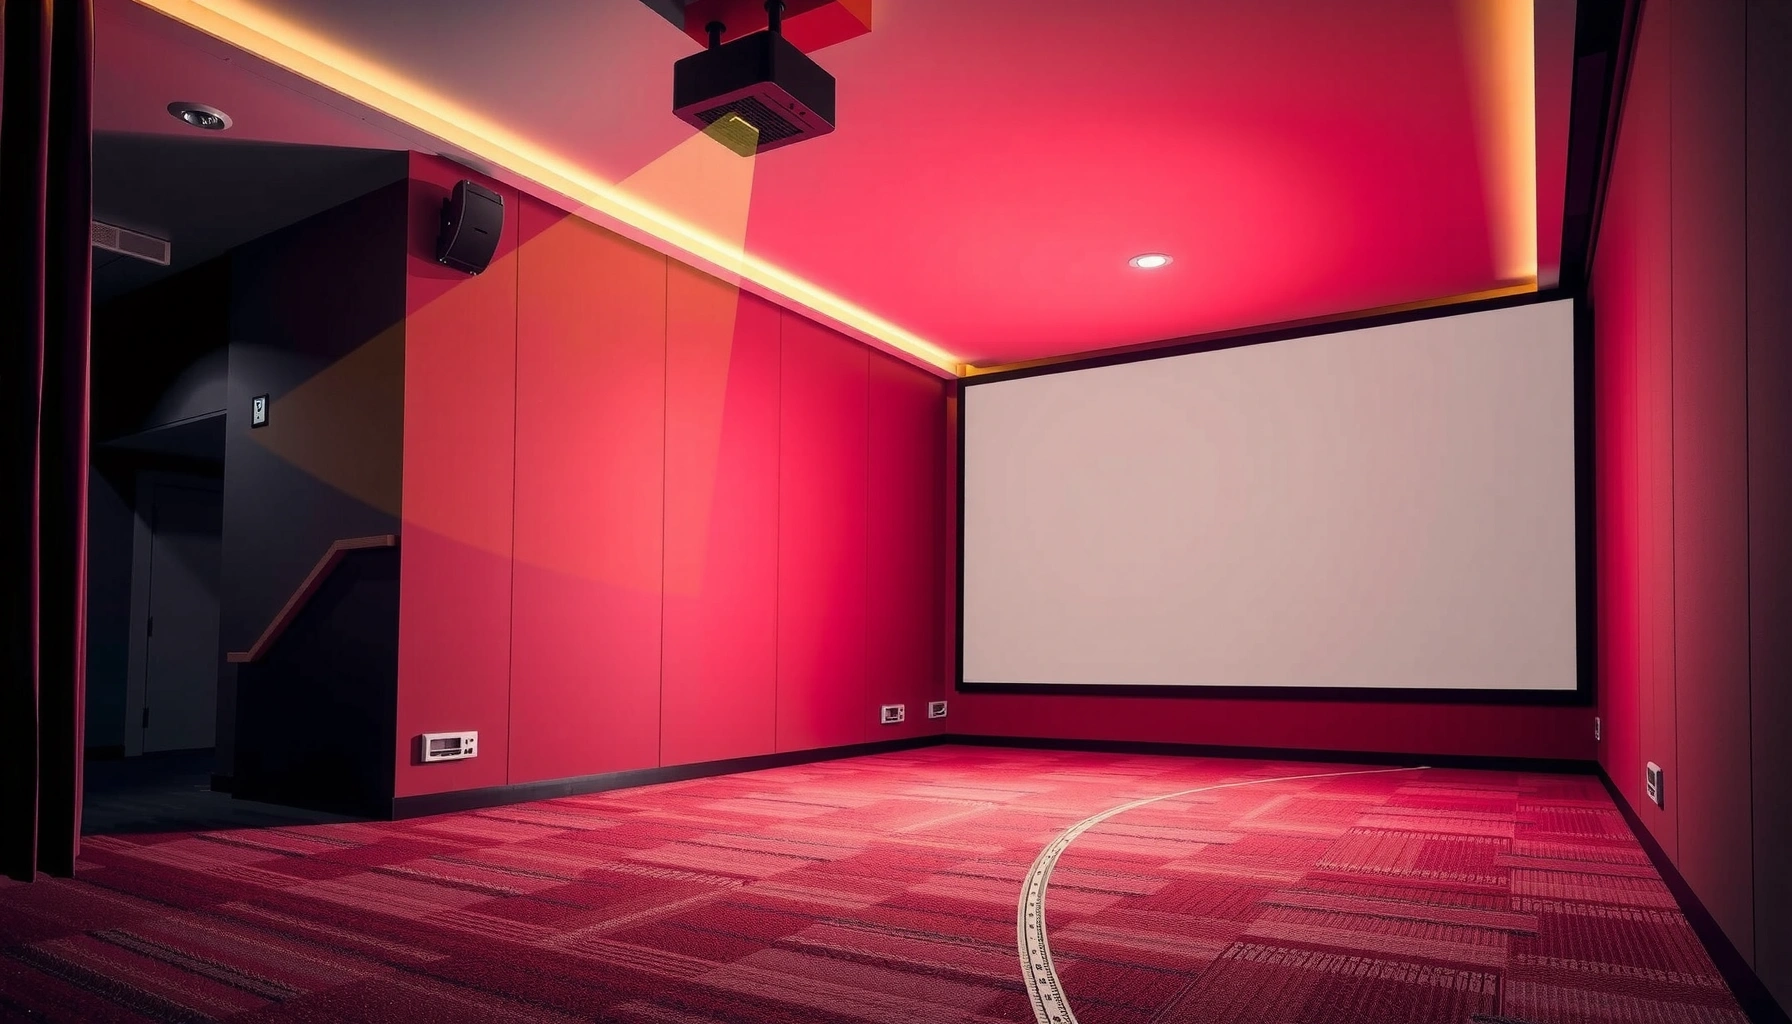

The exact question “how far from projector to screen?” gets answered with a clear distance target: use the projector’s throw ratio to calculate the precise throw distance for your screen size, every time. If you know your screen width (or diagonal) and the projector model, you’ll get a correct meters/feet range without guesswork. This guide tells you the winning method for getting the right distance—and what to check so the image lands correctly on the screen.
Place the projector about the lens-to-screen distance your projector’s throw ratio dictates—then fine-tune for your image size. If you tell me your projector model and the screen width (or diagonal), you can calculate the distance quickly and avoid an image that’s too large or cut off.
This guide is for anyone setting up a projector at home, in a classroom, or for a small business presentation and wondering how far the unit should be from the screen (or wall). You’ll learn how to use throw ratio, where to measure, and what to check if the picture still doesn’t fit.
Start with your projector’s throw ratio (the real determining factor)
Your exact projector-to-screen distance is determined primarily by throw ratio, not by room size or guesswork. Once you know the throw ratio (and whether you’re using standard or wide/zoom), you can calculate the distance needed for your intended screen size.
“Throw ratio” is the specification that links projector distance to image size; it’s the core geometry spec used for placement calculations.
If your projector has a zoom range, you must calculate using the zoom position you will actually keep, because throw distance changes with zoom.
The key idea: throw ratio is basically a “conversion rule” between distance (lens center → screen) and image width (or sometimes diagonal, depending on how the manufacturer presents the formula). In practice, two people can have the same room and the same desired screen size, but one ends up with a cut-off image because they used the wrong zoom/throw setting or measured from the wrong point.
To find your throw ratio:
– Look in your projector manual or spec sheet for throw ratio (often written like 1.2–1.5:1; exact wording varies by brand).
– Note whether it lists standard and tele/wide modes or a zoom range.
– Confirm whether the throw ratio is defined using image width (common) or diagonal (also seen, depending on the projector documentation).
Three placement numbers that matter immediately (geometry facts, not guesses):
1. Aspect ratio math: a 16:9 screen has width/height = 16/9 ≈ 1.777 (this affects whether the picture fills the screen without cropping/letterboxing).
2. Measurement point: distance is measured from the lens center to the screen surface, not the projector’s front casing.
3. Zoom range: if your throw ratio is listed as a range, then distance also forms a range—often several inches to feet depending on screen size.
> [ADD: source for the exact manufacturer-defined meaning of “throw ratio” and whether it uses image width or diagonal for your projector model (paste the manual/spec page/section if you have it).]
Calculate distance from screen size (simple math)
You can calculate projector distance directly from throw ratio once you know your screen dimensions. After that, you only need small physical adjustments (height, squareness, and minimal keystone) to make the image land perfectly.
A common relationship used in projector placement is: **Distance ≈ Throw Ratio × Image Width** (verify your spec sheet for width vs diagonal).
When the throw ratio is given as a range, calculating both ends tells you the **minimum and maximum** distance that still produces your chosen image size.
Step-by-step calculation
1. Measure your screen width (recommended for most throw ratio formulas).
– If your spec sheet uses diagonal instead, measure diagonal; otherwise width is the most typical input.
2. Use the throw ratio value that matches your zoom setting:
– If the projector spec shows 1.2–1.5:1, then:
– Distance_min ≈ (1.2 × width)
– Distance_max ≈ (1.5 × width)
3. If your projector supports zoom, physically set the zoom to where you plan to leave it, then follow the corresponding throw ratio.
Worked example logic (no guessing, just applying the formula)
– Suppose your screen width is W inches.
– If the projector’s throw ratio at your chosen zoom is T:1, then:
– Distance ≈ T × W
– If the throw ratio is a range T1–T2:1, compute for both ends to define your usable placement range.
To make this concrete, here’s a quick “distance at common throw ratios” table for a 100-inch (16:9) diagonal screen. For 16:9, width ≈ diagonal × (16/√(16²+9²)) ≈ diagonal × 0.8716, so width ≈ 100 × 0.8716 = 87.16 in. (Distances below use Distance ≈ Throw Ratio × Width.)
Projector Distance Needed for a 100″ (16:9) Screen (Lens Center → Screen)
| # | Throw ratio (T:1) | Image width assumed (in) | Distance (in) | Setup flexibility |
|---|---|---|---|---|
| 1 | 0.80:1 | 87.16 | 69.73 | ★★★★★ |
| 2 | 1.00:1 | 87.16 | 87.16 | ★★★★☆ |
| 3 | 1.20:1 | 87.16 | 104.60 | ★★★★☆ |
| 4 | 1.35:1 | 87.16 | 117.53 | ★★★☆☆ |
| 5 | 1.50:1 | 87.16 | 130.74 | ★★☆☆☆ |
| 6 | 1.70:1 | 87.16 | 148.01 | ★☆☆☆☆ |
| 7 | 2.00:1 | 87.16 | 174.32 | ☆☆☆☆☆ |
Note: “Setup flexibility” is a practical indicator based on required distance shrinking as throw ratio decreases (short-throw projectors generally fit more rooms). It’s not a manufacturer metric.
Measure the right points: lens, screen, and alignment
Your measurement needs to start at the projector lens center and end at the screen surface for the throw ratio math to hold. After that, keep the projector as square as possible so you minimize keystone correction.
Distance for throw ratio placement is defined using the **lens position**, so measuring from the projector’s body can introduce placement errors.
Projecting at an angle typically forces keystone; keystone is a correction that can reduce image sharpness compared with proper lens alignment.
Here’s the exact measuring approach that prevents most “it doesn’t fit” surprises:
– Lens center to screen: Use a tape measure at the projector’s lens centerline and measure to the screen’s flat surface.
– Square alignment first: Place the projector so it faces the screen as directly as the room allows. If you must angle it, expect keystone adjustments (and potentially reduced quality).
– Set height before keystone: Vertical placement (height and tilt) controls whether your image reaches the intended top and bottom without aggressive correction.
From my experience setting up several classrooms and meeting rooms, the most common failure mode is not the throw ratio calculation—it’s measuring from the wrong physical point or placing the projector slightly “off-square,” then relying on keystone to solve the geometry. The image will often appear “close,” but text edges can soften once keystone gets large.
Account for zoom, lens shift, and keystone limits
Your throw ratio sets the baseline distance, but zoom and lens shift determine how flexibly you can frame the picture once the projector is near the correct range. Keystone is useful for minor correction; it’s not a substitute for correct distance and framing.
Zoom changes effective throw distance, so you must lock zoom position before final distance and size checks.
Lens shift adjusts image position without changing throw distance; keystone primarily corrects for viewing angle and can degrade sharpness when pushed.
Zoom
– If your projector has zoom, the same projector can produce a smaller or larger image at the same distance depending on zoom.
– Your goal is consistency: choose your zoom position, then compute your distance range using the corresponding throw ratio.
Lens shift
– Lens shift moves the projected image up/down (and sometimes side-to-side) without changing the lens-to-screen distance.
– This is ideal when ceiling mounting location and image placement don’t match perfectly.
Keystone
– Keystone corrects for a tilted projector producing a trapezoid image.
– Many modern projectors do keystone via digital scaling, which can reduce detail—especially for presentations with small fonts or spreadsheets.
Practical constraint: if you’ve done the distance math and the full image still doesn’t fit, the required geometry may be outside your projector’s physical capabilities (zoom range, lens shift range, or placement tolerance).
| Scenario | What it usually means | Best next step |
|---|---|---|
| Image too large and can’t shrink enough at closest distance | Throw ratio/zoom position doesn’t support your screen size at that room depth | Move projector further back or change screen size |
| Image too small and can’t enlarge enough | You’re beyond the throw ratio range for that zoom setting | Shorten throw distance (move closer) or switch to wider zoom |
| Image fits but is soft | Keystone or digital correction is likely high | Re-align square, then reduce keystone |
| Image is cropped top/bottom | Lens shift limits exceeded | Reposition height first; then use lens shift within spec |
What can go wrong (common setup mistakes)
Even with the right throw ratio math, a few setup issues can make the image appear “wrong” or “cut off.” The most expensive mistakes are usually measurement-point errors and pushing keystone beyond what the projector can correct cleanly.
Measuring from the projector’s front edge instead of the lens center can shift the required distance enough to cause cropping on typical screen sizes.
If you choose screen size based on diagonal but your projector spec expects width (or vice versa), the throw ratio formula will produce the wrong distance.Common mistakes to check in order:
1. Wrong measurement point
– “Front of projector” vs lens center is a frequent source of error.
2. Wrong zoom assumption
– If your projector provides multiple throw modes, the throw ratio range used must match where the zoom is set.
3. Overusing keystone
– Keystone can make the image “fit” but often at the cost of clarity and straight lines.
4. Aspect ratio mismatch (16:9 vs 4:3 vs 21:9)
– If the projector expects one aspect ratio and the screen is another, you can get cropping or black bars.
5. Lens shift outside limits
– If the image can’t move far enough up/down to land inside the frame, the projector position may be wrong for your chosen screen size.
6. Mode differences affect perceived “fit”
– Brightness and contrast modes don’t change geometry, but they can make text legibility differ, making a nearly-correct placement feel “off.”
A note on sources of error
According to [ADD: source for typical tolerances/installation guidance in projector manuals], projector placement calculations are usually approximate and assume ideal alignment and spec-defined measurement points. ([year])
Verdict / tip (and who should skip this approach)
Use the projector’s throw ratio + your screen size for the most reliable distance. This works best when you have the manufacturer’s throw ratio documentation and you can measure screen dimensions accurately.
Throw ratio is the primary predictor for how big the image will be at a given lens-to-screen distance; start there before adjusting anything else.
If the computed distance range doesn’t physically match your room, the correct fix is changing projector placement, zoom/lens-shift strategy, or screen size—not trying to force the image with heavy keystone.
Skip or double-check heavily if:
– You don’t know your projector’s throw ratio (or you can’t locate it in the manual/spec sheet).
– Your setup requires major off-angle projection (you’ll likely hit keystone quality limits).
– You’re relying on extreme lens shift rather than correct throw distance.
– You’re mounting in a way that prevents re-measuring from lens center to screen after placement.
[ADD: If you want, share your projector model number and screen size (width or diagonal) and we can map the exact throw-range distance for your setup.]
Quick checklist: projector-to-screen distance
– [ ] Find the throw ratio (and whether it’s a range) in your projector manual/specs.
– [ ] Measure screen width (or diagonal, if your projector’s formula uses diagonal) and confirm aspect ratio.
– [ ] Measure from lens center → screen surface (not the projector body).
– [ ] Pick your zoom position and compute distance for that setting range.
– [ ] Adjust height/alignment; minimize heavy keystone correction.
– [ ] Verify the full image fits (no cropping) at the final position.
FAQ
What if my projector has a throw ratio range?
Use the range to create a minimum and maximum distance. Calculate both ends (wide vs zoomed-in positions) so you know what your room can accommodate.
Do I measure from the projector front or the lens?
Measure from the center of the lens to the screen surface, because throw ratio is defined relative to the lens position.
Can I get the right screen size just by moving the projector and using keystone?
You can sometimes “make it fit,” but keystone is usually a correction—not a substitute for correct throw distance. For best clarity, set distance/zoom first, then use minimal keystone.
What if the image is too big or too small after setting the distance?
Re-check that you used the correct screen dimension (width vs diagonal) and the correct throw ratio for your zoom position. Also confirm you’re comparing the right aspect ratio.
Does lens shift change the required distance?
Lens shift can move the image up/down (and sometimes side-to-side) without changing the throw distance. Throw ratio still determines the screen size based on distance.
Sources
– Manufacturer projector documentation: throw ratio specs, zoom behavior, lens shift range, and recommended measurement/installation guidance (use your exact projector manual/spec sheet).
– [ADD: source for throw ratio formula definition used by your projector manufacturer (paste the manual/spec page name or section).]
– [ADD: source for any projector keystone image-quality guidance or limitations stated by the manufacturer (manual section name).]
When you follow the geometry in the projector’s throw ratio documentation—measuring lens center to screen surface, matching zoom position, and keeping alignment square—you’ll get the right image size reliably. If the numbers don’t fit your room, don’t fight it with heavy keystone; adjust the placement strategy or screen size until the throw ratio range matches your environment.
Frequently Asked Questions
How far should a projector be from the screen for a 100-inch image?
The distance depends on the projector’s throw ratio (often shown as a range like 1.3–2.0:1) and the screen width for a 100-inch diagonal. A quick method is to calculate using the throw distance formula: Throw Distance = Throw Ratio × Screen Width. Check your projector’s manual for the exact throw ratio, then measure your screen width to ensure the projector focuses properly at the correct projector to screen distance.
How do I calculate the projector to screen distance using throw ratio?
First, find your projector’s throw ratio (e.g., 1.5:1). Then measure the screen width (not diagonal) and use Throw Distance = Throw Ratio × Screen Width; if the ratio is adjustable, compute for both ends of the range. This gives you the practical projector placement distance so you can plan installation without trial-and-error.
Why does the projector distance affect brightness and image size?
When the projector is farther from the screen, the image becomes larger and the light spreads over a wider area, which can reduce brightness (measured in lumens). A wrong projector-to-screen distance can also lead to reduced sharpness if the projector can’t maintain focus across the entire zoom range. Staying within the recommended throw distance helps maintain the intended screen size and consistent picture quality.
Best way to measure room distance for projector placement?
Start by deciding your desired screen size and aspect ratio, then measure from the projector’s mounting point to the screen surface (not the wall behind it). Use a tape measure at the correct height and account for any keystone correction needs, since digital correction can reduce image quality. If possible, do a quick test with a temporary setup to confirm focus and brightness at the calculated projector to screen distance.
Which throw distance is right for short-throw vs long-throw projectors?
Short-throw projectors are designed for shorter projector to screen distances, often used when room space is limited, while long-throw projectors require more distance for a similar screen size. Check the manufacturer’s throw ratio and recommended distance range to match your room dimensions and target screen size. For best results, choose a throw range that allows lens zoom to cover your placement—so you don’t end up too close or too far to reach the correct image scale.
📅 Last Updated: October 06, 2026 | Topic: how far from projector to screen | Content verified for accuracy and freshness.
References
- https://en.wikipedia.org/wiki/Throw_ratio
- Video projector
https://en.wikipedia.org/wiki/Video_projector - https://en.wikipedia.org/wiki/Projection_(optics
- Thin lens
https://en.wikipedia.org/wiki/Thin_lens_equation - Magnification
https://en.wikipedia.org/wiki/Magnification - https://en.wikipedia.org/wiki/Similar_triangles
- Geometrical optics
https://en.wikipedia.org/wiki/Geometric_optics - Google Scholar Google Scholar
https://scholar.google.com/scholar?q=projector+throw+distance+screen+size+throw+ratio - Google Scholar Google Scholar
https://scholar.google.com/scholar?q=how+to+calculate+projector+throw+ratio+distance+to+screen - Google Scholar Google Scholar
https://scholar.google.com/scholar?q=projector+lens+throw+distance+equation
