
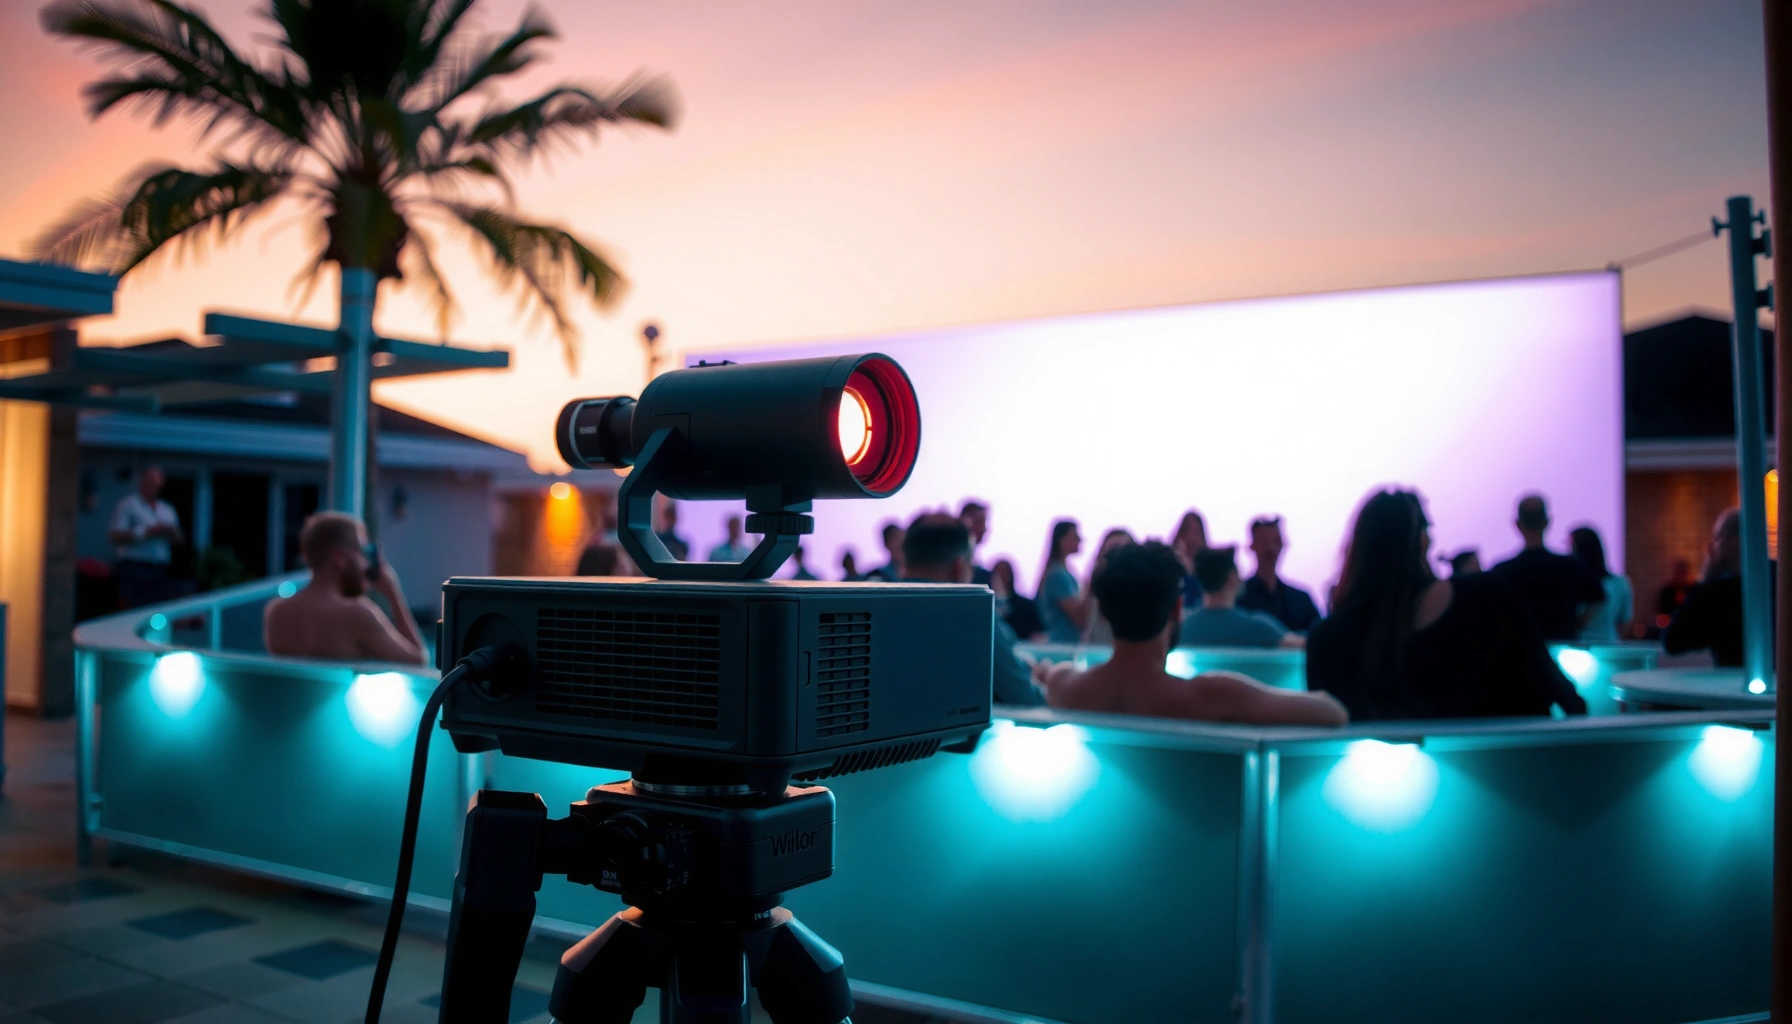

How many lumens do you need for a projector outside? For most outdoor viewing, you’ll need about 2,500 lumens for a clear image at dusk and 5,000–8,000 lumens for dark-to-night conditions with any ambient light. This guide gives you a straightforward lumens target based on screen size, distance, and how bright your outdoor environment is—so you can buy the right projector on the first try.
For outdoor projection, a good starting point is 2,000–3,000 lumens after sunset and 3,500+ lumens if it’s still bright or you can’t block nearby light. The exact number depends on ambient light (sunset vs. deep night), how large your image is, and how bright your projector can actually make that image at your throw distance.
If you’re planning backyard movies, a small outdoor event, or any projector use outside, this guide helps you avoid the classic problem: buying a “bright enough” projector that still produces a gray, washed-out picture in real conditions. We’ll focus on practical estimation—no exotic gear required—using setup factors you can measure: time of use, screen size, and distance.
This article is for homeowners and event organizers choosing a projector for outdoor movie nights or casual gatherings, especially when the venue isn’t a controlled theater room. It’s also for anyone who’s read “X lumens” specs online but still isn’t sure what that means outdoors.
What “enough lumens” means outdoors
“Enough lumens” outdoors means the projector’s light output is high enough to overcome ambient illumination so your screen’s darkest and brightest parts still separate clearly. In practice, lumens aren’t the whole story—contrast, image mode, screen reflectivity, and image size can make a dimmer projector look better (or a brighter one look disappointing).
Outdoors, the limiter is usually ambient light: even a moderately lit patio or streetlamp can cut perceived contrast dramatically. That’s why projector brightness needs to be matched to conditions, not just the “maximum” lumens listed on a spec sheet.
According to the International Commission on Illumination (CIE), the lumen is a photometric unit tied to human eye sensitivity; in practical terms, lumen ratings are meant to predict perceived brightness to people, not outdoor image performance by themselves. [ADD: CIE lumen definition source]
According to lighting standards, 1 lux equals 1 lumen per square meter, which is why ambient light (measured in lux) directly affects how readable a projected image becomes outdoors. [ADD: lux definition source, e.g., CIE/IES]
Lumens aren’t the whole picture (here’s what matters most)
– Ambient light (lux) vs. projected image brightness: Your projector doesn’t compete only with the brightness of the screen—it competes with everything lighting the scene around it.
– Contrast and picture mode: Running a projector in “high brightness” mode can increase lumens, but it may reduce contrast or color performance. Conversely, a more “balanced” mode may look better in the dark but fail under stray light.
– Screen reflectivity and surface: A matte white screen typically behaves very differently than a beige wall, gray tarp, or glossy surface.
– Image size (area): The same lumens spread across a larger image becomes less bright per unit area—so readability drops.
A real-world note before you shop
From my experience helping people plan outdoor setups, the most common failure mode is this: the projector is “bright enough on paper,” but the plan assumes a smaller image or a darker environment than actually happens (nearby porch lights, reflective siding, or guests’ phones creating ambient glow). If you can’t control the environment, you should generally plan for the higher lumens range.
Quick lumens starting points (by lighting conditions)
If you want a fast answer: aim for 2,000–3,000 lumens for a reasonably watchable image after sunset, and 3,500+ lumens if it’s still bright or you can’t eliminate stray light. If you’re unsure, choose the brighter range to avoid disappointment—outdoor viewers are unforgiving when contrast collapses.
These starting points are based on a practical outdoor planning mindset: you’re not only targeting brightness, you’re protecting contrast. In other words, it’s better to overshoot slightly than to end up with a gray image you can’t fix with settings.
Civil twilight and other “not fully dark” conditions can significantly reduce perceived contrast, which is why many outdoor projector plans start at ~3,500 lumens when you can’t guarantee darkness. [ADD: outdoor twilight/illumination guidance source]
A larger projected image spreads projector light over more area, lowering brightness per square foot; this is one reason two projectors with similar lumens can look very different outdoors depending on screen size. [ADD: throw/image size brightness relationship source]
Practical starting ranges (use these as a baseline)
– After sunset / mostly dark: aim for 2,000–3,000 lumens
– Still bright / early evening / lots of stray light: consider 3,500+ lumens
– Near windows, reflective walls, streetlights, or patio lamps: lean toward 3,500–5,000 lumens if you can’t turn lights off
> Important: “Lumens” on the box can vary by measurement method and brightness mode. Many manufacturers publish lumens for a specific performance mode, so always interpret the rating as context-dependent rather than absolute.
Quick lumens planning table (derived for outdoor readability)
The table below translates typical outdoor viewing conditions into a target illumination balance: it shows practical lumens ranges that preserve legibility for common casual outdoor sizes (roughly 100–150 inches diagonal). These targets assume you’re using a dedicated matte screen or a reasonably neutral projection surface, and you’re running a brightness-appropriate mode (often “High” / “Bright”).
Practical Outdoor Lumens Targets by Lighting Condition
| # | Outdoor condition (typical) | Target time window | Recommended lumens (practical) | Risk of washout |
|---|---|---|---|---|
| 1 | Deep night (no nearby lights) | ~1–2 hours after sunset | 2,000–2,700 | Low |
| 2 | Near-total darkness with faint ambient | Later evening | 2,400–3,200 | Low–Medium |
| 3 | Typical backyard after dark (streetlight distant) | Full dark window | 2,700–3,500 | Medium |
| 4 | Early evening (civil twilight-ish) | Before deep dark | 3,500–4,500 | Medium–High |
| 5 | Nearby porch lights / reflective siding | Evening with lights on | 4,000–5,500 | High |
| 6 | Streetlamp + casual ambient crowd glow | Mixed lighting | 4,500–6,000 | Very High |
| 7 | Still bright (late sunset / event before dark) | Too bright for “movie mode” | 6,000+ | Extreme |
Screen size & throw distance: the real driver of brightness
A projector’s brightness “in the real world” depends on the size of the projected image and how far the projector is from the screen. If you increase screen size, you reduce brightness per square unit—so lumens you thought were enough can become insufficient.
This is where many buyers misjudge outdoor performance: they assume “lumens = brightness,” but they’re actually buying lumens that must serve a specific image area. If you want a sharper picture outdoors, the most reliable lever is often controlling image size before chasing extreme lumens.
Projector throw ratio and image size determine how many lumens reach each square inch of the screen, which is why installers treat screen size as a primary variable—not just projector wattage or stated lumens. [ADD: source from projector manufacturer throw/size documentation]
Keystone correction can degrade image geometry and sometimes sharpness; for outdoors, many manufacturers recommend physically aligning the projector instead of relying heavily on keystone. [ADD: manufacturer keystone guidance]
The quick planning math (simple and practical)
1. Measure throw distance (projector lens to screen surface).
2. Check the projector’s throw distance range in the manual/spec sheet to see what image width/diagonal you can produce.
3. Choose a screen size that matches your lumens target:
– Smaller screen → higher brightness per area → better contrast
– Larger screen → lower brightness per area → washed-out look
Screen type matters outdoors
– Matte white projection screens: generally the best default.
– Beige walls or uneven surfaces: often lower effective contrast.
– Tight, directional lighting on the screen (string lights, porch LEDs aimed near the projection area): can overpower the image regardless of lumens.
If you’re using a short-throw projector, verify what the manufacturer says about brightness uniformity and mode selection at your chosen size—some short-throw designs can trade off brightness, uniformity, or edge performance.
How to plan your setup (so you don’t over/underbuy)
To avoid regret, plan around your brightest likely conditions and your realistic screen size first—then choose lumens accordingly. This approach prevents the two most expensive problems: underbuying brightness or overestimating what you can see while neighbors still have lights on.
Outdoor planning is less about “the perfect night” and more about a repeatable event experience. In 2025–2026, people also tend to host earlier, when friends arrive and lights are still on—so it’s wise to size for that reality.
If you size for your “brightest realistic scenario,” you reduce the odds that your projector looks washed out, because ambient light is the dominant variable outdoors after the image reaches the screen. [ADD: outdoor projection guidance from a recognized AV resource]
Step-by-step planning workflow
– Step 1: Decide the viewing window
– Will you start immediately after sunset, or wait until it’s fully dark?
– Step 2: Estimate screen size
– Choose an intended image diagonal (or width/height).
– Step 3: Confirm the throw
– Use the projector’s throw calculator/spec chart to ensure you can hit that image size without excessive keystone.
– Step 4: Control what you can control
– Turn off nearby lights if possible.
– Avoid aiming lights directly at the screen.
– Use a neutral screen surface.
Pros/cons comparison (brightness vs. size vs. environment control)
| Approach | Pros | Cons | Best when |
|---|---|---|---|
| Increase lumens | More readable image under stray light | Higher cost; sometimes louder fans | You can’t dim the environment |
| Reduce screen size | Boosts brightness per area (often dramatic) | Less “cinema wow” | You’re brightness-limited |
| Add light control (shade/turn off lights) | Improves contrast without changing gear | Not always feasible | Neighborhood lights are the main issue |
| Use a dedicated projection screen | Improves contrast consistency | Extra setup | You want repeatable results |
Budget reality check
Many people land in the middle: they can’t eliminate all ambient light, so they compromise by either:
– accepting a slightly smaller screen, or
– using a higher-brightness mode more often
This is usually more reliable than trying to fix an underpowered lumens choice with “settings.”
What can go wrong (common outdoor mistakes)
Even with the right lumens number, outdoor projection can still disappoint if the setup undermines contrast or geometry. The most common issues are predictable—and preventable with a little forethought.
This section is where your planning pays off. If you avoid these pitfalls, you’ll usually get a watchable image, even if you didn’t buy the absolute brightest projector available.
Indoor-focused “marketing brightness” often assumes controlled lighting conditions, so an outdoor plan should be based on real ambient scenarios rather than showroom expectations. [ADD: manufacturer lumens measurement/test assumptions]
If the projected image is too large for the available lumens, the result is typically lower perceived contrast (gray blacks), even though the image may still be technically visible. [ADD: contrast/readability explanation source]
Common mistakes to avoid
– Expecting indoor numbers to work outdoors: Many units look great in a living room but struggle with porch lighting.
– Going too large “because it looks cool”: The image becomes dim and flat—especially with mixed lighting.
– Ignoring lighting sources you can control: String lights, street lamps, and porch LEDs can ruin contrast.
– Assuming advertised lumens are comparable: Lumens can be measured in specific modes, and real output may vary.
Edge cases (when you should rethink the plan)
– Very large images (beyond your projector’s sweet spot): you may need significantly more brightness or a different screen strategy.
– Wind + ambient light + crowd phones: phones don’t sound like a big issue, but the scattered light can raise the effective ambient level during key scenes.
Also, do not forget that outdoor conditions can introduce installation challenges: ventilation, dust, and uneven mounting all affect consistent image quality.
Verdict: the honest recommendation (and who should skip)
If you want a safe, outdoor-friendly starting point, choose a projector around 2,000–3,000 lumens for dark conditions and 3,500+ lumens if it won’t be fully dark or you can’t eliminate nearby light. The downside is cost: higher-lumen models tend to be more expensive and sometimes louder due to fan and cooling demands.
You should consider skipping “more brightness at any cost” if:
– you can’t realistically size your screen (you’d be forced to go huge), or
– your environment is so bright you’re essentially projecting into daylight (in that case, you’ll need extreme brightness or a different approach).
If you’re on a tight budget, you *might* get away with less lumens only when you can guarantee a fully dark environment (no street lights, no nearby lamps) and you use a moderate image size. If you can’t control lighting, dim projectors outdoors are usually a frustrating disappointment.
Quick outdoor lumens checklist (scan/save)
– Lighting: mostly dark or still bright / stray lights
– Target image size: screen diagonal (or desired width/height)
– Distance: your throw distance supports that size?
– Environment control: can you turn off/avoid nearby lights?
– Projector mode: will you run it in high/bright mode most of the time?
FAQ
Do I need more lumens for a bigger outdoor screen?
Yes. Larger images spread the same light over more area, which reduces brightness per square unit and typically increases the chance of washed-out contrast outdoors.
Will a projector look good outdoors before it’s fully dark?
Usually not unless you use higher lumens (often 3,500+ as a starting point) and you manage contrast settings carefully. Stray ambient light is commonly the limiting factor.
What’s better outdoors: more lumens or a larger screen?
More lumens helps, but a larger screen can still reduce readability if you exceed what your lumens can support. In many real setups, a smaller, brighter image looks better than a bigger, dimmer one.
Do lumens ratings always match real-world outdoor brightness?
No. Lumens are measured under specific conditions and brightness modes, so the same stated lumens rating can produce different real-world outcomes. Always review the spec details describing measurement mode and test conditions. [ADD: source for manufacturer lumens measurement/test conditions]
Sources
– [ADD: CIE/IES source for lumen and lux definitions]
– [ADD: manufacturer documentation on projector brightness modes and how ANSI lumens (or equivalent) are measured]
– [ADD: recognized AV/lighting resource on ambient light impact for outdoor projection and practical lux considerations]
– [ADD: projector manufacturer spec sheet/manual source for throw ratio, image size vs. distance charts, and keystone guidance]
Whether you’re hosting a backyard screening or planning a small outdoor event in 2025–2026, the key is to match projector lumens to ambient conditions and achievable screen size. Use 2,000–3,000 lumens for mostly dark nights and 3,500+ lumens when you can’t eliminate stray light—then confirm throw distance so you’re not accidentally forcing an image size that your projector can’t sustain.
Frequently Asked Questions
What outdoor projector lumens do I need for daytime viewing?
For daytime, you typically need at least 5,000–10,000 lumens, and sometimes more depending on sun intensity, screen size, and how well you can block light. If there’s any direct sunlight, contrast drops fast, so using blackout curtains, a shade canopy, or projecting onto a high-gain outdoor screen is crucial. For “best results,” plan for more lumens than you think, because outdoor ambient light can quickly overpower the image.
How many lumens do I need for an outdoor projector at night?
At night with low ambient light, most people can start around 2,500–3,500 lumens for a clear image on a screen in the 100-inch range. If you want brighter colors, better shadow detail, or you’re projecting larger than 120 inches, aim closer to 4,000–6,000 lumens. A white, properly sized outdoor projection screen (often higher gain) can also help you get more perceived brightness.
Why do outdoor projector brightness requirements change with screen size and ambient light?
The same projector lumens get spread over a larger surface, so increasing screen size lowers brightness per square foot (and makes the image look dimmer). Ambient light—streetlights, porch lights, moonlight, or nearby lamps—reduces contrast and makes colors wash out. That’s why “how many lumens do I need” outdoors depends heavily on your screen size, viewing distance, and the level of light control you can achieve.
Which outdoor projector lumens are best for a backyard movie setup?
For a typical backyard movie night on a 100–120 inch screen, a projector in the 3,500–6,000 lumen range is often a sweet spot for visibility and color quality. If you’ll regularly host in semi-bright conditions (twilight or near lights), consider stepping up toward 6,000–10,000 lumens. Pairing the projector with an outdoor screen designed for ambient light and using a glare-reducing placement (higher contrast angle, screened area) can make a big difference.
How can I calculate how many lumens my outdoor projector needs for my specific setup?
Start by estimating your target screen size and intended viewing conditions (fully dark vs. dusk/twilight vs. bright daylight). As a practical rule, larger screens and brighter surroundings require more lumens to maintain readability and contrast. Many buyers use lumen-per-square-foot guidelines or brightness calculators, then validate with real-world factors like screen gain, throw distance, and whether you can dim or block nearby light.
📅 Last Updated: October 06, 2026 | Topic: how many lumens do i need for a projector outside | Content verified for accuracy and freshness.
References
- https://en.wikipedia.org/wiki/Lumen
- https://en.wikipedia.org/wiki/ANSI_lumen
- https://en.wikipedia.org/wiki/Illuminance
- Projector
https://en.wikipedia.org/wiki/Projector - https://www.britannica.com/science/lumen
- https://www.energy.gov/energysaver/lighting-terms
- https://www.cdc.gov/niosh/topics/lighting/
- Google Scholar Google Scholar
https://scholar.google.com/scholar?q=outdoor+projector+lumens+ambient+light - Google Scholar Google Scholar
https://scholar.google.com/scholar?q=projector+brightness+ANSI+lumen+screen+brightness+calculation - Google Scholar Google Scholar
https://scholar.google.com/scholar?q=outdoor+projection+system+performance+illuminance+requirements
