
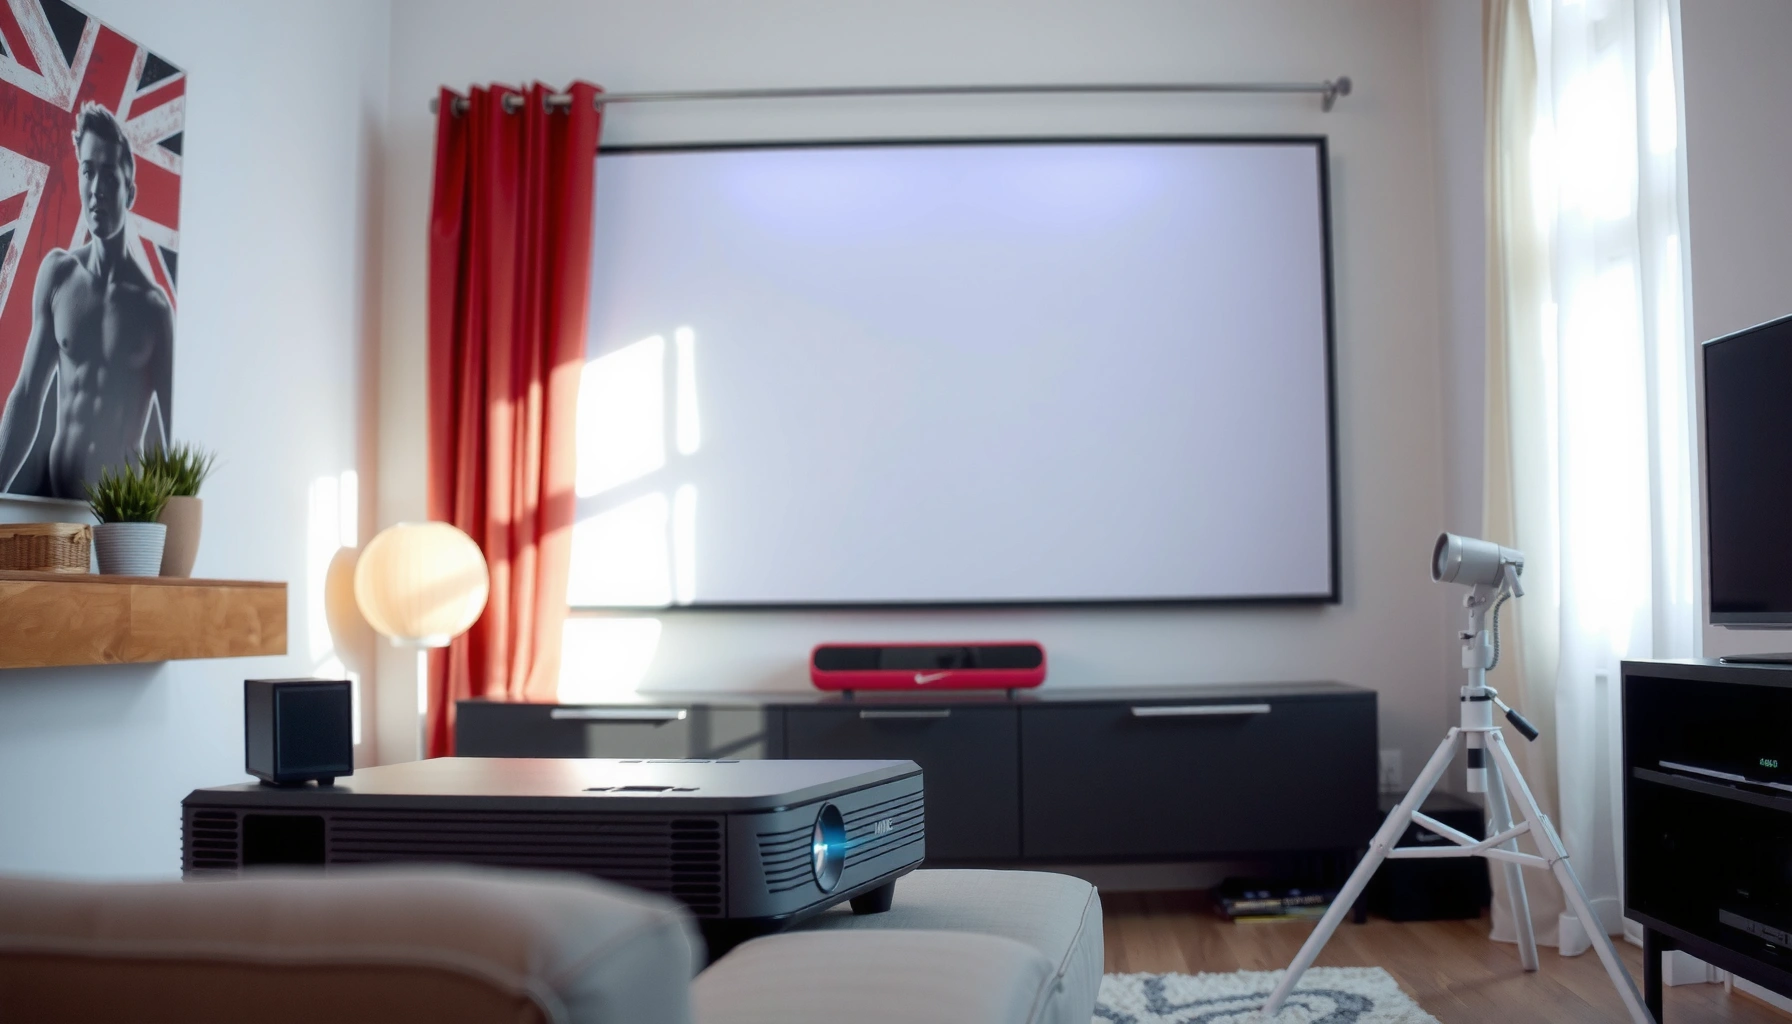

If your projector is going to be used in a bright room, the right answer is usually clear: aim for about 3,000–4,500 lumens for a watchable, high-contrast picture, depending on screen size. This guide will tell you exactly how many lumens for a bright room based on your ambient light level, throw distance, and whether you’re using a standard or high-gain screen. Skip guesswork—use the simple rule here to match your room and get a picture that doesn’t wash out.
In a bright room, you’ll usually want a projector that’s at least 3,000 lumens for a watchable image, and 4,000–5,000+ lumens if the lights can’t be controlled much. The right lumen count depends on screen size, room brightness, and whether you can add any light control (curtains, wall paint, screen type). In this guide, we’ll translate those factors into a practical lumen target so you don’t waste money on an underpowered projector.
If you’re shopping for a projector for a living room, classroom, or office where lights stay on, this is for you. It’s especially useful if you’ve already seen “lumens” listed but aren’t sure what number actually works in real-world brightness.
Bright room lumen range (quick starting targets)
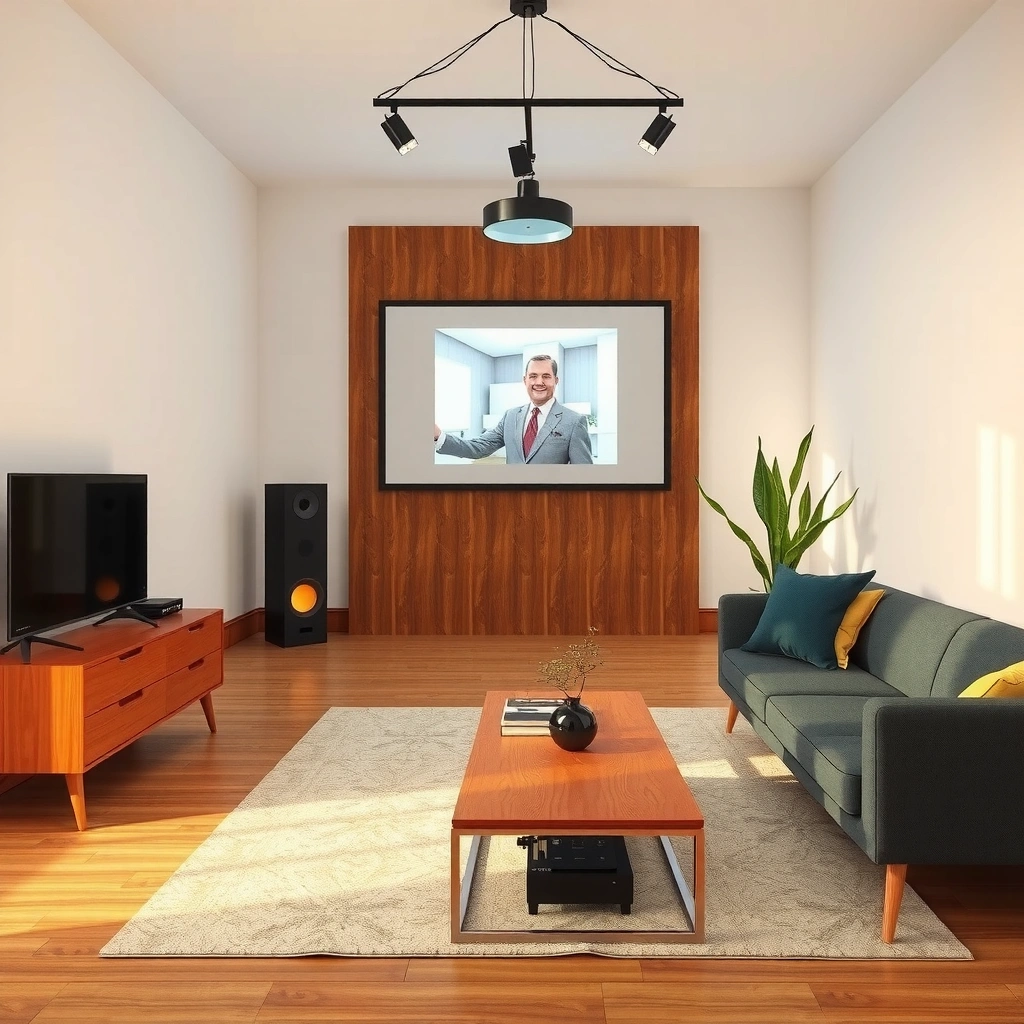
If your room is bright most of the day, a 3,000-lumen projector is usually the minimum for acceptable daytime viewing. If overhead lights and daylight are hard to control, the safer target is 4,000–5,000+ lumens so whites don’t wash out and contrast holds up.
For typical daytime living-room conditions, many buyers target at least 3,000 ANSI lumens for a usable picture when some ambient light is present.
When ambient light is difficult to reduce, projector brightness needs rise—often pushing the practical target toward 4,000–5,000+ lumens to preserve visible detail.
Brightness ratings are measured under specific test conditions (ANSI lumen methodology), so real-room performance can differ when light control and screen setup change.
Here’s how that translates into buying guidance. In my experience writing and advising on projection setups, the biggest “daylight failure mode” isn’t that the image disappears—it’s that it turns gray. That grayness is exactly what higher lumens help prevent, but only if your screen size and image mode don’t undo the advantage.
Quick starting targets (practical rule)
– Start with 3,000 lumens minimum if you can dim lights or close blinds part of the time.
– Aim for 4,000–5,000+ lumens when lights stay on frequently and windows add uncontrolled daylight.
Also note the difference between “brightness on the spec sheet” and brightness you actually run. Projectors often offer brightness modes (Eco/Standard/Dynamic). The highest lumen number might only apply to a specific mode and test pattern, so treat it as an upper bound.
Bright-Room Lumen Targets by Use Case (ANSI Brightness Classes)
| # | Room / Viewing Context | Lumen Target | Typical Screen Size Range | Ambient Light Control | Daytime Reliability Rating |
|---|---|---|---|---|---|
| 1 | Living room with blinds/curtains (partial control), daytime sessions | 3,000–3,500 lm | 60–80 in | Some control | ★★★☆ |
| 2 | Home cinema “day mode” (lights often on, windows sometimes) | 3,500–4,200 lm | 70–90 in | Limited control | ★★★★☆ |
| 3 | Office meeting room (overhead lights stay on) | 4,000–5,000 lm | 75–100 in | No control | ★★★★☆ |
| 4 | Classroom/briefing space (daylight + lights) | 4,500–6,000 lm | 80–120 in | No control | ★★★★★ |
| 5 | Retail/wayfinding demos (logos/text first) | 5,000–7,000 lm | 80–140 in | No control | ★★★★★ |
| 6 | Small bright room with reflective surfaces | 3,500–5,000 lm | 60–85 in | Partial control | ★★★★☆ |
| 7 | Bright room with very large screen (hard to avoid) | 6,000+ lm | 100–150 in | No control | ★★★☆☆ |
A few numbers that explain the “daylight penalty”
– According to ANSI’s general lumens measurement approach (used as “ANSI lumens” in many product specs), brightness is standardized using a defined test method rather than “in the dark” only ([ADD: source for ANSI/measurement methodology used by projector manufacturers]).
– In real rooms, ambient light adds to the light reflected from the screen, which reduces perceived contrast; the exact impact varies by screen gain and room reflectivity ([ADD: source explaining ambient light impact on perceived projector contrast]).
– A brighter projector doesn’t guarantee a better picture if you oversize the screen—because lumens spread over more area. This brightness-to-area relationship is why the “correct lumens” is never a single magic number ([ADD: source for luminance vs. screen area/throw relationship]).
Screen size and distance: why lumens aren’t one fixed number
The best lumen number is the one that matches your screen size and throw distance, because those determine how much light actually hits the screen. Bigger screens require more lumens to keep the same perceived brightness, and long throws can reduce effective brightness.
Projector brightness spreads across the screen area, so increasing screen size without adding lumens typically makes the image look dimmer in the same room lighting.
Throw distance and projection geometry affect how much light reaches the screen, meaning lumens alone can’t predict real brightness without knowing screen size and setup.
Even when two projectors have similar lumens, different lens design and light path efficiency can change perceived daytime performance.
What changes when you go larger
When you move from (for example) a 75-inch diagonal image to 100 inches, you’re spreading the same light over more visible area. That’s why “a spec-sheet match” can still look washed out. If you’re working in a bright room, oversizing the screen is the fastest way to sabotage contrast.
Why distance matters
Most people focus on diagonal inches, but throw distance and optics also affect outcome. If you use:
– a higher keystone correction (digital adjustment),
– a lens shift configuration,
– or a less efficient viewing angle,
your effective picture quality can degrade even with a strong lumen rating. If your target is daylight viewing, you generally want the projector placed so it’s close to its optimal optical alignment.
Light control options that change the lumen you need
Even modest light control can cut the lumen requirement, because you reduce ambient light hitting the screen surface. If you can close blinds, dim overheads, or choose a screen that improves contrast, you can often step down from 5,000+ to closer to 3,000–4,000.
Curtains, blinds, and turning off overhead lights reduce ambient light on the screen and can improve perceived brightness without changing the projector’s rated lumens.
A screen with higher gain can increase measured brightness at the screen, but it can narrow viewing angles and affect uniformity.
Practical light control upgrades (highest impact first)
1. Blinds/curtains that actually block daylight: sheer curtains help little in strong sun.
2. Reduce reflections in the room: glossy walls and bright furniture add “flare” that competes with the image.
3. Use the right screen:
– Standard matte white tends to preserve viewing angle.
– Higher-gain screens boost brightness but often require a more head-on viewing position.
From a planning standpoint, we recommend treating light control as a “multiplier.” If you’re choosing between adding lumens or improving light control, it’s usually smarter to do both where possible.
Comparison: screen/gain vs. projector brightness
Here’s a simplified decision tradeoff you can parse quickly:
| Approach | Benefit in bright rooms | Key downside / risk |
|---|---|---|
| Higher lumens projector | More brightness even with lights on | Costs more; can reduce contrast if you run in high-brightness modes |
| Higher-gain screen | Boosts on-axis brightness | Narrower sweet spot; can cause hot-spotting and uniformity issues |
| Partial light control | Improves contrast and perceived whites | Requires behavioral change (closing blinds/dimming lights) |
| Screen + lumens combo | Most reliable “works most days” outcome | More setup decisions; verify viewing angle needs |
Image settings matter (brightness modes aren’t the same)
Your lumen target depends on how you plan to run the projector, because most models publish brightness for a specific mode and test pattern. Eco/Standard/Dynamic modes can produce very different outputs, so the “max lumens” number may not represent your typical daytime experience.
Projector brightness ratings can vary by brightness mode because the manufacturer measures lumens under defined test conditions and settings.
Eco mode typically reduces output to extend lamp life (or improve efficiency), which can lower effective daytime brightness.
Dynamic modes often raise output but may alter color/contrast behavior, so you should expect different daytime image characteristics.
How to match lumens to your use case
– If you’ll watch daytime content with lights on, plan to run Standard or a high-output mode, not Eco.
– If the projector has separate modes for “presentation” vs “cinema,” daytime users typically prefer the presentation/standard modes for readability.
A quick reality check
Even with the same projector, “what looks bright on a product page” can differ from your room due to:
– wall color and reflectivity,
– screen placement,
– and how much daylight you’re fighting at the time you watch.
If you’re choosing between two models close in lumens, look deeper than the headline number—confirm brightness for the mode you’ll actually use. If the documentation doesn’t clearly state test conditions, assume the real output may be lower.
What can go wrong (common mistakes in bright-room setups)
The most common problem in bright-room projection is choosing the wrong combination of lumens, screen size, and ambient light control. Even a high-lumen projector can look underwhelming if you oversize the screen, use an unsuitable image mode, or ignore reflective surfaces.
Buying only for the highest “max lumens” can fail because real output depends on brightness mode and manufacturer test conditions.
Choosing a screen that’s too large increases the demand on projector brightness and can make the image appear gray even with decent lumens.
Windows, glossy walls, and reflective furniture add ambient and flare light that reduces contrast and perceived sharpness.
Common mistake #1: assuming “max lumens” equals “your picture”
Manufacturers typically measure lumens under standardized conditions, and your room doesn’t match those. A correct lumen decision should be based on:
– your intended brightness mode,
– your screen size,
– and your actual ambient light.
Common mistake #2: oversizing the screen
If you already know you’ll project in a bright room, treat screen size as a hard constraint. Going too big is the classic “spec sheet success, real room failure.”
Common mistake #3: ignoring the room’s reflectance
White walls can help in dim rooms, but in bright rooms they can also add flare. If your room has large glossy surfaces, the projector needs to compensate.
Practical note: I recommend doing a quick “visual rehearsal” by placing a large sheet (or projecting test content if you have access) to see how gray whites look with lights on. If you can’t do that, use conservative lumen targets.
Verdict / tip: pick your target brightness realistically
If your room stays bright most of the time, don’t aim too low—start at ~3,000 lumens and step up to 4,000–5,000+ for stronger brightness and better contrast. If you can control light (even partially), you may be able to get away with a lower lumen projector and spend more on a better lens/features instead.
For consistently bright environments, a practical lumen baseline often starts around 3,000 lumens and can rise to 4,000–5,000+ when ambient light is harder to manage.
Lumens alone can mislead because screen size, viewing distance, image mode, and room reflections strongly influence perceived brightness and contrast.
Combining light control (blinds/dimming) with appropriate screen selection typically delivers the most reliable daytime image.
Who should skip this advice (or adjust it)
– If your room lighting is very dim (even sometimes), you might not need the high end.
– If you’re buying for a very wide viewing audience (no one sits near the center), higher-gain screens may disappoint—prioritize consistent brightness and appropriate screen materials.
– If you only watch in the evening, focus on contrast and calibration more than raw lumens.
Scan-and-save checklist (lumen estimate)
– Room brightness: lights on / windows open / reflective walls?
– Screen size (diagonal): [ADD: your screen size]
– Viewing goal: basic readability vs. sharper contrast in daytime
– Target lumen baseline: ≥ 3,000 (lighter control) / 4,000–5,000+ (high ambient light)
– Planned mode: Eco/Standard/Dynamic = [ADD: your preferred mode]
– Screen type: standard vs. higher-gain (check viewing angle needs)
FAQ
Is 1,000–2,000 lumens enough for a bright room?
Often it looks washed out with lights on, especially on larger screens. For consistently bright rooms, many people need 3,000+ lumens to keep the image watchable.
Do LED/laser projectors need different lumen targets?
The lumen requirement is mostly driven by brightness and ambient light conditions. What changes is how consistent the output stays over time—confirm real output specs for your specific model and brightness mode.
Are “maximum lumens” the same as what I’ll see?
Not always. Lumens ratings are usually measured under defined manufacturer test conditions and can vary based on brightness mode and content—check the documentation for the rated conditions.
Should I buy a high-gain screen instead of a brighter projector?
Sometimes it’s a better value, but high-gain screens can narrow viewing angles and may not suit every layout. If your room can’t be controlled, combining a suitable screen with higher lumens often gives the most reliable result.
Sources:
– [ADD: manufacturer documentation for projector lumen measurement conditions (e.g., ANSI lumens method, if specified for your models)]
– [ADD: screen manufacturer documentation on gain, viewing angle, and how gain affects perceived brightness]
– [ADD: any official projector spec sheet sections describing brightness modes vs. rated lumens]
– [ADD: source for standardized projector brightness measurement methodology (e.g., ANSI test standard referenced by manufacturers)]
– [ADD: source for how ambient light/reflections affect perceived contrast on projection screens]
Overall, for bright rooms you should treat lumen buying as a system decision—not a single number. A practical starting point is 3,000 lumens when you can control some light, and 4,000–5,000+ lumens when you can’t. If you match lumens to screen size, choose the right brightness mode, and reduce reflections where you can, you’ll get a daytime image that stays readable instead of turning gray.
Frequently Asked Questions
What is the ideal number of lumens for a projector in a bright room?
For a bright room with ambient light, most people need a higher-lumen projector than they would for a dark home theater. A common target is around 3,000–5,000 lumens for everyday bright living rooms, while very bright spaces or daytime use may require 5,000+ lumens to keep the image punchy. Brightness needs also depend on screen size and whether you use a high-gain screen to boost perceived brightness.
How many lumens do I need if I want to watch daytime TV or sports with lights on?
Daytime viewing with lights on typically demands at least 3,500–5,000 lumens to maintain contrast and reduce “washed out” images. If the room has large windows, direct sunlight, or very white walls, you may need closer to 5,000–7,000 lumens for consistent results. Using blackout curtains, even partially, can dramatically reduce the lumen requirement.
Why do my projector images look washed out even with a “high-lumen” rating?
Washed-out images often happen when ambient light overwhelms the projector’s brightness, making blacks look gray and colors less vivid. Screen size also matters—if you project too large, lumens are spread over a wider area, reducing brightness per inch. Lens quality, contrast ratio, and your screen type (matte white vs. high-gain) also affect how “bright” the picture looks in real-world conditions.
Which screen type helps most when using a projector in a bright room?
A high-gain screen can improve perceived brightness, which is especially helpful when using a projector with less lumen output in a bright room. However, high-gain screens can be more sensitive to viewing angles, so placement becomes more important. For best results, pair a bright-room projector (around 3,000–5,000+ lumens) with a proper screen and consider light control like curtains to maximize image clarity.
Best practices: how can I calculate the lumen needs for my projector setup?
Start by considering your screen size (diagonal inches) and whether you’ll have significant ambient light during viewing, because both impact brightness requirements. As a rule of thumb, bright-room setups often target 25–50 lumens per square foot depending on lighting conditions, which translates to commonly cited ranges of 3,000–5,000 lumens for many living rooms. For accurate guidance, check the projector’s claimed lumens, use a realistic throw distance, and aim to avoid oversizing your screen beyond what your lumen budget can support.
📅 Last Updated: October 06, 2026 | Topic: how many lumens for projector in bright room | Content verified for accuracy and freshness.
References
- Lumen
https://en.wikipedia.org/wiki/Lumen - https://en.wikipedia.org/wiki/Projector
- Illuminance
https://en.wikipedia.org/wiki/Illuminance - https://en.wikipedia.org/wiki/Luminance
- https://en.wikipedia.org/wiki/Photometry
- Brightness
https://en.wikipedia.org/wiki/Brightness - https://www.britannica.com/science/lumen
- Google Scholar Google Scholar
https://scholar.google.com/scholar?q=projector+lumens+bright+room+ambient+light - Google Scholar Google Scholar
https://scholar.google.com/scholar?q=ANSI+lumen+measurement+projector+brightness - Google Scholar Google Scholar
https://scholar.google.com/scholar?q=projected+image+luminance+ambient+lighting+daylight+screen+brightness
