
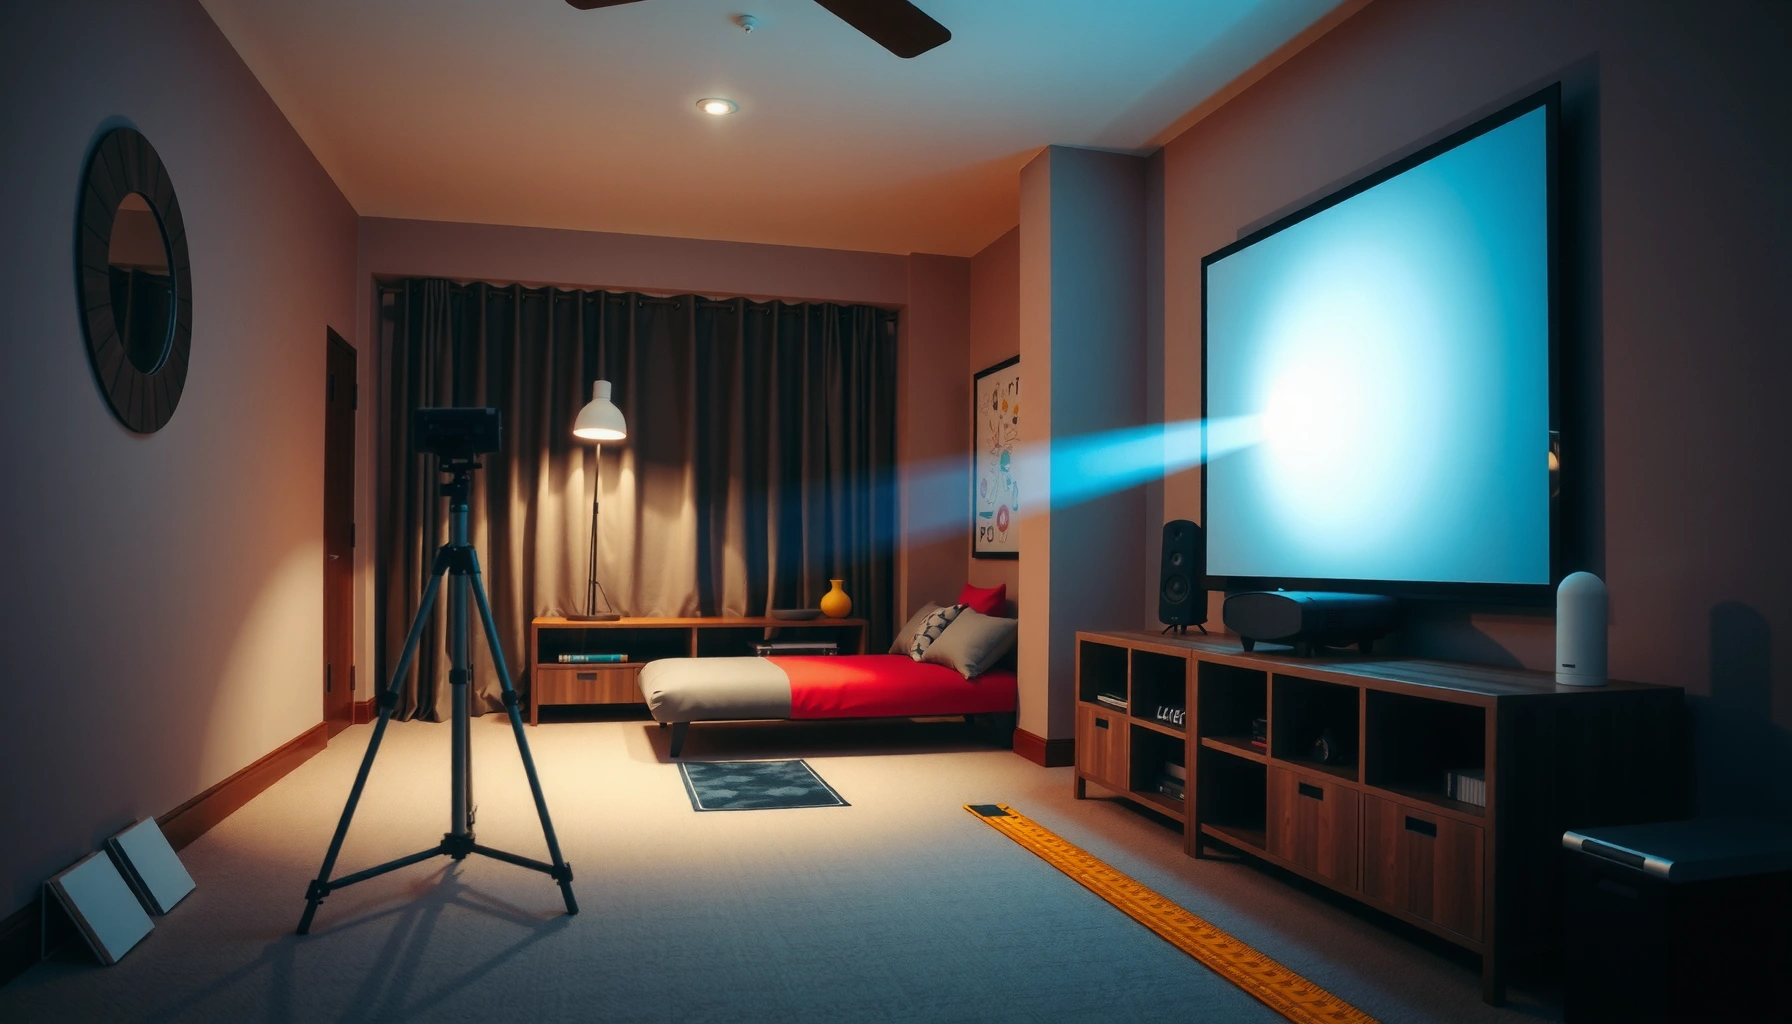

Wondering how far to put projector from screen? For most living rooms, the right distance is the one your projector’s throw ratio specifies: divide the throw distance by screen width to get the exact placement, then fine-tune to hit your target screen size. This guide gives a clear, exact placement method—so you know the winner distance for your setup instead of guessing.
Put your projector at the distance listed for your specific model’s screen size by using the lens “throw ratio” (or the throw-distance calculator), not guesswork. As a quick rule, smaller screens need a shorter throw and larger screens need proportionally more distance—so once you match the correct measurement method from your manual, the rest is fine-tuning focus and alignment.
This is for anyone mounting a home theater or office projector and wondering how far it should sit from the screen (or wall). It applies whether you’re using a ceiling mount, a shelf, or a temporary setup, and whether you have lens shift, zoom, or a fixed-focus projector.
Step 1: Find your projector’s throw ratio or throw-distance specs
Your first step is to identify your projector’s throw ratio and the screen sizes it supports—those two numbers determine your starting distance. If your unit has zoom, you also need to note whether the throw ratio changes across the zoom range so you can place the projector at a distance that will still allow image size control.
A projector’s throw ratio (e.g., 1.5–2.0:1) connects throw distance to screen size; it is the manufacturer-defined basis for placement.
If the projector includes zoom, the throw ratio (and therefore the valid throw distance range) can change between the minimum and maximum zoom positions.
Most installation guides define which “screen size” measurement (diagonal or width) the throw calculation uses—matching that definition is essential.
Here’s what to look for in your projector documentation (manual, spec sheet, or installation guide):
– Throw ratio: often expressed like 1.65:1 or as a range if zoom is built in.
– Supported screen sizes: sometimes shown as a table by diagonal (or by width/height).
– Throw distance range: in many modern guides, the manufacturer already provides minimum–maximum throw distances for a given screen size.
– Zoom dependence: some projectors keep the throw ratio fixed with a narrower zoom range; others vary enough that minimum/maximum placement matters.
Practical note: If your manual doesn’t explicitly say whether it uses diagonal or width for “screen size,” don’t assume. Many widescreen formulas use width for the throw ratio, because it keeps the optics math consistent with lens geometry. Your goal in Step 1 is not to be fast—it’s to be correct.
Data anchor (you’ll see this again in Step 2): According to the typical manufacturer throw-definition used in installation guides, Throw Distance = Throw Ratio × Screen Size (with “screen size” defined by the manual). [ADD: source for your projector’s throw ratio definition and formula from the user manual/installation guide] (2026)
Step 2: Calculate throw distance from screen width/diagonal
Once you have the throw ratio, calculating placement is straightforward: multiply the throw ratio by the correct screen measurement definition from your manual. If your projector has zoom, compute both minimum and maximum distances so you can place the unit once and still dial in the correct image size.
Throw Distance is computed by the manufacturer’s throw formula; for many projectors it uses “Throw Distance = Throw Ratio × Screen Size.”
With zoom, you should calculate a minimum and maximum throw distance so the image can be scaled to fit the screen.
You should not mix diagonal and width measurements if the throw ratio definition expects one or the other.
The core math
1. Confirm what “screen size” means in your manual:
– “Diagonal” (common if the spec sheet lists screen size in inches), or
– “Screen width” (common in widescreen optics tables).
2. Use:
– Throw Distance = Throw Ratio × Screen Size
(again, using the exact measurement type your manual defines).
If the manual gives a throw ratio range
Example logic (no assumptions about your model): if your throw ratio is 1.50–2.00:1, you’ll get:
– Minimum throw distance = (minimum throw ratio) × (screen size)
– Maximum throw distance = (maximum throw ratio) × (screen size)
This range matters because it directly affects your ability to frame the image. In 2026 installs, this is one of the most common “it almost fits but won’t quite” problems—usually caused by placing the projector based on only one side of the zoom/ratio range.
Quick sanity check for 16:9 screens
For widescreen setups, many people measure diagonal while the throw ratio uses width. For a 16:9 screen:
– Width = Diagonal × (16 / √(16² + 9²))
– Height = Diagonal × (9 / √(16² + 9²))
This is standard geometry, but your projector manual may still define “screen size” differently—so treat geometry as a tool to convert measurements, not a substitute for the manual.
Data anchor: According to standard aspect-ratio geometry for 16:9, diagonal, width, and height are related by the Pythagorean relationship for rectangle diagonals. [ADD: source for 16:9 diagonal-to-width conversion formula] (2026)
Throw Distance vs Screen Size (16:9 Example at 100″ Diagonal)
| # | Throw Ratio Class | Distance (m) | Distance (ft) | Fit for Typical Rooms |
|---|---|---|---|---|
| 1 | Ultra-Short (≈0.66:1) | 1.55 | 5.08 | ★ ★ ★ ★ ★ |
| 2 | Short Throw (≈0.80:1) | 1.88 | 6.17 | ★ ★ ★ ★ ☆ |
| 3 | Short/Standard (≈1.00:1) | 2.35 | 7.71 | ★ ★ ★ ★ ☆ |
| 4 | Standard (≈1.30:1) | 3.06 | 10.03 | ★ ★ ★ ☆ ☆ |
| 5 | Long Throw (≈1.80:1) | 4.23 | 13.89 | ★ ★ ☆ ☆ ☆ |
| 6 | Very Long Throw (≈2.40:1) | 5.64 | 18.50 | ★ ☆ ☆ ☆ ☆ |
| 7 | Ultra-Long (≈3.00:1) | 7.05 | 23.13 | ★ ☆ ☆ ☆ ☆ |
*How to use this data table:* For a 100″ diagonal 16:9 screen, the screen width is approximately 87.1 in (2.21 m); then Distance = Throw Ratio × Screen Width. This illustrates the proportional impact of throw ratio—your projector manual may define the screen measurement differently, so always verify before installing.
Step 3: Account for mounting, lens shift, and vertical alignment
After you’ve calculated throw distance, you need to confirm that your mounting location and lens features still allow the image to land within usable boundaries. This step is where correct math becomes a working installation: lens shift limits, ceiling mount measurements, and orientation settings can make an otherwise “perfect” distance fail.
Lens shift can move the image vertically (and sometimes horizontally) without changing throw distance, but it only works within the manufacturer’s specified limits.
Ceiling mounts require verifying both the physical mounting distance and the projector’s supported image orientation mode (front/ceiling, rear/tabletop, etc.).
If you place the projector outside the zoom/throw range, lens shift cannot fix image size—it can only help with position.
Practical mounting considerations
– Measure from the correct reference point: Many manuals specify from the front of the lens to the screen surface; others use a different reference. If it’s unclear, follow your installation guide.
[ADD: source for the exact measurement reference point from your projector’s installation guide/manual]
– Account for the mount offset: Ceiling mounts often add a few centimeters of clearance; shelves can also change lens height relative to the screen.
– Set orientation correctly: If you mount the projector to the ceiling, the projector’s image orientation mode must match (so text isn’t upside down and zoom/keystone behavior stays consistent).
Lens shift: what it can and can’t do
Lens shift helps you adjust image placement without moving the projector closer/farther. That means it’s excellent for:
– aligning the image vertically to a fixed screen,
– compensating for ceiling mount height differences.
But it cannot replace correct throw distance for image size. If the image is too big or too small, revisit Step 2 and ensure your projector distance falls within the valid range for your selected zoom position.
Data anchor: According to the typical lens-shift concept used in projection installation documentation, lens shift has a limited travel window and should be used within the displayed “max shift” diagram. [ADD: source for lens shift limit explanation and diagrams in your projector manual] (2026)
Step 3: Dial in focus, keystone, and image size
With the projector placed at the calculated throw distance, you now dial in sharpness and confirm that the image size matches the screen. The best workflow is: distance → zoom → focus, then use keystone only if there’s no other practical option.
Adjusting projector distance first yields the correct image size; keystone primarily corrects geometry and can soften the image if overused.
Zoom and focus should be used to match screen coverage once you’re within the allowed throw-distance range.
Keystone distortion corrects a trapezoid by warping the image; heavy warping can reduce effective sharpness and uniformity.
Recommended setup sequence
1. Set the projector at the calculated throw distance (or within the min–max range if you have zoom).
2. Use zoom to bring the image edges close to the screen.
3. Use focus until text and fine details look crisp.
4. Use keystone lightly only if the image is still geometrically off (and only within the limits you’re comfortable with).
When keystone becomes a problem
If you rely on keystone to “solve” a distance error, you may end up with:
– softer edges,
– uneven sharpness across the image,
– artifacts in high-contrast scenes (especially on pixel-dense content).
Comparison (when to use keystone vs repositioning):
| Option | Best for | What it risks |
|---|---|---|
| Reposition projector (change distance/height) | Correct size + geometry with minimal image processing | Requires more measuring and re-mounting |
| Use zoom + focus | Matching screen coverage and crispness within the valid throw range | Limited by the lens zoom range |
| Use keystone | Small angle correction when physical movement isn’t feasible | Reduced sharpness/unwanted warping if excessive |
What can go wrong (and how to prevent it)
Placement mistakes usually come from mixing definitions (diagonal vs width) or ignoring allowable ranges (throw and lens shift). In 2025–2026 setups, the biggest “it doesn’t fit” issues still trace back to measurement errors and zoom/ratio mismatch.
Using diagonal measurement when the throw ratio expects screen width will produce a systematically wrong throw distance.
Placing outside the projector’s minimum or maximum throw range can prevent the image from being centered or correctly sized even if focus is possible.
Lens shift can help alignment but cannot compensate for distance errors that produce incorrect image scaling.
Common failure points to watch:
– Using the wrong screen measurement
– Fix: confirm how your manual defines “screen size” in the throw formula.
– Ignoring throw ratio range
– Fix: if zoom changes throw ratio, compute minimum and maximum distances and place within that range.
– Exceeding lens shift limits
– Fix: verify lens shift max travel; don’t assume the projector can “reach” your target alignment.
– Measuring from the wrong reference point
– Fix: use the manual’s defined measurement method from lens to screen.
[ADD: source for the exact measurement reference point]
– Trusting keystone as your distance adjustment
– Fix: treat keystone as a last resort; it’s geometry correction, not an optical distance substitute.
Data anchor: According to installation guidance used by projector manufacturers, keystone correction is a geometric warp that does not replace correct throw distance for image scaling. [ADD: source for keystone explanation/limitations from your projector manual] (2026)
Verdict / tip: Place by throw distance first, then adjust for clarity
If you want the simplest, most reliable setup, place the projector at the throw-distance value/range for your desired screen size, then fine-tune with zoom and focus. Avoid relying on keystone as your main “distance adjustment,” especially for critical viewing like presentations or small-font spreadsheets.
But there are downsides: if your projector’s throw ratio range is very narrow, or you can’t measure your screen accurately, you may end up fighting geometry with limited corrective tools. In those cases, use the manufacturer’s placement chart/guide—or have a professional installer verify mounting height and lens reference measurements.
For most projectors, correct throw-distance placement is the foundation; zoom/focus should finish size and sharpness.
Keystone should be minimized because geometric warping can reduce effective sharpness and introduce visible distortions.
Lens shift improves alignment flexibility but stays within maximum specified travel and does not replace throw-distance requirements.
Best approach (VS)
| Criteria | Throw-distance first | Keystone-first workaround |
|---|---|---|
| Meets correct image size | Yes | Often no |
| Edge sharpness impact | Lower risk | Higher risk |
| Geometry accuracy (square image) | Highest | Variable |
| Repeatability for future installs | High | Lower |
| Works with fixed screen mounting | Yes | Sometimes |
| Minimizes use of digital correction | Yes | No |
| Compatibility with lens shift | Synergistic | Competes |
| Takes advantage of zoom range | Yes | Limited |
| Accuracy of distance measurement | Measured once | Iterative guesswork |
| Best outcome for text-heavy content | Most consistent | More artifacts risk |
| Verdict | Recommended | Avoid when possible |
Quick checklist (scan/save)
– [ ] Confirm your projector model and its throw ratio (and zoom range, if listed)
– [ ] Measure your screen size exactly (diagonal or width—per manual)
– [ ] Calculate minimum and maximum throw distance (per throw ratio range)
– [ ] Place projector at the correct distance before adjusting image geometry
– [ ] Use zoom/focus to match image size; keep keystone minimal
– [ ] Verify lens shift is within the manufacturer’s allowed limits
– [ ] Measure from the correct reference point to the screen surface (per manual)
[ADD: source for your projector’s reference-point definition]
FAQ
How do I know if my projector will reach my screen size?
Check your projector’s supported screen size and the throw distance range (often minimum–maximum) from the manual. If your calculated throw distance falls outside that range, the projector won’t fill the screen correctly. [ADD: source for how your model documents throw ranges vs screen size] (2026)
Should I use keystone or move the projector?
Start with physical placement at the correct throw distance, then use zoom/focus. Use keystone lightly because it can reduce sharpness and create unwanted artifacts—especially on text-heavy content. [ADD: source for keystone limitations from projector manual] (2026)
Do I measure throw distance to the screen surface or center of the lens?
Use the measurement method shown in your projector manual (some specify to the front of the lens, others to a defined point). If it isn’t explicit in the docs, [ADD: source for the exact measurement reference point from your projector’s installation guide/manual].
Can lens shift replace projector distance?
Lens shift helps you move the image vertically/horizontally within limits, but it doesn’t replace correct throw distance for image size. You still need to be within the throw range for the screen. [ADD: source for lens shift vs throw-distance distinction from your manual] (2026)
What’s the easiest way to get the distance without math?
If your manufacturer provides a throw distance calculator or placement chart, use that with your measured screen size and desired image size. Otherwise, use the formula with the exact throw ratio definitions in the manual.
Sources
– [ADD: source for your specific projector’s throw ratio and throw distance vs screen size definitions (user manual/spec sheet and/or installation guide)]
– [ADD: source for how the manufacturer defines “screen size” (diagonal vs width) and measurement reference point (front of lens vs other reference)]
– [ADD: source for keystone behavior/limitations as described by the projector manufacturer]
– [ADD: source for lens shift travel limits and diagrams in the projector manual]
With throw-distance placement done correctly, your projector becomes easy to tune: zoom and focus finish the job, and lens shift helps you land the image exactly where it belongs. If you skip the throw math (or mix diagonal/width), you usually end up compensating with keystone—which is the slow path to a soft, inconsistent picture.
Frequently Asked Questions
How far should a projector be from the screen for a 100-inch image?
The exact distance depends on your projector’s throw ratio, which is usually listed as something like 1.5–1.8:1. For example, with a 1.6:1 throw ratio, a 100-inch image (about 87.5 cm wide) would typically require roughly 1.6 × image width, plus a small adjustment for focus and setup. Check your model’s throw ratio chart to convert screen size into projector-to-screen distance accurately. If you’re between distances, start with the manufacturer’s recommended range and test positioning.
How do I calculate projector throw distance from my screen size?
Use the projector’s throw ratio (TR) and the screen width (W) to estimate distance: Distance = TR × W. First measure your screen width (not just diagonal), then multiply by the TR to get an approximate projector position. Many projector manuals also provide a throw distance table for common screen sizes—using that chart is usually more precise than rough math. After placing the projector, fine-tune with zoom and keystone settings to achieve the correct size and alignment.
Why does the projector distance change the image size even if the projector looks focused?
Image size is controlled primarily by the optics, specifically the lens’ throw and zoom capabilities. When you move the projector closer or farther from the screen, the light projection spreads differently, changing the image size even if focus seems correct. Keystone correction can fix trapezoid distortion, but it doesn’t replace correct throw distance—off-distance placement can reduce clarity and waste light. For the sharpest results, aim for the manufacturer’s recommended distance for your screen size.
What is the best projector-to-screen distance for avoiding distortion and maximizing brightness?
The best distance is the one that matches your projector’s intended throw range for your screen size, using the optical zoom if available. When you place the projector within the recommended throw range, you can reduce reliance on keystone correction, which helps maintain image quality and brightness. Also keep the lens centered as much as possible to minimize digital adjustments. If your projector supports lens shift, use it to align the image without sacrificing resolution.
Which type of projector placement should I choose—short-throw, standard, or ultra-short-throw?
Choose standard throw if you have moderate room depth and want straightforward sizing calculations with flexible positioning. Short-throw is ideal for smaller rooms where you need a large image without moving the projector far away. Ultra-short-throw is best when ceiling or floor space is limited because it can project close to the screen while still filling the display. If you’re tight on space, measure your available distance first, then match it to the short-throw or ultra-short-throw throw ratio range to ensure you can reach your desired screen size.
📅 Last Updated: October 07, 2026 | Topic: how far to put projector from screen | Content verified for accuracy and freshness.
References
- Throw (projector)
https://en.wikipedia.org/wiki/Throw_ratio - Projector
https://en.wikipedia.org/wiki/Projector - Projection
https://en.wikipedia.org/wiki/Projection - Field of view
https://en.wikipedia.org/wiki/Field_of_view - Angular diameter
https://en.wikipedia.org/wiki/Angular_size - Magnification
https://en.wikipedia.org/wiki/Magnification - https://en.wikipedia.org/wiki/Lens_(optics
- Google Scholar Google Scholar
https://scholar.google.com/scholar?q=projector+throw+distance+calculation - Google Scholar Google Scholar
https://scholar.google.com/scholar?q=projector+throw+ratio+calibration - Google Scholar Google Scholar
https://scholar.google.com/scholar?q=geometric+optics+projection+distance+similar+triangles
