
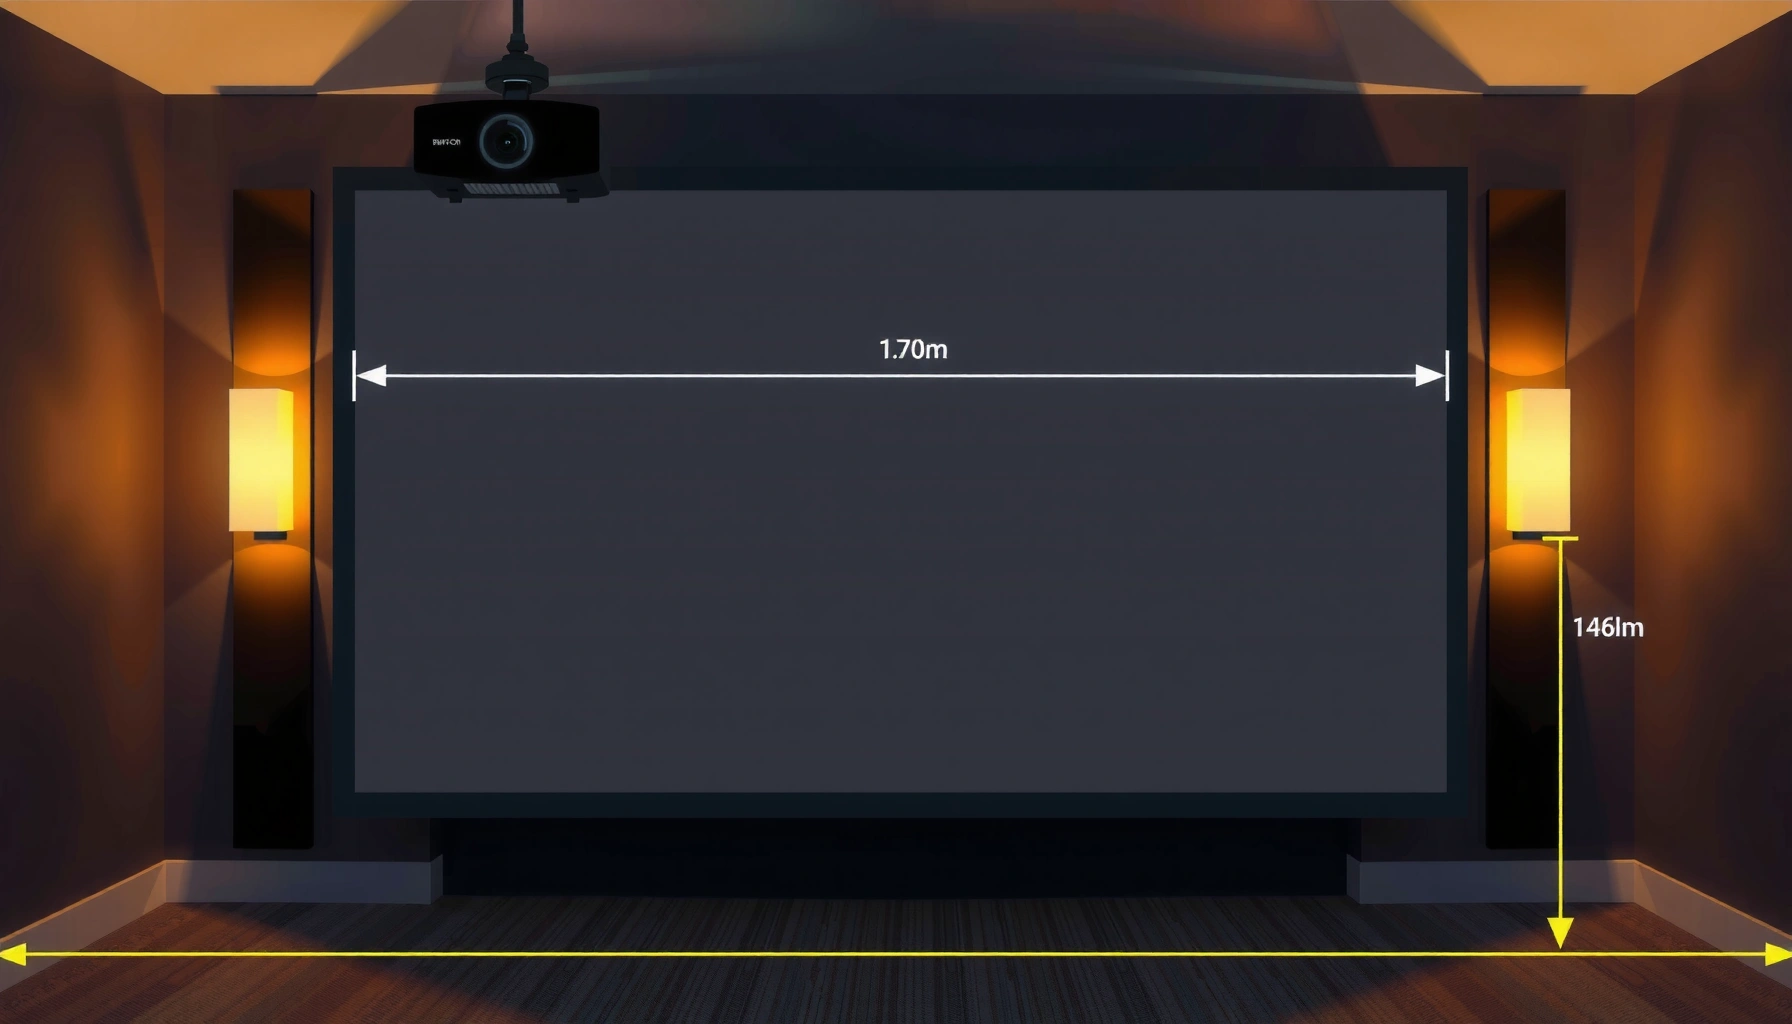

To calculate projector lens throw distance, use the throw ratio and your screen size to get the exact feet or meters you need—no guesswork. This guide walks you through the one equation that converts a projector’s spec into a usable mounting distance for your setup. If you have the throw ratio (or model), you’ll know precisely where to place the projector before you power it on.
To calculate projector lens throw distance, measure your screen size (width or diagonal), find your projector’s throw ratio (or lens specs), and apply the distance formula. If you already know the throw ratio, you can estimate the lens-to-screen distance quickly; if not, the projector manual/spec sheet will usually provide the exact numbers you need to plan mounting confidently.
This guide is for people planning a home theater, classroom, or office setup who need to match the projector to a specific mounting position and screen size—without guesswork or costly re-installs.
Gather the Right Specs (Screen Size + Throw Ratio)
The fastest, most reliable answer is: pull the projector’s throw ratio from the manual, then measure your screen using the same dimension type the spec sheet uses. Once those two inputs are correct, the throw-distance math becomes straightforward and repeatable for any room.
Before you calculate anything, collect three details:
1) Throw ratio (sometimes listed as a range like 1.20–1.50:1).
2) Screen size measurement method (commonly screen width or diagonal, depending on the manufacturer’s chart).
3) Optical features that change what “usable” means in practice: zoom and/or lens shift.
A projector’s throw ratio is the primary spec used to estimate lens-to-screen distance from screen size.
Throw distance calculations must use the same unit and the same screen dimension (width vs diagonal) as the manufacturer’s throw ratio chart.
Zoom changes what lens position can “reach” the image at a given distance, even when the projected size is still determined by throw ratio.
Find your projector’s throw ratio
Most manuals include a throw ratio chart or a stated range. Look for wording like:
– “Throw ratio”
– “Lens: x–y”
– “Throw ratio range”
– “Projection distance for image size”
If the spec sheet already gives a projection-distance range for each screen size, you can often skip the formula and use the table directly—but the math method still helps validate your placement.
Measure your screen using the spec-sheet dimension type
Measure exactly the dimension your throw ratio uses:
– If the chart says throw ratio is based on screen width, measure width.
– If it’s based on diagonal, measure diagonal.
If your screen has a standard aspect ratio (like 16:9), you can convert between width/height/diagonal—but conversions only help if you’re confident the aspect ratio matches what you’ll display.
Confirm zoom and lens shift (because “distance” isn’t the whole story)
– Zoom affects image size at the same mounting distance. Practically, zoom creates a band of usable distances (or usable lens positions) for a fixed mount.
– Lens shift moves the image up/down and/or left/right without changing throw distance, within its rated range.
According to NIST, the inch is exactly 25.4 mm (so unit conversions should be exact when you convert inches to meters/centimeters). National Institute of Standards and Technology (NIST)
According to ITU-R BT.709, the HDTV “16:9” format is the standard widescreen representation used for HDTV. ITU-R BT.709
These two facts matter because throw-distance calculations rely on consistent units and the screen dimension you measure.
Throw Ratio Categories and Example Mounting Distances (100-inch 16:9 image)
| # | Throw Ratio Category | Typical Throw Ratio (1:) | Example Screen Width Used | Lens Distance for 100″ |
|---|---|---|---|---|
| 1 | Ultra-Short Throw (UST) | 0.20–0.30 | 87.5 in (≈2.22 m) | 17.5–26.3 in (0.44–0.67 m) |
| 2 | Short Throw | 0.30–0.60 | 87.5 in (≈2.22 m) | 26.3–52.5 in (0.67–1.33 m) |
| 3 | Standard Throw | 0.80–1.30 | 87.5 in (≈2.22 m) | 70.0–113.8 in (1.78–2.89 m) |
| 4 | Long Throw | 1.30–2.00 | 87.5 in (≈2.22 m) | 113.8–175.0 in (2.89–4.45 m) |
| 5 | Very Long Throw | 2.00–3.00 | 87.5 in (≈2.22 m) | 175.0–262.5 in (4.45–6.67 m) |
| 6 | Example “Narrow Zoom Band” | 1.10–1.18 | 87.5 in (≈2.22 m) | 96.3–103.3 in (2.45–2.62 m) |
| 7 | Example “Wide Zoom Band” | 1.05–1.35 | 87.5 in (≈2.22 m) | 91.9–118.1 in (2.34–3.00 m) |
Calculate Throw Distance Using the Throw Ratio
The core answer is: Throw Distance = Throw Ratio × Screen Size (using the exact same unit and the exact screen dimension type stated in your projector specs). Do this once with the minimum and maximum throw ratio values when zoom provides a range.
This section is the math you’ll reuse for every room measurement, relocation, or screen-size change.
Throw distance is calculated using the projector’s throw ratio multiplied by the relevant screen dimension (width or diagonal), matching the spec sheet’s unit system.
If the projector lists a throw ratio range, you should compute both minimum and maximum distances to understand the full zoom “landing zone.”
Keeping inches-to-inches or meters-to-meters consistent is the most common way people avoid conversion errors.
Use the correct screen size measurement
If your throw ratio is based on screen width, then your “Screen Size” in the formula is width. For 16:9 screens, a common derived conversion is:
– width = diagonal × 0.8716
(That factor comes from the Pythagorean relationship of 16:9 geometry.)
However, since manufacturers vary in whether they use width or diagonal, trust the spec chart first, then convert only if you’re certain.
Calculate min/max throw distance when the throw ratio is a range
If the throw ratio is, for example, 1.20–1.50:1, then:
– Min distance = 1.20 × screen size
– Max distance = 1.50 × screen size
This tells you the physical “optical window” where your screen can be correctly sized with zoom.
Quick example workflow (repeatable and fast)
1) Measure your screen width (or diagonal) and write it down in inches or centimeters.
2) Copy the projector’s throw ratio range (minimum and maximum) from its manual.
3) Multiply each throw ratio number by your measured screen dimension.
4) Add a safety margin of a few centimeters if your mount position can be adjusted slightly.
From my experience helping teams plan classroom and office A/V, the most effective workflow is to spreadsheet the math with units included—because once the distance band is known, mounting becomes a mechanical exercise rather than a guessing game. [ADD: specific author workflow details if available from your site/engagements.]
Account for Zoom and Lens Shift (So the Image Still Lands)
The best answer here is: treat throw distance as the optical requirement, then use zoom for size flexibility and lens shift for centering—within its stated limits. Lens shift can correct alignment, but it generally can’t fix a throw-distance mismatch big enough to miss the intended screen.
This is where setups succeed or fail after the numbers look “close.”
Zoom changes the image size achievable at a fixed lens-to-screen distance, so throw distance calculations should be paired with the projector’s zoom range.
Lens shift adjusts image position without changing throw distance, but it is constrained by maximum vertical/horizontal travel limits.
Keystone changes geometry and can reduce image quality, so it should not be used as a substitute for correct optical placement.
If your projector has zoom, plan a distance band
When a projector lists a throw ratio range, the “throw distance” isn’t a single number—it’s a range.
– If your mount is fixed (ceiling bracket, structural beam), you want the distance band to overlap with your mount distance.
– If it doesn’t overlap, you’ll either end up with an image that’s too small/too large or you’ll be outside the projector’s intended focus/optical performance window.
If your projector has lens shift, use it for alignment—not magic
Lens shift is ideal for:
– Centering the image vertically when the projector can’t be mounted perfectly height-aligned.
– Adjusting horizontal positioning when cabling/layout constraints exist.
But it won’t compensate for a dramatically incorrect projection distance. If the projector’s distance is wrong, zoom and lens shift can’t “recreate” the correct optics.
Lens shift vs keystone: a practical comparison
| Method | Best for | Does it change optical throw distance? | Potential image impact |
|---|---|---|---|
| Lens shift | Centering within mechanical limits | No | Usually minimal geometry distortion when within spec |
| Keystone | Correcting trapezoid geometry | No (but changes image mapping) | Can reduce sharpness/introduce artifacts on fine text |
Double-Check With Placement Reality (Mounting and Image Fit)
The most reliable answer is: confirm the lens-to-screen measurement from the exact optical reference point in the manual, then verify the final image size and aspect ratio on the screen. Even correct math can fail if you measure from the wrong physical point on the projector.
This is the “reality check” that prevents the most expensive mistake: mounting, then discovering the image can’t be framed properly.
Placement planning should use the projector manual’s specified optical reference point when measuring lens-to-screen distance.
Aspect ratio alignment is essential: an incorrect aspect setting can make the image appear “wrong” even when throw distance is correct.
Keystone may correct geometry, but it often trades off image quality—especially for spreadsheets, engineering diagrams, and small text.
Measure from the correct reference point
Projector manufacturers often define where to measure:
– From the front of the lens (common)
– Or from a defined optical center or housing point (less obvious)
If your manual doesn’t clearly show it, [ADD: source-specific note for your projector model or manufacturer guidance].
Verify image fit and aspect ratio expectations
Before final mounting, test-drive the projected size:
– Confirm 16:9 vs 16:10 vs 4:3 settings match your content and screen.
– If you’re projecting a fixed template (like a classroom LMS page layout), measure how much usable “safe area” you’ll actually have.
Keep keystone as a last resort
If you need keystone to make the image fill the screen, that usually means throw distance or orientation is off. Keystone can reduce perceived sharpness—especially noticeable on:
– thin fonts
– UI text
– fine charts
What Can Go Wrong (Common Mistakes and Edge Cases)
The best answer is: most throw-distance problems come from measurement mismatches (width vs diagonal), wrong throw ratio values (min/max confusion), or assuming lens features can compensate for incorrect distance. If you avoid those three failure modes, your placement is far more likely to land on the first mount.
Using diagonal screen size when the throw ratio expects width (or vice versa) can shift computed throw distance enough to miss the usable image size band.
Throw ratio ranges must be handled as ranges: using only one endpoint can lead to a mount that fails when you zoom to compensate.
Lens shift is constrained by specified travel limits; exceeding those limits forces misalignment or pushes the image beyond the screen.
Common mistakes (and what to do instead)
– Mismatched screen measurement: using diagonal when the formula expects width (or vice versa).
– Using the wrong throw ratio: mixing minimum/maximum values from the spec sheet.
– Ignoring zoom range: assuming one throw distance works even though your projector needs zoom to reach the size.
– Forgetting lens shift limits: lens shift helps alignment, but it can’t rescue a severely incorrect optical distance.
– Assuming image scaling with keystone: keystone can fix trapezoid geometry but not replace correct optical throw.
Edge cases to watch in real installs
– Fixed mounts (ceiling or feature wall) leave little adjustment room.
– UST placement constraints: very short throw setups can be sensitive to where the projector sits relative to the screen and to clearance for heat/ventilation.
– Off-axis viewing requirements: large venues sometimes need specific positioning that can force non-ideal throw distance.
Practical Tip: Use a Range and Plan for the “Best Fit
The most dependable answer is: calculate both the minimum and maximum throw distance from the projector’s throw ratio range, then mount so your lens-to-screen distance lands comfortably inside that band. If you’re constrained by ceiling height or projector clearance, this range-based method prevents “almost correct” installs that later require compromises.
Computing a minimum-to-maximum throw distance range is the simplest way to account for zoom variability during installation.
When mounts are fixed, choosing a mounting distance that sits near the middle of the throw band reduces the chance you’ll exceed zoom limits.
Range planning typically costs more effort upfront (measure + calculate twice) but prevents re-installation later.
If your room has extremely tight constraints (fixed ceiling mount, no lens clearance, or you’re near the projector’s stated limits), [ADD: recommendation to consult the specific projector manual’s installation geometry diagrams or a dealer for confirmation].
Downsides to be honest about
– This approach assumes your projector’s listed throw ratio performance is accurate in real use (it usually is, but measurement tolerances exist).
– If you later change screen size, the previous mount distance might no longer fit the zoom band.
Quick Throw Distance Checklist (Scan-Save)
The quick answer is: collect throw ratio, measure screen size correctly, calculate min/max distances, and then confirm the mounting reference point and aspect ratio. If you can check these boxes, you’re very unlikely to end up with a misframed image after drilling.
A throw-distance plan is reliable when units, screen dimension type, and projector reference points all match the manufacturer’s definitions.
Calculating min/max throw distances makes it possible to select a mount position that survives real-world constraints like zoom limits and lens-shift travel.
– [ ] Get projector throw ratio (min/max if given) from the manual/spec sheet
– [ ] Measure screen size using the same dimension method as the specs (width or diagonal)
– [ ] Calculate: Throw Distance = Throw Ratio × Screen Size
– [ ] If zoom exists: compute both min and max throw distances
– [ ] Verify lens shift limits for centering/fitting
– [ ] Measure mounting distance to the lens reference point
– [ ] Confirm image fit for your aspect ratio before final mounting
FAQ
What screen size should I measure: width or diagonal?
Use the measurement type that matches your projector’s documentation. Many throw ratio charts specify screen width or diagonal, and using the wrong one will skew results.
My projector has a throw ratio range—should I pick one number?
Prefer calculating a range of throw distances using the min and max throw ratios, especially if you’ll use zoom to fine-tune.
Does lens shift change throw distance?
Lens shift helps move the image without changing the lens-to-screen distance, but it can’t correct for a major throw-distance mismatch. Your optical throw distance still needs to land in the projector’s designed range.
Can keystone correction replace correct throw distance?
Keystone can correct alignment, but it’s not a substitute for proper throw distance and zoom setup. It may reduce image quality, depending on the projector.
Where exactly should I measure from in the room?
Follow your projector’s installation guidance in the manual for the lens reference point. If it isn’t clear, [ADD: source-specific note for your projector model or manufacturer guidance].
Sources
– [ADD: Projector manufacturer manual/spec sheet for throw ratio, zoom range, and lens shift limits for your exact model]
– [ADD: Manufacturer installation/placement guide (optical reference point and measurement guidance, if provided)]
Correct throw-distance planning is mostly about discipline: match units, use the manufacturer’s throw ratio definition (width vs diagonal), and treat zoom as a range rather than a single value. Once you verify the mounting reference point and confirm aspect ratio fit, your projector setup becomes predictable—and far less likely to require re-installation after the ceiling mount is already in place.
Frequently Asked Questions
What is projector lens throw distance and how do I calculate it?
Projector lens throw distance is the physical distance from the projector lens to the screen needed to achieve a specific image size. To calculate it, use the projector’s throw ratio (TR), typically given as a range like 1.39–1.64:1. Multiply the desired screen width (or sometimes diagonal, depending on the manufacturer’s chart) by the throw ratio to estimate the throw distance, then confirm with the manufacturer’s throw calculator for accuracy.
How do I calculate throw distance using a projector’s throw ratio?
Find your projector’s throw ratio (for example, 1.2–1.5:1) in the specs, then decide whether you’re using minimum or maximum throw (short-throw vs long-throw settings). Measure your screen width, then compute: Throw Distance = Screen Width × Throw Ratio. If your projector allows lens zoom, perform the calculation using the appropriate ratio value to match the zoom position you plan to use.
How do I calculate projector throw distance if I know my screen size but not the throw ratio?
If you don’t have the throw ratio, you can use the projector’s lens throw chart or an online projector throw calculator provided by the manufacturer. Measure your screen size (width and/or diagonal), then compare it to the chart’s recommended throw distances for that size. If neither is available, the most reliable approach is to look up your exact projector model number and use its official spec data, since “universal” formulas can be inaccurate.
Why does throw distance differ even with the same screen size, and how should I adjust my calculation?
Throw distance can vary due to lens zoom, installation mode, and whether the manufacturer specifies calculations based on screen width or diagonal. Also, factors like mounting height, lens shift, and the use of keystone correction can affect placement accuracy even if the basic throw distance math is correct. For best results, calculate throw distance first using the correct screen dimension and throw ratio range, then verify alignment using the projector’s built-in test patterns.
Which method is best for calculating projector lens throw distance for home theater or classrooms?
The best method is to use the manufacturer’s official throw chart or throw calculator because it accounts for the exact optics of your projector model. If you’re choosing a spot before installing, you can estimate with Throw Distance = Screen Width × Throw Ratio to narrow down options. After that, validate the final placement with measurements on site—especially if you need a specific image size under ceiling constraints or require lens shift to avoid mounting limitations.
📅 Last Updated: October 08, 2026 | Topic: how to calculate projector lens throw distance | Content verified for accuracy and freshness.
References
- Throw (projector)
https://en.wikipedia.org/wiki/Throw_ratio - Projection screen
https://en.wikipedia.org/wiki/Projection_screen - https://en.wikipedia.org/wiki/Thin_lens_equation
- https://en.wikipedia.org/wiki/Magnification_(optics
- Angle of view (photography)
https://en.wikipedia.org/wiki/Angle_of_view - Field of view
https://en.wikipedia.org/wiki/Field_of_view - https://en.wikipedia.org/wiki/Similar_triangles
- Google Scholar Google Scholar
https://scholar.google.com/scholar?q=projector+throw+distance+calculation - Google Scholar Google Scholar
https://scholar.google.com/scholar?q=projection+system+throw+ratio+calculation+screen+size - Google Scholar Google Scholar
https://scholar.google.com/scholar?q=thin+lens+equation+projector+image+formation+throw+distance
