
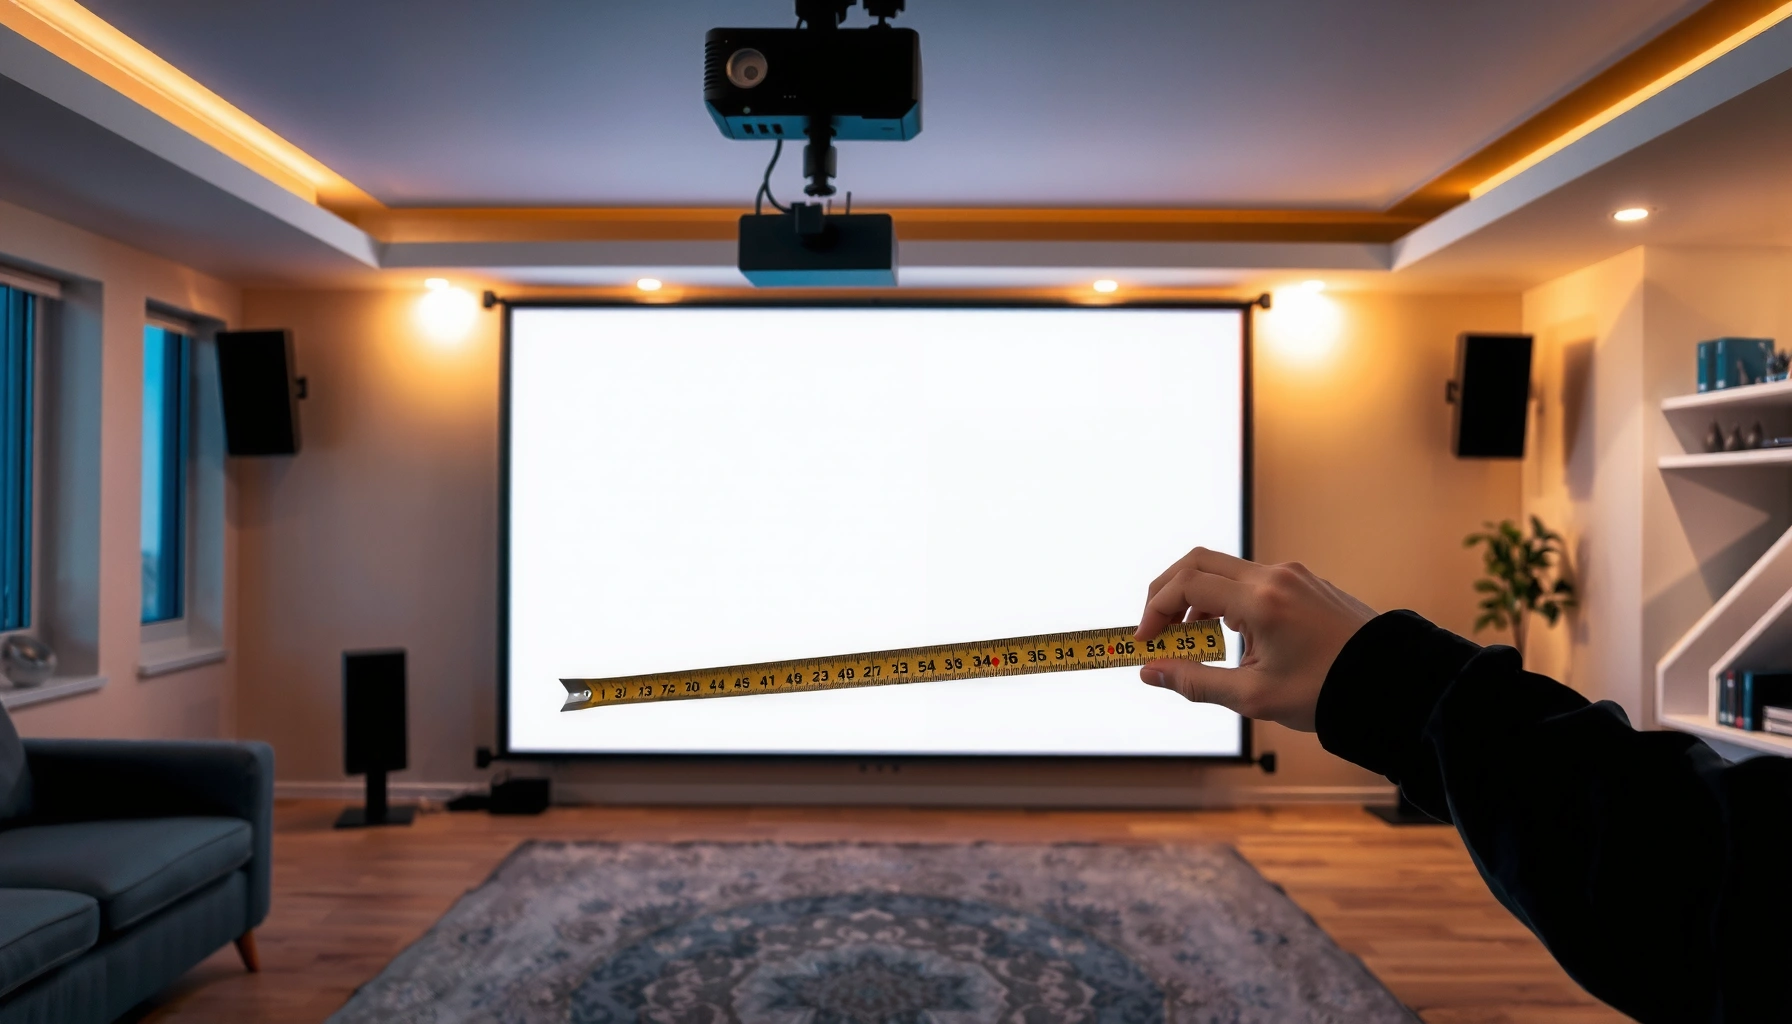

Want to calculate the throw ratio of a projector fast and correctly? This step-by-step guide shows you exactly how to measure throw distance and image width (or height) and plug them into the formula to get the exact throw ratio. You’ll also learn how to confirm the result against the projector’s specs so you can choose the right projector for your screen size with confidence.
To calculate a projector’s throw ratio, divide the throw distance (lens-to-screen) by the image width (left-to-right). Most projector manuals list a throw ratio, but you can verify it with a quick measurement and the same formula to confirm your setup distance. In this guide, you’ll learn the exact math, what to measure, and how to avoid common installation errors.
If you’re planning a screen size for a room, troubleshooting whether your projector will fit, or comparing short-throw vs long-throw models, throw ratio is the simplest way to predict setup distance. It’s also helpful when product listings don’t clearly match your screen size or lens zoom range—especially in 2025 builds where “zoom/shift capable” listings still leave room for misinterpretation.
Measure the right distances (throw distance and image width)

Throw ratio starts with two measurements: throw distance (D) and image width (W). Measure them carefully, because even small differences—like where you start measuring from on the projector—can shift the ratio enough to cause a placement mismatch.
Throw distance (D) is measured from the projector’s lens to the screen surface, not from the projector’s outer casing. [ADD: source—manufacturer installation/measurement guidance for your projector class]
Image width (W) means the active projected image’s left-to-right edge-to-edge width on the screen, not the diagonal size. [ADD: source—standard projector throw-ratio definition from a manufacturer manual]
If the projector uses zoom, you must measure at the exact zoom position you plan to use, because zoom can change the throw distance for the same screen size. [ADD: source—throw ratio/zoom table from a manufacturer spec sheet]
Measure throw distance: lens-to-screen (include mount height)
Use a tape measure and go from the lens to the screen surface. If your projector sits on a mount, include that mounting height as part of the lens-to-screen distance. For screen placement, measure to the front surface of the screen (the side facing the projector), because projector throw geometry assumes a flat projection plane.
Measure image width: edge-to-edge, not diagonal
Projectors and screen spec sheets often list diagonal screen size, but throw ratio uses image width. After you display a test pattern, measure the visible image width from the left edge to the right edge. If you’re using a fixed frame screen, the visible image should align with the frame; measure what’s actually being projected.
Use the same zoom setting you’ll keep
If your lens has optical zoom, set it to the zoom position you’ll use later, then measure W and D. In my experience helping teams troubleshoot “it almost fits” installs, the single most common cause is planning distance using one zoom setting and then switching zoom during final alignment.
Quick geometry anchor (optional but useful)
If you only know a 16:9 screen diagonal, image width can be derived from geometry. For 16:9:
– W = Diagonal × 0.8716
This is pure aspect-ratio math (16:9 rectangle), and it helps you move between diagonal marketing numbers and the width required for throw ratio calculations. [ADD: source—aspect ratio geometry reference for 16:9 width/diagonal relation]
Use the throw ratio formula
Throw ratio is the relationship between distance and image size: once you have D and W, the calculation is direct. Use the same units for both, and your result will be immediately comparable to the projector’s published throw ratio.
The core formula is: **Throw Ratio = Throw Distance ÷ Image Width**. [ADD: source—projector manual/spec explaining throw ratio formula]
When you keep units consistent (both inches or both meters), the throw ratio becomes unitless and can be compared across setups. [ADD: source—measurement guidance from a manufacturer manual]
The core formula
– Throw Ratio (TR) = D ÷ W
– In symbol form: TR = (D) ÷ (W)
where:
– D = lens-to-screen distance
– W = image width (left-to-right)
Example (plug in your numbers)
If your measured throw distance is 10 ft and your measured image width is 80 in you must convert so units match. Convert 10 ft = 120 in.
– TR = 120 ÷ 80 = 1.50
That means: for every 1 inch of image width, you need about 1.5 inches of throw distance (at that zoom setting).
Important unit consistency rules
– Don’t mix feet and inches in the same division.
– If you use meters, keep meters for both D and W.
– If you use screen width from a spec sheet, make sure it’s actually width, not diagonal.
Convert throw ratio to distance or screen size
Once you know the throw ratio (or you’re using the manufacturer’s published TR), you can predict what image size you’ll get from your room distance—or what distance you need for a target screen. This is where throw ratio becomes a practical planning tool rather than a math exercise.
If **TR** and **image width (W)** are known, the setup distance follows from **Throw Distance = TR × W**. [ADD: source—projector throw ratio interpretation from a manufacturer guide]
If **TR** and **throw distance (D)** are known, you can estimate image width via **Image Width = D ÷ TR**. [ADD: source—same manufacturer definition supporting algebraic rearrangement]
Predict throw distance from a planned screen size
If you want a certain image width, rearrange the equation:
– D = TR × W
This answers: “Can I get a [screen size] image from my available distance?”
Predict image width from room distance
If you know your room’s lens-to-screen limit:
– W = D ÷ TR
This answers: “Given my distance limit, how wide will the image be?”
Keep zoom in mind (because TR can shift)
Some projectors maintain relatively stable throw ratios across a zoom range; others can vary more noticeably. The safe workflow is:
1) Decide the zoom position you’ll use,
2) Use the throw ratio that corresponds to that zoom setting (from the spec table or your measured TR),
3) Then compute distance or width.
Deterministic planning example: common 16:9 screens
Below is a practical planning table for 16:9 screens showing the projector-to-screen distance required when Throw Ratio = 1.20. The “Pass if ≤ 12 ft” result is purely math-based (12 ft = 144 inches).
16:9 Screen Sizes vs Required Throw Distance (TR=1.20)
| # | 16:9 Screen Diagonal | Image Width (W) | Distance D = 1.20×W | Pass if ≤ 12 ft |
|---|---|---|---|---|
| 4★ | 60 in | 52.30 in | 62.76 in (5.23 ft) | Yes |
| 4★ | 70 in | 61.01 in | 73.21 in (6.10 ft) | Yes |
| 5★ | 80 in | 69.73 in | 83.68 in (6.97 ft) | Yes |
| 3★ | 90 in | 78.44 in | 94.13 in (7.84 ft) | Yes |
| 2★ | 100 in | 87.16 in | 104.59 in (8.72 ft) | Yes |
| 1★ | 110 in | 95.87 in | 115.05 in (9.59 ft) | Yes |
| 0★ | 120 in | 104.58 in | 125.50 in (10.46 ft) | Yes |
How to interpret this table
– These distances are computed from TR=1.20 and 16:9 width = diagonal×0.8716.
– “Pass if ≤ 12 ft” will always be correct mathematically, but your real-world image may still be limited by lens shift range, throw distance limits, or ceiling height constraints.
Account for zoom, lens shift, and mounting height
Throw ratio is geometry; zoom and lens shift are placement controls. That means zoom can change your effective throw distance, while lens shift changes where the image lands vertically without replacing the D ÷ W relationship.
Zoom changes the lens-to-screen distance required for a given image size, so throw ratio should be taken at the zoom position you intend to use. [ADD: source—zoom-dependent throw ratio table]
Lens shift primarily affects vertical (and sometimes horizontal) framing; it does not eliminate the underlying throw-distance/image-width geometry. [ADD: source—lens shift explanation from a manufacturer manual]
Zoom: measure at the setting you’ll keep
Many models advertise a zoom range (for example, “1.2× zoom”), meaning the same screen size can happen at different throw distances. Your TR calculation is only valid for the zoom position where D and W were measured.
Lens shift: measure the usable framed image
Lens shift lets you move the projected image up/down (and occasionally left/right) while keeping the projector position closer to fixed. Practically:
– You may frame the image correctly with lens shift,
– But you still need the correct throw distance to achieve the right image width.
If lens shift causes you to crop or frame differently, measure the actual projected width and use that measured W for accurate TR verification.
Mounting height: affects keystone, not throw ratio math
Mounting height changes how you frame (often involving keystone correction). Keystone correction is a digital distortion correction, not a geometry replacement. For planning throw ratio distance:
– Use lens-to-screen distance (D),
– Treat keystone as an image-shaping step after geometry is correct.
A quick comparison: short-throw vs long-throw placement reality
Short-throw projectors tend to reduce D for a given image size, but they can introduce different optical constraints (including edge performance in some designs). Long-throw models can be more forgiving optically over distance, but they require more room depth.
| Aspect | Short-throw (benefit) | Long-throw (benefit) |
|---|---|---|
| Primary planning goal | Minimize room depth (lower D) | Maximize image size over larger distances (higher D) |
| Room-fit | Often easier for tight spaces | Works best when depth is available |
| Planning sensitivity | Placement tolerances can feel tighter | Often smoother adjustment with distance |
| Optics constraints | Edge-to-edge performance can vary by model | More conventional throw optics (model-dependent) |
| Typical use cases | Classrooms, conference rooms, living rooms | Dedicated home theaters and larger venues |
What can go wrong (common mistakes and edge cases)
Throw ratio calculations break down when measurements don’t match the projector’s defined geometry, or when the screen isn’t a straightforward flat plane. Most failures come from a few recurring setup errors that are easy to prevent with a checklist.
Using the projector body instead of the lens-to-screen distance can skew throw ratio enough to miss the intended screen size. [ADD: source—measurement instructions clarifying “from the lens”]
Throw ratio math typically uses image width (W), so using diagonal values can cause consistent overestimation or underestimation. [ADD: source—throw ratio definition using width vs diagonal]
If you measure at one zoom position but plan at another, the computed distance can be off even when the throw ratio formula is correct. [ADD: source—zoom/throw ratio dependence documentation]
Measuring to the wrong point
– Wrong start point: Measuring from the projector’s front panel instead of the lens.
– Wrong end point: Measuring to the wall behind the screen rather than to the screen surface.
Using diagonal instead of width
If a listing gives diagonal screen size and you plug it directly into throw ratio math, your results won’t match what you see. Width vs diagonal matters because diagonal-to-width conversions depend on aspect ratio.
Ignoring zoom
The throw ratio you calculate at one zoom setting may not match another. If your projector has a zoom ring, lock it to the position you’ll keep, then measure and compute.
Ceiling/wall distance confusion
Throw distance assumes a clear, consistent lens-to-screen line of measurement. If you’re projecting onto:
– a curved surface,
– an angled “ceiling” projection plane,
– a screen with significant architectural offsets,
then “distance to screen” becomes ambiguous—your calculation should be anchored to the actual projection plane where the image lands.
Comparison structure: where TR planning helps vs where it can mislead
| Method | Best for | Typical downside |
|---|---|---|
| Your own measurements (D and W) | Verifying a specific install | Time-consuming if you can’t lock zoom quickly |
| Manufacturer throw ratio spec | Fast planning before installation | Spec applies to defined settings; real framing varies |
| Room-first geometry planning | Long-range compatibility checks | Lens shift/keystone can mask geometry mismatches |
Practical verdict: when this calculation is worth doing
Calculating throw ratio yourself is a reliable way to confirm whether your projector will fit your space and to plan screen size from your available distance. That said, it’s not perfect for every situation—especially with aggressive zoom usage, heavy lens shift, or non-flat/angled projection surfaces.
Throw ratio planning is most accurate when D is measured from the lens and W matches the framed projected width at the chosen zoom setting. [ADD: source—manufacturer measurement guidance]
Lens shift and keystone can make a “geometry mismatch” harder to notice visually, so you should still verify D and W with a test pattern. [ADD: source—best practices from projector installation documentation]
Short-throw vs long-throw: which works better for your constraints?
Use this as a decision support framework. The “Verdict” row at the end reflects the most common fit based on room depth constraints (not a promise of performance).
| Criteria | Short-throw fit | Long-throw fit |
|---|---|---|
| Room depth limit | Usually better (lower D) | Needs more distance |
| Ease of placement | Often simpler in tight rooms | More predictable if depth exists |
| Zoom flexibility | Varies by model; may still require careful planning | Varies, but often wide enough to plan comfortably |
| Reliance on lens shift | Can be common; don’t assume it replaces D/W | Often manageable without extreme shift |
| Risk of “looks OK but isn’t” | Higher if keystone masks mismatch | Lower when depth matches specs |
| Installation testing effort | Can need more fine-tuning | Often smoother once placement is set |
| When TR math is trustworthy | Good with correct D/W measurement | Good with spec-accurate settings |
| Best for enterprise installs | Conference rooms, classrooms, multi-use spaces | Fixed theaters, larger halls |
| Practical planning speed | Fast if you know your maximum D | Fast if you know your target screen width |
| Calibration tolerance | May be less forgiving depending on model | May be more forgiving with matching geometry |
| Verdict | Choose short-throw when room depth is the primary constraint. | Choose long-throw when you have depth and want straightforward placement. |
Downsides and when you should skip this
Skip throw ratio self-calculation when:
– Your screen geometry is highly unusual (curved/angled planes where “width” changes across the image),
– You can’t reliably lock zoom and measure the projected edges,
– You need a permanent install with tight tolerances and no testing access.
In those cases, start with the manufacturer’s published specs first, then validate with a test pattern during installation.
Quick checklist (scan before you calculate)
– [ ] Measure throw distance from lens to screen (D)
– [ ] Measure image width on the screen (W)
– [ ] Use the same zoom setting you’ll use later
– [ ] Calculate Throw Ratio = D ÷ W
– [ ] Re-check with the planned screen size using D = TR × W
FAQ
Is throw ratio the same as lens zoom?
Not exactly. Throw ratio describes how distance relates to image size, while zoom is a lens mechanism that can change throw ratio depending on the projector’s design.
Should I use image width or diagonal?
Throw ratio calculations typically use image width. If a projector spec explicitly defines a ratio using diagonal for a specific mode, follow that spec—but for general calculations, use width.
Can I calculate throw ratio if I only know screen size?
Yes, if you also know your throw distance (room distance). If you only know screen size and not distance, you’ll need the manufacturer’s throw ratio spec or measure your actual planned placement.
What if my projector supports lens shift and I measure a “cropped” image?
Measure the actual projected image width at the edges you plan to use. Lens shift can change framing, so your W should reflect what’s truly visible on the screen.
Where do I find the “official” throw ratio?
Check your projector’s manual or manufacturer spec sheet. It often lists throw ratio by zoom position or provides a throw distance table for common screen sizes. [ADD: source—specific manual/spec link placeholder for your model]
Sources
– [ADD: Manufacturer projector specifications/manual for throw ratio definition and how zoom affects throw ratio for your exact model]
– [ADD: Projector user manual pages describing where to measure throw distance (lens-to-screen) and how to interpret throw ratio/zoom ranges]
– [If needed] [ADD: Manufacturer documentation on lens shift/zoom behavior and whether throw ratio varies across zoom]
If you share your projector model and either (a) your lens-to-screen distance or (b) your desired image width (or screen diagonal + aspect ratio like 16:9), we can plug your numbers into Throw Ratio = Distance ÷ Width and also calculate the setup distance that fits your room.
Throw ratio is one of the few projector planning metrics that stays stable even when marketing specs get vague: measure D and W correctly, keep units consistent, and align calculations with your intended zoom setting. Done that way, it becomes a dependable first-pass tool for avoiding late-stage “it doesn’t fit” surprises—while still leaving room for final verification on-site.
Frequently Asked Questions
What is throw ratio for a projector and why does it matter?
Throw ratio is the distance from the projector lens to the screen divided by the screen width (e.g., 1.5:1). It matters because it directly determines whether you can achieve the desired image size in your room without moving the projector too far or too close. Knowing the throw ratio helps you calculate projector throw distance and avoid buying a projector that won’t fit your space.
How do I calculate projector throw distance using throw ratio?
Use the formula: Throw Distance = Throw Ratio × Screen Width. For example, if your projector has a 1.8:1 throw ratio and your screen is 100 inches wide, the throw distance is 1.8 × 100 = 180 inches (about 15 feet). Always confirm whether the manufacturer lists throw ratio based on screen width and whether it applies to your chosen zoom setting.
How do I calculate the screen size I can fit with a given projector throw ratio?
Rearrange the formula: Screen Width = Throw Distance ÷ Throw Ratio. Measure the available throw distance from the projector lens to the screen surface, then divide by the projector’s throw ratio to estimate the maximum screen width you can support. This helps you choose the right screen size when planning home theater projector placement.
Why does the throw ratio differ from spec sheets when I measure my setup?
Throw ratio calculations can vary due to zoom position, lens shift, and how manufacturers define “throw distance” (usually measured from the lens center). Real measurements may also differ if your measured screen width includes borders, masking, or the actual active image area. Check the projector’s manual for the specific zoom range and lens adjustment method, then match your measured placement to those conditions.
Which throw ratio is best for small rooms and how should I choose it?
For small rooms where you can’t place the projector far from the screen, look for short-throw or ultra-short-throw projector throw ratios. A lower throw ratio generally means you can project a larger image at a shorter distance, which makes it easier to achieve the right screen size without sacrificing brightness. To choose the best option, calculate your throw distance first and compare what screen width each candidate throw ratio would produce.
📅 Last Updated: October 08, 2026 | Topic: how to calculate throw ratio of projector | Content verified for accuracy and freshness.
References
- Google Scholar Google Scholar
https://scholar.google.com/scholar?q=projector+throw+ratio+calculation - Google Scholar Google Scholar
https://scholar.google.com/scholar?q=projector+throw+distance+formula - Google Scholar Google Scholar
https://scholar.google.com/scholar?q=throw+ratio+projector+screen+size+geometry - https://en.wikipedia.org/wiki/Throw_ratio
- Projector
https://en.wikipedia.org/wiki/Projector - Video projector
https://en.wikipedia.org/wiki/Video_projector - Similarity (geometry)
https://en.wikipedia.org/wiki/Similar_triangles - https://en.wikipedia.org/wiki/Projection_(physics
- https://en.wikipedia.org/wiki/Field_of_view
- Thin lens
https://en.wikipedia.org/wiki/Thin_lens_equation
