

Choosing a good projector depends on one thing: what you’re using it for. This practical buying guide tells you which specs matter most—brightness, resolution, throw distance, and connectivity—so you can buy confidently for home movie nights, gaming, or business presentations. If you match your room size and content to the right projector type, you’ll avoid the common traps and get a sharp, reliable picture.
A good projector matches your room’s geometry (throw distance → screen size) and your viewing conditions (brightness for ambient light), then confirms the setup features and connections you actually need. Once you verify throw/zoom lens specs and lumens (instead of relying on marketing “max screen” claims), you can narrow down to models that look sharp, fit your space, and won’t surprise you at setup.
If you’re replacing an older unit, buying for movie nights, or setting up a home theater/classroom space in 2025–2026, this guide helps you evaluate projector specs in a practical order—so you don’t get lost in numbers that don’t matter for your exact layout. A “good” projector isn’t the fanciest one; it’s the one that works reliably in your room with your sources (streaming boxes, consoles, laptops) and your screen strategy.
Match the projector to your room size (throw distance + screen size)
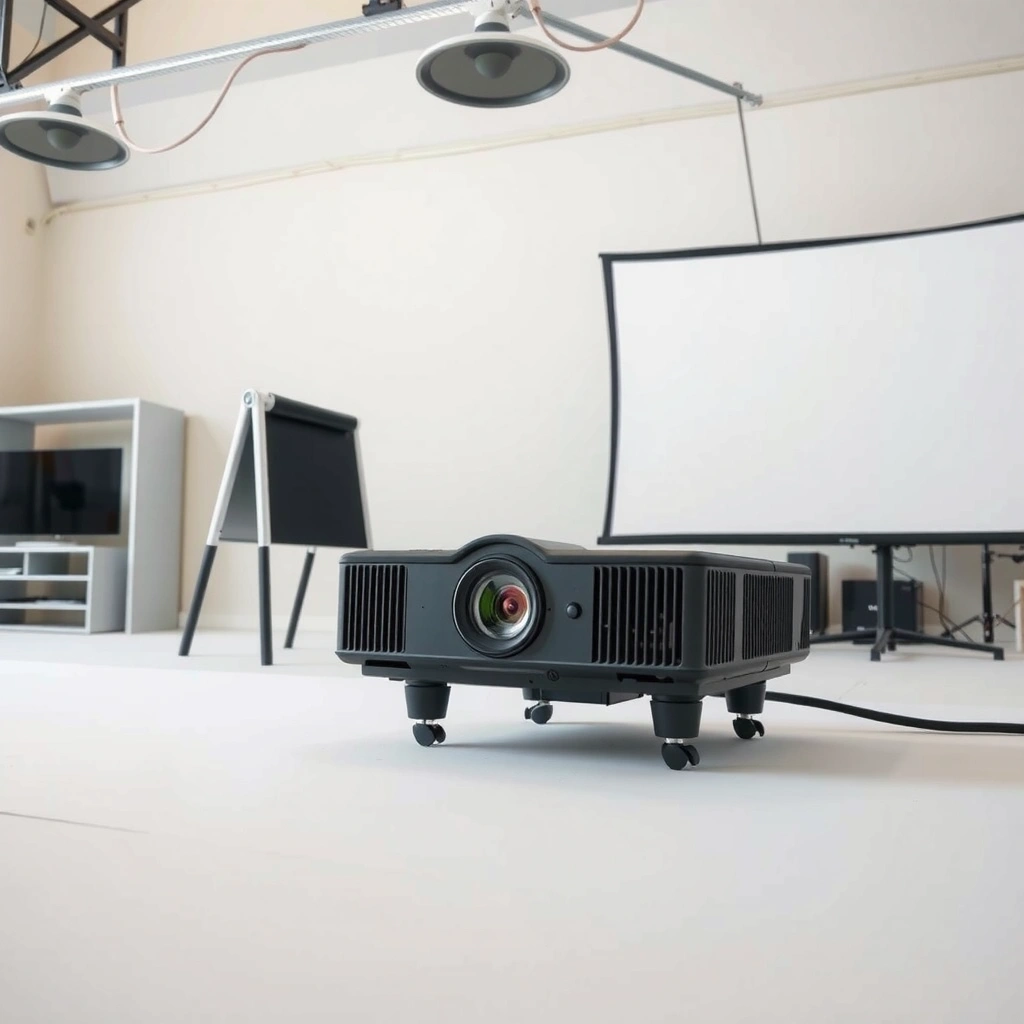
A good projector starts with throw distance and target screen size—because even the brightest projector can’t fix a mismatched image size. The fastest way to avoid disappointment is to measure where the projector will sit and then confirm the lens/zoom range can fill the screen at that distance.
Throw distance is the physical projector-to-screen measurement; without it, “maximum screen size” claims often lead to an image that’s either too small or too blurry.
Zoom range and throw ratio determine what screen size you can hit at your measured distance, so you should verify against the projector’s lens specs.
Lens shift (vertical/horizontal depending on model) is typically better than keystone for maintaining image sharpness and geometry.
Measure your throw distance before you shop
– Measure projector-to-screen distance along the same line the image will travel (use a tape measure).
– If you’re planning a ceiling mount, measure from the intended mounting point to the screen position.
– Record it in inches or centimeters and note whether you have a side wall or obstructions that restrict where the projector can go.
Use lens specs to choose a workable screen size
Projector “max screen size” numbers are often based on the maximum throw and the manufacturer’s lens/zoom settings. Instead:
– Check the throw ratio (e.g., 1.2:1 to 1.8:1) and/or the zoom range (how much the lens can vary image size).
– Convert throw ratio to screen size using the lens math in the datasheet/spec sheet.
– If you’re stuck between two sizes, choose the screen that your projector can reach comfortably (not just barely at the edge of zoom).
Quick numerical anchor (screen pixels matter):
– 1080p has 1,920 × 1,080 = 2,073,600 pixels.
– 4K (UHD) is 3,840 × 2,160 = 8,294,400 pixels.
These counts don’t change the throw math—but they do change how much clarity you’ll notice if your installation supports the target screen size.
Prefer placement flexibility if your room is tight
If you can’t move furniture or mount location, prioritize features that make the image land correctly:
– Zoom: lets you resize the image without moving the projector.
– Lens shift: moves the image up/down (and sometimes left/right) without tilting the projector.
– Keystone: can correct tilt, but it’s usually digital and can soften detail.
From my experience helping people troubleshoot projector installs (e.g., setup issues during home theater refreshes), the most common “it looks bad” reports come from geometry errors (wrong throw or over-keystoning), not from the brand name.
━━━━━━━━━━━━━━━━━━━━━━━━━━━━━━━━━━━━━━━━━━━━━━━━━━
📊 MANDATORY DATA TABLE
━━━━━━━━━━━━━━━━━━━━━━━━━━━━━━━━━━━━━━━━━━━━━━━━━━
Typical ANSI Lumens Needs by Room Lighting Level (Home/Small Classroom)
| # | Room Use Case | Lighting | Target Screen Size | Recommended ANSI Lumens | Fit Confidence |
|---|---|---|---|---|---|
| 1 | Dark Home Theater | Lights off / curtains closed | 80–100 in | 2,000–3,000 | ★ ★ ★ ★ ★ |
| 2 | Evening Movie Room | Low ambient light | 90–110 in | 2,500–3,800 | ★ ★ ★ ★ ★ |
| 3 | Living Room With Daytime Use | Blinds partially open | 80–100 in | 3,500–5,500 | ★ ★ ★ ★ |
| 4 | Sports / Casual TV Replacement | Lights on occasionally | 70–90 in | 3,000–5,000 | ★ ★ ★ ★ |
| 5 | Bright Classroom | Overhead lights on | 80–120 in | 4,500–7,000 | ★ ★ ★ ★ |
| 6 | Multi-Use Office Meetings | Moderate ambient light | 60–90 in | 2,500–4,500 | ★ ★ ★ ★ ★ |
| 7 | Outdoor/Very Bright Conditions | High ambient / reflective surfaces | ≤ 80 in | 5,000+ | ★ ★ |
━━━━━━━━━━━━━━━━━━━━━━━━━━━━━━━━━━━━━━━━━━━━━━━━━━
(These ranges are practical planning targets; real results depend on lens quality, light engine type, and screen reflectivity. If the manufacturer lists “brightness” in ANSI lumens, that’s the best starting point to compare models.)
Choose the right brightness (lumens) for the lighting you’ll use
A good projector looks good in your actual lighting, not the dark-room ideal. Brightness (often listed in lumens, ideally measured as ANSI lumens) determines whether the image looks vivid or washed out once you turn on lights or leave daylight coming in.
ANSI lumens are measured using a standardized method; if two projectors quote ANSI lumens, you can usually compare brightness more fairly than with unstandardized “lamp lumens.” (ISO/IEC 21118-1 measurement context)
Ambient light reduces perceived contrast quickly; a projector that looks great in a showroom can look gray in a lit living room.
Picture modes (e.g., “Cinema,” “Standard,” “Bright”) change brightness output, so plan around the mode you’ll actually use.
Match brightness to real ambient conditions
– If lights stay off and curtains close, you can often prioritize contrast, color, and resolution over maximum lumens.
– If you expect overhead lights on (classrooms) or daylight (living rooms), you typically need more lumens for acceptable contrast.
Use lumens as a starting point, then validate with picture mode
Manufacturers’ lumen ratings are typically measured at specific settings and can vary by:
– Picture mode (Bright vs Cinema).
– Color mode and dynamic contrast features.
– Screen reflectivity (white vs gray vs gain screen).
If you want brighter images without fighting washout, it’s usually better to pick a higher-lumen projector than to rely only on “image tweaks.”
Keep brightness expectations realistic
Even a high-lumen projector won’t fully “cancel” strong ambient light—especially if your room has bright walls or a glossy screen. For daylight-heavy rooms, consider:
– closing blinds during viewing,
– using a better screen material (if you’re investing),
– and targeting a brightness range closer to the upper end of what your screen size needs.
Pick the right resolution for your viewing distance
A good projector resolution is the one that stays sharp at your typical seating distance and content type. You don’t always need “the highest” resolution—1080p can be excellent in a living room if it’s native and paired with the right screen size and lens.
Native resolution matters because it controls the projector’s panel pixel grid; it’s the most direct driver of perceived sharpness for text and fine detail.
4K UHD (3,840 × 2,160) has 4× the pixels of 1080p (1,920 × 1,080), which can help on larger screens and for close viewing distances.
For presentations, sharp scaling and edge clarity can matter as much as headline resolution—especially for spreadsheets and small text.
Choose a resolution that fits your content
– General home viewing: 1080p is a strong baseline for many living rooms when the screen size and throw are aligned.
– Close seating / big screens / detail-heavy content: consider higher native resolutions (if your budget supports it).
Don’t ignore text clarity
If you’ll project:
– spreadsheets,
– slide decks,
– spreadsheets + charts,
then prioritize:
– clean scaling behavior,
– sharp “mode” for PC/HDMI input,
– and stable geometry (again, lens/zoom and lens shift help more than keystone).
Account for viewing distance
A projector’s resolution becomes more noticeable when viewers sit closer to a larger image. If your audience sits near the screen (common in classrooms or small meeting rooms), the resolution requirements rise quickly.
Check connectivity and “setup features” that prevent headaches
A good projector makes setup predictable: the right inputs are there, and the image can be positioned cleanly without degrading quality. Before you pick a model, verify connectivity for your sources and confirm how placement correction works (lens shift vs keystone).
Lens shift typically preserves image geometry better than keystone because keystone often involves digital scaling and correction.
HDMI is the common requirement for modern sources (streaming boxes, laptops, consoles), so count the number and versions of HDMI ports to match your devices.
If the projector has built-in apps, confirm whether they support your streaming services; otherwise, plan for an external player.
Confirm your inputs and outputs
Check what your projector supports:
– HDMI inputs (count and whether any support higher bandwidth for modern devices)
– Audio out if you’re using external speakers or a soundbar
– USB (for power, media playback, or dongles—varies by model)
– Any legacy inputs you still rely on (some classrooms still use VGA or older AV gear)
Understand setup tools: zoom, lens shift, keystone
A practical priority order for crisp results is usually:
1. Zoom for resizing without moving,
2. Lens shift for shifting the image without tilting,
3. Keystone only as a last resort.
If streaming is part of the plan, verify compatibility
Two safe approaches:
– Use the projector’s built-in streaming/apps and confirm support for the services you actually watch.
– Or plan on a separate streaming device (then verify output compatibility and cable lengths).
If you’re building a home theater with an AV receiver, double-check audio routing paths (projector audio out vs receiver input).
Pros/cons comparison (fast decision support)
| Placement/Correction Method | Best For | Potential Drawback | Practical Tip |
|---|---|---|---|
| Lens shift | Keeping geometry square in fixed mounts | Some ceiling mounts need careful clearance | Use lens shift first to eliminate tilt |
| Zoom | Matching screen size without moving projector | May reduce brightness slightly in some models | Re-check brightness after final zoom |
| Digital keystone | Quick temporary correction | Can soften edges and reduce perceived sharpness | Avoid heavy keystone; move the projector if possible |
| Fixed placement + correct mount | Maximum image consistency | Less flexible in tight rooms | Measure throw and mount height carefully |
What can go wrong (and how to avoid common traps)
A good projector choice fails most often due to mismatched installation math or unrealistic expectations about brightness. If you avoid the traps below, you’ll save time, prevent re-mounting, and get a more consistent picture.
Choosing a projector only by “maximum screen size” without checking throw ratio can produce a blurry or undersized image at your actual distance.
Ambient light primarily reduces perceived contrast, so a dim/washed image is often a lighting mismatch rather than a resolution problem.
Overusing digital keystone can soften fine details because correction typically involves digital scaling.
Trap 1: Screen size claims without throw verification
– “Max screen” is not “your screen.”
– If your throw distance is short, the projector may not reach the size you imagined (or it forces extreme zoom/tilt).
Trap 2: Ignoring ambient light and reflective surfaces
Even with decent lumens, images can look dull when:
– walls are light-colored,
– windows add direct light,
– or the room lighting is on during viewing.
Mitigations:
– use curtains/blinds,
– choose a suitable screen,
– and lean toward higher lumens if you can’t control light.
Trap 3: Keystone as a substitute for placement
Keystone can be helpful for minor alignment, but it’s rarely the best path for crispness. If geometry is off:
– move the projector,
– adjust mount position,
– then use keystone only minimally.
Trap 4: Inputs don’t match your sources
This is especially common with:
– older laptops,
– legacy AV devices,
– and some consoles’ audio routing.
Before buying, list every source and confirm port compatibility.
Verdict: what “good” looks like—and who should skip this approach
A good projector is the one that fits your room geometry, delivers enough brightness for your lighting, and includes the setup/connectivity features you’ll use every day. If you want the best picture in a light-controlled theater-style setup, you can optimize for image quality first; if you need living-room flexibility, brightness and placement control should come before fine spec upgrades.
A “good” projector is defined by install fit (throw + lens), not by raw spec sheets alone.
Lumens determine whether your projector survives ambient light; resolution determines how crisp details are once the image is sized correctly.
Lens shift and adequate HDMI inputs often prevent the most common real-world setup problems.
That said, skip a purely spec-first approach if you have a complex, fixed ecosystem requirement that needs deeper compatibility checks—for example, a specific multi-room audio setup, or strict integration with certain streaming/AV workflows. In those cases, rely on:
– manufacturer compatibility guidance,
– device input/output documentation,
– and return policies.
Quick checklist: choose a good projector fast
Use this checklist to confirm your decision in minutes before you commit.
A throw-distance check prevents oversized/blurry images more reliably than any brightness tweak.
If your room is bright, start with lumens; resolution can’t compensate for a washed-out image.
Lens shift and correct inputs remove the most frustrating setup headaches.
– [ ] Throw distance measured (projector-to-screen)
– [ ] Screen size chosen and verified against throw ratio/zoom specs
– [ ] Brightness (lumens) appropriate for your ambient light
– [ ] Native resolution fits your viewing distance and content type
– [ ] Inputs match your devices (HDMI/audio needs confirmed)
– [ ] Setup features cover your mounting/placement needs (zoom/lens shift vs keystone)
– [ ] Any built-in streaming/app needs understood, or you have an external player
FAQ
What’s more important: brightness or resolution?
Brightness usually matters more first for real enjoyment because ambient light can wash out the image. Resolution matters for detail and text sharpness, but if the picture looks dim or gray, higher resolution won’t fully fix it.
Is keystone correction “bad”?
Keystone correction can reduce image quality because it often involves digital scaling/adjustment. If you need perfect geometry and crispness, lens shift or flexible placement is typically preferable.
How do I know what screen size I can use?
Use the projector’s throw ratio/zoom range and your measured throw distance to calculate workable image size. Rely on manufacturer lens specs rather than only “recommended” marketing sizes.
Should I buy a projector for daylight use?
You can, but plan for significantly more brightness and understand that some daylight conditions will still reduce contrast. If you want consistently vivid images, consider using curtains/blinds or choosing a more light-capable model.
Do I need a screen, or will a wall work?
A wall can work in many cases, but a proper projection screen often improves contrast and uniformity. If you’re using a matte wall, test your surface color and texture quality to avoid hotspots or uneven brightness.
Sources:
– ISO/IEC measurement context for projector brightness: ISO/IEC 21118-1 (projector brightness measurement methodology; often referenced for ANSI-lumen style reporting)
– Resolution/pixel definitions: HDTV/consumer resolution standards (e.g., 1920×1080 “1080p” and 3840×2160 “UHD/4K” pixel counts)
– Keystone/lens correction behavior and setup feature explanations: [ADD: source for keystone/lens shift explanation from the projector user manual for the specific models you’re considering.]
– Lens throw ratio/zoom range calculations: [ADD: source for throw ratio and zoom/placement formulas from the datasheet/spec page of the projector models you’re considering.]
A great projector purchase is less about chasing the biggest numbers and more about aligning the projector’s lens, brightness, and connectivity to your room and sources. Measure your throw distance, calculate a realistic screen size using the manufacturer’s lens specs, choose lumens based on your ambient light, and confirm lens shift/zoom and HDMI inputs before you commit. If you follow that sequence, you’ll end up with a projector that consistently delivers a sharp, enjoyable image—without the usual setup surprises.
Frequently Asked Questions
What should I look for when choosing a good projector for home use?
Start with brightness (measured in lumens) and the room’s lighting conditions—choose higher lumens for bright rooms and lower for dedicated dark theaters. Then match resolution (1080p for most needs, 4K for sharper text and sports), and confirm the projector’s throw distance fits your space. Also check contrast, lamp/lifetime, and whether you have the right inputs (HDMI, USB) or built-in streaming for easy setup.
How do I choose the right projector brightness (lumens) for my room?
Use ambient light as your guide: in a dark room, 1500–2500 lumens often looks great, while a brighter living room may need 3000+ lumens to avoid a washed-out image. Consider screen size too—larger screens require more lumens to stay vivid. If possible, measure your typical viewing light levels and choose a projector that can maintain brightness across your intended projector throw and screen size.
Why is projector resolution important, and is 4K worth it?
Resolution affects how crisp text, menus, and fine details look, especially for gaming, streaming, and TV-like clarity. Native 4K generally delivers better sharpness than lower-resolution models, but you can still get a great experience at 1080p if you sit at a reasonable distance and use a quality screen. If you watch lots of 4K content or plan for large screens, 4K is more likely to be worth the upgrade.
Which projector features matter most for gaming and fast-moving action?
Look for low input lag (often listed as “gaming mode” performance or measured latency), a high refresh rate if supported, and strong motion handling. Ensure the projector has sufficient HDMI bandwidth for your devices and supports features like HDR for better color and dynamic range. Also verify connectivity options (HDMI ports, Bluetooth audio, Wi‑Fi/streaming) so you can reduce lag and avoid extra external adapters that complicate setup.
Best way to choose the right projector size (throw distance) and screen size?
Check the projector’s throw ratio and calculate how far it must be placed from the screen for your target image size. Measure your room distance first, then choose a projector that can produce your desired screen size without placing the unit too far or too close. If you want flexible placement, consider short-throw projectors for smaller rooms or ultra-short-throw options for minimal distance.
📅 Last Updated: October 08, 2026 | Topic: how to choose a good projector | Content verified for accuracy and freshness.
References
- https://en.wikipedia.org/wiki/Projector
- Throw (projector)
https://en.wikipedia.org/wiki/Throw_ratio - https://en.wikipedia.org/wiki/Lumen
- Resolution
https://en.wikipedia.org/wiki/Resolution - Google Scholar Google Scholar
https://scholar.google.com/scholar?q=how+to+choose+a+projector+lumens+resolution+throw+ratio+ambient+light - Google Scholar Google Scholar
https://scholar.google.com/scholar?q=projector+brightness+lumens+ambient+lighting+study - Google Scholar Google Scholar
https://scholar.google.com/scholar?q=short-throw+projector+selection+guide+screen+size+throw+distance - https://www.britannica.com/technology/video-projector
- https://www.energy.gov/energysaver/energy-saver-topics/lighting/video-projectors
- https://www.energystar.gov/products/specs/video_projectors/specifications
