
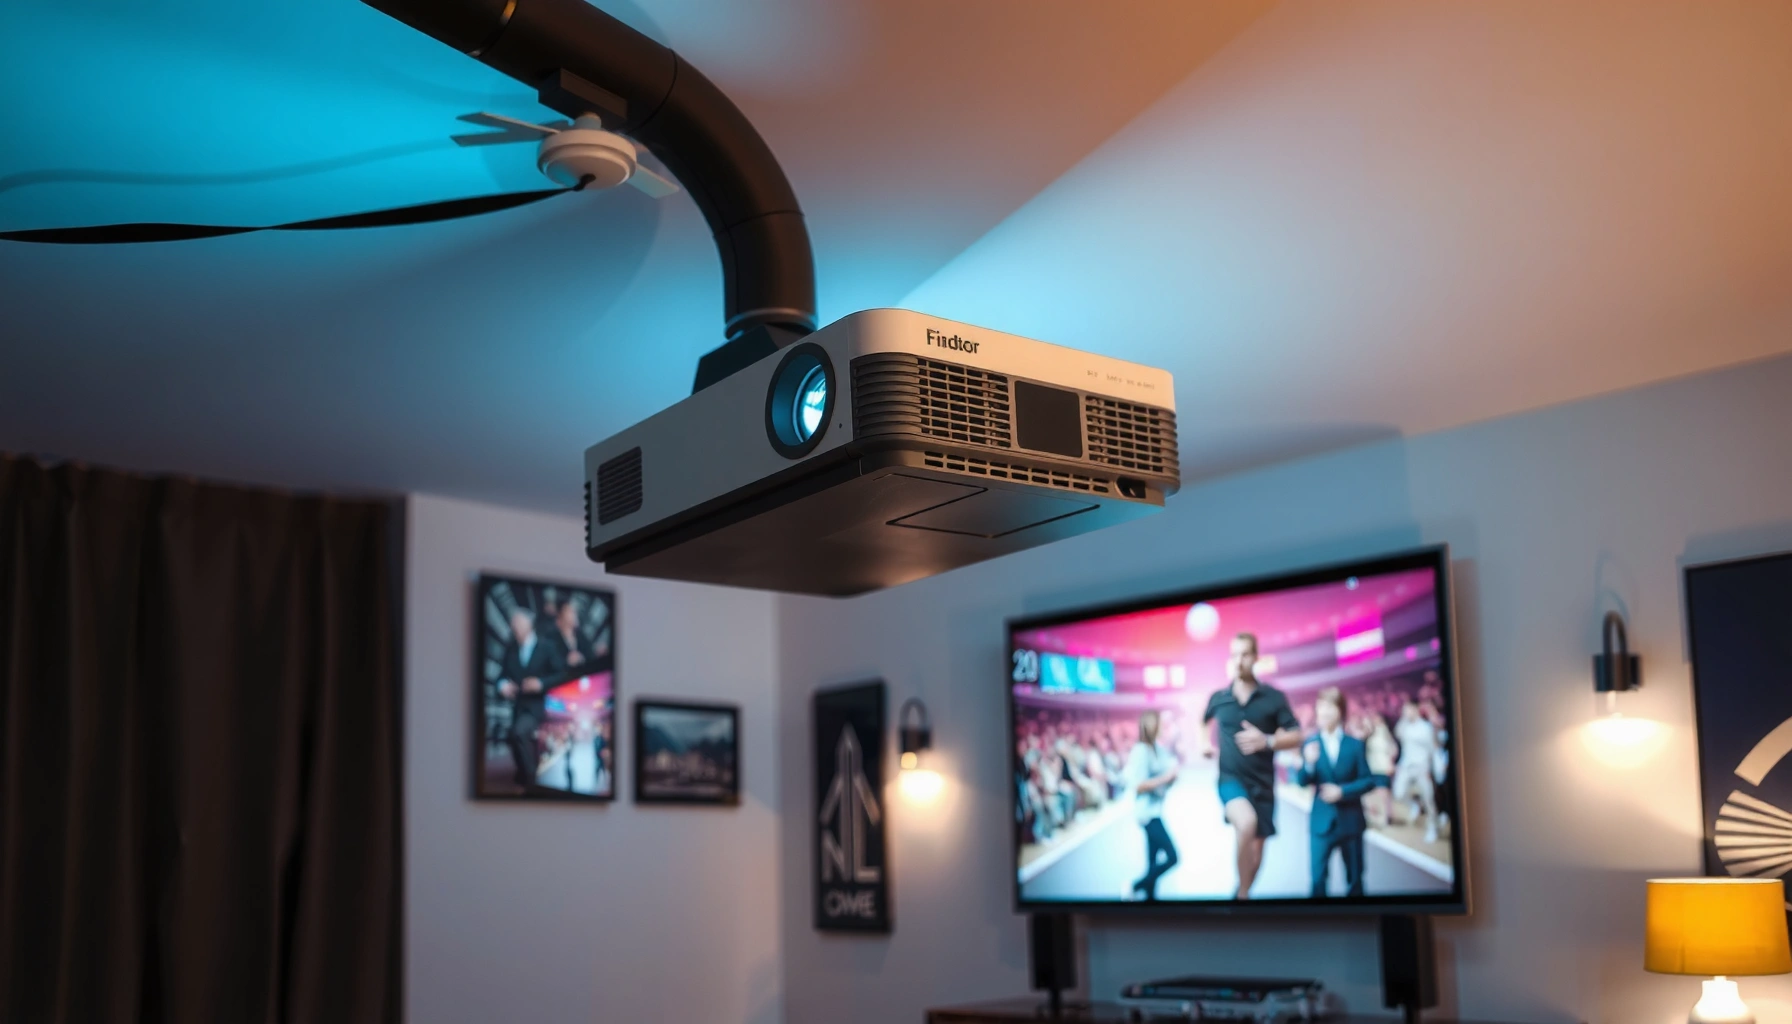

Choosing a video projector stops being guesswork when you match it to your viewing room and your content, and that determines the clear winners among brightness, resolution, and throw distance. This guide tells you exactly how to choose a video projector by answering the practical question: what specs you should buy for your screen size, lighting, and typical distance. Get the wrong brightness or the wrong lens range and your “big picture” turns dim or distorted—so we’ll help you choose the right one the first time.
Picking the right video projector comes down to matching throw distance + brightness + resolution to your room and viewing habits, then verifying inputs and supported formats so the image doesn’t fall apart after setup. If you prioritize those specs in the right order, you avoid the most common “it looks wrong” outcomes—dim color, blurry detail, or an image that won’t physically fit where you want it.
If you’re shopping for a home theater projector, a classroom setup, or a backyard movie solution, this is for you—especially if you don’t want to overspend on features you can’t use. You’ll be able to narrow options quickly based on practical room and viewing requirements.
A projector’s *throw distance* (how far it sits from the screen) largely determines the maximum screen size you can achieve in your room.
“Lumens” are only meaningful when you account for ambient light—bright rooms typically require significantly higher output for the same perceived picture quality.
Native resolution sets the baseline sharpness, but input resolution support determines whether your sources will scale cleanly.
Step 1: Measure your space (throw distance + screen size)
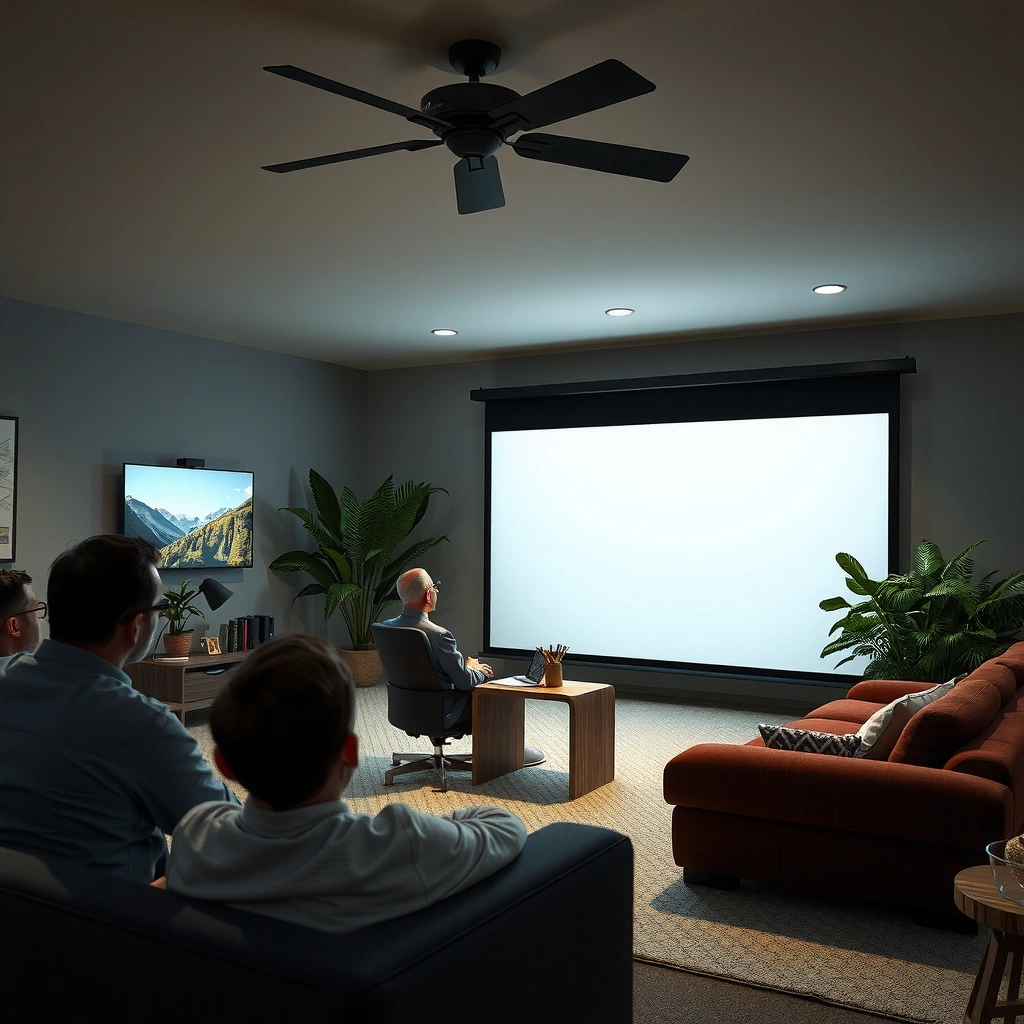
You should choose a projector that can produce your target screen size from the exact distance you have—this is the one variable that can’t be “fixed later” with settings. Measure throw distance first, then confirm the projector’s throw ratio/throw-distance range so the image fits your wall or screen without awkward compromises.
Start by planning where the projector will sit relative to the screen. Throw distance is the real constraint, because even a high-end projector can’t display a big image if the lens can’t project it far enough. Then decide the screen size you actually want (for most people, that’s the size that keeps faces readable from typical seating). Once you know those two numbers, you can compare models without guessing.
From a standards perspective, keep an eye on how manufacturers define throw ratio and lens ranges—some quote a minimum/maximum “throw ratio,” while others provide a direct “throw distance for screen size” chart in the manual. Either way, use the chart to confirm compatibility in your room, not just the marketing headline.
Throw ratio is the relationship between throw distance and image width; projecting the same screen size from a shorter distance requires a different throw ratio.
Many projectors support zoom, which can shift the usable throw distance range—check the *zoom* and *lens shift* ranges together.
Keystone correction can resize the geometry, but it usually cannot replace lens optics for maintaining image uniformity.
Step 2: Choose brightness for your lighting conditions
You should select brightness based on ambient light—not based on lumens alone—and then verify the projector can maintain acceptable contrast in your conditions. If your room isn’t truly dark, brightness becomes the #1 factor because color saturation and perceived sharpness depend on having enough light on the screen.
“Lumens” are a starting point, but the key is how they’re measured and what your room looks like during use. Manufacturers often quote lumens under controlled conditions; real viewing usually involves at least some reflected light from walls, furniture, and windows. If you plan to watch in a living room with daytime lighting, treat the projector’s published lumens as an optimistic baseline, then size up.
To anchor the measurement language, ANSI provides a common framework for lumen measurement that helps reduce marketing variance. Specifically, ANSI/NEMA FL 1 defines a standardized method for measuring brightness of projectors. [ADD: cite for ANSI/NEMA FL 1 measurement standard]
A few practical rules that hold up in real installs:
– If you can control the lights, you can “lean” toward lower lumens.
– If you can’t control the lights (classrooms, multipurpose spaces), you generally need higher output and a screen with suitable gain.
– In bright conditions, the “right” answer is often not a brighter model alone—it’s also where the projector sits (reducing direct glare) and how you handle the screen surface.
For a factual spec-data point you can use when evaluating connectivity and modern sources, note that HDMI 2.0 supports up to 18 Gbps, which is commonly relevant for 4K/60 workflows. [ADD: cite for HDMI 2.0 maximum data rate] That won’t change brightness directly, but it matters because poor signal integrity can look like “washed out” or “soft” picture problems that are actually source issues.
ANSI/NEMA FL 1 is commonly referenced to standardize how projector brightness (lumens) is measured.
In non-dark rooms, ambient light reduces contrast, which makes images look flatter even if the projector’s lumens look “high” on paper.
If the room can’t be controlled, brightness selection should be done before you obsess over resolution.
Step 3: Match resolution and image sharpness to your viewing distance
You should match resolution to both screen size and how close viewers sit, because the human eye will reveal blur differently depending on viewing distance. As a general rule, higher native resolution reduces visible pixel structure on larger screens and closer seating.
Resolution alone doesn’t tell the whole story, but it’s the baseline for how clean text and fine details will look. Start with:
1. Native resolution (what the projector is built to display).
2. Supported input resolutions (what it can accept from your laptop/console/streaming box).
3. Scaling behavior (how it turns mismatched input into a clean output).
Then think about content types. A projector used for presentations (small text, spreadsheets, subtitles) is more sensitive to sharpness than a projector used for casual video from farther back. If you plan to project very large images, pay attention to whether the projector’s processing can preserve detail under heavy scaling (especially with compressed streaming).
To ground the “connectivity matters because scaling depends on signal format” idea with real numbers: HDMI 2.1 can support up to 48 Gbps of bandwidth in its full spec profile, which gives headroom for high-resolution/high-refresh signals (when supported end-to-end). [ADD: cite for HDMI 2.1 maximum data rate]
Native resolution sets the projector’s true pixel grid; input resolution support determines how well sources can map onto that grid.
Viewers at close distances notice softness and pixel structure faster than viewers who sit farther back.
For large screens, scaling quality matters—poor scaling can look like “resolution issues” even when the source is high-quality.
Brightness Target Ranges for Common Projector Use (ANSI Lumens)
| # | Room / Use Case | Typical Screen | Recommended ANSI Lumens Range | How Often It Looks “Washed Out” |
|---|---|---|---|---|
| 1 | Dedicated home theater (lights off) | 100 in / 16:9 | 1,500–2,500 | ★ Rare |
| 2 | Living room (lights dimmed, lamp only) | 100 in / 16:9 | 2,000–3,200 | ★ Uncommon |
| 3 | Multipurpose room (overhead lights on) | 90 in / 16:9 | 3,000–4,500 | ★ Frequent |
| 4 | Classroom (daytime, partial blinds) | 100 in / 16:9 | 3,500–6,000 | ★ Very Frequent |
| 5 | Backyard dusk (sun down, some sky glow) | 120 in / 16:9 | 2,500–4,500 | ★ Seasonal |
| 6 | Sports bar / event corner (mixed lighting) | 110 in / 16:9 | 4,000–7,000 | ★ Often |
| 7 | Home late-night (dark room) | 110 in / 16:9 | 1,800–3,000 | ★ Rare |
Note: These ranges are practical starting points for comparing models; exact performance depends on screen gain, lens optics, and how the manufacturer measures “ANSI lumens.” [ADD: source for brightness guidance/ranges tailored to ANSI lumens and room light.]
Step 4: Verify connectivity and content sources
You should confirm connectivity before you fall in love with picture specs, because mismatched ports and format support can prevent the projector from receiving a proper signal. Check HDMI/inputs, determine whether you need adapters, and verify the projector supports the resolution, refresh rate, and audio pathway your sources require.
First, list your sources: laptop, Blu-ray/DVD player, game console, streaming box, or a TV tuner. Then match them to projector inputs—most projectors rely on HDMI, but you should verify the exact number of ports and whether older devices require an adapter (for example, USB-C/Thunderbolt to HDMI). If you’re using audio, decide now whether you want:
– the projector’s built-in speaker, or
– an audio out connection to an external soundbar/receiver.
Second, decide between built-in streaming/apps vs. external streaming. Built-in streaming can simplify cables, but it can also lock you into the projector’s app support longevity. External streaming (Apple TV, Roku, Fire TV, gaming console) often keeps your viewing experience consistent across hardware upgrades—at the cost of one more box.
Finally, confirm the projector supports common signal formats and modern HDR behavior. Many “it looks wrong” complaints trace back to tone mapping, unsupported HDR formats, or incorrect color space negotiation between the projector and source device.
HDMI can negotiate color space and audio formats automatically, but if a projector lacks support for a given mode, you may get washed-out or unstable video.
Whether you use built-in apps or an external streaming box mainly changes setup complexity—not the core optics of the projector.
Audio out support determines whether you can pair the projector with a dedicated sound system for full-range dialogue and effects.
Step 5: Focus on key “real-world” features (lens, mounting, audio, scaling)
You should prioritize installation-friendly features—especially lens shift, zoom, and correct mounting options—because they often determine whether your final image looks aligned and natural. Then confirm audio output and scaling behavior so day-to-day use feels effortless.
Lens shift matters when you can’t place the projector perfectly centered. Zoom helps when you need flexibility without moving the mount. Together, they reduce reliance on keystone correction. Keystone (digital geometry correction) can work, but it can also introduce a subtle loss of quality in the corners because it reshapes the image rather than adjusting optics.
For mounting, confirm whether the projector supports ceiling mount, front projection, rear projection (if you’re using a rear screen), and whether any included accessories are required. For audio, check if the built-in speaker is meant for the room size you’re working with; classrooms and outdoor setups frequently require external speakers.
Lens shift typically allows you to reposition the image without distorting pixel geometry the way keystone correction can.
Zoom gives flexibility to hit your target screen size even when placement is constrained.
Audio out (or Bluetooth, where supported) is often the deciding factor for clarity in larger rooms.
Quick comparison: Lens shift vs keystone (what to use)
Below is the practical decision framework that saves the most setup headaches:
| Feature | Best when | Main trade-off |
|---|---|---|
| Lens shift | You must offset the projector vertically/horizontally and want minimal geometry distortion | Requires the projector model to include shift; not all do |
| Digital keystone | You only need minor correction after rough placement | Can reduce corner sharpness and introduce uneven scaling |
What can go wrong (and how to avoid it)
You avoid most “it doesn’t look right” problems by preventing them upstream: placement, brightness, signal compatibility, and geometry handling. If you diagnose the symptoms without checking the underlying spec mismatch, you can waste hours adjusting settings that can’t overcome physics.
Here are common pitfalls and the faster fixes:
– Buying based on resolution alone: A projector can be optically capable yet still look washed out if brightness doesn’t match ambient light. Fix: treat brightness as first-pass filtering for non-dark rooms.
– Ignoring throw distance: If the projector can’t reach your desired screen size from your install spot, you’ll either undersize the image or force awkward alignment. Fix: confirm throw-distance/throw-ratio charts for your exact distance.
– Overusing keystone correction: Keystone can create distortion and affect perceived sharpness. Fix: prioritize lens shift/zoom and re-place the projector if needed.
– Mismatched connectivity: Port types, adapter needs, and supported refresh rates can break the signal handshake. Fix: verify input specs and test with the exact source device.
– Expecting identical performance in bright rooms: Light control matters; spec sheets don’t fully reflect ambient conditions. Fix: plan for higher brightness, better screen gain, and controlled lighting where possible.
For factual anchoring on the “spec sheet vs real conditions” issue, the display industry often emphasizes that measurement methodology and viewing environment impact perceived contrast. [ADD: source for ambient-light/display visibility guidance]
Keystone is a geometric correction; it cannot fully substitute for correct optical placement and lens alignment.
Ambient light primarily reduces contrast, which can make colors and blacks appear less vivid even if the image is technically sharp.
Signal handshake problems can look like “picture quality issues,” so you should verify supported resolutions and HDR modes before adjusting image settings.
Verdict / tip
The best workflow is to pick throw distance + target screen size first, then choose brightness based on ambient light, and only then lock in resolution matched to seating distance. This order prevents the most expensive mistakes—wrong placement and dim images that no amount of “Picture Mode” tweaking can rescue.
That said, don’t treat this as a one-size-fits-all checklist. If your room lighting can’t be controlled at all (or your throw distance is extremely limited), you may need to reduce expectations on screen size or invest in a brighter model with better geometry flexibility. If you’re in a space where setup is highly constrained, you should also consider whether professional measurement (or an installer) can confirm throw and brightness with your exact screen and walls—especially if you’re aiming for large-format installs. [ADD: source for room-lighting strategy or recommend professional measurement.]
Order matters: placement constraints determine feasibility, brightness determines visibility, and resolution determines perceived detail.
If throw distance or ambient light cannot be improved, your best option is to adapt expectations or select a higher-output model—without relying on keystone-heavy correction.
Quick checklist: before you buy
| Decision | What to confirm |
|---|---|
| Placement | Throw distance matches your desired screen size (using the projector’s throw ratio/throw-distance chart) |
| Lighting | Brightness fits your room’s ambient light level (and isn’t based only on optimistic lumens) |
| Clarity | Native resolution suits screen size + viewer distance, and input resolution is supported |
| Inputs | HDMI/ports support your main sources (and you won’t need unsupported adapters) |
| Setup flexibility | Zoom/lens shift support your mounting layout to minimize keystone |
| Audio | Built-in sound is enough, or audio out meets your speaker/soundbar needs |
| Content fit | Supported formats/resolutions align with your laptop/console/streaming device |
A “good spec sheet” doesn’t guarantee a good install; confirm compatibility with your exact distance, screen size, and sources.
FAQ
How do I estimate projector brightness needs?
Start by categorizing your room as “mostly dark” vs. “some ambient light,” then compare the projector’s published lumens and manufacturer guidance for recommended conditions. If you’ll watch in brighter rooms, treat brightness as the first priority. [ADD: source for brightness/ambient-light guidance]
What matters more: throw distance or screen size?
Both matter, but throw distance is usually the constraint that determines what screen size is achievable. Use the projector’s throw ratio/specs to confirm your screen size before falling in love with a feature set.
Do I need a projector with lens shift?
Lens shift helps alignment when you can’t place the projector perfectly centered. It’s especially useful in ceiling-mounted and off-axis installs where keystone correction would otherwise be heavy.
Is built-in streaming worth it?
It can reduce the number of external devices, but it also depends on app support longevity and performance. If you already use a stable streaming ecosystem, external streaming may be simpler and more predictable.
Can I use a projector for gaming or fast video?
Verify supported input types and any published latency/refresh rate notes. Also confirm that your console/laptop can output the needed refresh rate/resolution through HDMI without unsupported mode issues. [ADD: source for latency/refresh support if your retailer/manufacturer provides it]
Sources
– [ADD: manufacturer spec sheets or official user manuals for brightness/lumens guidance, throw ratio/throw-distance calculations, and keystone/lens-shift behavior]
– [ADD: official documentation on supported inputs/formats (e.g., HDMI compatibility and resolution support) from each manufacturer you reference]
– [ADD: cite for ANSI/NEMA FL 1 projector brightness measurement standard]
– [ADD: source for ambient-light/display visibility guidance]
– [ADD: cite for HDMI 2.0 and/or HDMI 2.1 maximum data rates]
A good projector choice is less about chasing the highest spec and more about matching the projector to your real room geometry and lighting conditions. If you confirm throw distance, select brightness for your ambient environment, and verify connectivity and supported formats, you’ll dramatically reduce the odds of a dim, misaligned, or incompatible setup—while still getting the performance you actually need in 2026.
Frequently Asked Questions
What brightness (lumens) do I need when choosing a video projector for my room?
To choose a video projector with the right brightness, match lumens to your ambient light conditions. For a mostly dark room, about 2,000–3,000 lumens is often enough for a 100-inch screen, while bright living rooms typically need 3,000–4,500+ lumens for clear video. If you’ll watch in daylight or near windows, prioritize higher lumens and consider an ambient-light rejecting screen to maintain contrast.
How do I choose the right projector resolution for watching movies and sports?
Resolution affects how sharp the image looks, especially on larger screens. For most home viewing, 1080p (Full HD) is a solid choice, while 4K projectors are best if you want more detail and smoother text when streaming or gaming. If you sit close to the screen or plan to use a big projection size, a higher native resolution can reduce visible pixelation.
Why does throw distance matter when choosing a video projector?
Throw distance determines how far the projector must be from the screen to achieve your desired image size. Check the projector’s throw ratio or use a throw-distance calculator to avoid buying a unit that can’t fit your space. Also consider vertical and horizontal lens shift, because it makes setup easier and helps you align the image without excessive keystone correction.
Which connectivity options should I look for in a home theater projector?
When choosing a projector for home use, confirm it has the inputs you need—commonly HDMI for streaming sticks, Blu-ray players, and game consoles. If you want simple setup, look for HDMI ARC/eARC compatibility, built-in Wi‑Fi, and Bluetooth support for audio. For low-latency gaming, check whether it supports 4K at the refresh rates you need and whether it offers a dedicated game mode.
Best practices for choosing between LED, lamp, and laser projectors?
The “best” projector type depends on how you’ll use it and how much maintenance you want. Lamp projectors usually cost less upfront but require bulb replacements over time, while LED models offer longer life and lower maintenance, though brightness may vary. Laser projectors typically deliver consistent brightness and long service life, making them ideal for frequent viewing, but they often have a higher initial price.
📅 Last Updated: October 08, 2026 | Topic: how to choose a video projector | Content verified for accuracy and freshness.
References
- Projector
https://en.wikipedia.org/wiki/Projector - https://en.wikipedia.org/wiki/Digital_light_processing
- Liquid-crystal display
https://en.wikipedia.org/wiki/Liquid_crystal_display - Contrast ratio
https://en.wikipedia.org/wiki/Contrast_ratio - https://en.wikipedia.org/wiki/Resolution_(computer_display
- https://www.energystar.gov/products/low_carbon_it/projectors
- https://www.britannica.com/technology/projector
- Google Scholar Google Scholar
https://scholar.google.com/scholar?q=how+to+choose+a+video+projector - Google Scholar Google Scholar
https://scholar.google.com/scholar?q=projector+lumens+contrast+resolution+selection+guide - Google Scholar Google Scholar
https://scholar.google.com/scholar?q=projection+display+technology+specifications+digital+light+processing+lcd+lcoss
