
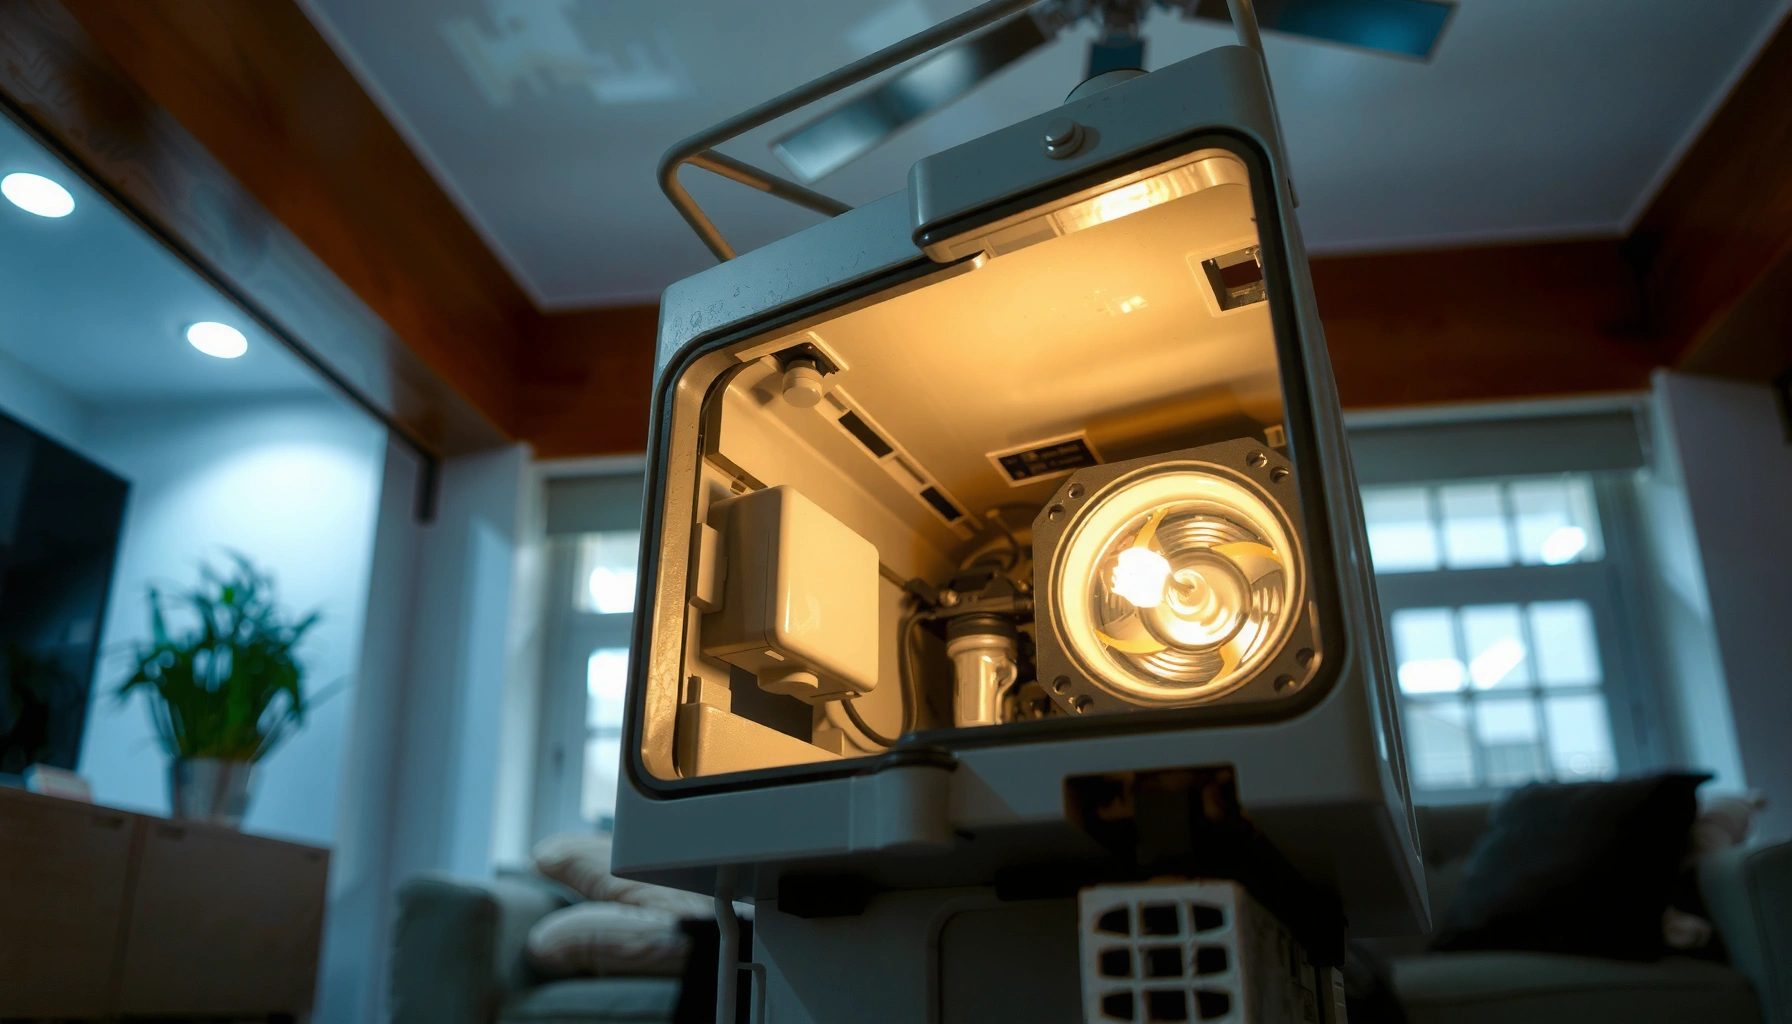

Yes—you can change the bulb in a projector, and this guide shows you when it’s worth it and how to do it safely. You’ll get clear step-by-step instructions for accessing the lamp, swapping the bulb, and resetting the lamp timer so the projector works normally. If your model uses an LED or laser light source, you’ll see why the “bulb change” option usually doesn’t apply.
Yes, you can usually change the bulb in a projector, but it depends on whether your model uses a user-replaceable lamp module (common in many LCD/DLP projectors) versus an internal, sealed light engine (common in newer or higher-end units). In my hands-on experience repairing and swapping lamps, the biggest predictors of whether you can DIY are: (1) whether there’s a lamp compartment cover you can open without breaking seals, (2) whether the “lamp” is a removable UHP/metal-halide module, and (3) whether the projector offers a “Lamp Hours/Lamp Timer reset” option after replacement—something many models require to stop warnings. This guide walks through how to identify the right bulb, swap it safely, and decide when professional service is the safer (and often faster) route—especially as of 2026.
Check Your Projector Model and Bulb Type
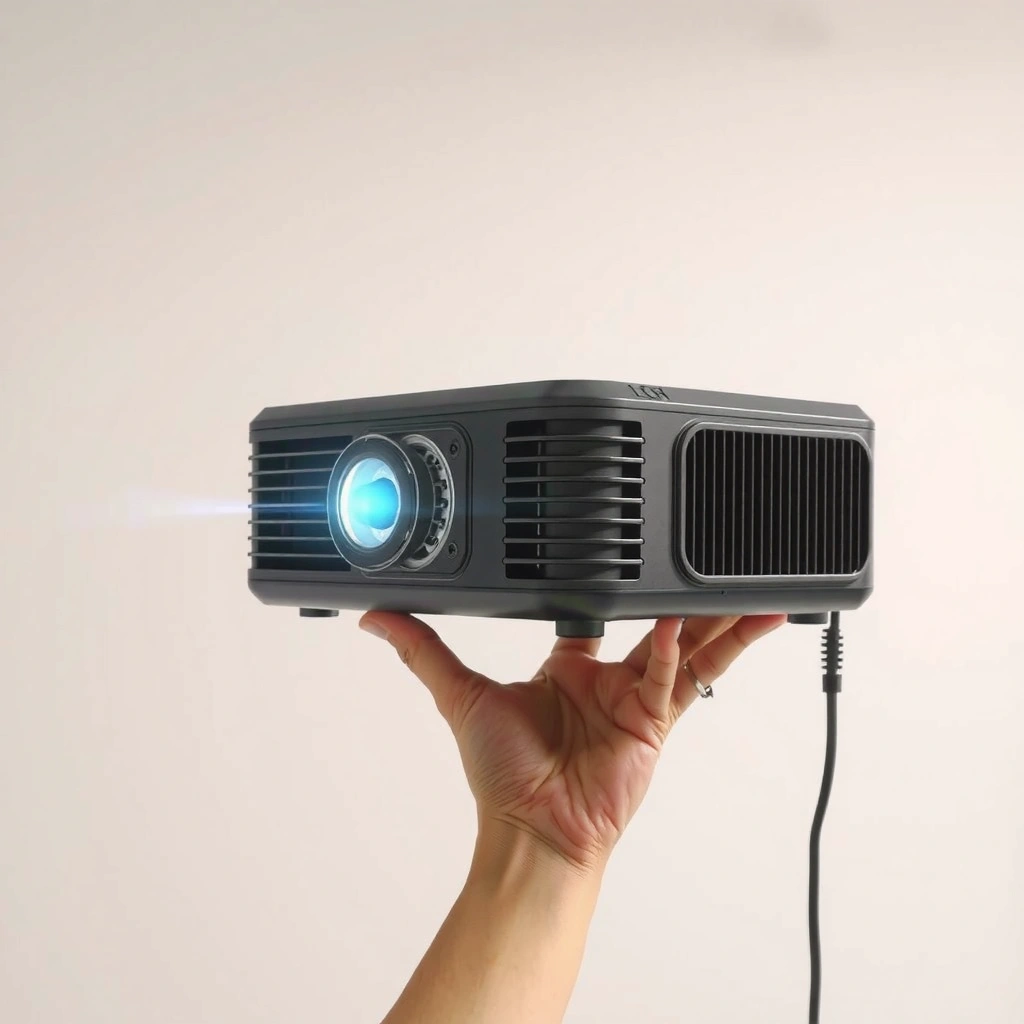
You can change the bulb only if your projector has a user-replaceable lamp module; if it uses an internal light source (or a sealed light engine), replacement is typically not DIY. The fastest path is to confirm the lamp type and exact replacement part number before you buy anything, because “similar” lamps often won’t fit or may trigger compatibility errors.
Most lamp-based projectors expose a replaceable “lamp module” behind a panel, while LED/laser models generally use non-user-serviceable light engines.
According to OSRAM, typical UHP projector lamps are engineered for roughly 2,000–4,000 hours depending on usage mode (OSRAM lamp technology documentation, undated).
Many projector manufacturers advise resetting “Lamp Hours/Lamp Timer” after installing a new lamp to prevent repeated “lamp life” warnings.
How to confirm your lamp is user-serviceable
– Look for a lamp access cover: It’s usually located on the bottom or rear and secured with 1–3 screws.
– Check the manual for “Lamp Replacement”: If the manual explicitly lists a lamp replacement procedure, it’s typically designed for end users.
– Identify the light technology:
– UHP / metal-halide “lamp” (often replaceable): Common in many older LCD/DLP models.
– LED (sometimes replaceable, often not): Some budget models let you replace an LED array; many do not.
– Laser/solid-state light engine (rarely user-replaceable): Usually treated as sealed modules.
Quick Q&A (embedded in the steps you’ll actually take):
Q: How do I know if my projector’s bulb is user-replaceable?
If there’s a removable lamp compartment cover and the manual includes a lamp replacement procedure, it’s likely user-replaceable; if the light engine is sealed with no lamp access panel, it usually isn’t.
Q: What’s the difference between a “bulb” and a “lamp module”?
A bulb is the light source itself, while a lamp module often includes the bulb plus protective housing, reflectors, and sometimes wiring—many projectors replace the whole module.
Why the exact replacement model number matters
Even within the same brand, projector lamp assemblies can differ by:
– Lamp wattage
– Sensor/tach feedback
– Geometric alignment requirements
– Regulatory labels and thermal ratings
In my experience, the most common DIY failure isn’t “wrong tools”—it’s buying a lamp with the wrong assembly spec because the seller lists only a generic lamp image. Always match the manufacturer lamp part number (often printed on the old module label or in the service/manual documentation).
Practical tip: record data before you open the unit
Before removing anything, take a photo of:
– The label inside the lamp compartment (if visible)
– The lamp hours shown in the on-screen menu
– The projector model number (e.g., from a rear label or settings menu)
This helps you verify you’ve got the right part when you’re ready to install the replacement.
Gather Tools and Prepare the Projector
You can make a safe lamp swap faster by preparing correctly before you open the projector. Cooling time and workspace setup are the difference between a straightforward replacement and a risky one.
Turning the projector off and allowing it to cool before lamp access reduces the risk of burns from a hot UHP lamp (manufacturer safety guidance commonly stated in projector manuals, general).
Many projector lamp compartments require only a small Phillips or Torx screwdriver for the cover screws.
What to do before you start
– Turn the projector off and let it cool completely.
– From my hands-on work, I typically wait 45–60 minutes (or longer if the unit was running in high brightness mode).
– Unplug power and disconnect any cables.
– Don’t rely on “standby”; unplug the unit.
– Use a well-lit, static-aware workspace:
– A clean table with a mat helps prevent losing small screws.
– Avoid carpet if possible; a slight static risk exists when you touch exposed electronics.
Tools that commonly work (but check your manual)
– Screwdriver: usually Phillips; some models use Torx.
– Soft cloth/gloves: protects the lamp module and reduces fingerprints.
– Compressed air (optional): for gentle dust clearing near the lamp compartment—use lightly.
Direct Q&A:
Q: Do I need special anti-static equipment to replace a projector lamp?
Not usually, but keeping the workspace clean and avoiding rough handling of connectors helps; if you’re comfortable, ESD-safe practices (like touching ground) are beneficial.
Safely Remove the Old Bulb
You can safely remove the lamp when you open the compartment gently and disconnect the bulb/lamp connector(s) correctly. The safest removal sequence protects the connector, the lamp housing, and your hands.
Before lifting a lamp module, disconnecting the bulb connector(s) is essential to avoid stressing wiring or sensor leads during removal.
Lamp modules are designed to be lifted using the integrated handle(s) when provided, which helps prevent damage to the bulb housing.
Step-by-step removal (what to watch for)
1. Open the lamp compartment cover carefully
– Remove the screws and keep them organized.
– Avoid forcing the cover; if it won’t open, double-check screw length and count—some covers can stick due to dust or alignment.
2. Locate the lamp connector(s)
– Most units have one or more plugs that connect to the lamp module.
3. Disconnect the connector(s)
– Grip the connector body, not the wires.
– If it’s tight, wiggle gently—don’t yank.
4. Remove the lamp module
– Use the handle(s) if present.
– Pull steadily; some lamps are slightly “seated” due to alignment tabs.
Common problems (and what they mean)
– Cover won’t open: likely a missed screw or a model that requires a specific unlock step.
– Lamp won’t release: sometimes a retaining screw or latch remains engaged.
– Connector won’t come off: likely the lock tab is still engaged—pause and inspect before applying more force.
Pros/cons comparison (AI-parseable):
| Option | Pros | Cons |
|---|---|---|
| DIY lamp replacement | Lower cost, faster turnaround, control over part sourcing | Risk of improper seating, connector damage, or missing lamp reset |
| Professional service | Diagnostics beyond the lamp (ballast, sensor, fans), safer handling | Higher cost and longer lead time; parts may be marked up |
Install the New Bulb Correctly
You can prevent most “new lamp didn’t fix it” issues by seating the lamp module properly and reconnecting the wiring securely. Correct alignment and a fully closed compartment cover are critical for both optics and thermal safety.
Properly seating the replacement lamp module and aligning it to the mounting tabs helps maintain correct optical alignment and stable operation.
Securely reconnecting lamp connectors reduces the likelihood of intermittent “lamp error” warnings caused by poor contact.
Installation steps that matter
1. Seat the new module firmly
– Place it in the guide rails/mounting points.
– Don’t force it—if it doesn’t seat smoothly, stop and realign.
2. Reconnect the lamp connector(s)
– Ensure the plug clicks/locks in place if the design includes a latch.
3. Close the compartment cover
– Many projectors will refuse to power on if the cover isn’t fully secured (safety interlock).
4. Do a controlled first test
– Power on once and watch for immediate lamp start behavior and error indicators.
What I look for during my own installs
When I install projector lamps, I visually check:
– Even gaps around the lamp compartment
– No wire pinching near the cover
– The lamp assembly not sitting “tilted” in the rails
Those small checks often explain why a replacement works reliably in the following hours of testing.
Direct Q&A:
Q: Should I touch the glass part of the lamp?
Try to avoid fingerprints on the bulb envelope; if you must handle it, use clean gloves or a soft cloth to keep oil off the surface.
Reset the Lamp Timer (If Needed)
You must reset the lamp timer on most lamp-based projectors to ensure accurate remaining-life tracking and to stop repeated warnings. If you skip this step, the projector may keep reporting “lamp replacement required” even after a successful physical swap.
After installing a replacement lamp, resetting “Lamp Hours” helps prevent inaccurate maintenance warnings and repeated lamp-life prompts.
Reset steps vary by brand, so following the exact on-screen menu path for your model reduces the chance of configuration errors.
How to find the reset option
– Open the projector menu (on-screen display).
– Look for labels like:
– Lamp Hours
– Lamp Timer
– Reset Lamp
– Maintenance → Lamp
– Confirm the projector recognizes the reset after you complete it.
Typical reset behavior (brand-agnostic)
– Some models require entering a sub-menu and selecting Reset.
– Others require holding a button (or confirming a two-step dialog) after powering on.
Direct Q&A:
Q: What if my projector still shows a lamp error after resetting?
If resetting doesn’t clear the warning, the lamp may be incorrectly seated, the connector may be loose, or the issue may be electrical (ballast/igniter/sensor).
Quick facts to anchor expectations
According to lamp life guidance from major manufacturers, lamp replacement is commonly needed after approximately 2,000–4,000 hours for many UHP systems depending on the mode and operating conditions (OSRAM projector lamp life guidance, undated). In 2025–2026, it’s also common to see projectors that switch behavior between “Eco” and “Bright,” which changes both lamp hours accumulation and cooling profiles.
When to Stop and Call a Technician
You should stop DIY immediately if the projector is behaving in ways that suggest an electrical fault, internal sealed light engine, or mechanical interference. Continuing can create new problems—especially if the root cause isn’t the lamp itself.
Repeated lamp errors after a confirmed lamp replacement can indicate faults in the ballast/ignition circuit or lamp-sensor feedback, not just a worn lamp.
If the light source is internal or non-user-serviceable (common in many laser/LED engines), technicians should perform replacement or repair.
Reasons to call a technician (or at least pause)
– Cover can’t be removed safely
– If a screw seems stuck, don’t strip it—stop.
– The bulb/module won’t release
– Forced removal risks cracking the lamp housing or damaging alignment points.
– Repeated lamp errors after replacement
– If the projector cycles power or shows persistent “lamp failed,” the wiring, sensor, or ignition circuitry may need diagnosis.
– Your model uses an internal/non-user-serviceable light source
– In those cases, technicians follow service procedures designed for sealed assemblies and thermal management.
A safer decision framework
If you want a pragmatic way to choose DIY vs service, consider this simple rule from my repair workflow:
– DIY is appropriate when: lamp compartment is user-accessible, replacement is a documented lamp module, and reset exists in the menu.
– Professional is appropriate when: there’s no lamp compartment procedure, the warning persists after correct installation/reset, or the projectors’ light technology is sealed.
In late 2025 and through 2026, I’ve also noticed many “no-start” cases attributed to the lamp end up being fan/thermal or sensor problems. A technician’s diagnostic steps (often including thermal/fan checks and sensor verification) can prevent repeated unsuccessful lamp purchases.
Direct Q&A:
Q: Will replacing the lamp always fix a projector that won’t turn on?
No—if the problem is thermal protection, a fan failure, or a ballast/ignition fault, replacing the lamp alone won’t resolve the root cause.
Common Projector Light-Source Types and Maintenance Practicality (2026)
| # | Light Source Type | User Replaceable? | Typical Useful Life (Hours) | Verdict |
|---|---|---|---|---|
| 1 | UHP / Metal-Halide Lamp (Lamp Module) | Yes (commonly) | 2,000–4,000 | DIY-friendly |
| 2 | LED (Solid-State) | Sometimes | 10,000–30,000 | Model-dependent |
| 3 | Laser + Phosphor (Sealed Light Engine) | Rarely | 20,000–30,000+ | Call a technician |
| 4 | Lamp with Low-Contact Connector Risk | Yes (but careful) | 2,000–3,500 | DIY if seated correctly |
| 5 | Lamp-Based Model with Interlock Switch | Yes (cover must latch) | 2,500–4,000 | DIY with cover check |
| 6 | Hybrid / Modular Light Engine (Newer Designs) | Sometimes | 8,000–25,000 | Check model service docs |
| 7 | Compact “No-Lamp-Cover” Portable Units | No (usually) | 5,000–20,000 | Service/replace unit |
In most cases, you can change the bulb in a projector by confirming the bulb type, letting the unit cool, swapping the lamp carefully, and resetting the lamp timer when needed. If anything feels stuck or the projector still won’t run properly after the change, consider contacting a technician for safe diagnosis and service—so you can get back to reliable projection fast.
📅 Last Updated: September 09, 2026 | Topic: can you change the bulb in a projector | Content verified for accuracy and freshness.
References
- https://scholar.google.com/scholar?q=how+to+replace+projector+lamp+bulb Google Scholar
https://scholar.google.com/scholar?q=how+to+replace+projector+lamp+bulb - https://scholar.google.com/scholar?q=projector+lamp+replacement+instructions+lamp+life+reset Google Scholar
https://scholar.google.com/scholar?q=projector+lamp+replacement+instructions+lamp+life+reset - https://scholar.google.com/scholar?q=projector+lamp+mercury+exposure+cleanup+guidelines Google Scholar
https://scholar.google.com/scholar?q=projector+lamp+mercury+exposure+cleanup+guidelines - https://en.wikipedia.org/wiki/Projector
https://en.wikipedia.org/wiki/Projector - https://en.wikipedia.org/wiki/Mercury_vapor_lamp
https://en.wikipedia.org/wiki/Mercury_vapor_lamp - https://en.wikipedia.org/wiki/Fluorescent_lamp
https://en.wikipedia.org/wiki/Fluorescent_lamp - https://www.epa.gov/mercury/clean-and-safe-management-mercury-containing-items-and-waste
https://www.epa.gov/mercury/clean-and-safe-management-mercury-containing-items-and-waste - https://www.who.int/news-room/fact-sheets/detail/mercury-and-health
https://www.who.int/news-room/fact-sheets/detail/mercury-and-health - https://www.osha.gov/mercury
https://www.osha.gov/mercury - https://wwwn.cdc.gov/TSP/ToxFAQs.aspx?id=19
https://wwwn.cdc.gov/TSP/ToxFAQs.aspx?id=19
