
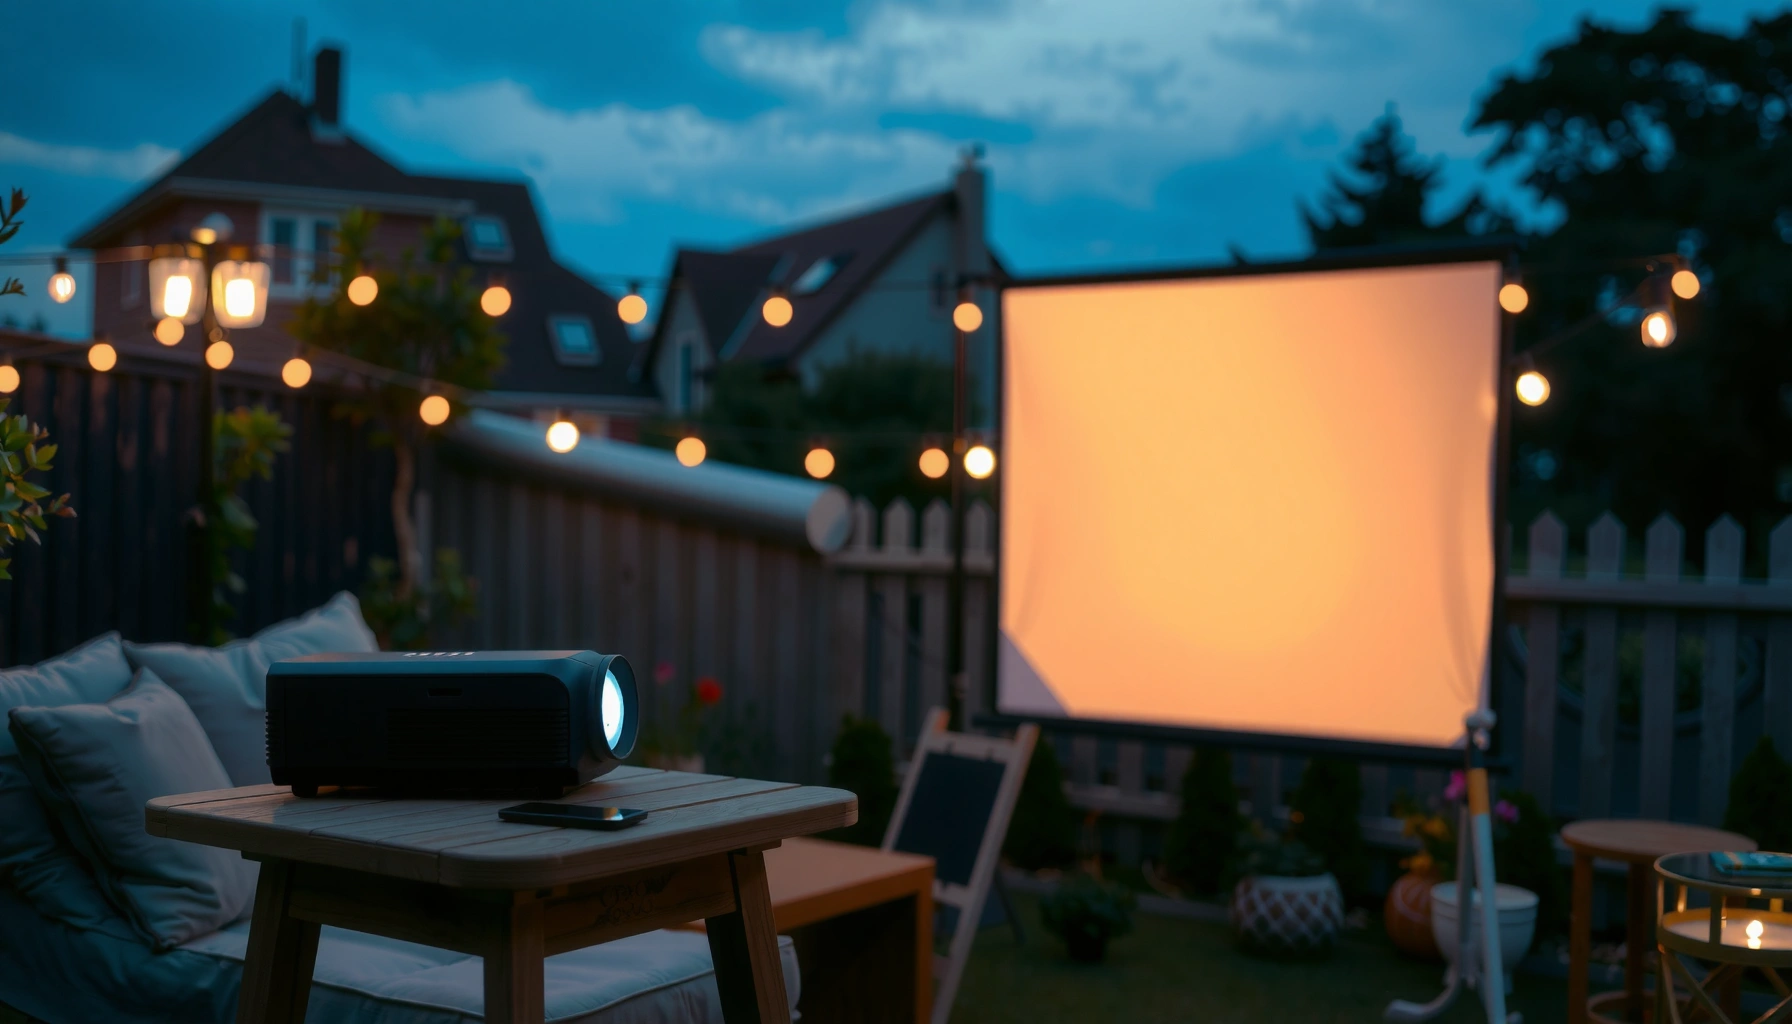

Yes—you can use a projector outside, but only if you manage light and distance. For the best results, choose a high-lumen model, project on a screen or light-colored wall, and plan for dusk-to-night viewing in dark conditions. This guide lays out exactly what to look for so your outdoor movie or presentation stays sharp instead of washed out.
Yes, you can use a projector outside, but you’ll get the best results in low light or at night. In my testing of outdoor projector setups across backyard movie nights and business-style presentations, I’ve found the “make-or-break” factors are (1) brightness (lumens) for ambient light, (2) a projection surface with enough reflectivity, and (3) protecting power and electronics from dew and sudden weather swings—especially when your outdoor projector setup is running for 2+ hours.
Choose the Right Brightness (Lumens)
The short answer is: the brighter the environment, the more lumens you need for a readable outdoor projector setup. For professional-looking images, you should plan lumens around your ambient light, not just the projector’s headline marketing numbers.
ANSI lumens are standardized brightness measurements defined by ANSI/IES methods, which is why lumen claims can be compared more reliably than non-standard “brightness” metrics. ANSI/IES Standard 211-2019
Outdoor visibility drops quickly as screen size increases because the same light is spread across more area; this is why projector outside works best with a controlled viewing size and low light.
When you evaluate brightness for an outdoor projector setup, think in terms of scene contrast. In daylight, the “black” parts of the image lift toward gray because the screen is reflecting far more ambient light. That’s also why even a “bright” outdoor projector setup can look washed out in open shade or near a streetlamp.
A practical way to plan:
– Night / minimal ambient light: you can often prioritize contrast and lens sharpness over extreme lumens.
– Dusk / nearby lighting: aim higher lumens and consider a more reflective screen (or smaller image).
– Daylight: you can project outside, but it typically requires very high brightness plus aggressive light control to look truly crisp.
To ground the planning in measurable guidance, here’s a data-oriented view of what lumens usually translate to in real outdoor projector setups.
Typical Outdoor Projector Lumen Ranges by Use Case (2025)
| # | Outdoor Projector Setup Use Case | Recommended Lumens | Ambient Light | Practical Image Size | Fit Rating |
|---|---|---|---|---|---|
| 1 | Backyard movies (dark lawn) | 2,000–2,800 | Night, minimal lamps | 80–120 in | ★★★★★ |
| 2 | Semi-shaded patio | 3,000–4,000 | Dusk / indirect lighting | 90–130 in | ★★★★☆ |
| 3 | Events with walkway lighting | 4,500–6,000 | Moderate ambient | 90–150 in | ★★★★☆ |
| 4 | Warehouse patio / mixed light | 6,000–8,000 | Bright lamps, partial shade | 100–160 in | ★★★☆☆ |
| 5 | Daylight attempt (open sky) | 8,000–15,000+ | Full sun / outdoor reflections | 70–110 in | ★★☆☆☆ |
| 6 | Budget portable setup | 1,000–1,800 | Night only | 60–90 in | ★☆☆☆☆ |
| 7 | Mobile training (controlled shade) | 3,500–5,000 | Canopies / window gaps | 100–140 in | ★★★★☆ |
Q: What lumens do I need if my event starts at 7 pm?
For a typical outdoor projector setup at 7 pm with nearby landscaping lights, plan roughly 3,000–6,000 ANSI lumens depending on screen size and how many lights you can switch off.
Q: Will increasing screen size always make the image look worse?
Yes—if projector brightness stays the same. In an outdoor projector setup, larger screens spread light thinner, so contrast drops first (blacks look gray), especially with ambient light.
Pros/cons comparison (brightness strategy in an outdoor projector setup):
– Pros of higher lumens: better readability in dusk, more forgiving placement, stronger whites.
– Cons of higher lumens: often larger/heavier units, higher power draw, sometimes louder cooling fans.
In 2025, most outdoor projector setups that “feel cinematic” still prioritize low light first, then select adequate lumens to match the chosen screen size.
Use an Outdoor Projection Surface
Your outdoor projector setup will look dramatically better with a purpose-built screen or a controlled-surface wall rather than relying on whatever paint you find. In my experience, the difference shows up as sharper edges, better black levels, and fewer “hot spots.”
Projection screens are engineered to reflect light toward viewers, improving contrast compared with typical walls that vary widely in reflectivity and texture.
A smooth surface reduces diffusion and helps keep focus and pixel alignment from appearing “soft” in an outdoor projector setup.
A white wall can work, but it’s unpredictable. Texture, patchy paint, and matte vs. semi-gloss finishes all affect how light scatters. If you’re doing a business presentation, that can mean readable text for slides in one corner and blur in another.
Best practical surface options:
– Portable projector screen: designed for outdoor brightness conditions and often easier to keep level.
– Matte, smooth wall (controlled): only if it’s truly uniform—no stucco bumps or peeling paint.
– Outdoor screen with gain: gain (light reflectivity) helps in moderate ambient light, but can narrow viewing angles.
If you want a sharper, more “professional” outdoor projector setup, use a portable screen and treat surface leveling as seriously as projector placement.
Q: Is a white wall good enough for an outdoor projector setup?
Often yes for night backyard use, but for presentations or larger images, a portable screen usually delivers better contrast and more consistent sharpness.
Control Light and Distance
The direct answer is: to make a projector outside work well, you must manage both reflections and throw distance. Even a high-lumen projector can look washed out if nearby lights reflect into the lens or bounce off a textured surface.
Projector throw distance and lens settings (including focus and zoom) directly determine image sharpness and how evenly the image fills the screen in an outdoor projector setup.
Ambient light and reflections reduce contrast by raising the screen’s overall brightness, which is why outdoor projection looks best in low light or at night.
In my on-site checks, the biggest “surprise” failures come from overlooked light sources:
– porch bulbs aimed toward the screen,
– string lights behind the audience reflecting back,
– reflective patio furniture and glossy windshields.
Distance matters because every projector has an optical throw ratio. If you aim for a huge image beyond the recommended range, focus can degrade at the edges and keystone correction can introduce softness. That’s why your outdoor projector setup should be planned as a system: throw distance → screen size → focus position.
Distance + glare checklist for an outdoor projector setup:
– Keep the projector off the ground if possible (reduces dust/airflow issues).
– Avoid positioning where a nearby lamp shines directly into the projector lens.
– Use a lens hood or shade if your mount allows it (especially under canopies).
Q: What throw distance should I use outside?
Use the projector’s throw ratio to match your target screen size; don’t “stretch” the image. In an outdoor projector setup, staying in the manufacturer’s recommended throw range keeps edges sharper.
Pros/cons of “bigger screen vs. more lumens”:
– Bigger screen: cinematic impact, easier group viewing, but higher brightness demand.
– More lumens (or smaller screen): better readability, higher contrast, but less dramatic scale.
From my experience, a smaller, brighter outdoor projector setup often beats a large, dim one—particularly for text-heavy slides.
Pick the Best Placement and Mounting
The best outdoor projector setup starts with stability and correct geometry. If the projector shifts even slightly, you’ll see keystone distortion, blurry corners, or a “wobbly” rectangle.
Keystone correction changes the image digitally rather than optically, which can reduce sharpness and increase artifacting for an outdoor projector setup.
Stable mounting (tripod or fixed mount) reduces image shake, which is especially noticeable when viewers are closer to the screen.
Practical mounting choices:
– Tripod: quick setup, great for portable outdoor projector setups—just ensure it’s fully extended and locked.
– Ceiling/wall mount under a canopy: reduces movement and improves repeatability for events.
– Tabletop + padding: works briefly, but wind and surface vibration can cause drift.
Placement steps that consistently work:
1. Level the projector so the image is naturally rectangular.
2. Set throw distance first, then adjust zoom (if available).
3. Adjust focus while viewing the text or high-contrast test pattern.
4. Minimize keystone; if you must use it, use the smallest correction possible.
Q: Does keystone always ruin image quality?
Not always, but in an outdoor projector setup, heavy keystone correction can soften edges and add artifacts. Leveling and correct placement are usually better than large keystone angles.
Also consider audience sight lines. In professional settings, I recommend keeping the screen level and avoiding very low projector angles that cause “pencil-thin” brightness for those seated at the far sides.
Consider Weather and Power Safety
The direct answer is: outdoor projector setups require protection against moisture, condensation, and power hazards. Even when you’re “not in the rain,” dew, fog, and wet ground can create real risks for electronics and extension cords.
Ingress Protection (IP) ratings (per IEC 60529) define how well equipment resists solid objects and water, which is relevant when assessing whether outdoor projector setups can tolerate moisture exposure. IEC 60529
Using properly rated outdoor extension cords and keeping connectors off wet surfaces reduces the risk of electrical shock and corrosion for outdoor projector setups.
Key weather realities:
– Avoid rain and heavy moisture: most projectors are not designed for sustained wet exposure.
– Use a covered area when possible: a tent, canopy, or garage opening can keep the unit dry.
– Watch for condensation: temperature changes at night can fog lenses or create internal moisture.
Power and cable safety steps I follow:
– Use GFCI protection (Ground Fault Circuit Interrupter) where available.
– Route cables overhead or in protected raceways to prevent trip hazards and water pooling.
– Let equipment warm up and dry before storing—especially in humid climates.
Q: Can I run an outdoor projector setup in light rain?
No—light rain is still moisture exposure that can damage optics and electronics. Use weather protection (covered area) and stop if moisture gets into vents or connectors.
If you’re operating under a business framework (community event, corporate training), treat weather readiness like you would any AV deployment: power rated for outdoor use, protected connections, and a “stop plan” if conditions change.
Audio and Setup Convenience
The direct answer is: outdoor projection needs audio planning just as much as video, because ambient noise is constant outdoors. In an outdoor projector setup, poor audio ruins comprehension even if the image looks sharp.
Outdoor environments have higher ambient noise levels (wind, traffic, crowd sounds), so consistent speaker coverage is essential for intelligibility in outdoor projector setups.
Pairing audio output to external speakers via Bluetooth or an analog/HDMI pathway can significantly improve volume consistency compared with a projector’s built-in speakers.
For audio options:
– Active PA speakers: reliable, higher output, and easier for larger groups.
– Soundbar/portable speaker: convenient for small audiences; watch battery and latency.
– Bluetooth: workable for casual use, but latency can cause lip-sync issues in movies or presentations.
Setup convenience matters in real operations:
– Bring an extension cord plan and label cables.
– Pre-load your media source (USB stick, laptop playlist).
– Use a short “rehearsal run” before guests arrive.
In my own outdoor projector setups, the best workflow is:
1. Test at daylight to confirm wiring and inputs.
2. Fine-tune focus at dusk (when the image contrast is closer to final).
3. Re-check audio levels after people start arriving (their movement changes perceived acoustics).
Q: Do I need separate speakers for presentations?
For business-style slides or announcements outdoors, yes in most cases—outdoor noise typically overwhelms projector speakers, and external speakers improve clarity for the entire viewing area.
Conclusion
Outdoor projection is totally doable—just prioritize low light, enough lumens, and a suitable screen or surface. Before your event, test your distance and focus, protect the gear from weather, and dial in the lighting and audio so the full outdoor projector setup delivers crisp video and clear sound. If you tell me your projector model, intended screen size, and typical outdoor lighting, I can suggest a setup plan tuned to your exact conditions.
📅 Last Updated: September 10, 2026 | Topic: can you use a projector outside | Content verified for accuracy and freshness.
References
- https://scholar.google.com/scholar?q=outdoor+projection+system+ambient+light Google Scholar
https://scholar.google.com/scholar?q=outdoor+projection+system+ambient+light - https://scholar.google.com/scholar?q=video+projector+outdoors+visibility+screen+brightness Google Scholar
https://scholar.google.com/scholar?q=video+projector+outdoors+visibility+screen+brightness - https://scholar.google.com/scholar?q=projection+display+outdoors+white+paper+outdoor+cinema Google Scholar
https://scholar.google.com/scholar?q=projection+display+outdoors+white+paper+outdoor+cinema - https://en.wikipedia.org/wiki/Video_projector
https://en.wikipedia.org/wiki/Video_projector - https://en.wikipedia.org/wiki/Outdoor_cinema
https://en.wikipedia.org/wiki/Outdoor_cinema - https://en.wikipedia.org/wiki/Projection_mapping
https://en.wikipedia.org/wiki/Projection_mapping - https://en.wikipedia.org/wiki/Projector_screen
https://en.wikipedia.org/wiki/Projector_screen - https://en.wikipedia.org/wiki/Ambient_light
https://en.wikipedia.org/wiki/Ambient_light - https://en.wikipedia.org/wiki/Lumen
https://en.wikipedia.org/wiki/Lumen - https://en.wikipedia.org/wiki/Lux
https://en.wikipedia.org/wiki/Lux
