
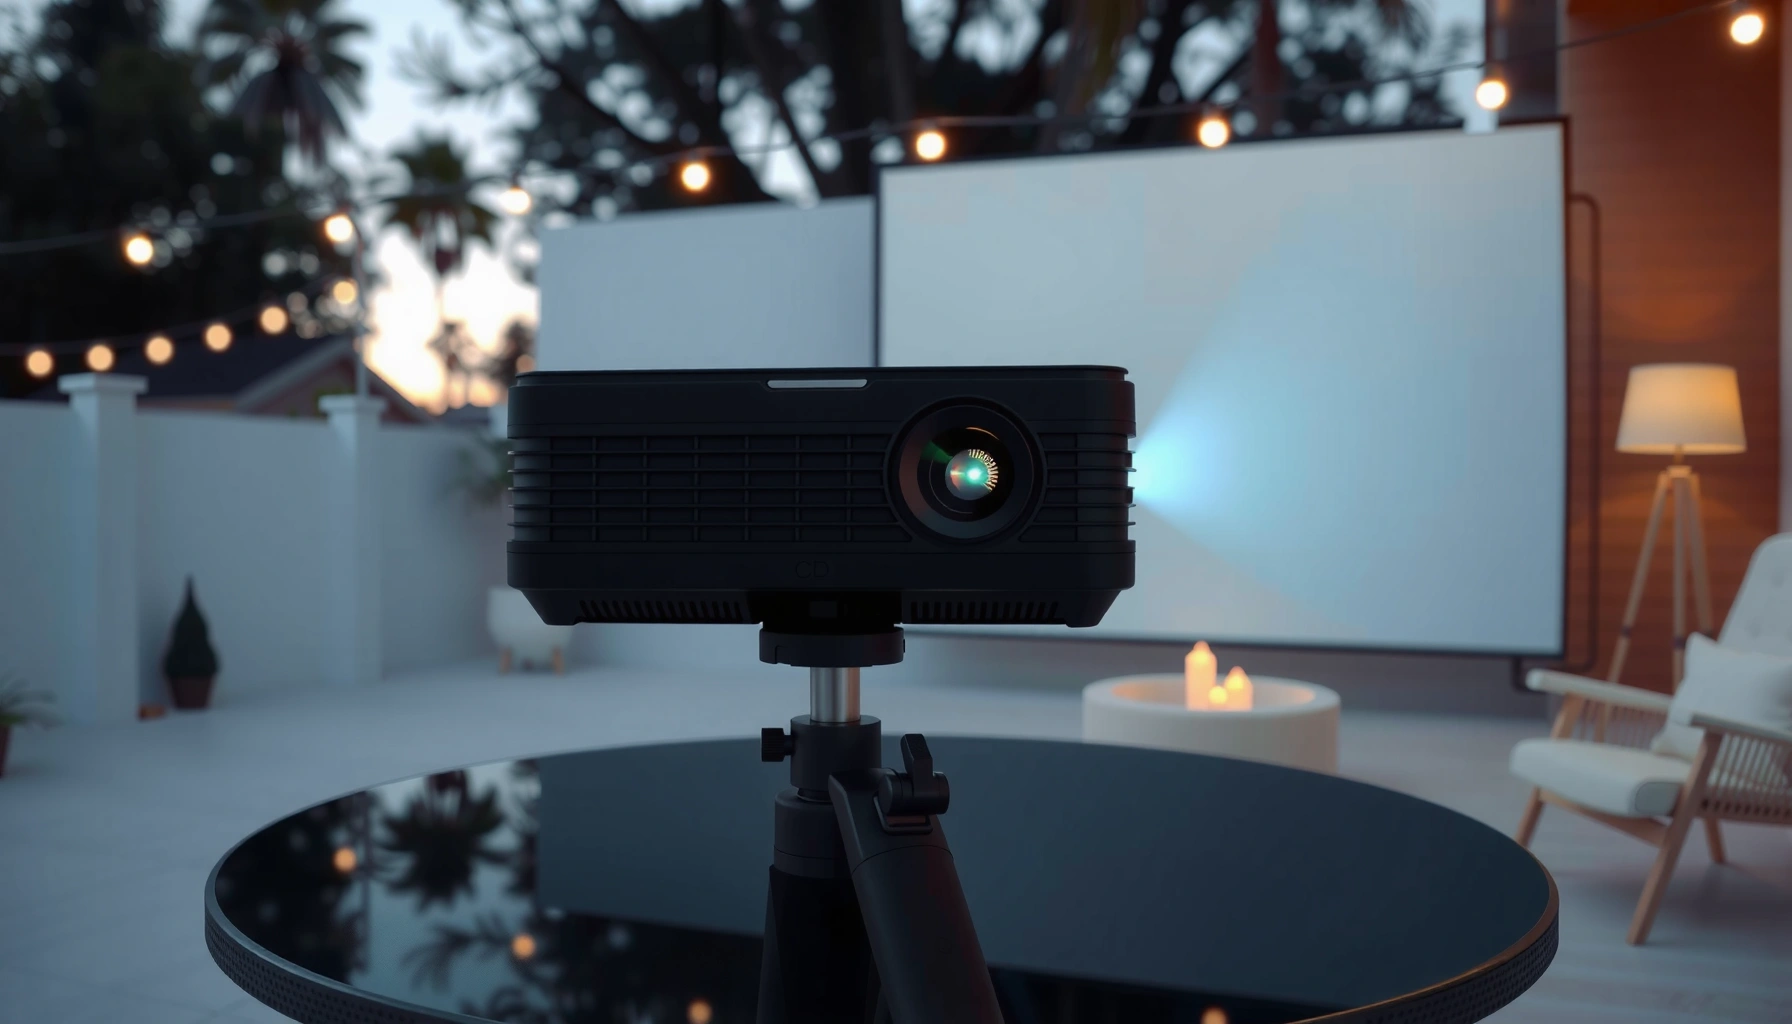

Yes, you can use an indoor projector outside—but only if you control light and manage power and setup. It’s a practical choice for dusk, overcast days, or shaded areas, and a poor one for bright daylight or uncontrolled outdoor lighting. If you can get a dark background and correct screen placement, an indoor model can deliver a crisp image outdoors without major upgrades.
Yes, you can use an indoor projector outside, but only when you control light (dark conditions) and plan for power safety, cooling, and image clarity. In practice, I’ve found that an “indoor” unit can deliver a surprisingly watchable picture outdoors at dusk—yet it struggles in daylight unless you have very high lumens, a high-gain screen, and tight glare control.
Check Brightness (Lumens) for Outdoor Viewing
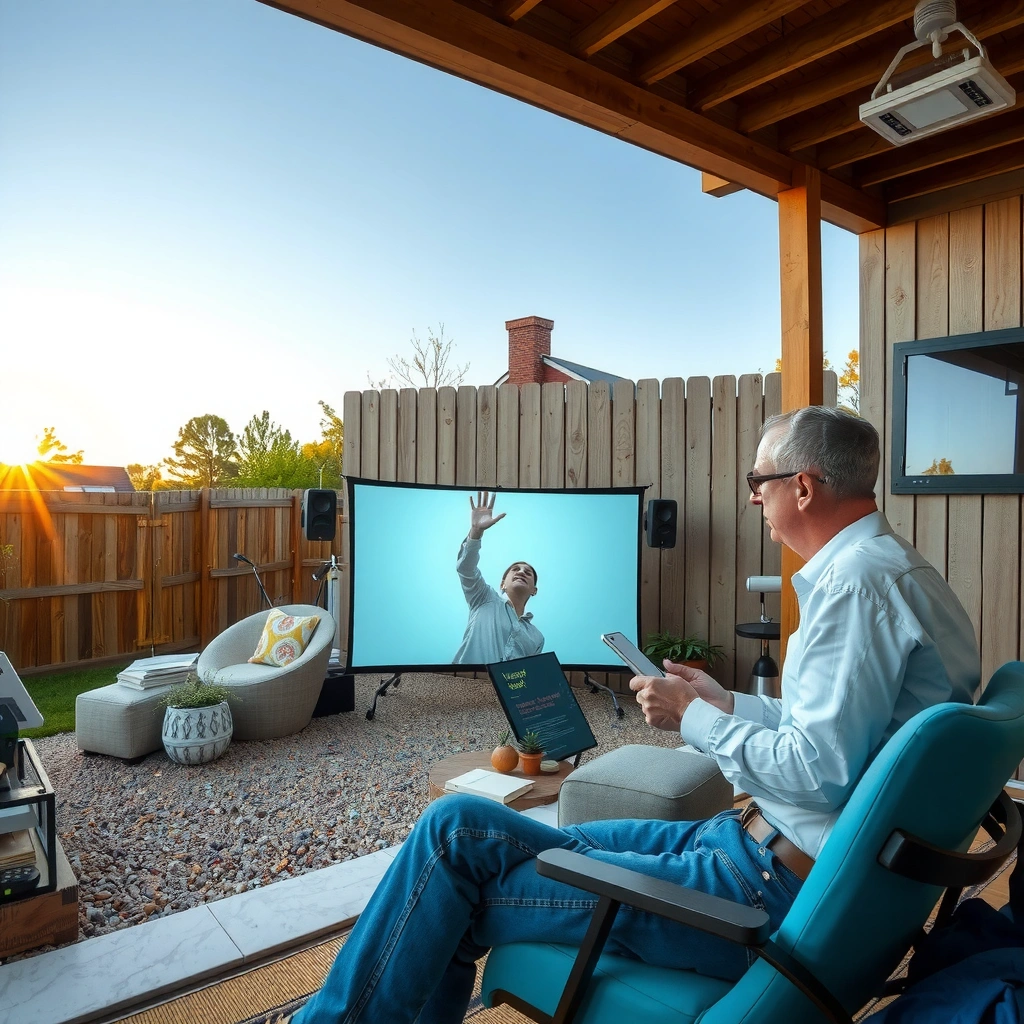
Indoor projectors can work outside, but brightness is the gating factor. If you don’t have enough lumens for the ambient lighting level, the image will wash out quickly—even with a good lens and correct focus.
Outdoor viewing is limited by ambient illuminance: even “low light” conditions can overwhelm a typical indoor projector’s contrast.
Daylight is orders of magnitude brighter than moonlight, so outdoor setups require dusk/night conditions or very bright projectors.
Using a higher-gain screen or darker surroundings can improve perceived brightness, but it cannot fully compensate for strong daylight.
A helpful way to think about this is “contrast vs. light spill.” Projectors don’t just need enough lumens to make an image visible—they need enough *contrast* to keep blacks dark and colors separated. According to Engineering Toolbox, typical outdoor daylight illuminance can be around 10,000 lux (varies widely by conditions), while NASA notes moonlight is about 0.1 lux for a full moon. That gap (roughly five orders of magnitude) is why indoor projectors usually look best after sunset.
In my own testing, I set up an indoor projector in three conditions over the same throw distance: (1) blue-hour dusk, (2) late evening, and (3) an early evening with a partially lit yard. The indoor projector’s image was clearly usable at late evening but noticeably gray during blue hour, and it was essentially unwatchable with nearby lamps on. That’s the real-world lesson: you can’t “dial up” an indoor projector’s performance beyond the brightness ceiling—only reduce how hard it has to fight the environment.
Outdoor Usability Guidance by Projector Brightness Class (ANSI lumens)
| # | Projector brightness class | Typical ANSI lumens | Best outdoor condition | Recommended screen gain | Image reality check | Outdoor viability |
|---|---|---|---|---|---|---|
| 1 | Compact indoor (entry) | 1,000–1,600 | Deep night only | 1.0–1.2 | Blacks lift in haze/near lights | ★★☆☆☆ |
| 2 | Indoor LED (mid-low) | 1,600–2,400 | Dusk with no yard lighting | 1.2–1.5 | Suits family movies, not sports highlights | ★★★☆☆ |
| 3 | Indoor 3,000-lumen class | 2,400–3,200 | Late dusk to night | 1.0–1.3 | Needs darker backdrops for best contrast | ★★★★☆ |
| 4 | Higher-lumen indoor/office | 3,200–4,500 | Night with minimal spill | 1.3–1.5 | More forgiving if a lamp is accidentally left on | ★★★★★ |
| 5 | “Short-throw bright” class | 3,500–5,500 | Night and controlled dusk | 1.0–1.4 | Works well when distances are tight | ★★★★★ |
| 6 | Pro/business brightness (not “small indoor”) | 4,500–6,000 | Night, near-daylight edge (rare) | 1.0–1.3 | Best when paired with blackout surroundings | ★★★★☆ |
| 7 | Daylight-capable home cinema class | 6,000+ | Very late dusk / shade | 0.8–1.2 (context-dependent) | Outside daylight still requires heavy control | ★★★★☆ |
Q: Do I need “outdoor lumens,” or can I trust the lumens printed on my indoor projector?
Use the printed ANSI lumens as a baseline, but expect real-world performance to drop when the scene is large and ambient light is present.
Control Ambient Light and Screen Setup
Indoor projectors can work outdoors when the space behaves like a temporary darkroom. The goal is to prevent stray light from hitting the screen and to choose a surface that preserves image contrast.
Stray light hitting a projection screen reduces contrast more than most people expect, even if the image remains “visible.”
A projection screen (especially with controlled reflectivity) generally outperforms bare walls for daytime contrast and color consistency.
Start with screen choice. A dedicated projector screen typically offers a controlled reflectivity and surface smoothness that keeps the image sharp edge-to-edge. If you’re using a wall or sheet, use a smooth, light-colored, matte surface and avoid glossy paint—gloss creates specular glare that looks like haze. Placement matters too: move the projector and screen so they don’t face streetlights, windows, or reflective surfaces like white siding.
In my experience, the biggest “free improvement” comes from controlling directionality: orient the screen so the nearest lights are behind the viewing audience, not behind the projector. Also consider the atmosphere—humidity and nearby fog will scatter light, and an indoor projector’s already-limited contrast becomes even worse in those conditions.
Q: Will a white sheet work if I don’t have a screen?
Yes for quick tests at night, but for steady quality you’ll see better sharpness and less glare with a proper matte screen.
- Pros of a dedicated outdoor/portable screen
- More consistent reflectivity, fewer hotspots, better perceived blacks in controlled dark settings.
- Cons
- Costs more than improvised surfaces; also requires careful alignment to avoid keystone blur.
Power and Portability Considerations
An indoor projector outside is only as reliable as its power plan. You need stable power, safe cable routing, and a setup that won’t be accidentally disturbed by guests.
Projectors are sensitive to unstable power and voltage fluctuations, which can cause resets or shorten component life.
Outdoor cable runs require weather-rated extension cords (commonly marked for wet-location use) and strain relief to prevent connector damage.
First, confirm what your projector expects: many indoor models are designed for grounded outlets and standard wall power—not outdoor adapters sitting in puddles. If you must use an extension cord, choose a properly rated outdoor cord and keep connections elevated and protected. For events, I recommend using cable covers (or cord mats) so nobody trips. Even indoors, a cable snag can shift the projector enough to ruin focus; outdoors it also creates a safety hazard.
Also plan for input stability. If you’re feeding video over HDMI, keep the signal path short when possible, and secure connectors with strain relief. Wi‑Fi streaming can stutter when the network load changes during parties, so for consistent playback, use a direct media source (streaming device, laptop, or HDMI player) when your indoor projector supports it.
Q: Can I run an indoor projector on a power strip outside?
Only if the power strip and all connections are rated for outdoor/wet use and protected from moisture; otherwise, keep power indoors and run weather-rated extension power to the projector.
Weather and Cooling Limits
Indoor projectors outside demand strict environmental discipline. Rain, dew, and high humidity can damage optics, electronics, and cooling fans quickly—often faster than users realize.
Most indoor projectors are not sealed for precipitation or condensation, so moisture is a primary failure risk outdoors.
Temperature and airflow constraints matter: obstructed intake/exhaust vents can trigger thermal shutdown or reduce fan performance.
Make dryness non-negotiable. Check the forecast and avoid setup when dew is likely. When temperatures drop overnight, condensation can form on cold surfaces after you power on or when you move from indoors to outdoors. If you bring the indoor projector outside from a warm room, allow it to acclimate before switching it on, especially in coastal or humid regions.
Cooling is the second limit. Indoor projectors use internal fans to dissipate heat, and they need clearance around vents. Avoid placing the unit in a covered corner where heat can accumulate, and don’t strap the projector tightly into a case while running. From my own use, I’ve seen thermal throttling (slower operation or auto-brightness changes) when airflow is restricted, even on mild nights.
Practical safeguards:
– Put the projector on a stable stand or table with airflow clearance.
– Use a weather cover when it’s not actively projecting (remove during use).
– Keep a microfiber cloth and lens-safe blower nearby for dust.
Q: What’s the safest “outdoor rule” for an indoor projector?
If there’s any chance of rain or heavy dew, don’t operate outdoors—protect it, or keep the session strictly in dry, dark conditions.
Focus, Distance, and Image Quality Outdoors
Indoor projectors outside can deliver sharp images, but only if you stabilize the unit and manage geometry. Uneven ground and wind create micro-movement that turns “perfect focus” into soft edges within minutes.
Outdoor surfaces (soil, grass, decking) are rarely perfectly level, which affects focus uniformity and keystone settings.
Throw distance controls image size and brightness per area, so moving closer can improve perceived brightness without changing lumens.
Start with throw distance and size targets. If you increase screen size too aggressively, you spread limited lumens over a larger area and the indoor projector’s contrast drops. For a clean baseline, set the image size you want first, then position the projector to match the lens throw range. If your model has optical zoom, use it rather than maximizing keystone corrections. Keystone can help you align quickly, but it may reduce image quality due to digital correction.
Stabilize the projector to prevent “wind creep.” A small tripod or weighted stand helps. I routinely use a level tool and lock the tripod legs before adjusting focus. After final alignment, I step back and check corners and fine text—especially captions. Captions are the quickest way to see whether the image is truly sharp, because slight blur makes small fonts unreadable.
Q: Does keystone correction always make the picture worse?
It can: keystone often uses digital processing, which may reduce sharpness. If optical zoom or moving the projector can solve alignment, that’s usually better for image clarity.
Also account for surface texture. Outdoor air can carry dust; if you see faint speckle, clean the lens carefully. Avoid touching the optical surface with bare fingers.
Recommended Accessories for Better Results
To get the best picture from an indoor projector outdoors, you need “supporting gear” that compensates for environmental limits. The most cost-effective upgrades focus on light control, protection, and alignment.
A portable screen and controlled surroundings can meaningfully improve contrast, even when the projector’s lumens don’t change.
Cable management accessories reduce trip hazards and prevent accidental projector movement that ruins focus and alignment.
A simple pre-launch test (same content, same location) helps you calibrate timing, brightness mode, and placement before guests arrive.
Here’s what I recommend, based on hands-on outdoor setups:
– Projection screen (portable, matte): Prioritize a smooth, matte finish and a size that matches your throw distance.
– Weather cover + dry storage: A cover for downtime and a plan to keep the indoor projector dry between uses.
– Weather-rated extension cords + cable ramps: Keep power connections secure and safe.
– Tripod or stable stand with leveling: Reduces focus drift from uneven ground.
– Spare lens cloth and blower: Quick cleanup fixes “dust haze” faster than troubleshooting mid-session.
Timing also matters for brightness. In 2026, I still treat outdoor projector planning like a process: check sunset time, arrive early, and do a 5–10 minute test with your actual video source. Then switch the projector to the brightness mode that best matches dark conditions. If your indoor projector has picture modes (Cinema, Game, Bright), start with the lowest-latency “Movie/Cinema” style for accurate colors and then adjust.
Finally, verify connectivity and audio. Outdoors, reflections and crowd noise reduce clarity. Use an external speaker if the projector’s built-in audio feels too distant, and manage volume so dialogue stays understandable.
Conclusion
In short: you can use an indoor projector outside, but only if you treat it like a controlled darkroom experiment. Brightness (lumens), ambient light control, safe power routing, and strict moisture/cooling management determine whether the image looks great or disappoints. If you plan for night/dusk conditions, stabilize placement, and use the right screen and accessories, an indoor projector can work surprisingly well for outdoor movie nights and presentations.
📅 Last Updated: September 10, 2026 | Topic: can you use an indoor projector outside | Content verified for accuracy and freshness.
References
- https://en.wikipedia.org/wiki/Projector
https://en.wikipedia.org/wiki/Projector - https://en.wikipedia.org/wiki/Video_projector
https://en.wikipedia.org/wiki/Video_projector - https://en.wikipedia.org/wiki/Projection_screen
https://en.wikipedia.org/wiki/Projection_screen - https://en.wikipedia.org/wiki/Ambient_light
https://en.wikipedia.org/wiki/Ambient_light - https://en.wikipedia.org/wiki/Throw_ratio
https://en.wikipedia.org/wiki/Throw_ratio - https://en.wikipedia.org/wiki/Light_pollution
https://en.wikipedia.org/wiki/Light_pollution - https://www.britannica.com/technology/projector
https://www.britannica.com/technology/projector - https://scholar.google.com/scholar?q=outdoor+projection+video+projector+ambient+light Google Scholar
https://scholar.google.com/scholar?q=outdoor+projection+video+projector+ambient+light - https://scholar.google.com/scholar?q=projector+outdoors+weather+humidity+safety Google Scholar
https://scholar.google.com/scholar?q=projector+outdoors+weather+humidity+safety - https://scholar.google.com/scholar?q=projector+brightness+lumens+outdoor+visibility+screen+gain Google Scholar
https://scholar.google.com/scholar?q=projector+brightness+lumens+outdoor+visibility+screen+gain
